In this article, I am going to show you how to refresh a page with the Selenium Python library. So, let’s get started.
Prerequisites:
To try out the commands and examples of this article, you must have,
1) A Linux distribution (preferably Ubuntu) installed on your computer.
2) Python 3 installed on your computer.
3) PIP 3 installed on your computer.
4) Python virtualenv package installed on your computer.
5) Mozilla Firefox or Google Chrome web browsers installed on your computer.
6) Must know how to install the Firefox Gecko Driver or Chrome Web Driver.
For fulfilling the requirements 4, 5, and 6, read my article Introduction to Selenium with Python 3 at Linuxhint.com.
You can find many articles on the other topics on LinuxHint.com. Be sure to check them out if you need any assistance.
Setting Up a Project Directory:
To keep everything organized, create a new project directory selenium-refresh/ as follows:

Navigate to the selenium-refresh/ project directory as follows:

Create a Python virtual environment in the project directory as follows:

Activate the virtual environment as follows:

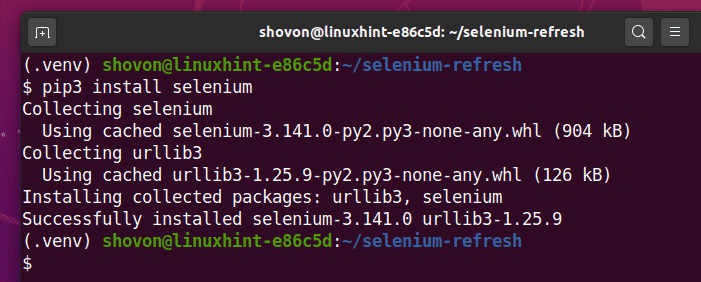
Install Selenium Python library using PIP3 as follows:
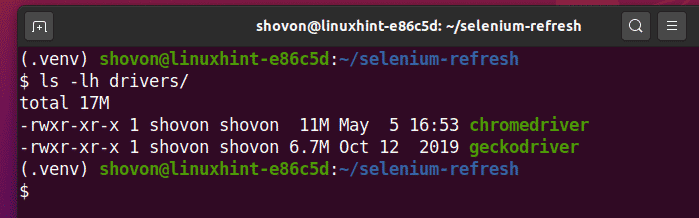
Download and install all the required web driver in the drivers/ directory of the project. I have explained the process of downloading and installing web drivers in my article Introduction to Selenium with Python 3. If you need any assistance, search on LinuxHint.com for that article.
Method 1: Using the refresh() Browser Method
The first method is the easiest and the recommended method of the refreshing page with Selenium.
Create a new Python script ex01.py in and type in the following lines of codes in it.
from selenium.webdriver.common.keys import Keys
from time import sleep
options = webdriver.ChromeOptions()
options.headless = True
browser = webdriver.Chrome(executable_path="./drivers/chromedriver", options=options)
browser.get("https://www.unixtimestamp.com/")
timestamp = browser.find_element_by_xpath("//h3[@class='text-danger'][1]")
print('Current timestamp: %s' % (timestamp.text.split(' ')[0]))
sleep(5)
browser.refresh()
timestamp = browser.find_element_by_xpath("//h3[@class='text-danger'][1]")
print('Current timestamp: %s' % (timestamp.text.split(' ')[0]))
browser.close()
Once you’re done, save the ex01.py Python script.

Line 1 and 2 imports all the required Selenium components.
![]()
Line 3 imports sleep() function from time library. I will use this to wait a few seconds for the webpage to update so that we can fetch new data after refreshing the webpage.
![]()
Line 5 creates a Chrome Options object, and line 6 enables headless mode for the Chrome web browser.

Line 8 creates a Chrome browser object using the chromedriver binary from the drivers/ directory of the project.
![]()
Line 9 tells the browser to load the website unixtimestamp.com.
![]()
Line 11 finds the element that has the timestamp data from the page using the XPath selector and stores it in the timestamp variable.
Line 12 parses the timestamp data from the element and prints it on the console.
![]()
Line 14 uses the sleep() function to wait for 5 seconds.
Line 15 refreshes the current page using the browser.refresh() method.

Line 17 and 18 is the same as line 11 and 12. It finds the timestamp element from the page and prints the updated timestamp on the console.
![]()
Line 20 closes the browser.
![]()
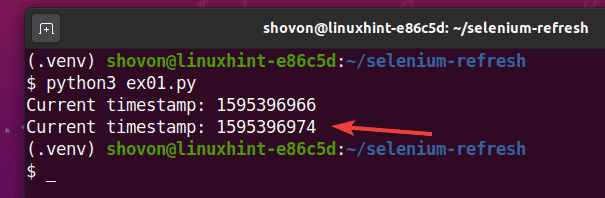
Run the Python script ex01.py as follows:

As you can see, the timestamp is printed on the console.

After 5 seconds of printing the first timestamp, the page is refreshed, and the updated timestamp is printed on the console, as you can see in the screenshot below.
Method 2: Revisiting the Same URL
The second method of refresh the page is to revisit the same URL using the browser.get() method.
Create a Python script ex02.py in your project directory and type in the following lines of codes in it.
from selenium.webdriver.common.keys import Keys
from time import sleep
options = webdriver.ChromeOptions()
options.headless = True
browser = webdriver.Chrome(executable_path="./drivers/chromedriver", options=options)
browser.get("https://www.unixtimestamp.com/")
timestamp = browser.find_element_by_xpath("//h3[@class='text-danger'][1]")
print('Current timestamp: %s' % (timestamp.text.split(' ')[0]))
sleep(5)
browser.get(browser.current_url)
timestamp = browser.find_element_by_xpath("//h3[@class='text-danger'][1]")
print('Current timestamp: %s' % (timestamp.text.split(' ')[0]))
browser.close()
Once you’re done, save the ex02.py Python script.

Everything is the same as in ex01.py. The only difference is in line 15.
Here, I am using the browser.get() method to visit the current page URL. The current page URL can be accessed using the browser.current_url property.
![]()
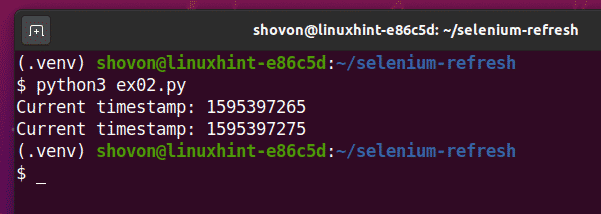
Run the ex02.py Python script as follows:

As you can see, the Pythion script ex02.py prints the same type of information as in ex01.py.
Conclusion:
In this article, I have shown you 2 methods of refreshing the current webpage using the Selenium Python library. You should be able to do more interesting things with Selenium now.