Prerequisites:
To perform the steps that are demonstrated in this guide, you need the following components:
- A properly configured Linux system. Learn more about setting up Ubuntu and Arch Linux VMs in VirtualBox.
- Basic understanding of the Linux command-line interface.
Printers in Linux
Linux is a versatile operating system. It can perform simple everyday tasks and handle even massive-scale infrastructure. Printing is a common task that all Linux systems can handle.
For this guide, we will configure a dummy printer that prints the output to /dev/null. We will also showcase how to send a document to the printer and manage the print queue.
Setting Up a Demo Printer
To configure a dummy printer, we will use CUPS (Common UNIX Printing System). It’s a freely available printing layer that most Linux distros use as the standard to manage the printers. Check out how to install and configure the CUPS server on Ubuntu.
1. Installing CUPS
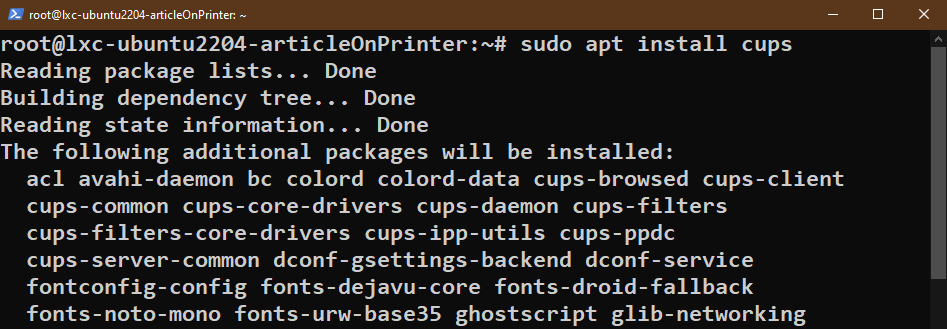
First, install CUPS using APT:
Next, enable and start the CUPS service:
2. Creating a Dummy Printer
Now, create a dummy printer that prints to /dev/null:
If the action is successful, it appears on the list of printers:
Optionally, we can mark our new printer as the default printer:
Printing from the Command Line
Now that we have our printer ready, it’s time to start printing.
1. Basic Usage
To print a document, use the “lp” command:
Since no printer is specified, lp sends the document to the default printer to print. If you configured the demo printer that prints to /dev/null, it won’t actually produce any output.
2. Printing Multiple Copies
To print several copies of the document, use the following command:
3. Print Queue
When working with actual printers, it usually takes some time to finish printing a copy. However, you may have multiple documents that you want to print. What to do in that situation?
Thanks to the print queue feature, you can send all the documents to print at once. The CUPS server stores the additional documents in a buffer. Once the current printing task finishes, it automatically sends a new document to the printer.
To view the list of prints that are currently queued, use the following command:
4. Canceling a Print Job
What if you accidentally sent the wrong document to print? As long as the document isn’t sent to the printer yet, we can remove it from the print queue:
However, you should be quick about it. Otherwise, the document will be already printed. In that case, it shows the following error:
5. Double-Side Printing
By default, most printers are configured to print a single side. However, we can tell the CUPS to perform a double-side print:
If you want to make the double-sided printing the default configuration, use the following command:
If you wish to revert to single-sided printing, use the following command:
6. Landscape Printing
We can also specify to print in landscape mode. To do so, use the following command:
Other CUPS Options
So far, we learned the various ways of printing a document. In this section, we will work on the CUPS configuration itself.
1. Listing the Connected Printers
To list all the printers that are currently connected to the system, run the following command:
2. Setting a Default Printer
Whenever printing from the command line without specifying the printer, the “lp” command sends the document to the default printer.
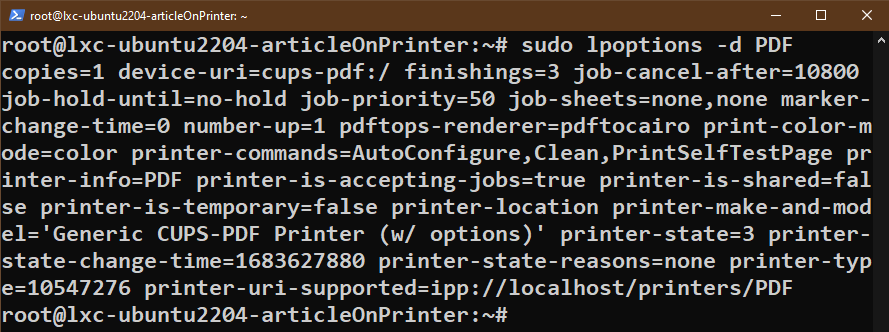
There are a couple of ways to specify a default printer. As demonstrated at the beginning of this guide, we can use the “lpoptions” command to establish a default printer:
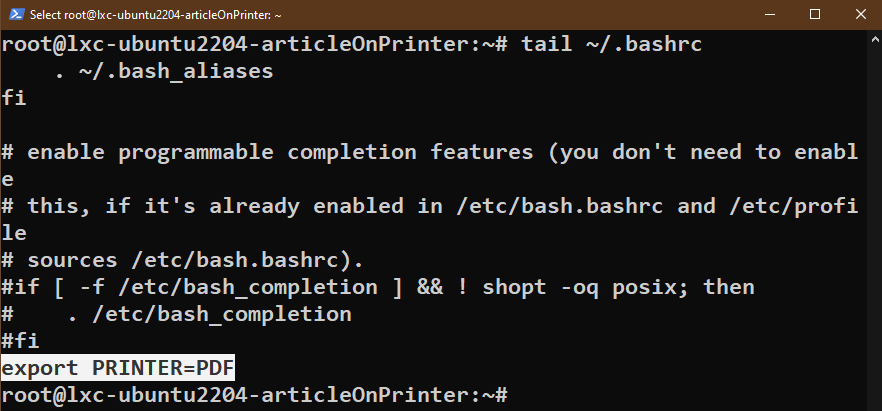
Alternatively, we can use the PRINTER environment variable to specify the default printer:
If you want to make this change permanent, add the line to the “bashrc” file:
Conclusion
We showcased the various ways of printing a document from the command line. We used the CUPS printing layer since it’s the standard printing solution that most Linux distros support. Although the guide uses a virtual printer, any physical printer works as long as you have the proper driver installed and it supports the CUPS communication.
Looking for a printer that’s compatible with Linux? Check out the shortlist of Linux-compatible printers for home/office usage. Linux can also work with printers over the network.
Happy computing!


