OWASP provides a wide range of tools and utilities for software developers and security researchers to improve the security of web applications.
The OWASP Dependency Checker is a tool that allows you to scan and detect any publicly disclosed vulnerabilities that might be contained within a given project’s dependencies. The tool scans the project for known vulnerabilities and generates a report based on the findings.
The report includes a link to all found CVEs and the details and severity of each vulnerability.
In this tutorial, we will learn how to use the OWASP Dependency Check plugin in Jenkins to scan a project for known vulnerabilities.
Step 1: Install the OWASP Dependency Plugin
Step 1: Install the OWASP Dependency Plugin
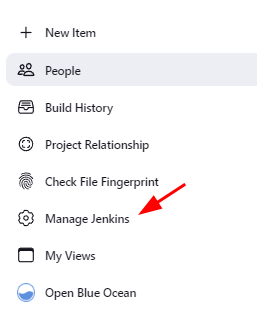
The first step is to install the OWASP Dependency plugin on our Jenkins server. Login into your Jenkins dashboard and navigate to “Manage Jenkins”.
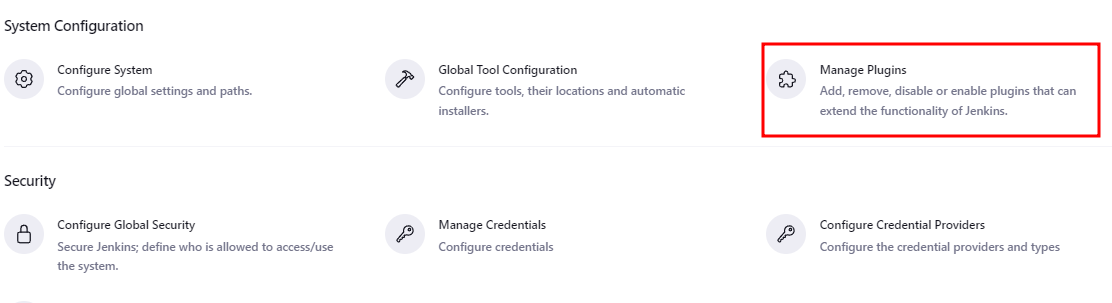
Select “Manage Plugins” to search and install the OWASP Dependency Check plugin.
Next, select “Available Plugins” and search for “OWASP Dependency Check”.
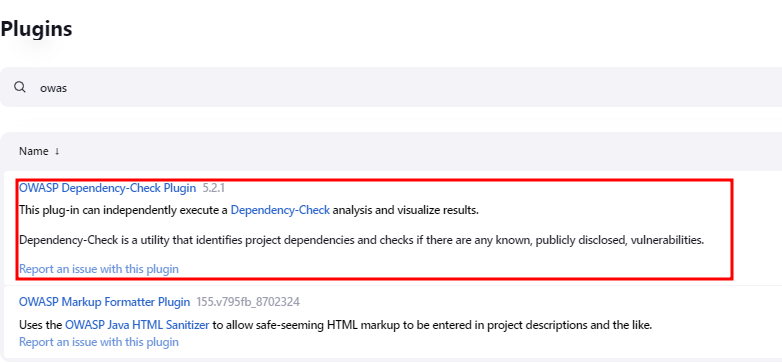
Select the latest version (5.2.1 as of writing) and click “Download now and install after restart.”

This should install the OWASP Dependency Check plugin, allowing you to use it in your Jenkins pipelines.
Step 2: Configure the OWASP Dependency Check Plugin
The next step is configuring the OWASP Dependency check plugin in Jenkins, allowing us to use it in our Jenkins jobs.
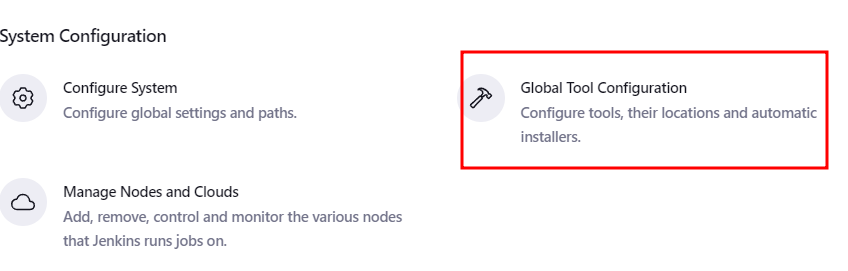
Navigate to Manage Jenkins -> Global Tool Configuration.
Scroll down until you locate the “Dependency Check” section. Next, click on the Dependency Check Installation section.
This allows you to define the dependency-check installations on the Jenkins server. Click on “Add Dependency Check” to configure a new Dependency Checker.
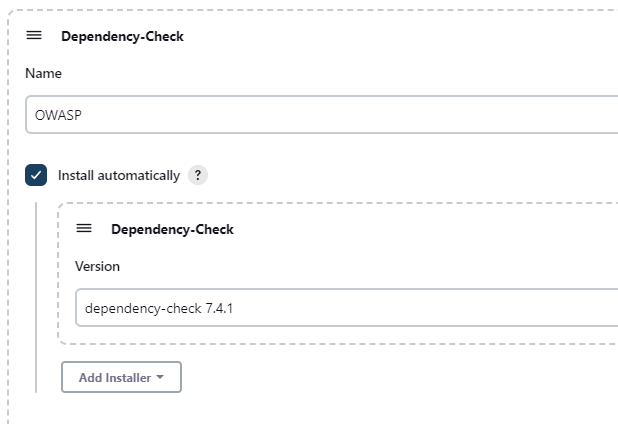
Enter the name of the dependency checker installation. Note this name since you will require it in your later builds.
Select “Install Automatically”. Choose your desired plugin version and click “Save” to apply the changes.
Step 3: Using the Dependency Check Plugin
Once we configured the plugin installation, we can test the plugin usage on our Jenkins server.
For this demonstration, we use the DVWA Web Application which is provided in the following link:
https://github.com/digininja/DVWA
You can fork the repository to your GitHub account, clone it, and host it on a local server.
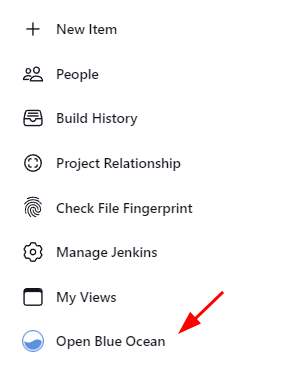
Open the Jenkins dashboard and select the “Open Blue Ocean” dashboard to use the Blue Ocean Interface.
NOTE: This requires you to install the Blue Ocean plugin on your system.
In the Blue Ocean dashboard, select “New Pipeline” to create a new Jenkins pipeline.

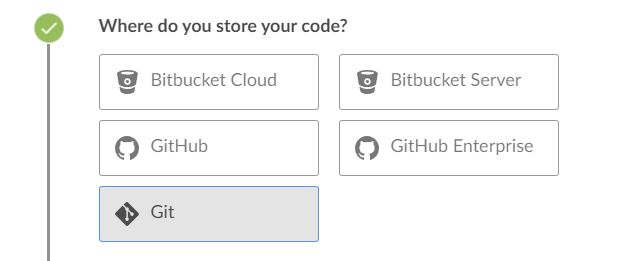
Select the location where you store your source code. If you forked the DVWA repository to your GitHub account, select Github.
If you cloned and hosted the source code on a local server, select “Git” to proceed.
Next, specify the URL to the DVWA repository. For demonstration purposes, we hosted the DVWA repository on a local git server. Hence, we provide the link to the repository as shown in the following:

Next, specify the username and password to your repository.
Click “Create Pipeline” to proceed to the next step. This creates a new pipeline and allows you to specify the build instructions.
NOTE: Since our repository does not contain a Jenkinsfile, Jenkins allows us to define the pipeline on the front end.
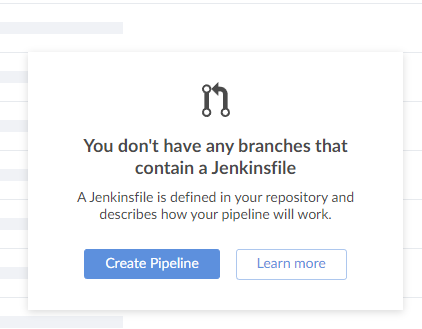
Click on “Create Pipeline” to define the instructions for a Jenkinsfile.
Press the add button to add a new stage. Add the stage name.
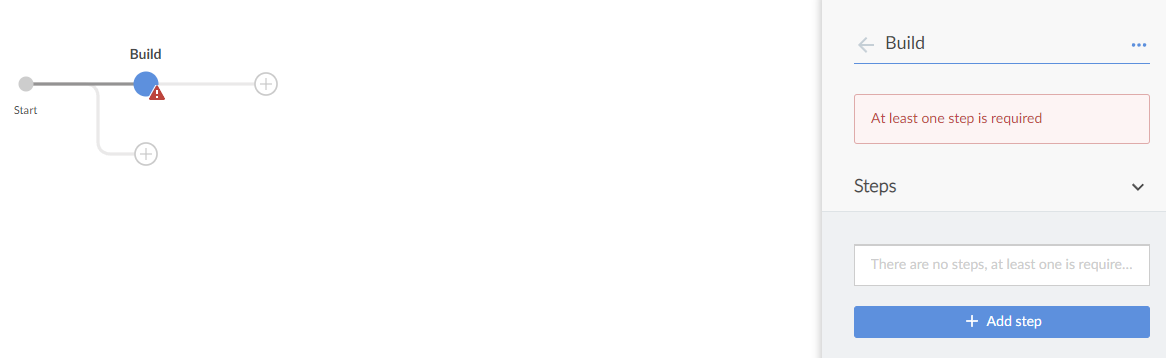
Click on “Add step” to add a new step to the Build stage.
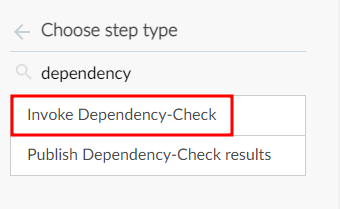
Search for Dependency and select “Invoke Dependency Check”.
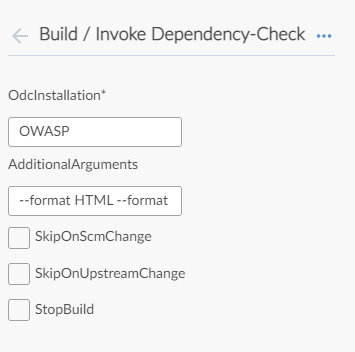
In the next section, set the OdcInstallation to the name of the Dependency plugin that you created earlier in the Global Configuration tool. In our case, we assigned the name, “OWASP”.
In the Additional Arguments section, add the arguments as follows:
This allows the dependency checker plugin to publish the results in HTML and XML formats.
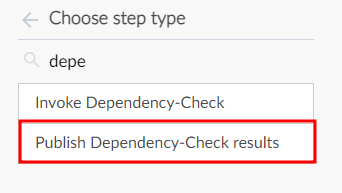
Click on the back arrow and select “Add Step” to add another step to the Build stage.
Search for “Dependency” and select “Publish Dependency Check Results”.
You can leave the fields empty since they are optional. Then, click on the previous arrow to go back to the Build Step.
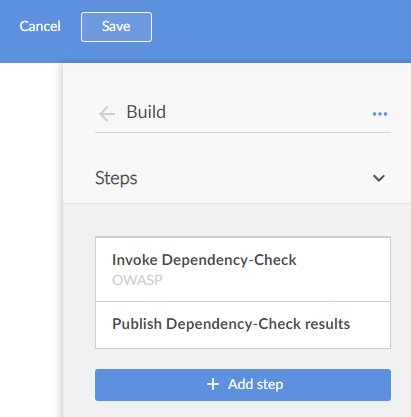
You should now see that your Build stage has two steps:
Click on “Save” to publish the Jenkinsfile to the repository. Add the details of the commit and select the target branch.
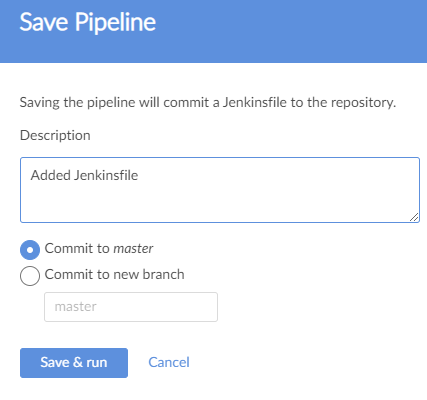
Finally, click “Save and Run” to publish the changes and start the build process.
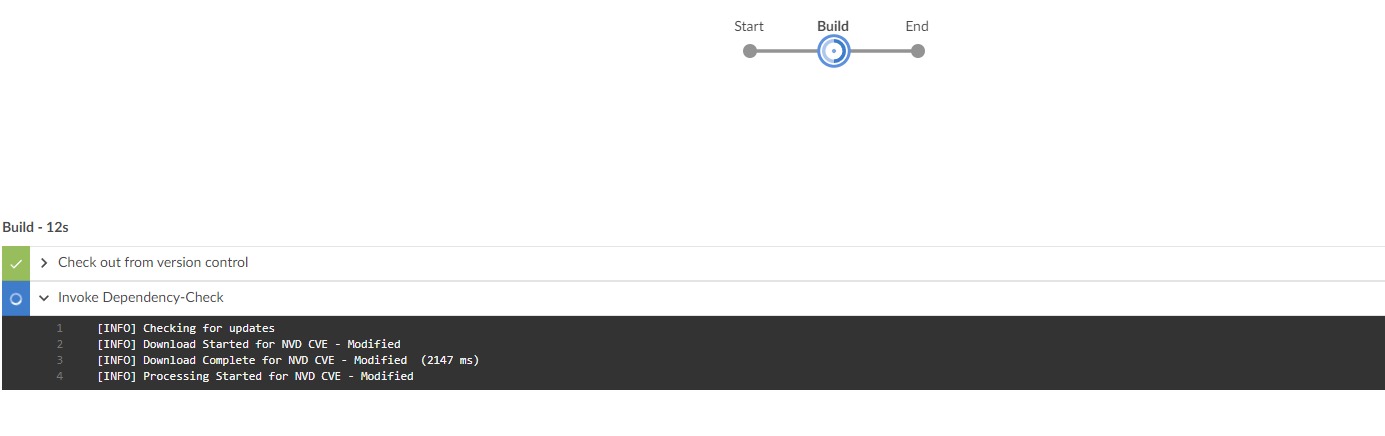
Wait for the Build process to complete and for the dependency checker plugin to scan your code and publish the results.
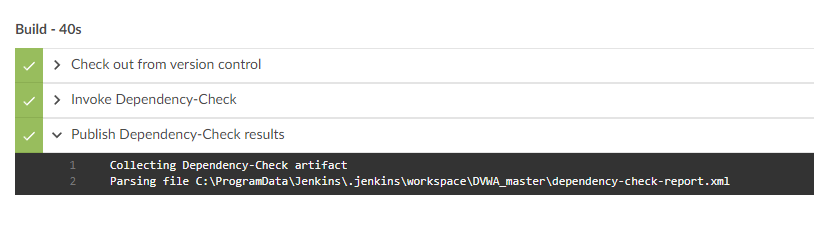
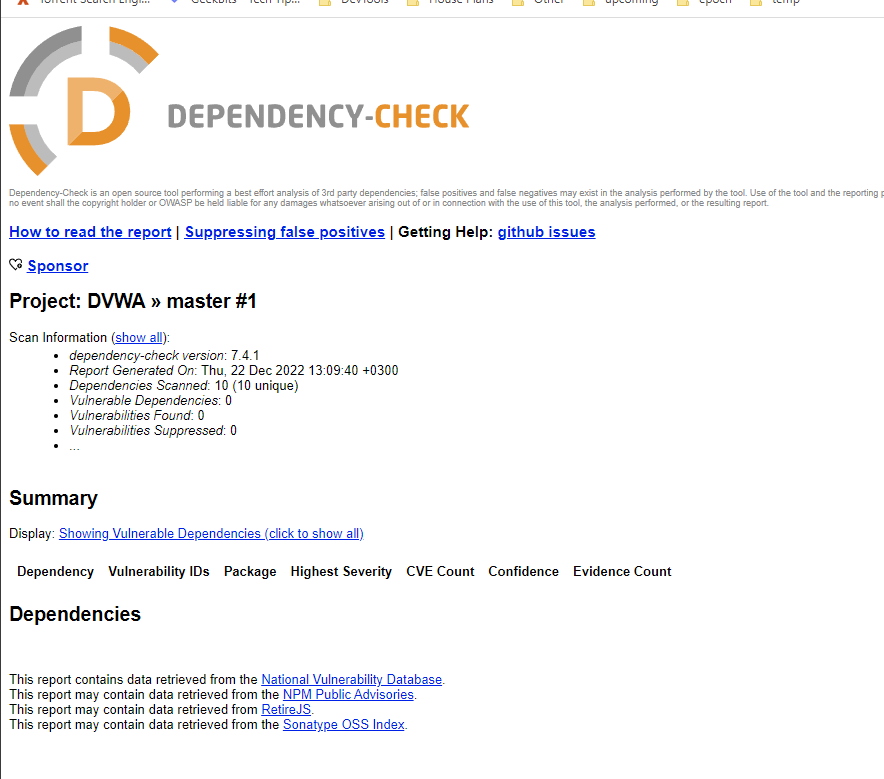
Expand the “Publish Dependency-Check Result” step to view the location where the reports are saved.
You can then open the report either in HTML or XML to view the results:
Conclusion
You learned how to add and configure the OWASP Dependency Check plugin to your Jenkins pipeline. You also discovered how to use the plugin in your Jenkins pipeline and publish the results in HTML or XML formats.