You can use the NFS protocol to access your Synology NAS shared folders from Linux. In this article, I will show you how to do that. So, let’s get started.
Things You Will Need
To follow this article, you need to have:
- Synology NAS device
- laptop or computer to access the DSM web management interface of your Synology NAS
You also need to know the IP address of your Synology NAS.
The IP address of my Synology NAS is 192.168.0.110. It will be different for you, so, make sure to replace it with yours from now on.
Enable NFS File Service
To be able to access your Synology shared folders via the NFS protocol, you must enable the NFS file service on your Synology NAS.
To do that, open the Control Panel app and click on File Services, as marked in the screenshot below.
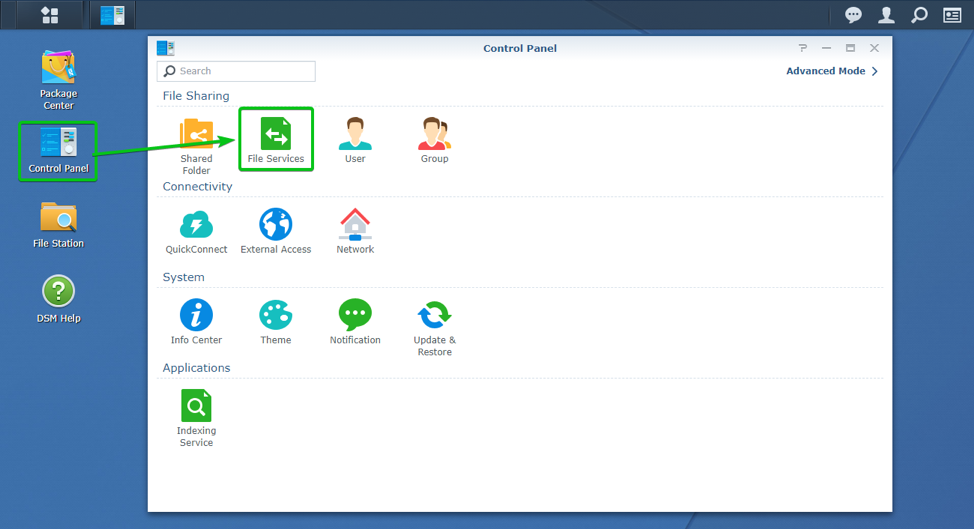
The File Services section of the Control Panel app should be opened.
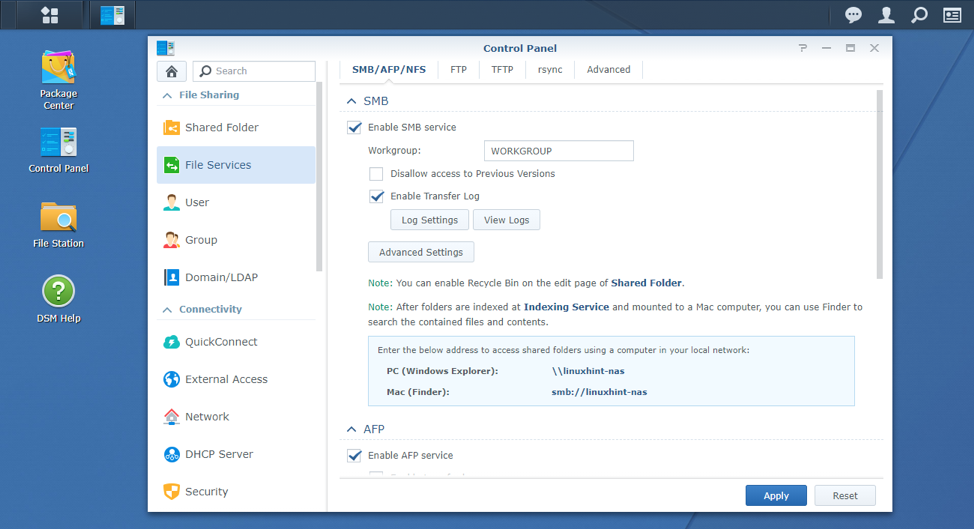
Now, scroll down to the NFS section, as marked in the screenshot below.
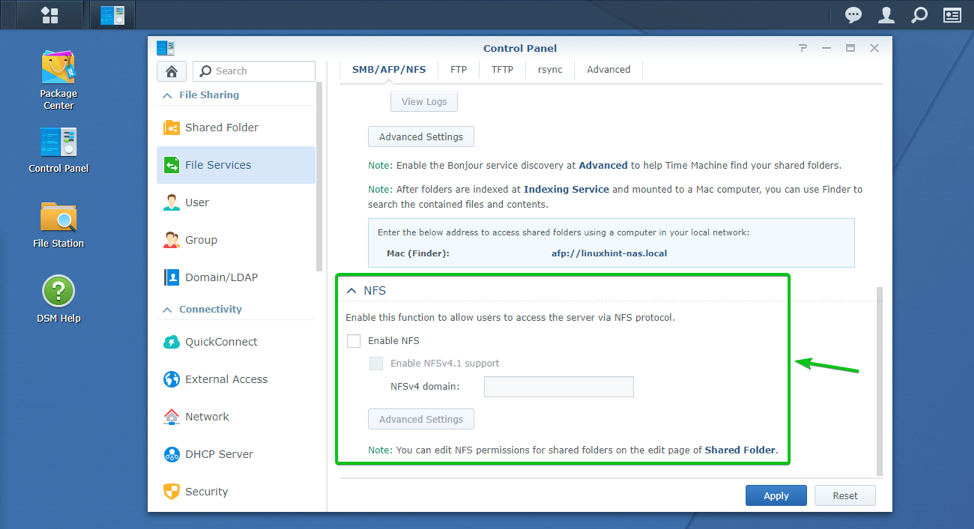
To enable the NFS file service, check the Enable NFS checkbox.
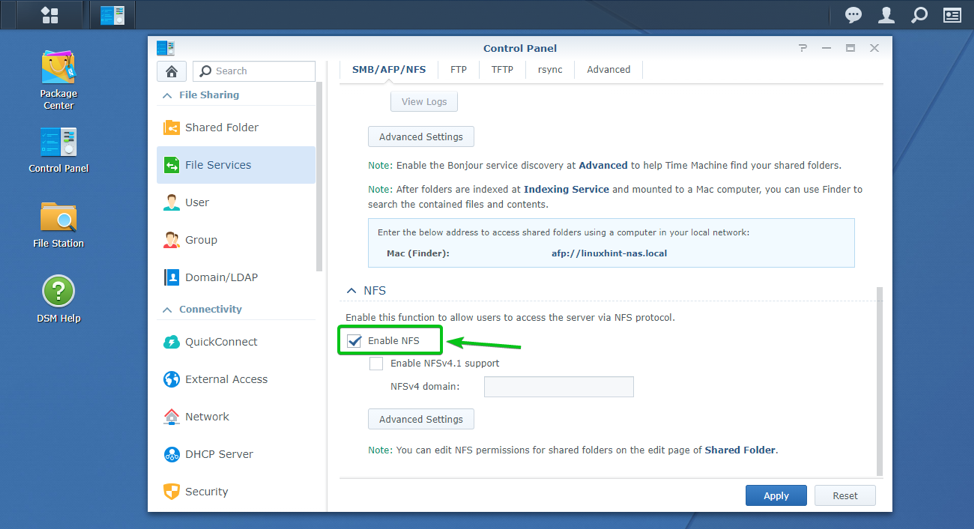
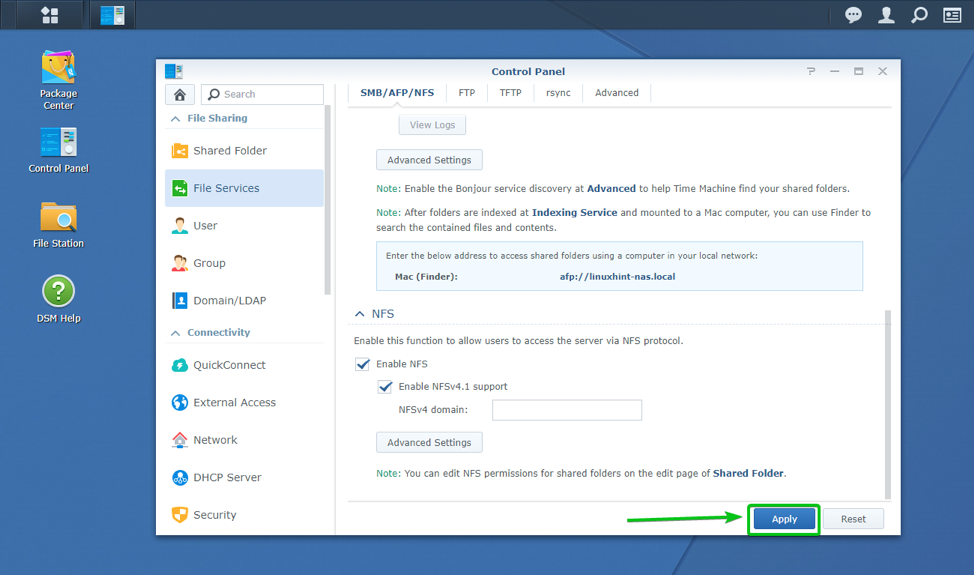
If you want to enable support for NFS version 4, check the Enable NFSv4.1 support checkbox as well, as shown in the following screenshot.

Once you’re done, click on Apply.
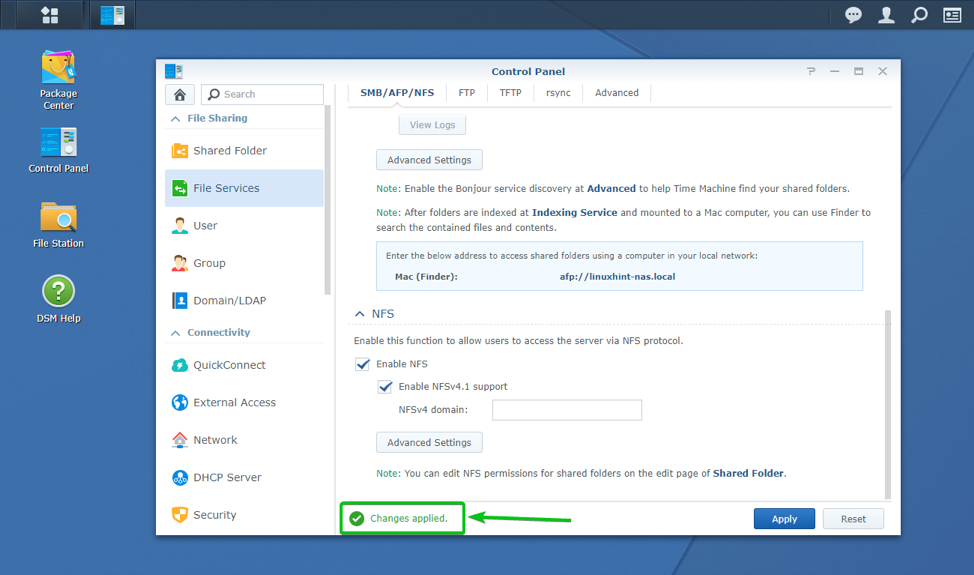
The NFS file service should be enabled.
Configuring Shared Folders for NFS Access
Once you’ve enabled the NFS file service, you must configure your shared folders for NFS access.
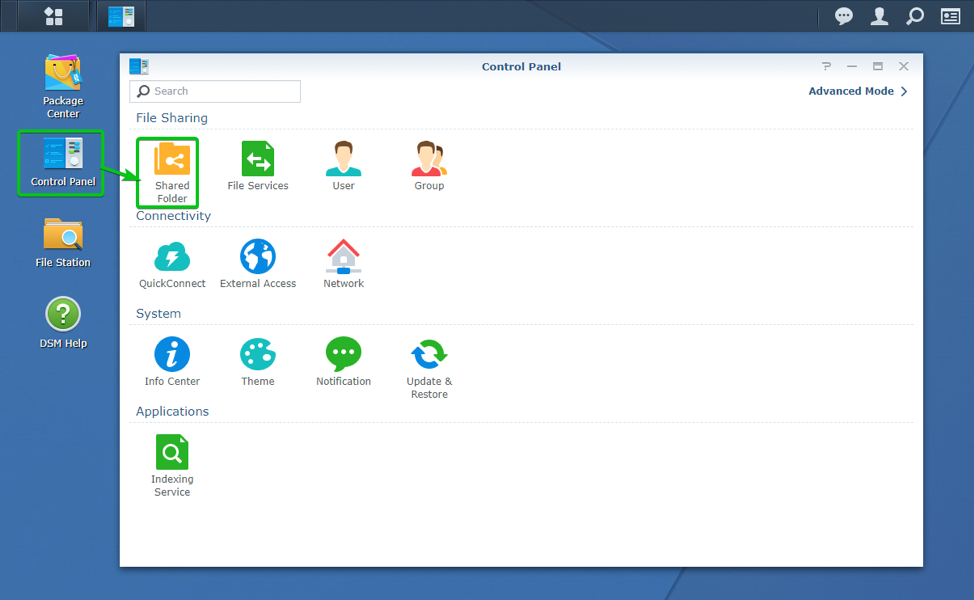
To configure a shared folder for NFS access, open the Control Panel app and click on the Shared Folder icon, as marked in the screenshot below.
Select a shared folder which you want to configure for NFS access and click on Edit, as shown below.
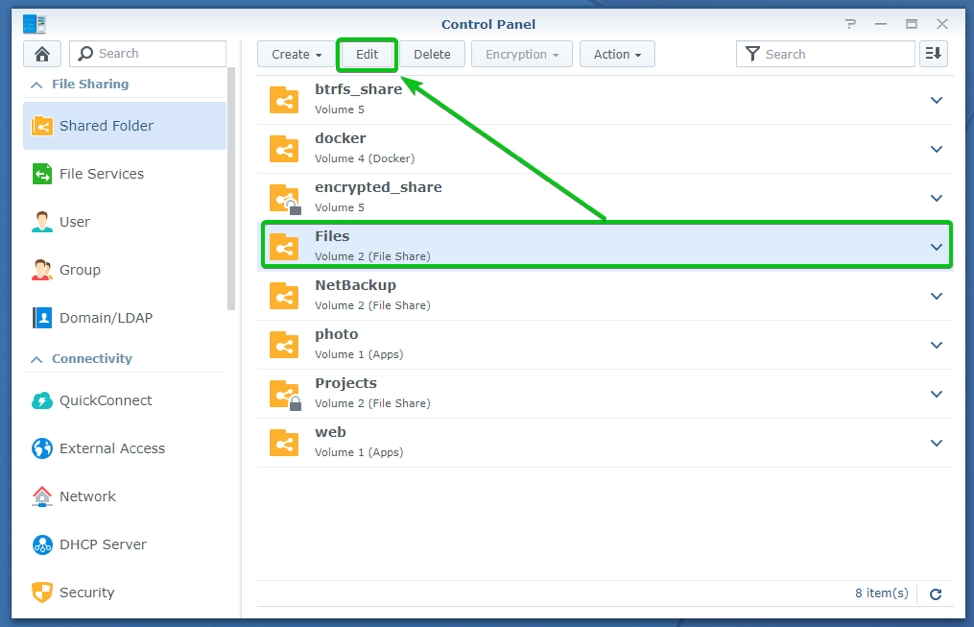
Now, navigate to the NFS Permissions tab.

To create an NFS permission rule, click on Create.

The NFS permission rule creation window should be displayed. You can create an NFS rule from here.
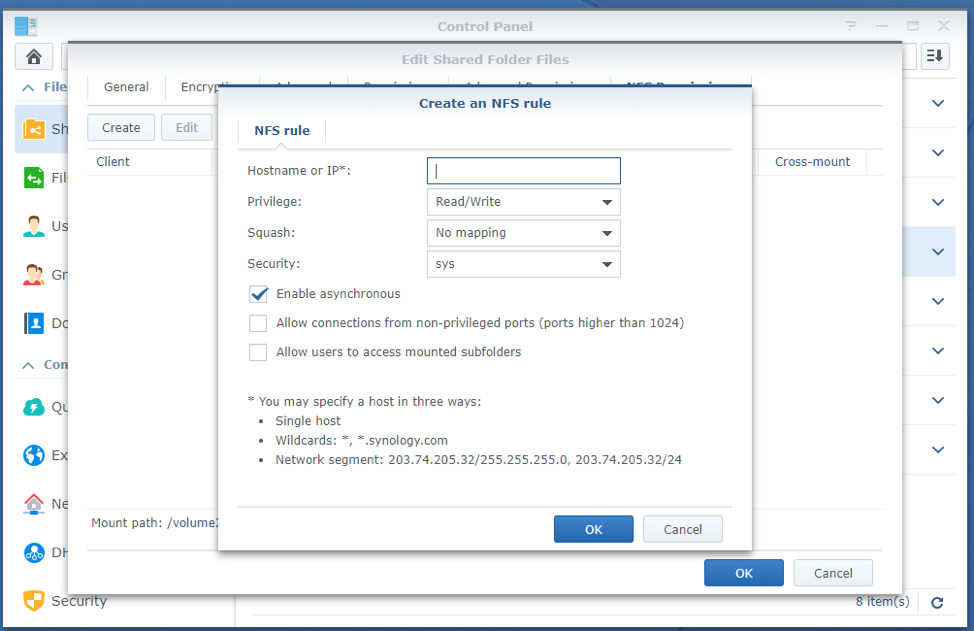
In the Hostname or IP* section, you have to type in the hostname or the IP address of the client computer or the network subnet that will be allowed to access this shared folder via NFS.

Using the Privilege dropdown menu, you can select whether you want to allow Read, Write, or Read/Write access to this shared folder via NFS.

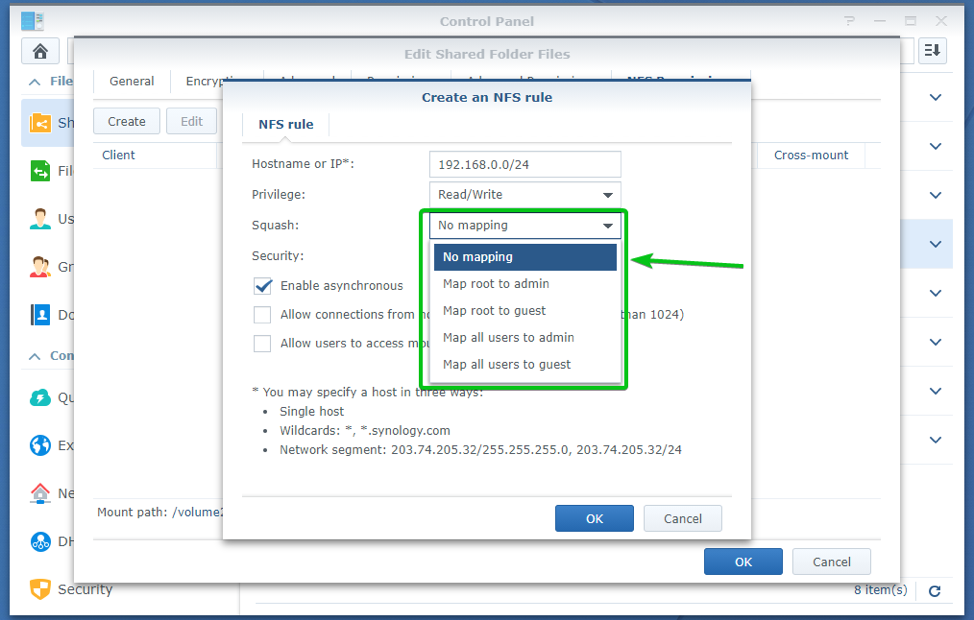
Using the Squash dropdown menu, you can configure the user map settings of the NFS server.
No mapping: All the users of the NFS client maintain their original access privileges.
Map root to admin: The root user of the NFS client gets equivalent access privileges as the admin user of the Synology NAS.
Map root to guest: The root user of the NFS client gets equivalent access privileges as the guest user of the Synology NAS.
Map all users to admin: All the users of the NFS client get equivalent access privileges as the admin user of the Synology NAS.
Map all users to guest: All the users of the NFS client get equivalent access privileges as the guest user of the Synology NAS.
Checking the Enable asynchronous checkbox allows your Synology NAS to reply to requests from NFS clients before any changes to files are completed. This improves the NFS performance.
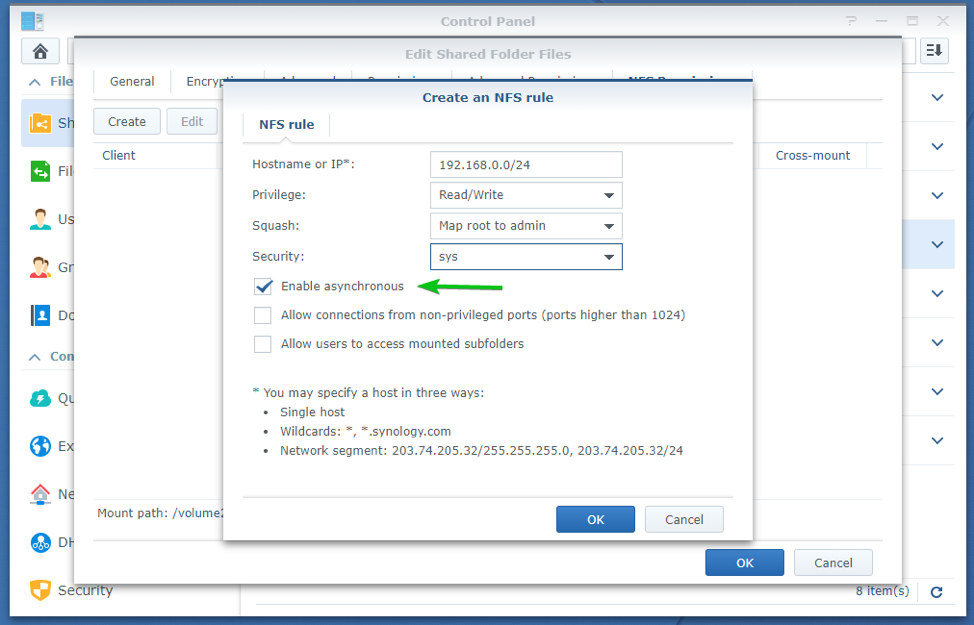
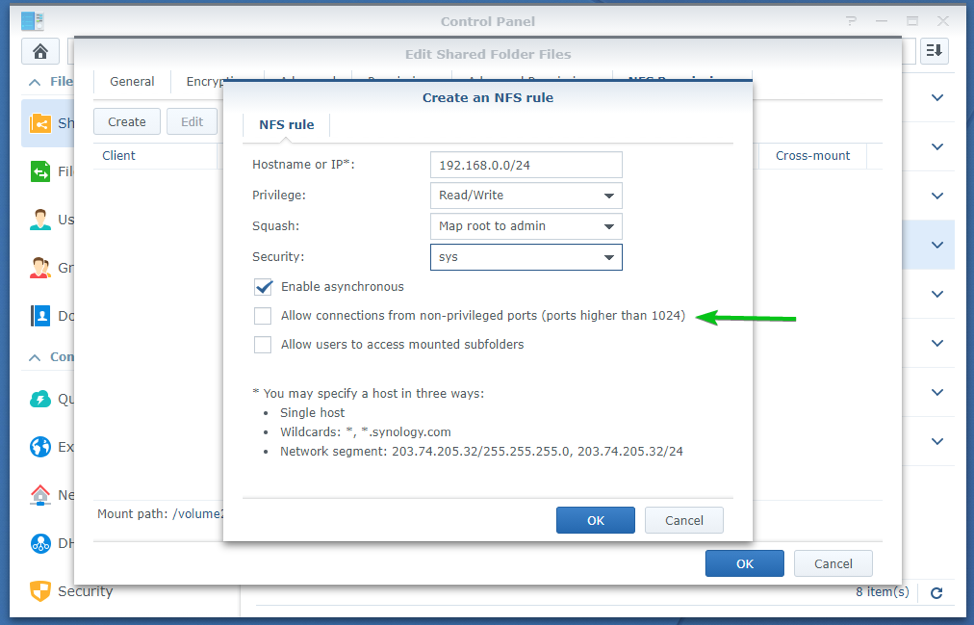
Checking the Allow connections from non-privileged ports (ports higher than 1024) checkbox allows the NFS clients to use ports greater than 1024 when connecting to the Synology NAS via NFS.
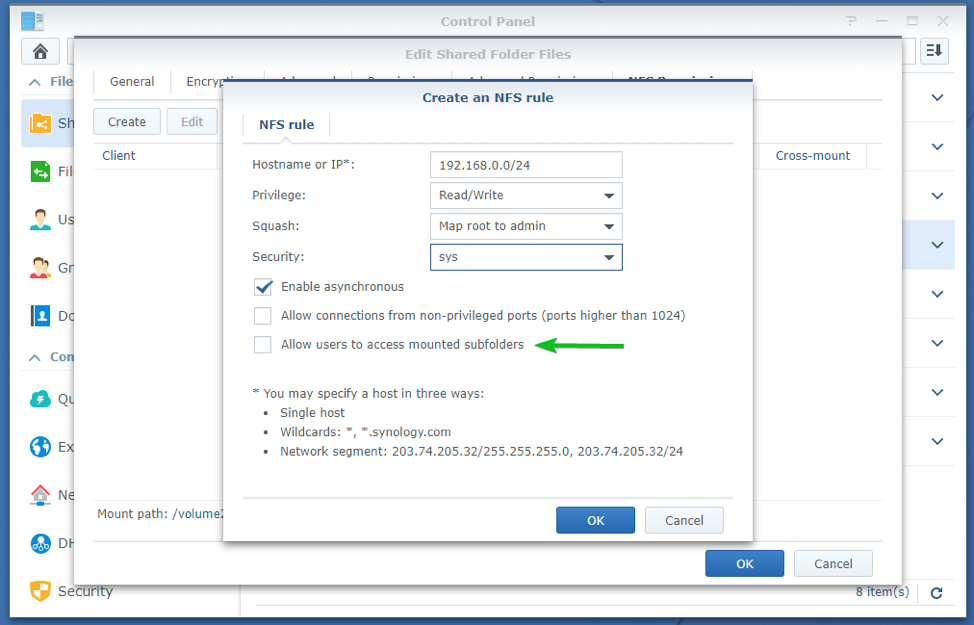
Checking the Allow users to access mounted subfolders checkbox will allow the NFS clients to access mounted subfolders.
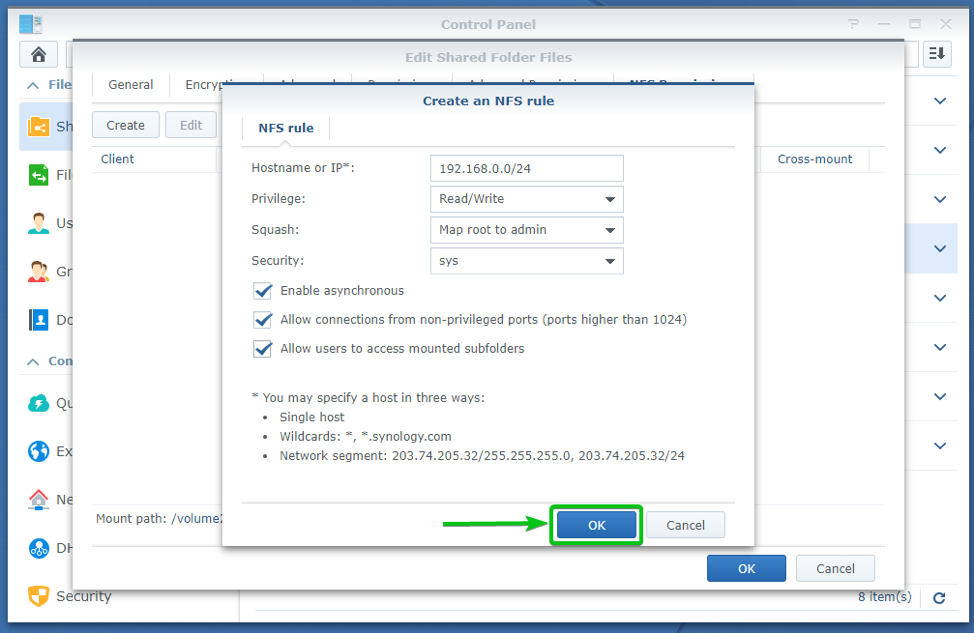
Once you’re done configuring the NFS rule, click on OK.
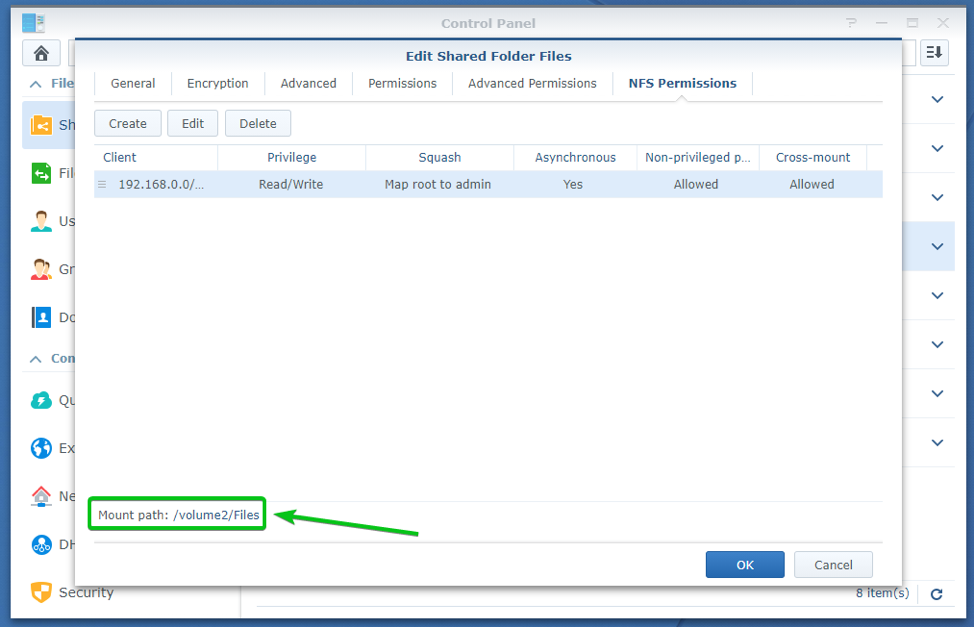
An NFS rule should be created, as you can see in the screenshot below.

The mount path for the shared folder should also be displayed in the NFS Permissions section. You need it to mount this shared folder on your computer. So, remember it.
Once you’re done configuring the NFS Permissions for the shared folder, click on OK.

Installing NFS Client on Ubuntu/Debian/Linux Mint
If you want to mount your Synology NAS shared folders on Ubuntu/Debian/Linux Mint via NFS from the command line, you need to install the NFS client package nfs-common on your computer.
NOTE: You can skip this section if you don’t want to mount your Synology NAS shared folders via NFS from the command line.
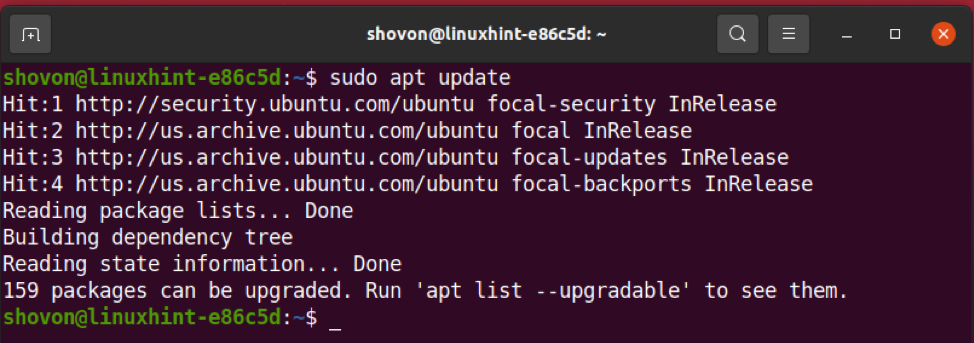
First, update the APT package repository cache with the following command:
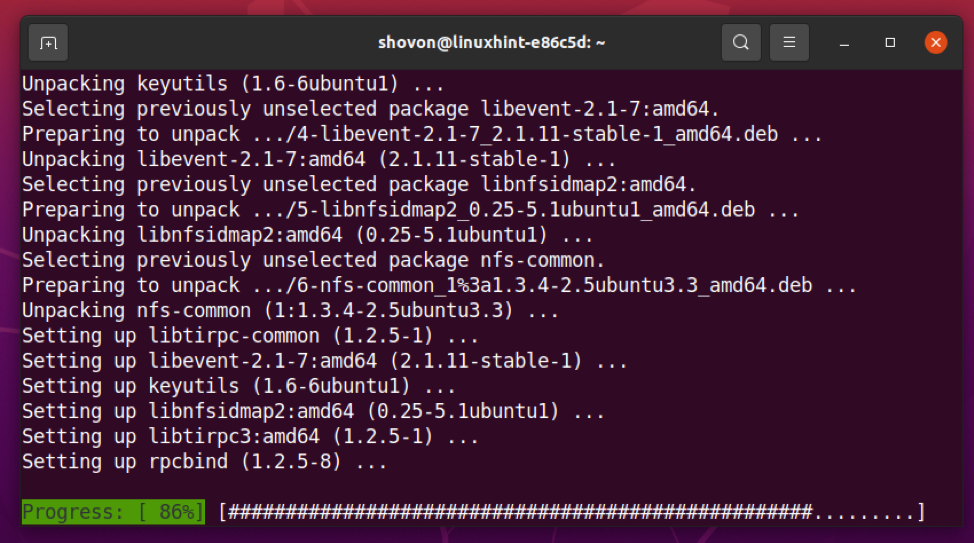
Install the nfs-common package with the following command:

To confirm the installation, press Y and then press <Enter>.

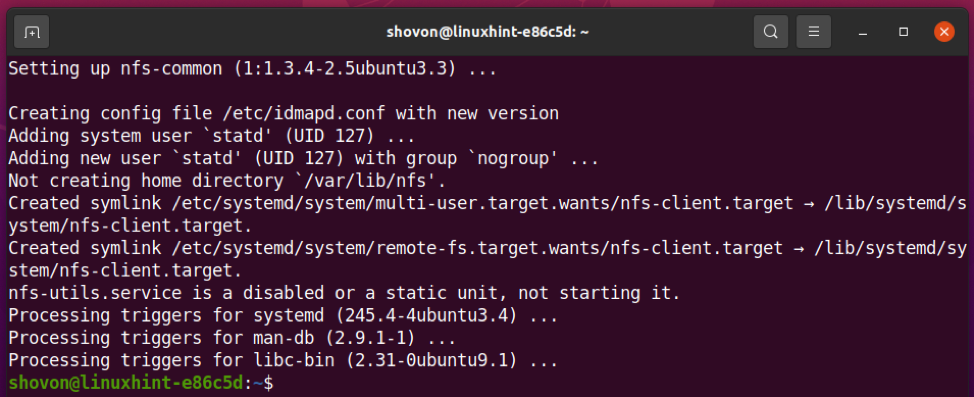
The nfs-common package is being installed.
At this point, the NFS client package nfs-common should be installed.
Installing NFS Client on CentOS 8/RHEL 8
If you want to mount your Synology NAS shared folders on CentOS 8/RHEL 8 via NFS from the command line, you need to install the NFS client package nfs-utils on your computer.
NOTE: You can skip this section if you don’t want to mount your Synology NAS shared folders via NFS from the command line.
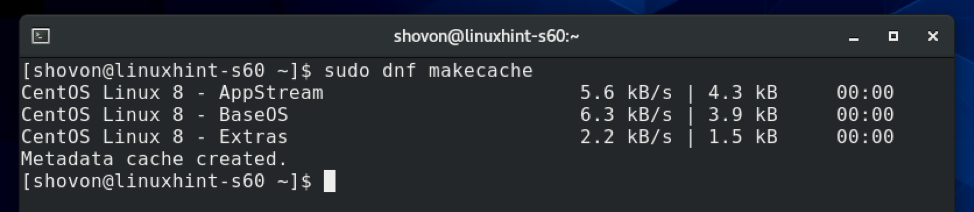
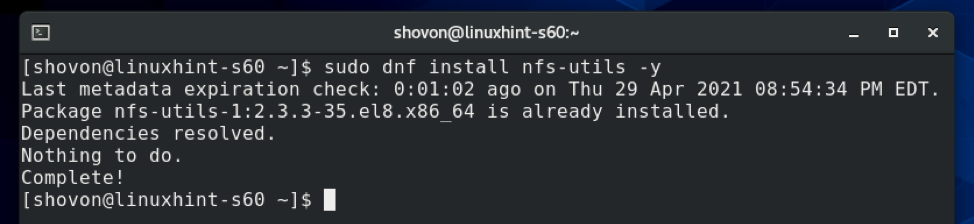
First, update the DNF package repository cache with the following command:
To install the nfs-utils package, run the following command:

The NFS client package nfs-utils package should be installed. In most cases, it should already be installed on your computer.
Installing NFS Client on Arch Linux
If you want to mount your Synology NAS shared folders on Arch Linux via NFS from the command line, you need to install the NFS client package nfs-utils on your computer.
NOTE: You can skip this section if you don’t want to mount your Synology NAS shared folders via NFS from the command line.
First, update the Pacman package repository cache with the following command:
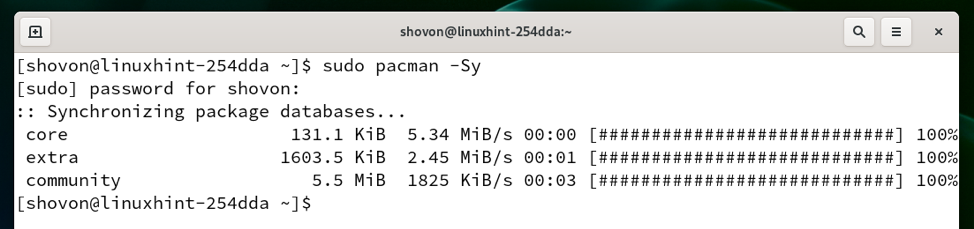
To install the nfs-utils package, run the following command:

To confirm the installation, press Y and then press <Enter>.

The nfs-utils package is being installed. It may take a few seconds to complete.

At this point, The NFS client package nfs-utils should be installed.

Mounting Shared Folders via NFS from the Command Line
Once you’ve installed the NFS client program on your desired Linux distribution, you can mount your Synology NAS shared folder on your computer from the command line.
First, you need to create a directory where you can mount your Synology NAS shared folder via NFS.
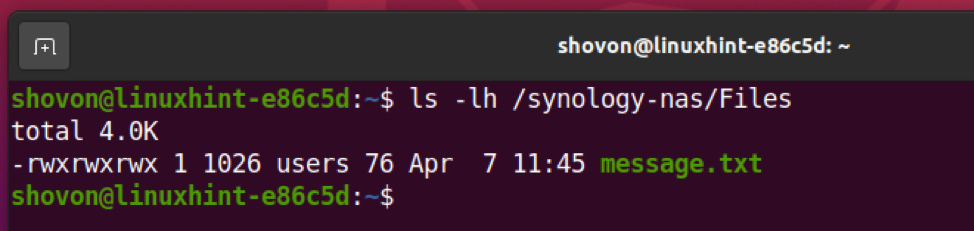
For demonstration, I will mount the Files shared folder from my Synology NAS in the /synology-nas/Files directory of my computer.
To create a directory /synology-nas/Files for mounting the shared folder Files, run the following command:

To mount the shared folder Files in the /synology-nas/Files directory via NFS, run the following command:
NOTE: Here, /volume2/Files is the mount path of the Files shared folder of my Synology NAS. It will be different for you. So, make sure to replace it with yours from now on. You can find the mount path in the NFS Permissions tab of your shared folder’s settings window, as I have shown in Configuring Shared Folders for NFS Access section of this article.

The Synology NAS shared folder Files should be mounted in the /synology-nas/Files directory, as you can see in the screenshot below.

As you can see, the files that are in the Files shared folder are accessible.
Accessing Shared Folders via NFS using the Nautilus File Manager
If you’re using the GNOME 3 desktop environment or the Nautilus file manager, then you can access your Synology NAS shared folders very easily using the Nautilus file manager, the default file manager of the GNOME 3 desktop environment.
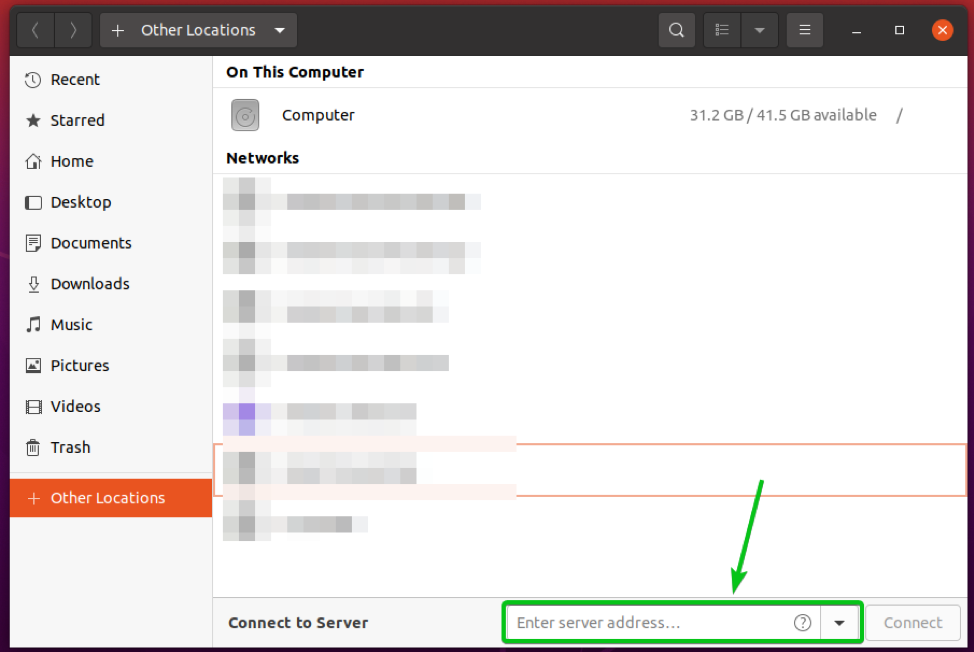
First, open the Nautilus file manager and navigate to the Other Locations section, as marked in the screenshot below.
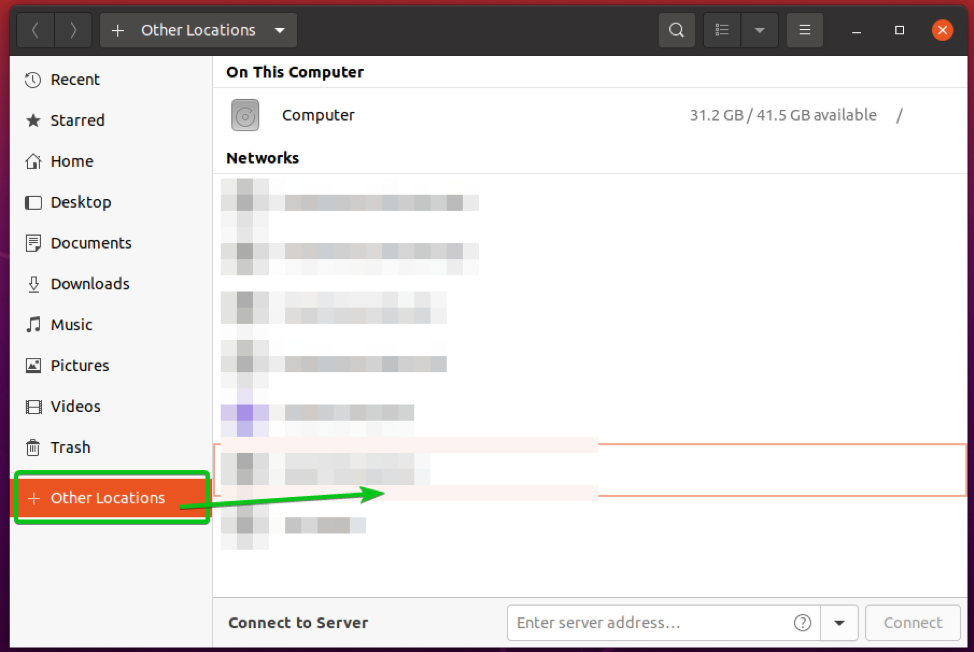
Now, you have to type in the NFS access URL of your Synology NAS shared folder in the Connect to Server section, as marked in the screenshot below, to connect to it.
To access the Synology NAS shared folder Files that have the mount path /volume2/Files, the NFS access URL will be nfs://192.168.0.110/volume2/Files.
Type in the NFS access URL and click on Connect.
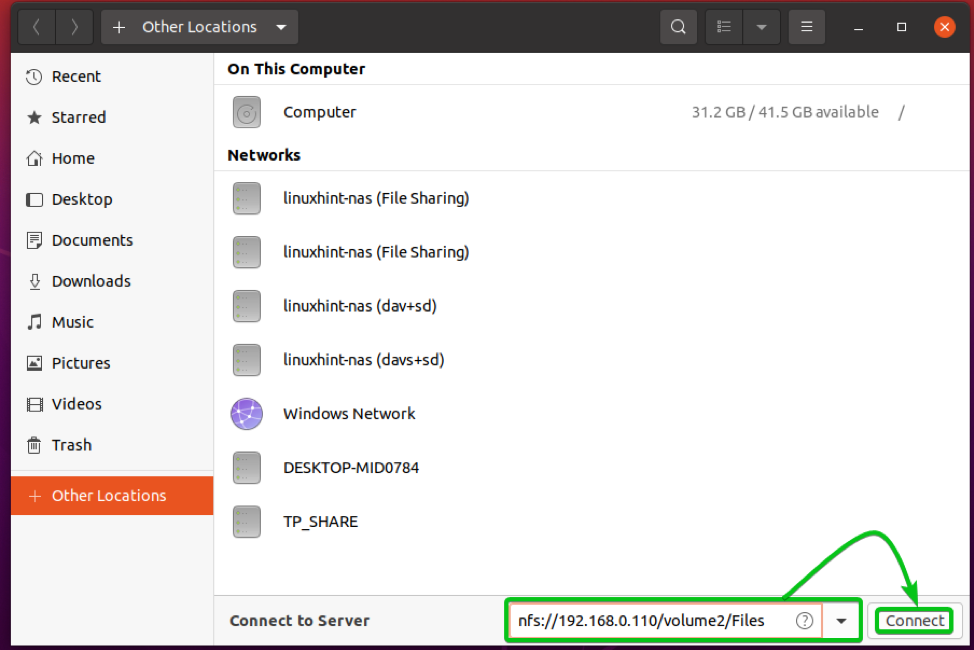
You should be connected to your desired Synology NAS shared folder and access all the files.

Accessing Shared Folders via NFS using the Dolphin File Manager
If you’re using the KDE desktop environment or the Dolphin file manager, then you can access your Synology NAS shared folders very easily using the Dolphin file manager, the default file manager of the KDE desktop environment.
First, open the Dolphin file manager and double-click on the directory path, as marked in the screenshot below.
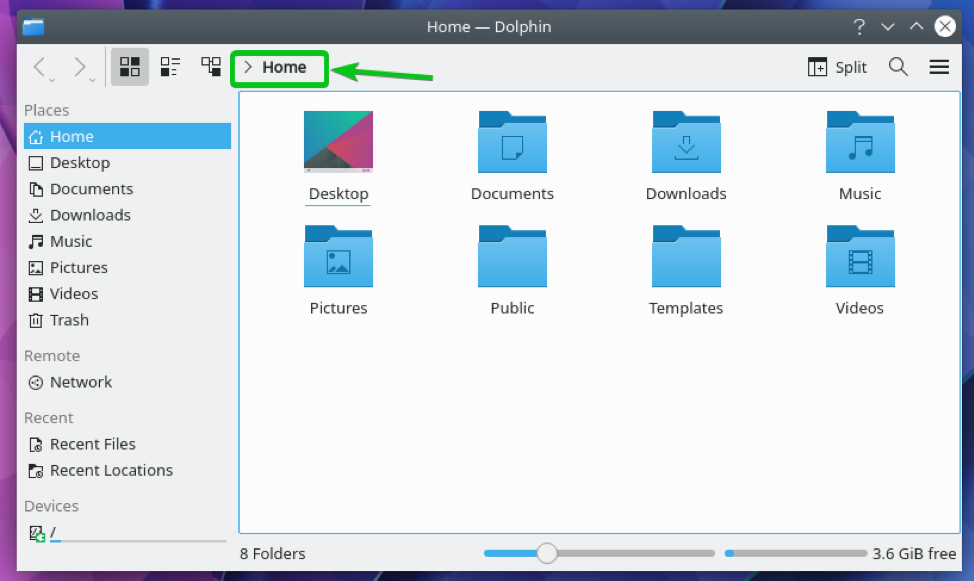
The directory path should be editable.
You have to type in the NFS access URL of the shared folder of your Synology NAS here.

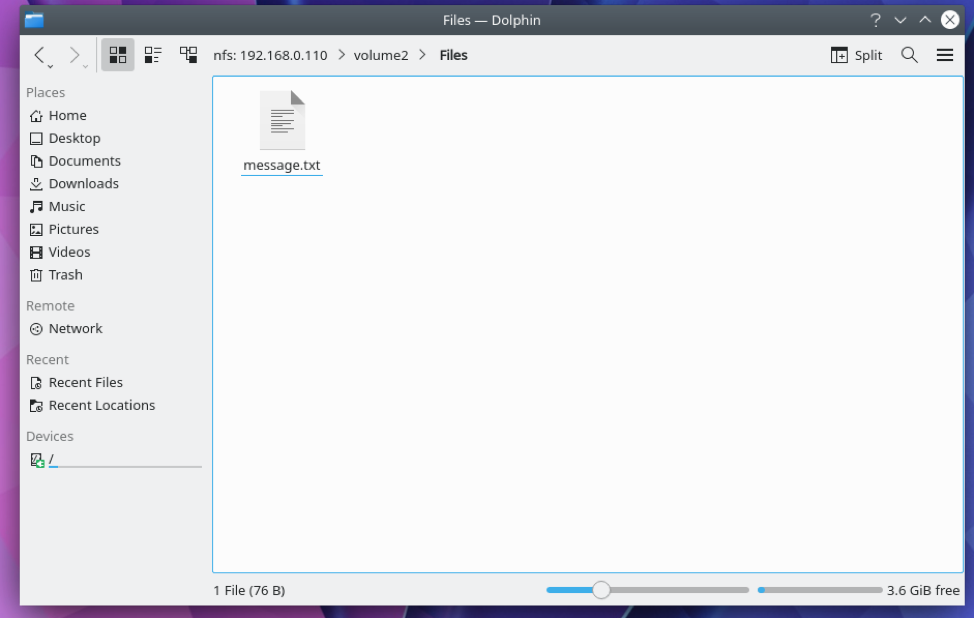
To access the Synology NAS shared folder Files that has the mount path /volume2/Files, the NFS access URL will be nfs://192.168.0.110/volume2/Files.
Type in the NFS access URL and press <Enter> to access it.

You should be connected to your desired Synology NAS shared folder and access all the files.
Conclusion
In this article, I have shown you how to enable the NFS file service on your Synology NAS and configure shared folders for NFS access. I have also shown you how to mount the Synology NAS shared folders on Linux from the command line, as well as how to access them graphically using the Nautilus and Dolphin file managers.
References
[1] NFS Service | Synology Inc.
[2] How to access files on Synology NAS within local network (NFS)