Enabling NetworkManager
If you’re running openSUSE on a portable computer, then openSUSE is already enabled. Anyway, you can use YaST to enable/disable NetworkManager.
Start YaST.
YaST requires root privilege to run. Enter the root password.
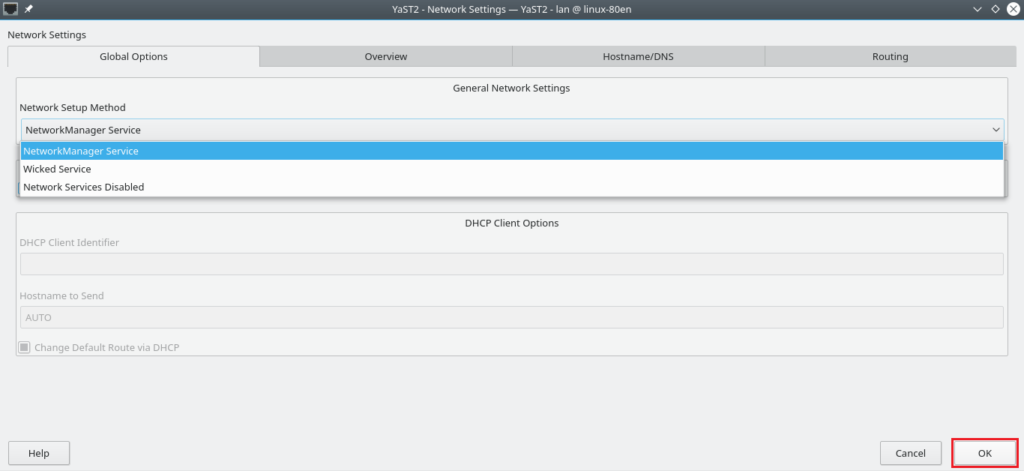
From the YaST Control Center window, go to System >> Network Settings.
On the “Global Options” tab, select “NetworkManager Service” under the “Network Setup Method” option. Then, click “OK”.
This window will pop up, notifying that NetworkManager is controlled by the desktop applet. So, this is up to the desktop environment you’re currently running (GNOME or KDE preferably).
Using NetworkManager on KDE Plasma
If you’re running KDE Plasma, search for “network” on the menu. Select “Connections” from the result.
Here, you can manage all the connected networks easily.
If you want to disconnect a network, right-click and select “Disconnect”.
To connect/reconnect, right-click and select “Connect”.
In order to delete a connection, select a connection, right-click and choose “Delete”.
Click “OK” when the confirmation window appears.
Enter the root password to confirm the action.
In order to add a new connection, click the “+” icon.
Select the connection type.
From this window, you can choose various customizations, for example, device restriction, 802.1x security, IPv4, IPv6 etc.
Once everything is set, click the “Save” button.
Using Network Manager on GNOME
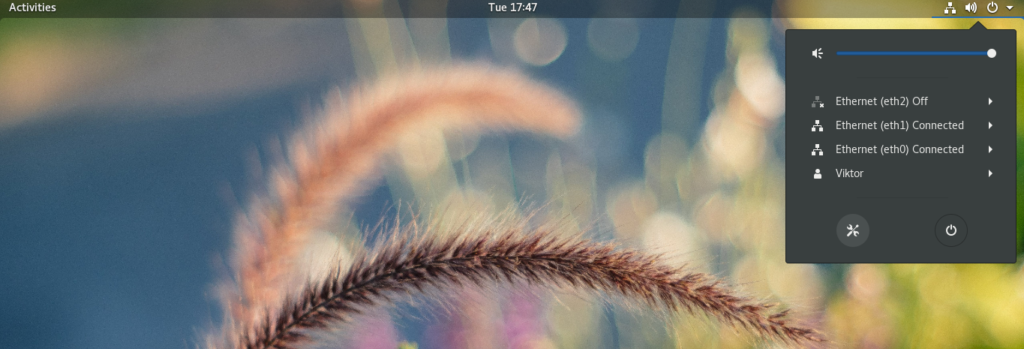
If you’re running GNOME, then it’s easier. From the top-right corner, select “Settings”.
On the “Wi-Fi” section, all the wireless networks will appear. You can turn on/off Wi-Fi from the top bar. To manage the connected Wi-Fi network, click the gear icon next to it.
On the “Wi-Fi” section, all the wireless networks will appear. You can turn on/off Wi-Fi from the top bar. To manage the connected Wi-Fi network, click the gear icon next to it.
For managing the wired connections, VPNs and proxy, select “Network” from the left panel.
To enable/disable a connection, toggle the button next to it.
To enable/disable a connection, toggle the button next to it.
To tweak the connection, click the gear icon next to your desired connection.
NetworkManager command-line
“nmcli” is the command-line tool for controlling NetworkManager. It’s especially useful if the system is being configured remotely. Using nmcli is also useful when setting up a server.
Here’s how nmcli command structure works.
There are 7 different options in terms of “object”: networking, device, connection, monitor, agent, radio, and general.
Networks are managed by the networking devices connected to the system. The following command will print out the status of all the connected network devices.
The first column in the output is the name of the interface. The last column denotes the name of the “connection profile” associated with the device.
Confused about the command? Let’s try a different one. The “-p” flag stands for “Pretty” (human-readable) output.
Using nmcli, we can generate a report of all the information about the interfaces. It’s a lot of information, so it’s better to check out one specific interface at a time. In my case, let’s check out the info of “eth0”.
You may have noticed that some devices are set as “unmanaged”, meaning NetworkManager isn’t controlling them. How about making an existing one “unmanaged”? Run this command.
Let’s make one of the “unmanaged” devices under NetworkManager’s control!
How about connecting/disconnecting certain connections? When dealing with networking, this is one of the primary tasks of network management. To disconnect a certain device (interface), run the following command.
Connecting a disconnected device is similar to the disconnection command.
Let’s finish by the profile. The connections of NetworkManager are stored in a certain directory. Using the profiles, you can directly manipulate the connection behavior and features. However, I personally don’t recommend unless you’re an expert in it.
Run this command first.
Now, it’s time to check out the profile directory.
$ tree
The active connection profiles are named with “ifcfg-“ prefix.
Final thoughts
NetworkManager is a wonderful tool for managing your network connections. Even if you’re using a desktop environment, don’t hesitate to give nmcli a try. If you’re confused about any nmcli command, just check out the man page!
Enjoy!


