You can easily analyze and improve the database applications’ performance on MySQL workbench. Furthermore, you can use this tool to analyze and find the IO hotspots and statements of SQL which usually requires a lot of resources and time.
So, if you want to use the MySQL Workbench in your Fedora system, this quick guide is for you. Here, we will explain the simple methods to install and setup MySQL Workbench on Fedora Linux.
How to Install and Setup MySQL Workbench on Fedora Linux
We divided this guide into multiple sections to explain the approaches to installing MySQL Workbench on your Fedora machine.
The Installation Process
First of all, make sure that you update your system according to the latest one available:
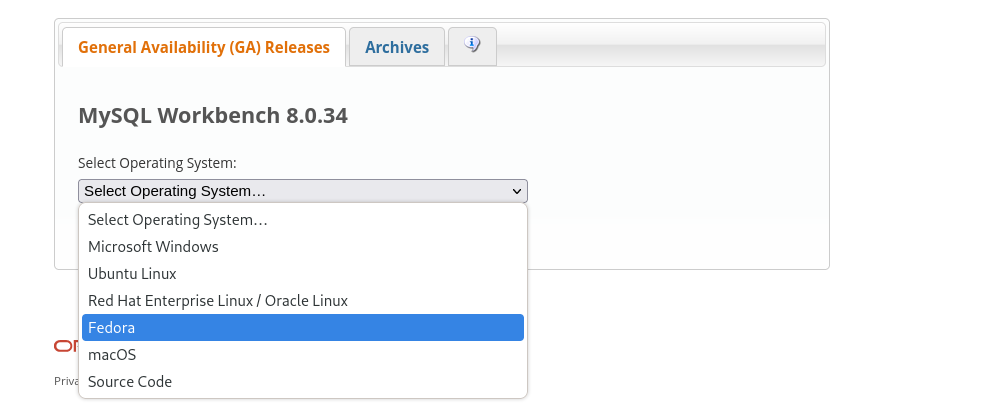
Now, go to the official website of MySQL Workbench. Here, you need to select the operating system.
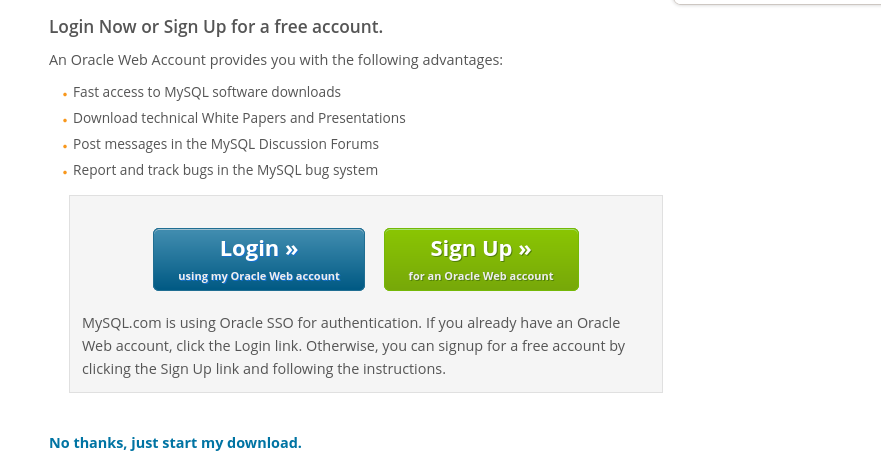
Click the “Download” button on this page, and the website will redirect you to the “Download” option. Here, you can click on the “No Thanks” button to proceed with the download.
Once you download the RPM package, open the terminal and navigate to the directory where you downloaded the file. For instance, the downloaded file is available in the “Downloads” directory, so we need to run the following command:
ls
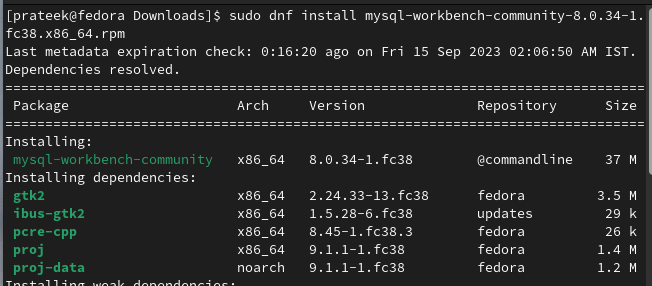
Finally, run the following command to install the MySQL Workbench in your system:
Make sure that you replace the <VERSION> with the downloaded one.
The Setup Process
If you don’t know how to install and setup a MySQL server, check out this guide for a brief information. Once you setup the MySQL server, open the MySQL Workbench by running the following command:
In the MySQL Workbench, click on the plus (+) button to enter the details of your MySQL server:
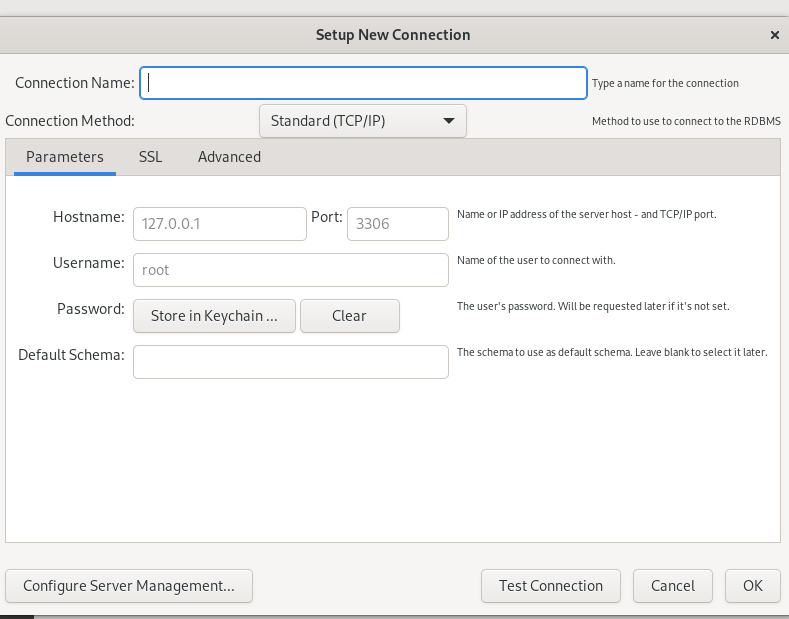
In the next window, provide a complete information about your details including the port, hostname, username, SSL details, and other advanced details. After entering the details, click the “OK” button to finalize the changes.
Finally, you will see your MySQL server connection on the main screen of the MySQL Workbench.
Conclusion
This is all about the quick and simple way to install and setup MySQL Workbench on Fedora Linux. MySQL Workbench is a powerful tool to efficiently manage the databases, execute the queries, and streamline the database administration. Moreover, we recommend you to setup the MySQL server correctly. Otherwise, you may be unable to use it from the MySQL Workbench.


