Install Node.js
MongoDB is a document-oriented database that uses records that resemble JSON to store data. The MongoDB Node.js driver allows TypeScript to communicate with MongoDB databases. The TypeScript API provided by the MongoDB Node.js driver makes it simple to conduct actions on MongoDB databases, including adding, updating, and searching records.
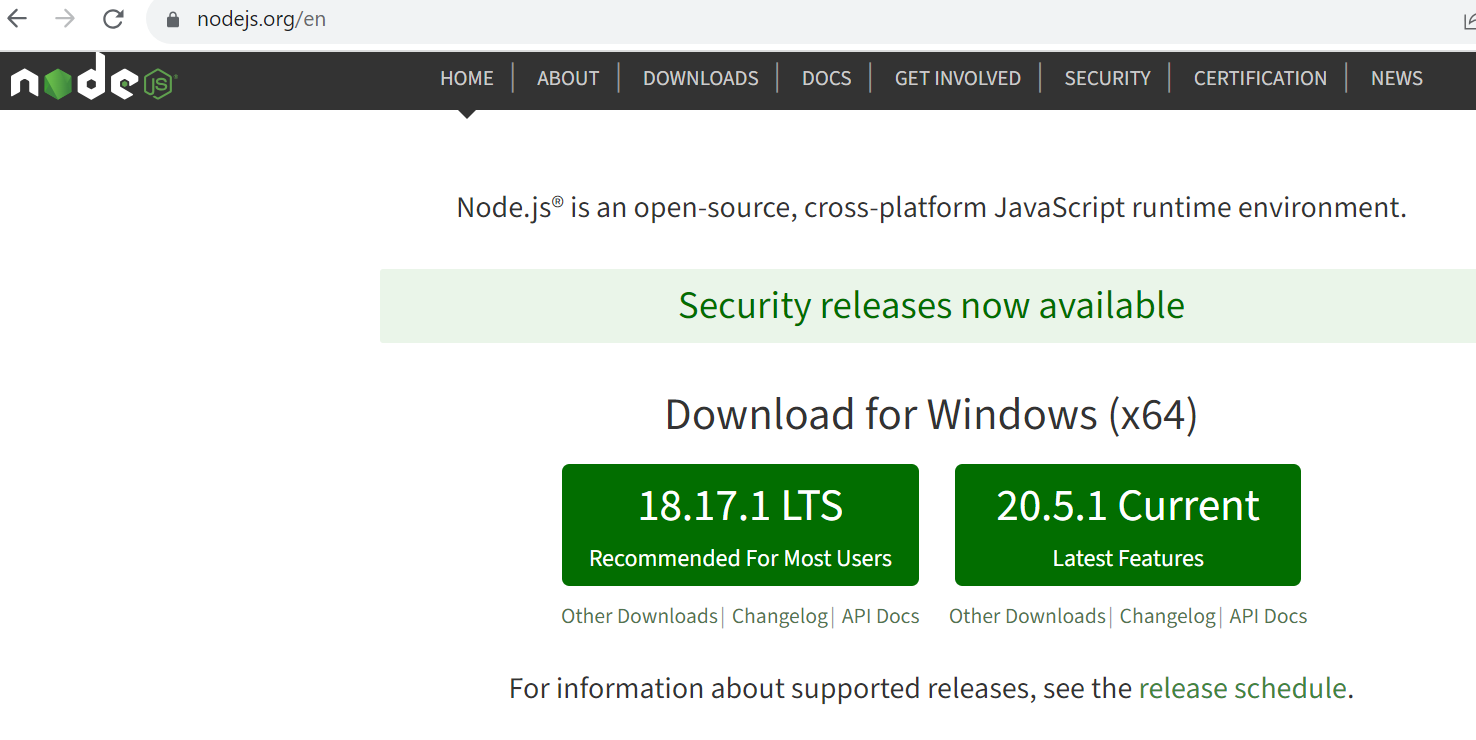
Before using typescript in our examples, let’s set up Node.js in our Windows system. To install Node.js and npm (Node Package Manager), you must visit the official Node.js website at “https://nodejs.org/”. From its download page, you have to download the “LTS” (Long Term Support) version for Windows, which is recommended for most users.
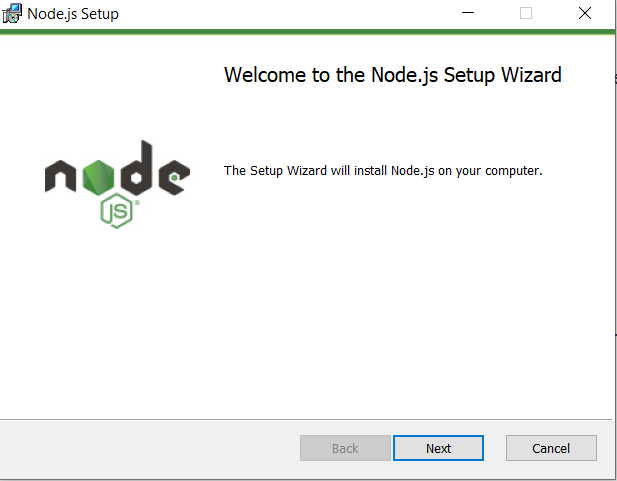
After downloading the LTS installer file, run the installer and follow the installation prompts you encounter during the process. On the welcome prompt, click the “Next” button from the setup wizard shown below.
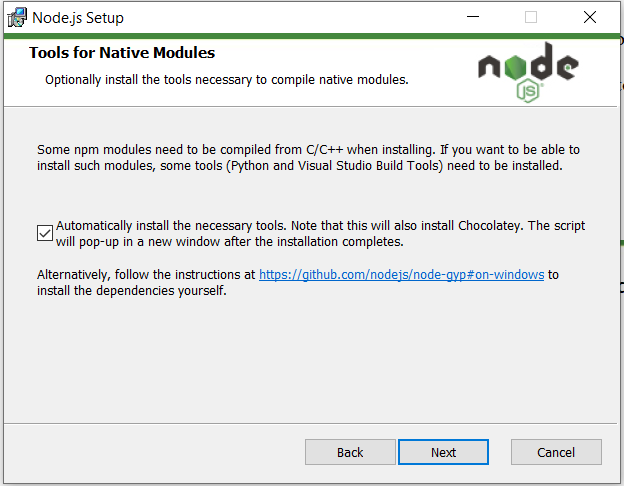
On the very next prompt, as shown in the attached image, you will get a piece of information regarding the Nodejs tools. Make sure to mark the box that says “Automatically install the necessary tools…”. After that, click the “Next” button to continue. The Node.js will be installed after a while on your Windows system.
After the Node.js installation setup is complete, it’s time to ensure the installation went smoothly. For this, you need to open your system’s Command Prompt or PowerShell and run the specified “node” command to check the Node.js configuration. Use this command with the -v parameter to look for its installed version on your system.
Just like that, use the npm query to check the configuration of the “node package manager” with the “-v” parameter as shown below.
Initialize Project
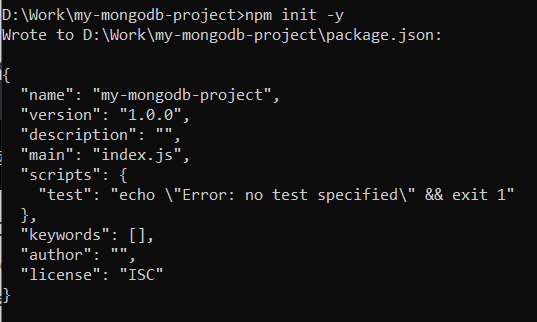
Make sure to add a folder in a location of your choice within your system so that you can initialize a new Node.js project in it by running the “npm” instruction with the “init” keyword. This command has been forcing the initialization using the “-y” parameter. The initialization process of the Node.js project has been depicted in the screenshot below.
Install Dependencies
After initializing a Nodej.js project, you should install the required packages for MongoDB and TypeScript. Make sure to download and install either the MongoDB compass or MongoDB shell tool from the MongoDB official website. After the installation of these prerequisites, use the node package manager (npm) for the installation of the following:
- mongodb: This is a MongoDB node.js driver that made MongoDB database connection and interaction possible.
- @types/mongodb: The TypeScript type declarations for the MongoDB Node.js driver allow the utilization of TypeScript to create a code that interacts with MongoDB.
- typescript: The tool used to translate TypeScript script into JavaScript.
- ts-node: A program that allows executing TypeScript code in Node.js without compiling it first.
Here is the Node.js project directory. Move within the “src” folder listed within it.
Create TypeScript Files
If the “src” folder is not already listed, create one within your project directory. Create TypeScript files inside it, such as index.ts.
Add TypeScript Code
You can put the TypeScript program in src/index.ts to establish a connection to MongoDB, carry out CRUD activities, and communicate with the database as shown. Here is an explanation of the code:
The MongoClient class from the mongodb package is imported in the first statement to make a connection to a MongoDB database. A variable named mongodb_URL is initially defined in the main() method. The URL of the MongoDB database is included in this attribute.
A new instance of the MongoClient class is created, and the mongodb_URL variable is sent as input to the MongoClient constructor. The link to the MongoDB database is established via the try block in the main() method. The flight_database and flight_collection parameters are generated if the interaction is effective.
The flight_collection field belongs to the “flights” collection in the flight_db database, while the flight_database field belongs to the flight_db database in the MongoDB cluster. The following two lines of code add a record to the flight collection. Title and passengers are the document’s two fields. Flight-001 is entered as the title, and 300 people are entered as the number of passengers. The following line of code searches the flight collection for any records where the passenger field is greater than 300.
A cursor object holds the output of the query. The following line of script loops over the cursor object, logging each record to the terminal. The connection to the MongoDB database is cut off by the finally section in the main() method. If an error occurs, the console.error() method is used to log the error to the console.
async function main() {
const mongodb_URL = 'mongodb://127.0.0.1:27017';
const connection_client = new MongoClient(mongodb_URL);
try {
await connection_client.connect();
const flight_database = connection_client.db('flight_db');
const flight_collection = flight_database.collection('flights');
const flight_insert_results = await flight_collection.insertOne({ title: 'Flight-001', passengers: 300 });
console.log('Inserted ID:', flight_insert_results.insertedId);
const flight_cursor = flight_collection.find({ passengers: { $gt: 300 } });
await flight_cursor.forEach(console.log);
} finally {
await connection_client.close();
}
}
main().catch(console.error);
Compile and Run
Now, we can easily run the TypeScript file, i.e., index.ts directly using the ts-node within the npx query. You will see that the Node.js typescript code got connected to MongoDB. It will connect to the MongoDB server and insert the record in it. The result of this query generates a new ObjectID for the newly created record.
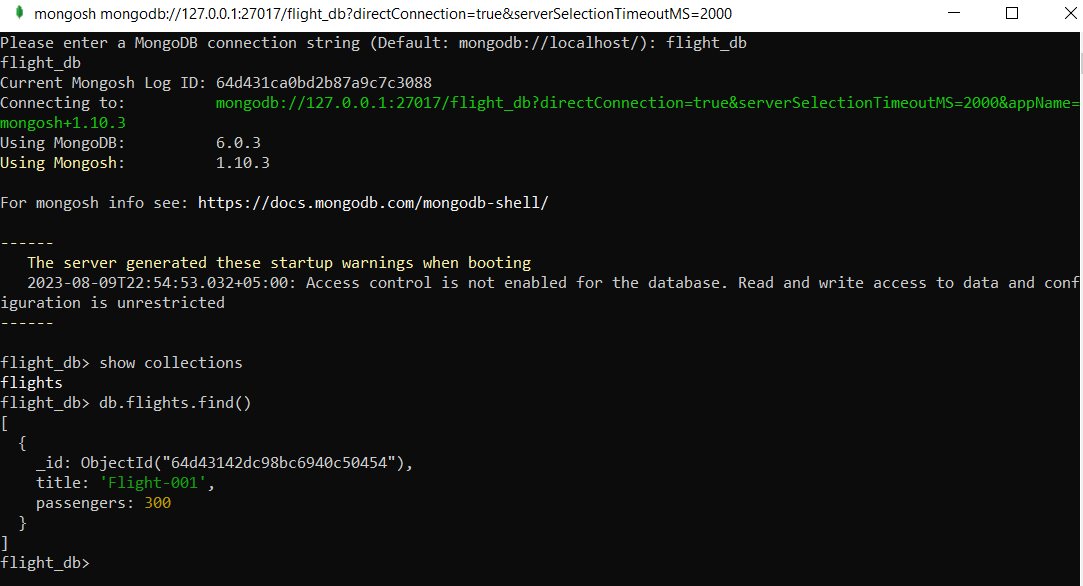
To verify that the connection was established and data was inserted successfully, we will launch the MongoDb shell and add the name of a database, i.e., flight_db. After successfully connecting to the database, look for the collection and its record via the “find” function. The output of this query will display the newly inserted record.
Db.flights.find()
Conclusion
This guide includes the step-by-step method of using typescripts to connect with MongoDB. For this, we performed some installation, executed the typescript code, and got the results in our MongoDB shell at the end.

