Creating a Shirt in Roblox
To create games or stuff like shirts on Roblox, it provides a platform called Roblox studio where all this magic happens. So, go through the following steps to create a shirt having a design of your own:
Step 1: To create custom shirts on Roblox, it provides with the shirt template which everyone can download by going to this link:
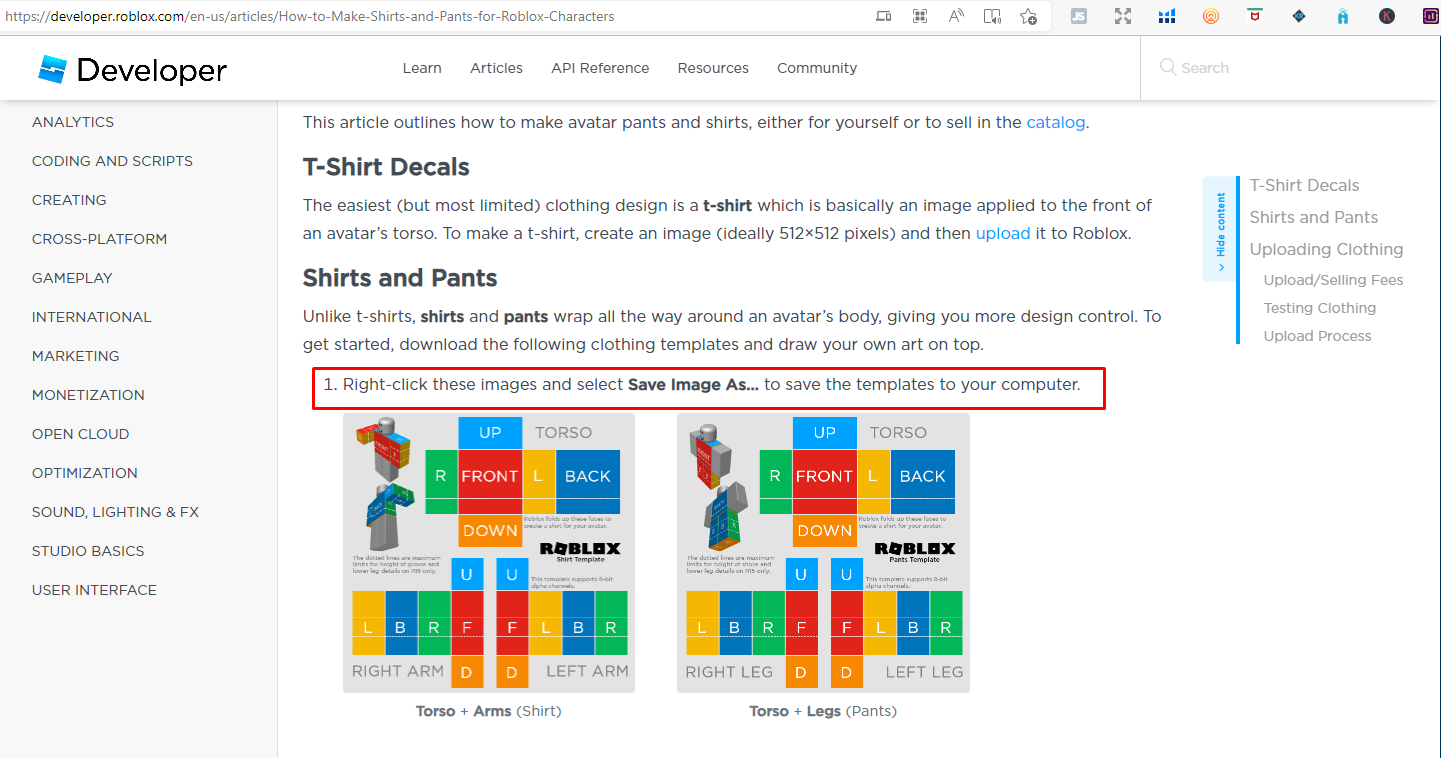
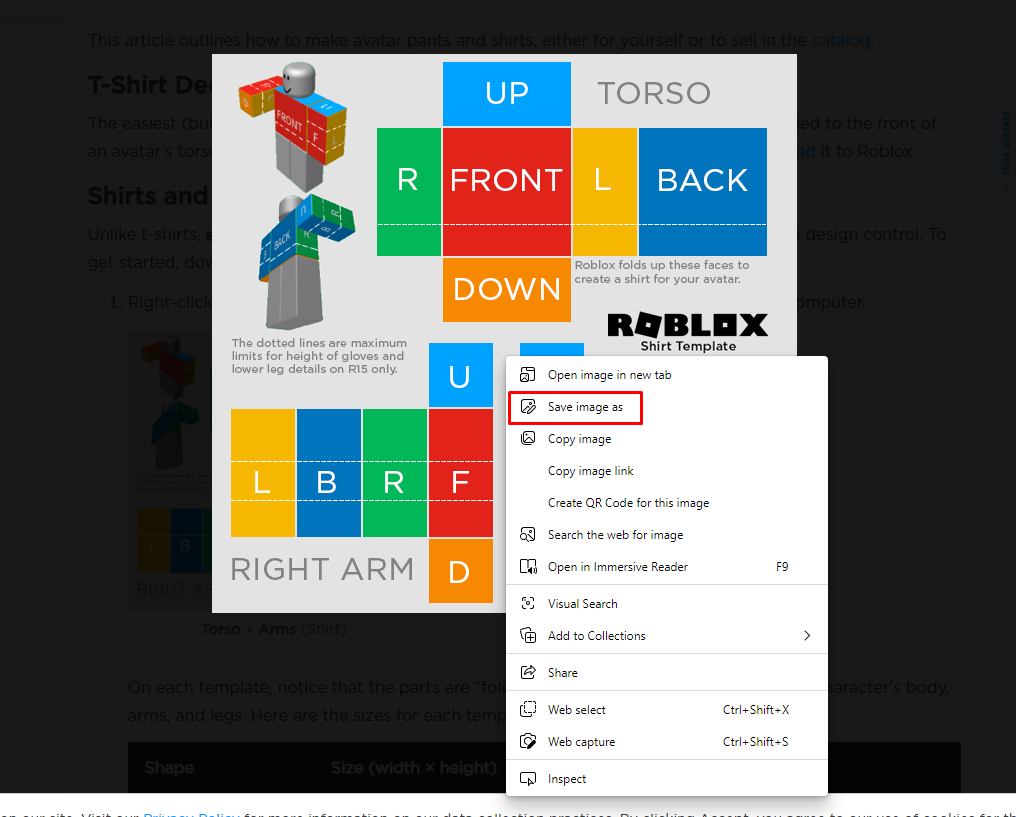
Once you have opened the link given above, click on the image having “Torso+Arms(shirt)” and save this image by right clicking on it:
Step 2: Now it’s time to make your own shirt so to edit the template click on this link to open the online editor and open the shirt template on it:
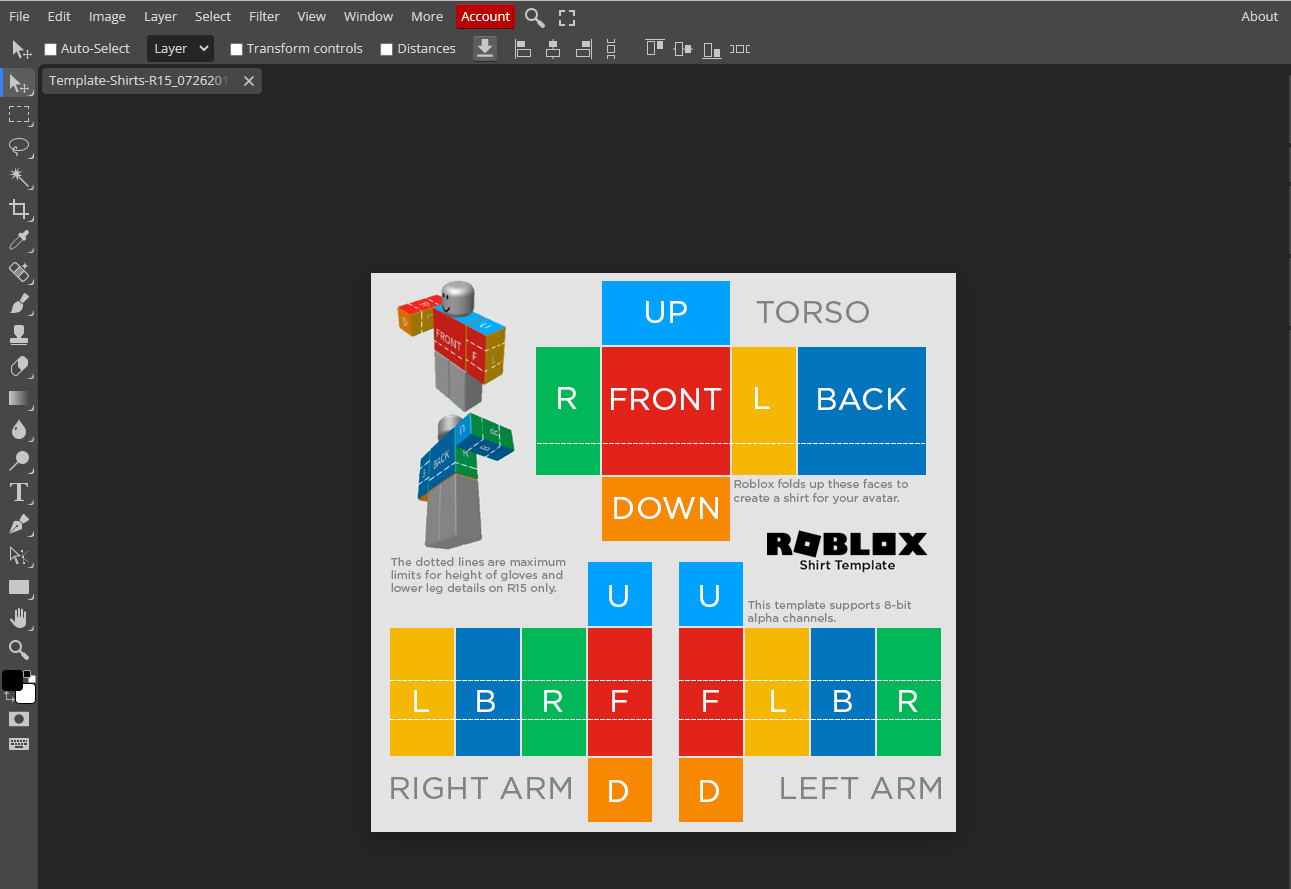
Now the first thing you need to do is zoom it in by clicking on “Fit to Area” option in the drop-down menu of View option that is present on the menu bar at the top:

Next to remove all the template of shirt one by one by clicking on the “Rectangle Select” option that is on the on the third number in the toolbar on the left, do this for all the boxes separately and once you select each box press Ctrl+X from your keyboard:
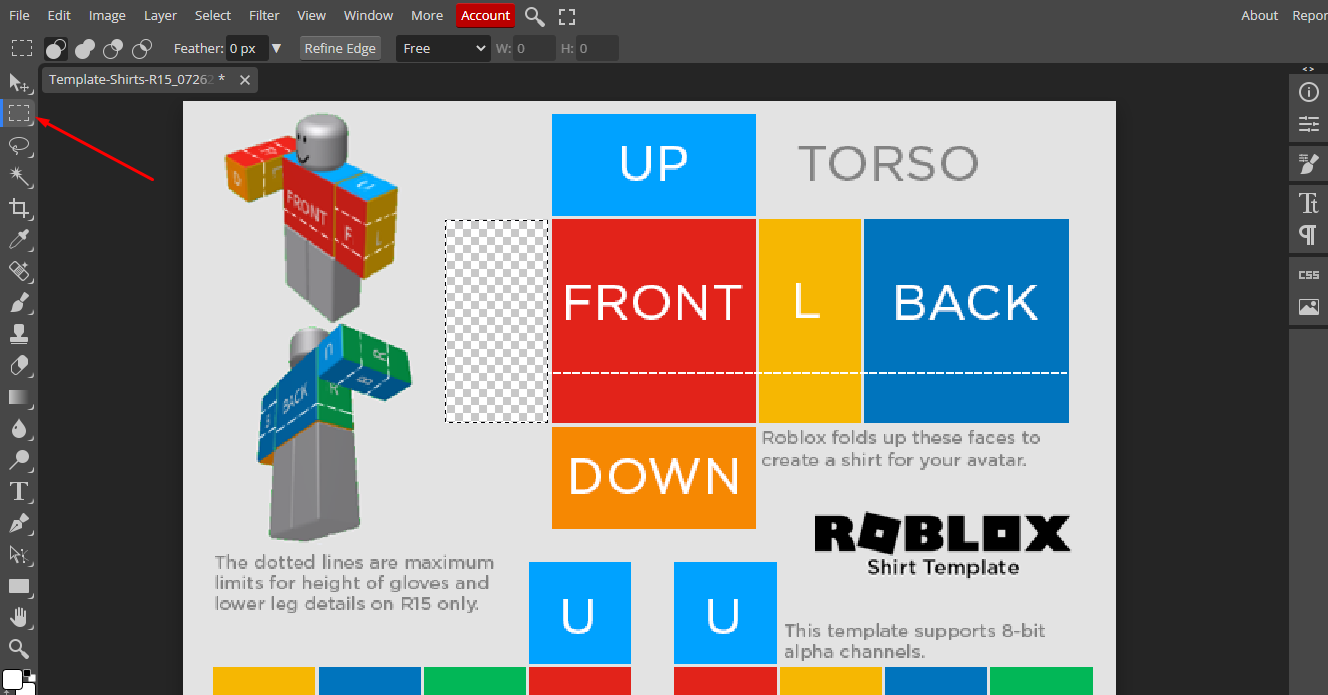
Do this for all boxes separately for both the torso and arms, try to select the boxes precisely as much as you can:

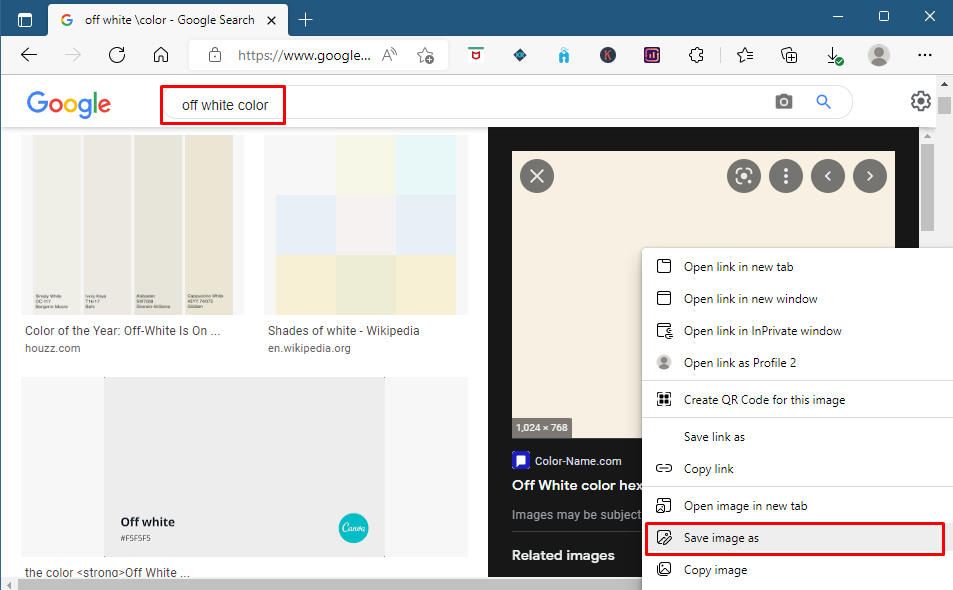
Next add any color you want to add to your shirt, let’s do it off white. I have downloaded the color box from Google, you can add rectangle of any color as well from the tool set:
Once you have downloaded the color now it’s time to place it on the shirt and for that click on the file option, from the drop-down menu select “Open & Place” option:
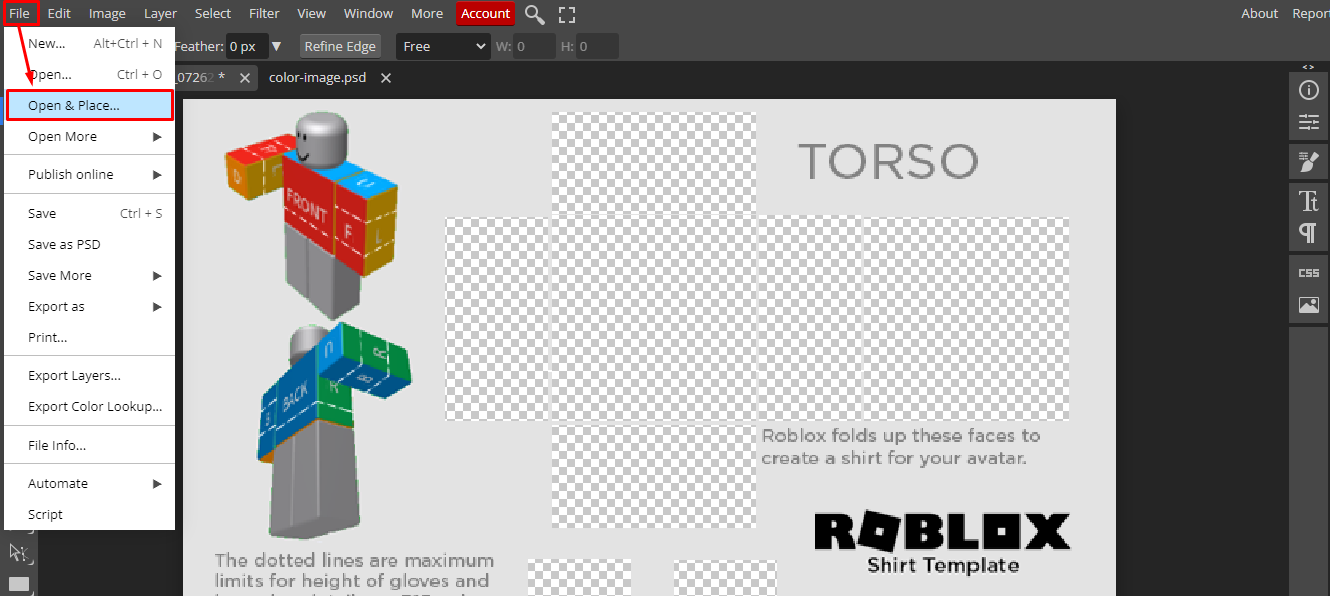
Now, move the color layer below the image so that it can fill on to the boxes whose background you removed:

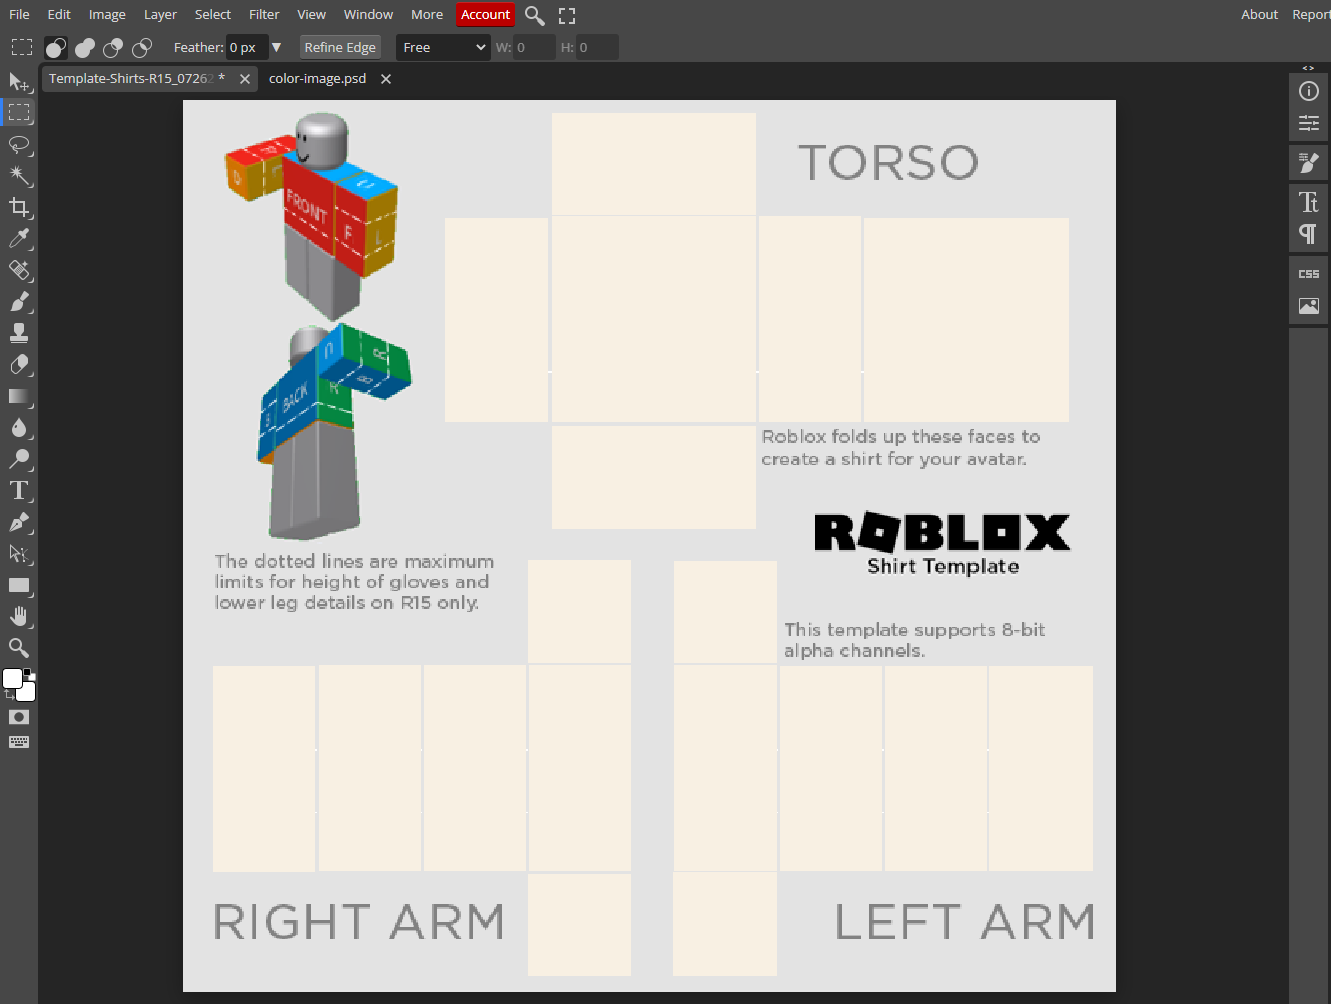
Once you have moved the color layer below the image layer the color will set to all of the boxes which removed background:

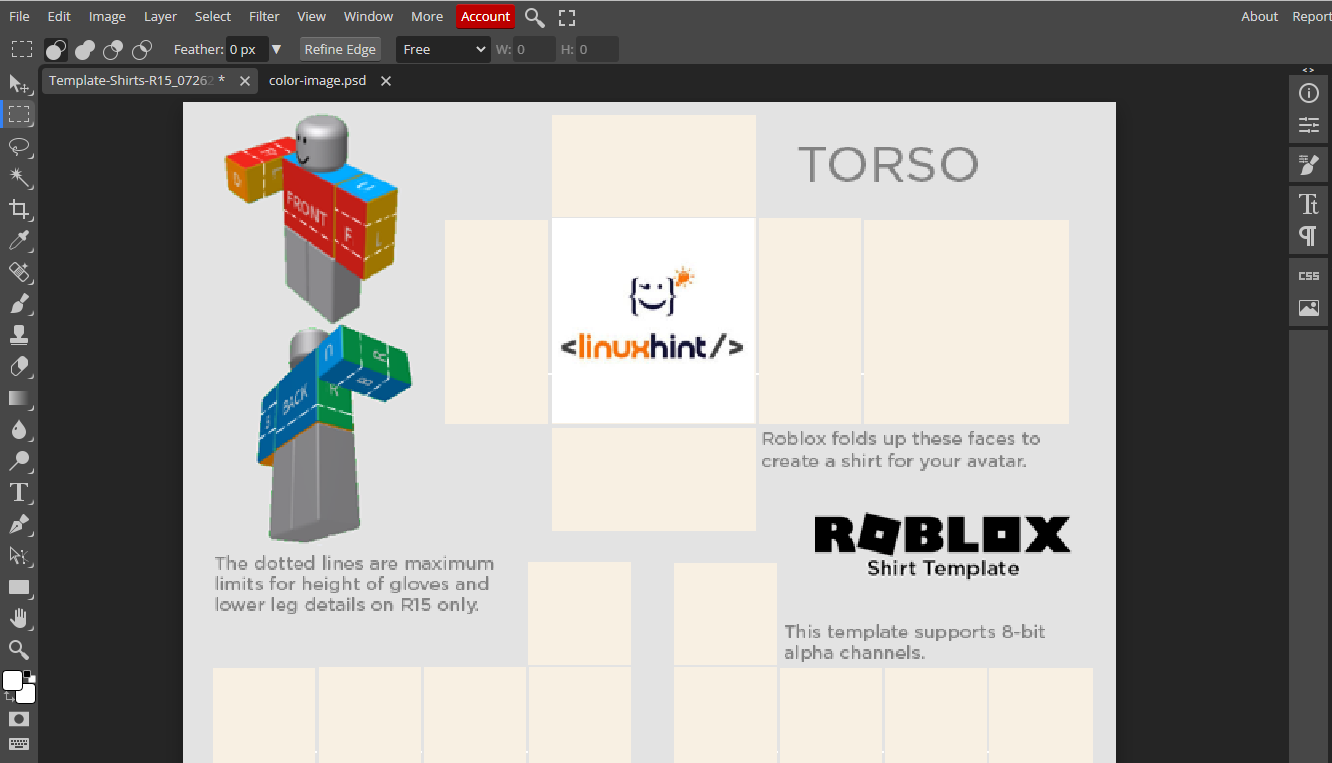
Here you can still see that the color is not mapped exactly onto the boxes so for that go to the drop-down menu of edit and click on “Free Transform” and drag the color all over the image:

This is how you can create a shirt for Roblox, you can also add any logos or pictures on the image, for illustration. I have used the logo of Linuxhint by downloading it from Google and placed it on the Torso by using the “Open & Place” option:
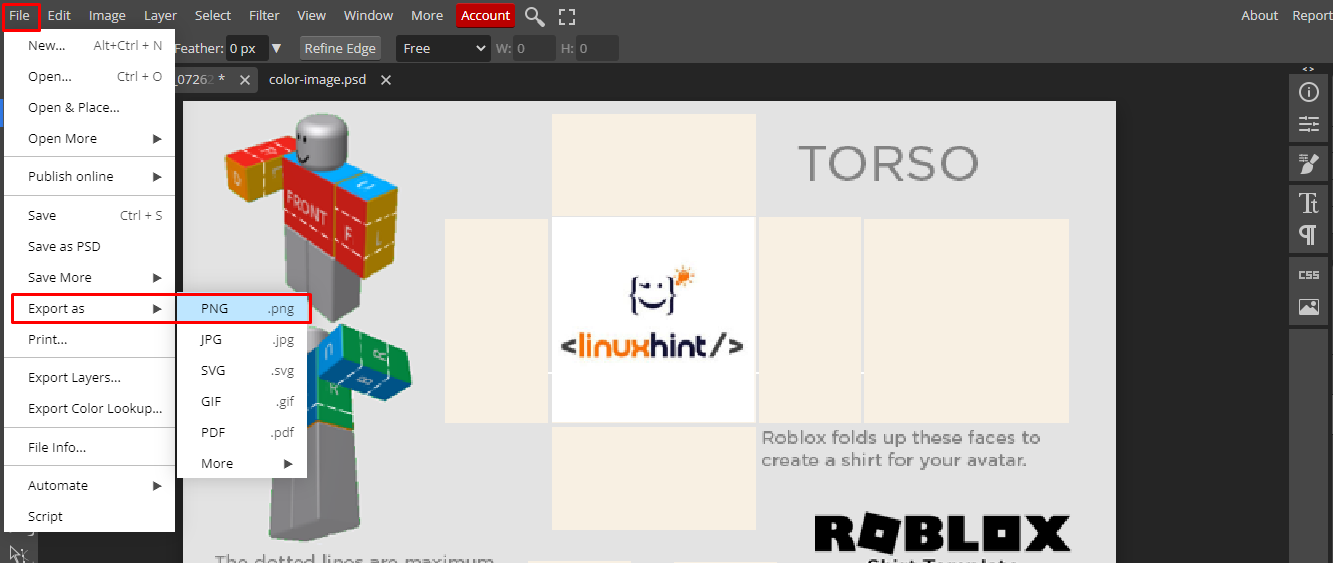
Now, you are all set so it’s time to download the shirt in PNG format by clicking on the “Export as” option in the drop-down menu of File:
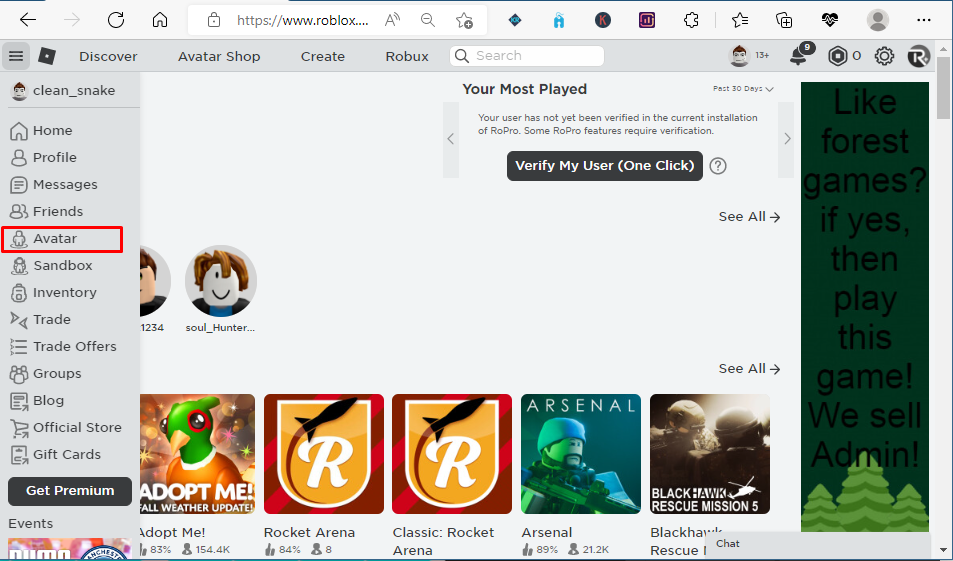
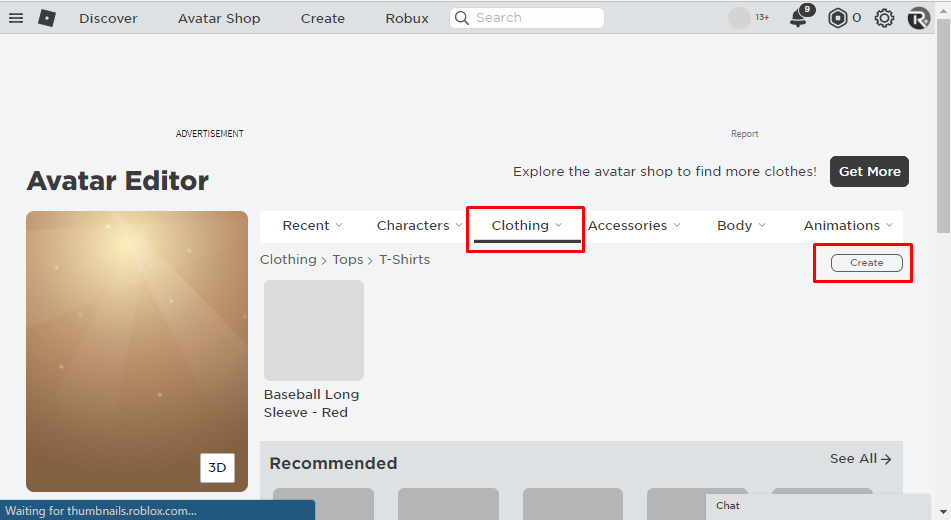
Step 3: It’s time to upload your shirt on Roblox and for that click on the avatar option to open the customization menu of your character:
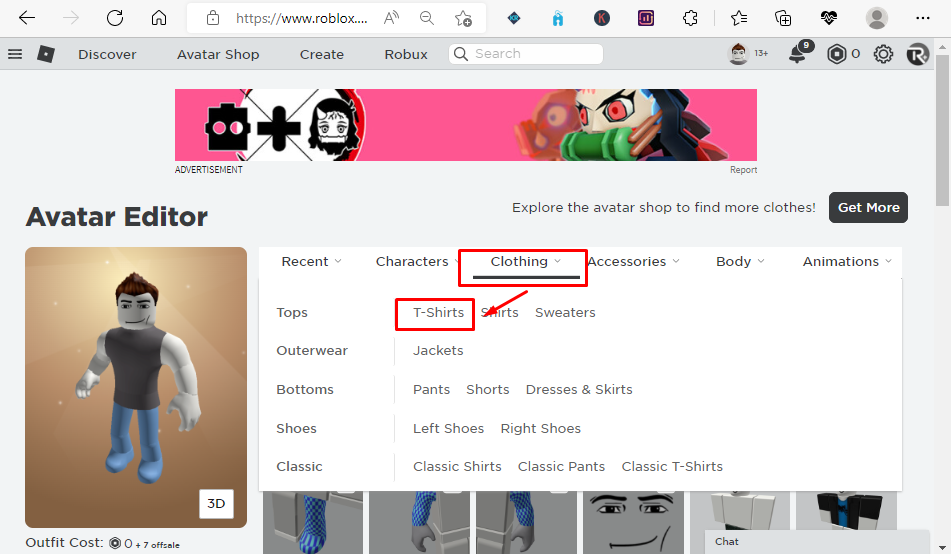
Click on “T-shirts” option under the clothing menu:
Next you will see an option of “Create” on the right side click on it:
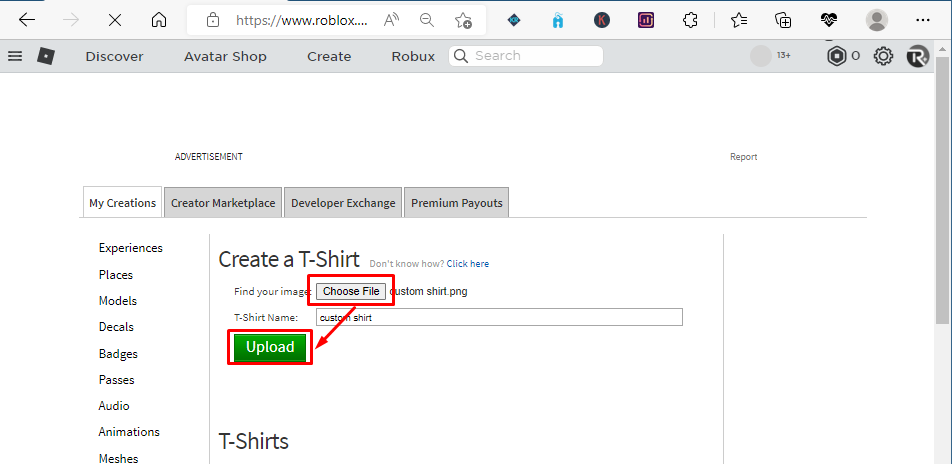
On the create webpage there will be the option of upload, so choose the shirt file and click “Upload” the shirt will be uploaded to Roblox:
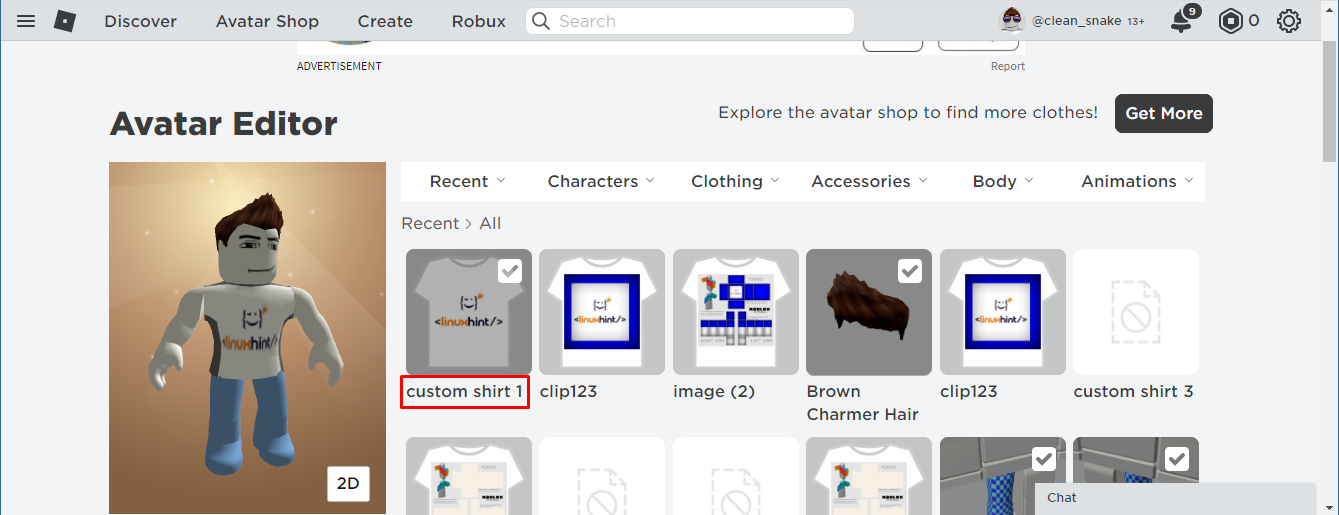
Once you have uploaded the shirt it will appear in your avatar accessories after it is allowed by the moderators of Roblox which only takes one or two minutes:
So, this is how you can create shirts in Roblox, you can also list your creations for sale at the desired price to get some free Robux.
Conclusion
Very few gaming platforms give the opportunity of creating clothing for your avatar and Roblox is one of them. Users can create Shirts, T-Shirts or pants of their own design and can list them for sale to earn some Robux. To create shirts, download the template given by Roblox, edit it in any software and upload it in your creation’s menu.