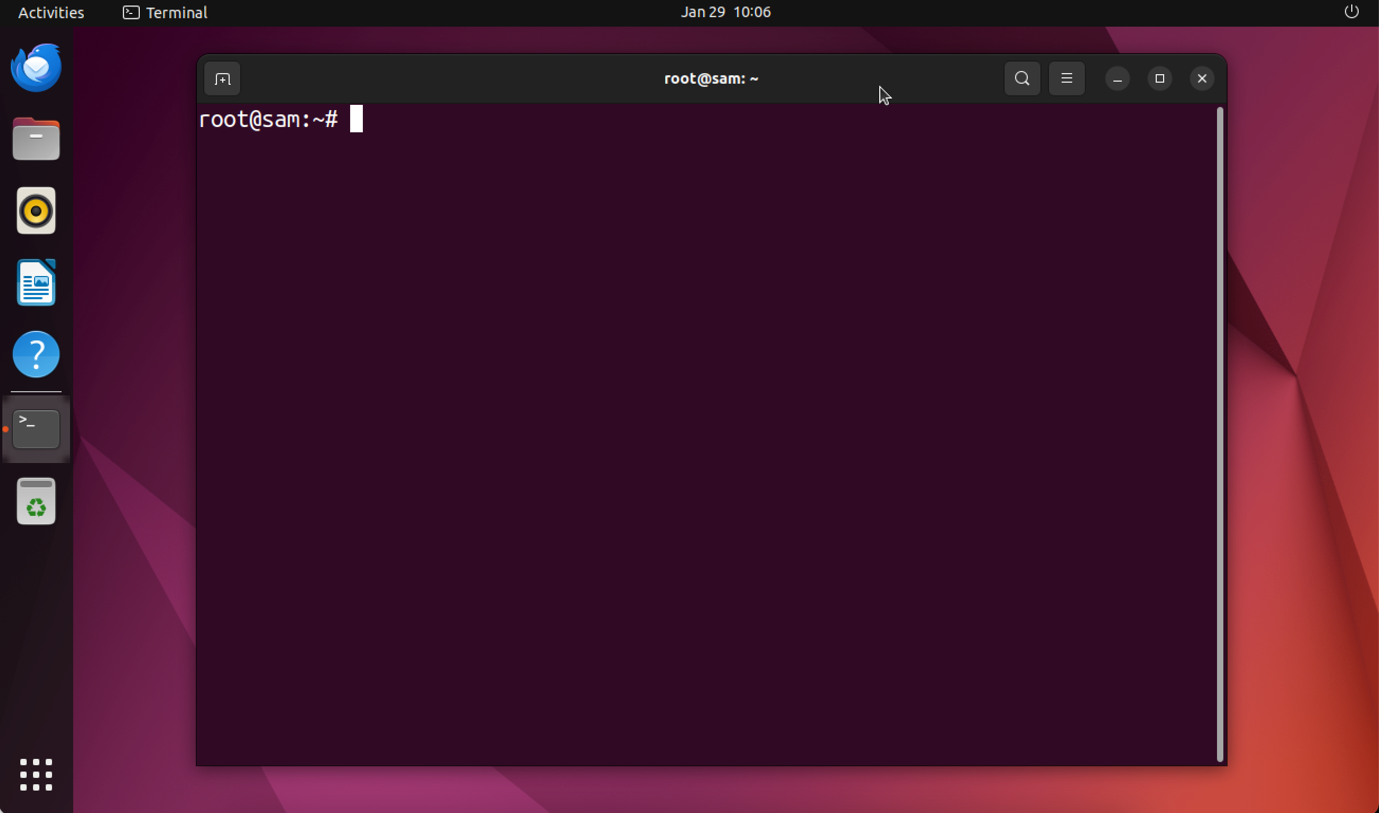
A root user is a user that possesses all the administrative privileges without any restrictions. It can access and modify any file, add or remove users, install or delete software, and change the system configurations.
The root user is distinct from a normal user, possessing the highest privileges and significantly more power. For example, a root user can perform critical commands and edit the system files without any restrictions, on the other hand, a normal user does not have such permissions.
In this guide, I will be exploring the Ubuntu root user, how to log in as a root user, and how it is different from a normal user.
Note: For the instructions and commands mentioned in this guide, I am using Ubuntu 22.04.
Ubuntu Root User
On installation of Ubuntu, a root user is created with no password. The root user is kept inactive to avoid any unintentional damage to the system files. Therefore, whenever you log in to your Ubuntu system, you enter as a normal user with specific provisions. However, that does not indicate you will be unable to access root privileges. If you have administrative privileges, then adding sudo before the commands allows you to execute root-specific commands.
Root Vs Sudo
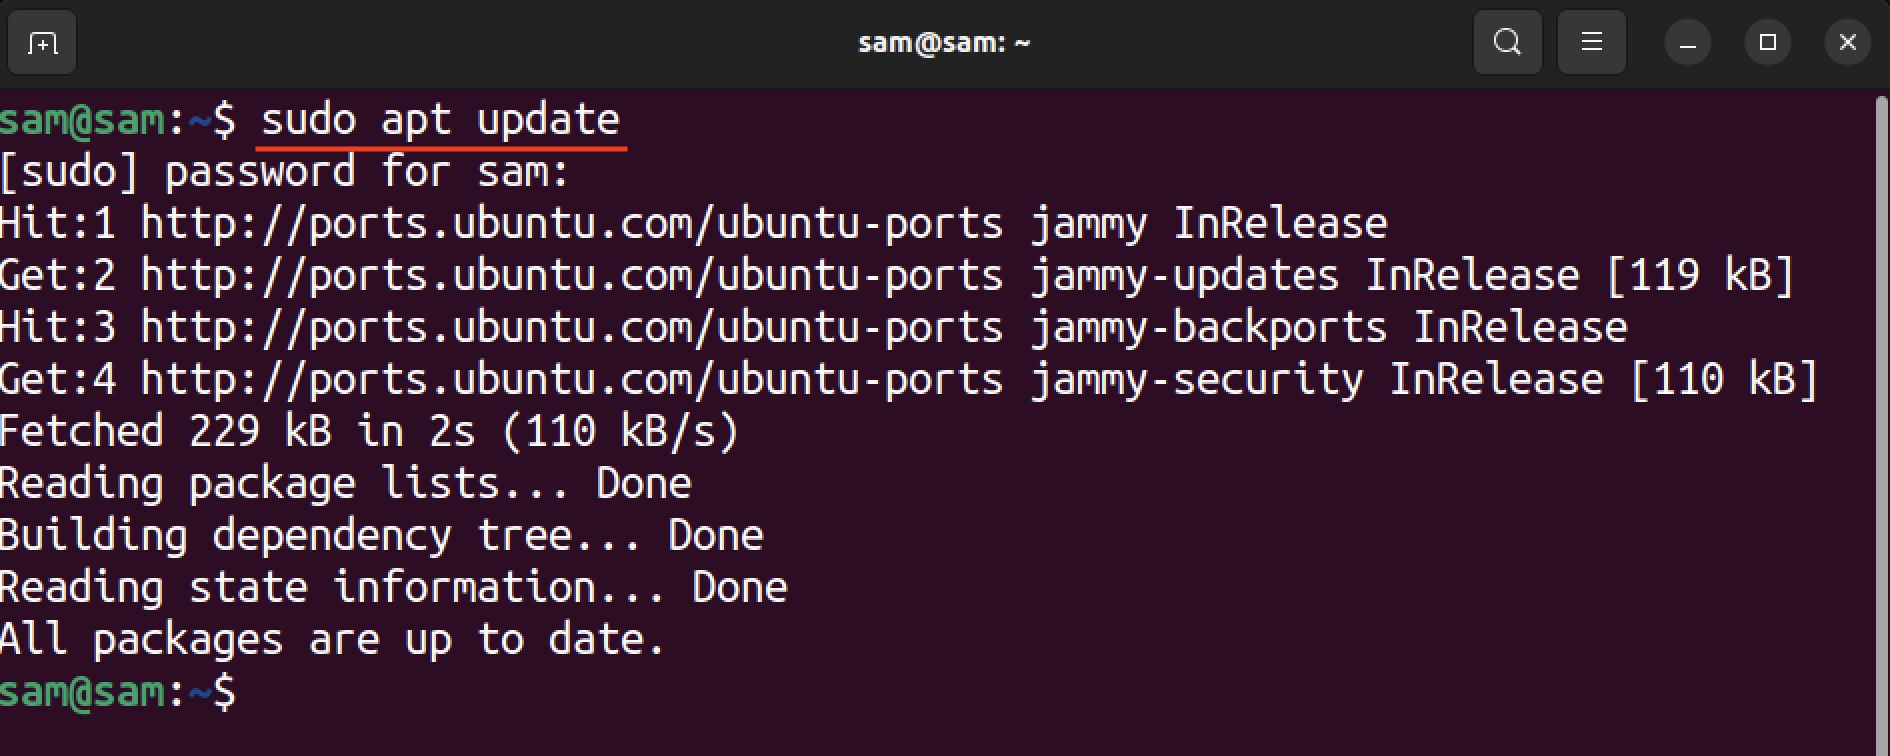
Root is an account with all the privileges, while Sudo is a command line tool that allows a normal user with special privileges to run commands that require root powers. For example, when you perform a system-related command on Ubuntu, it gives you permission denied errors. This implies that you don’t have the authority to make those changes.
But when as a normal sudo user, you insert sudo before the command, it executes with absolutely no issue.
However, if you are working as a root user on your system, you don’t need to add sudo before the command to perform a system-related task.
To run the sudo command, a normal user must be granted administrative rights; refer to our guide on adding a user to sudoers on Ubuntu for more details.
Enable Root User on Ubuntu
As discussed earlier, the root user is locked on Ubuntu and its flavors. However, you can enable it by setting a password for the root user.
Note that, if you are not a part of sudoers, then you cannot perform these steps.
You can enable the root user using the passwd command with root as the username.
After executing the command, set a strong password, keeping in mind the significance of the root user. Once the password is set, the root user is enabled and can be accessed.
Login as Root
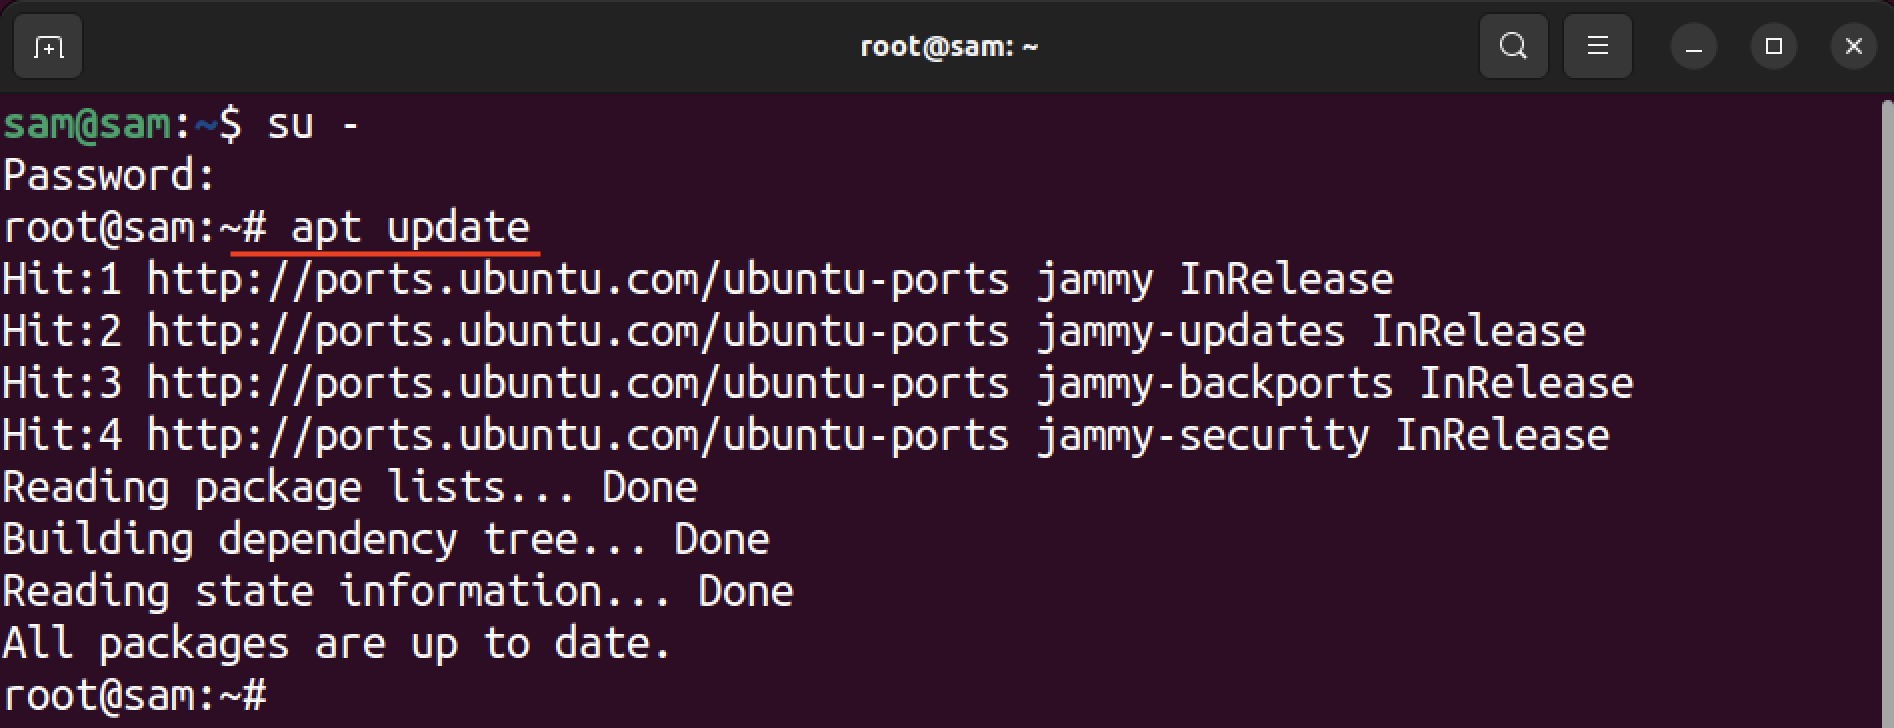
To log in as root on Ubuntu, open the terminal and use the su command with a dash –, -l, or –-login option.
You will be prompted with the password; type the password, and now you are logged in as root on Ubuntu.
Note that the typical $ sign of the bash shell is changed to the # sign when you log in as root on Ubuntu.
Now, you don’t need to put sudo while executing system-related commands or accessing system files.
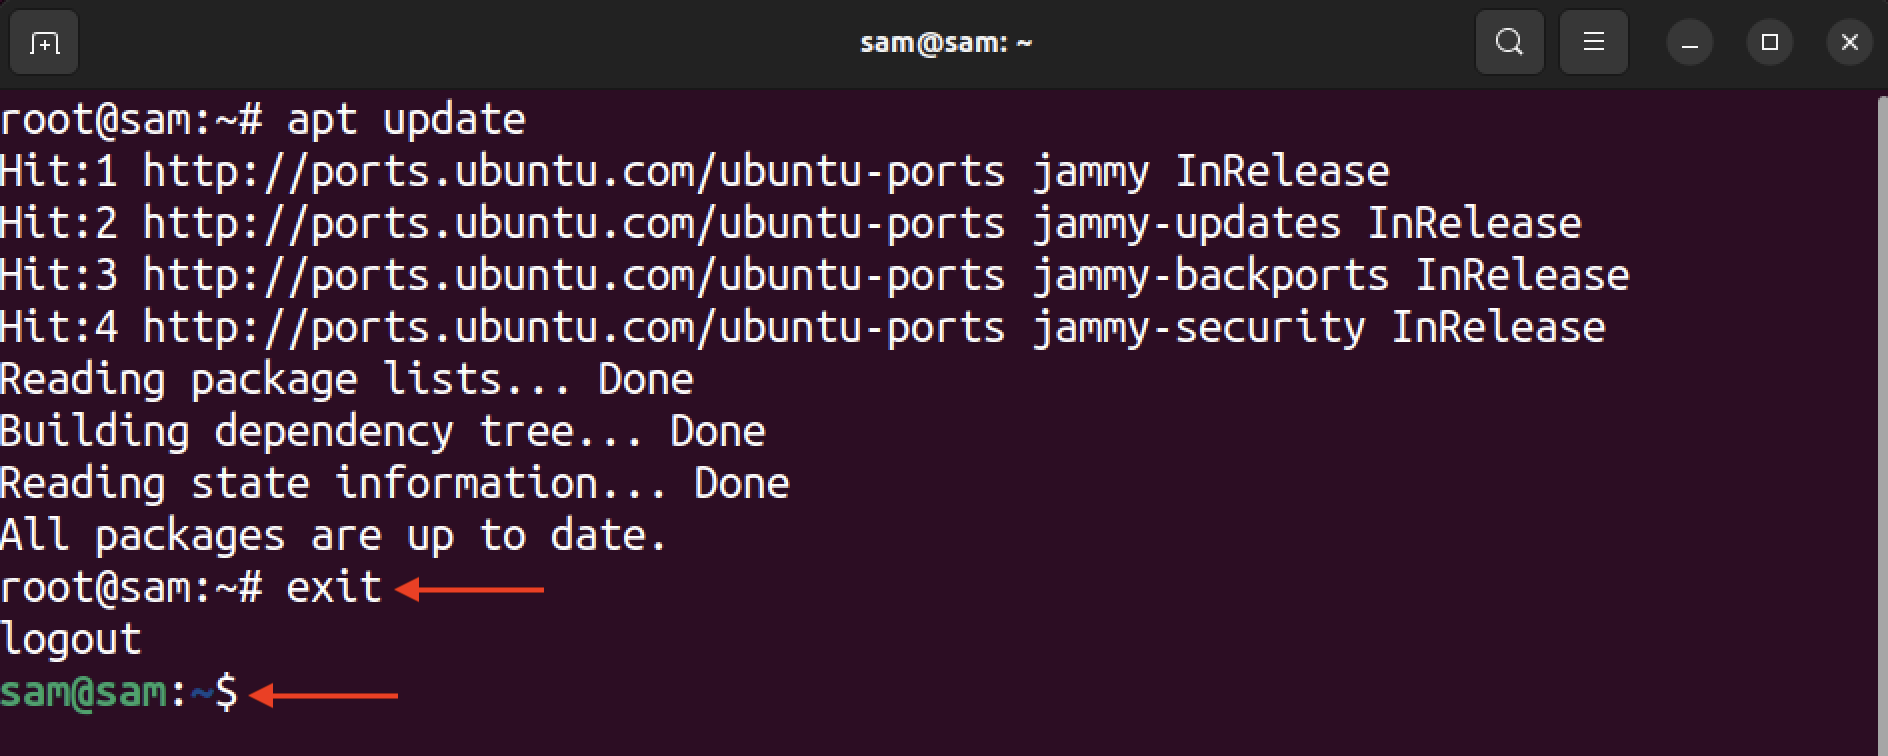
To get back as a normal user, use the exit or logout command.
Login as Root through the Display Manager
The above method will work on the terminal only, however, if you want to use the display manager to log in as root on Ubuntu, that can also be done.
Warning: This method is not recommended because you can potentially lose server control in the case of a malicious attack. It is also possible that you cause harm to system files while installing software from an unknown source.
Note that the following instructions are for Ubuntu 22.04 with a GENOME desktop environment, and will not work if you are not using GENOME.
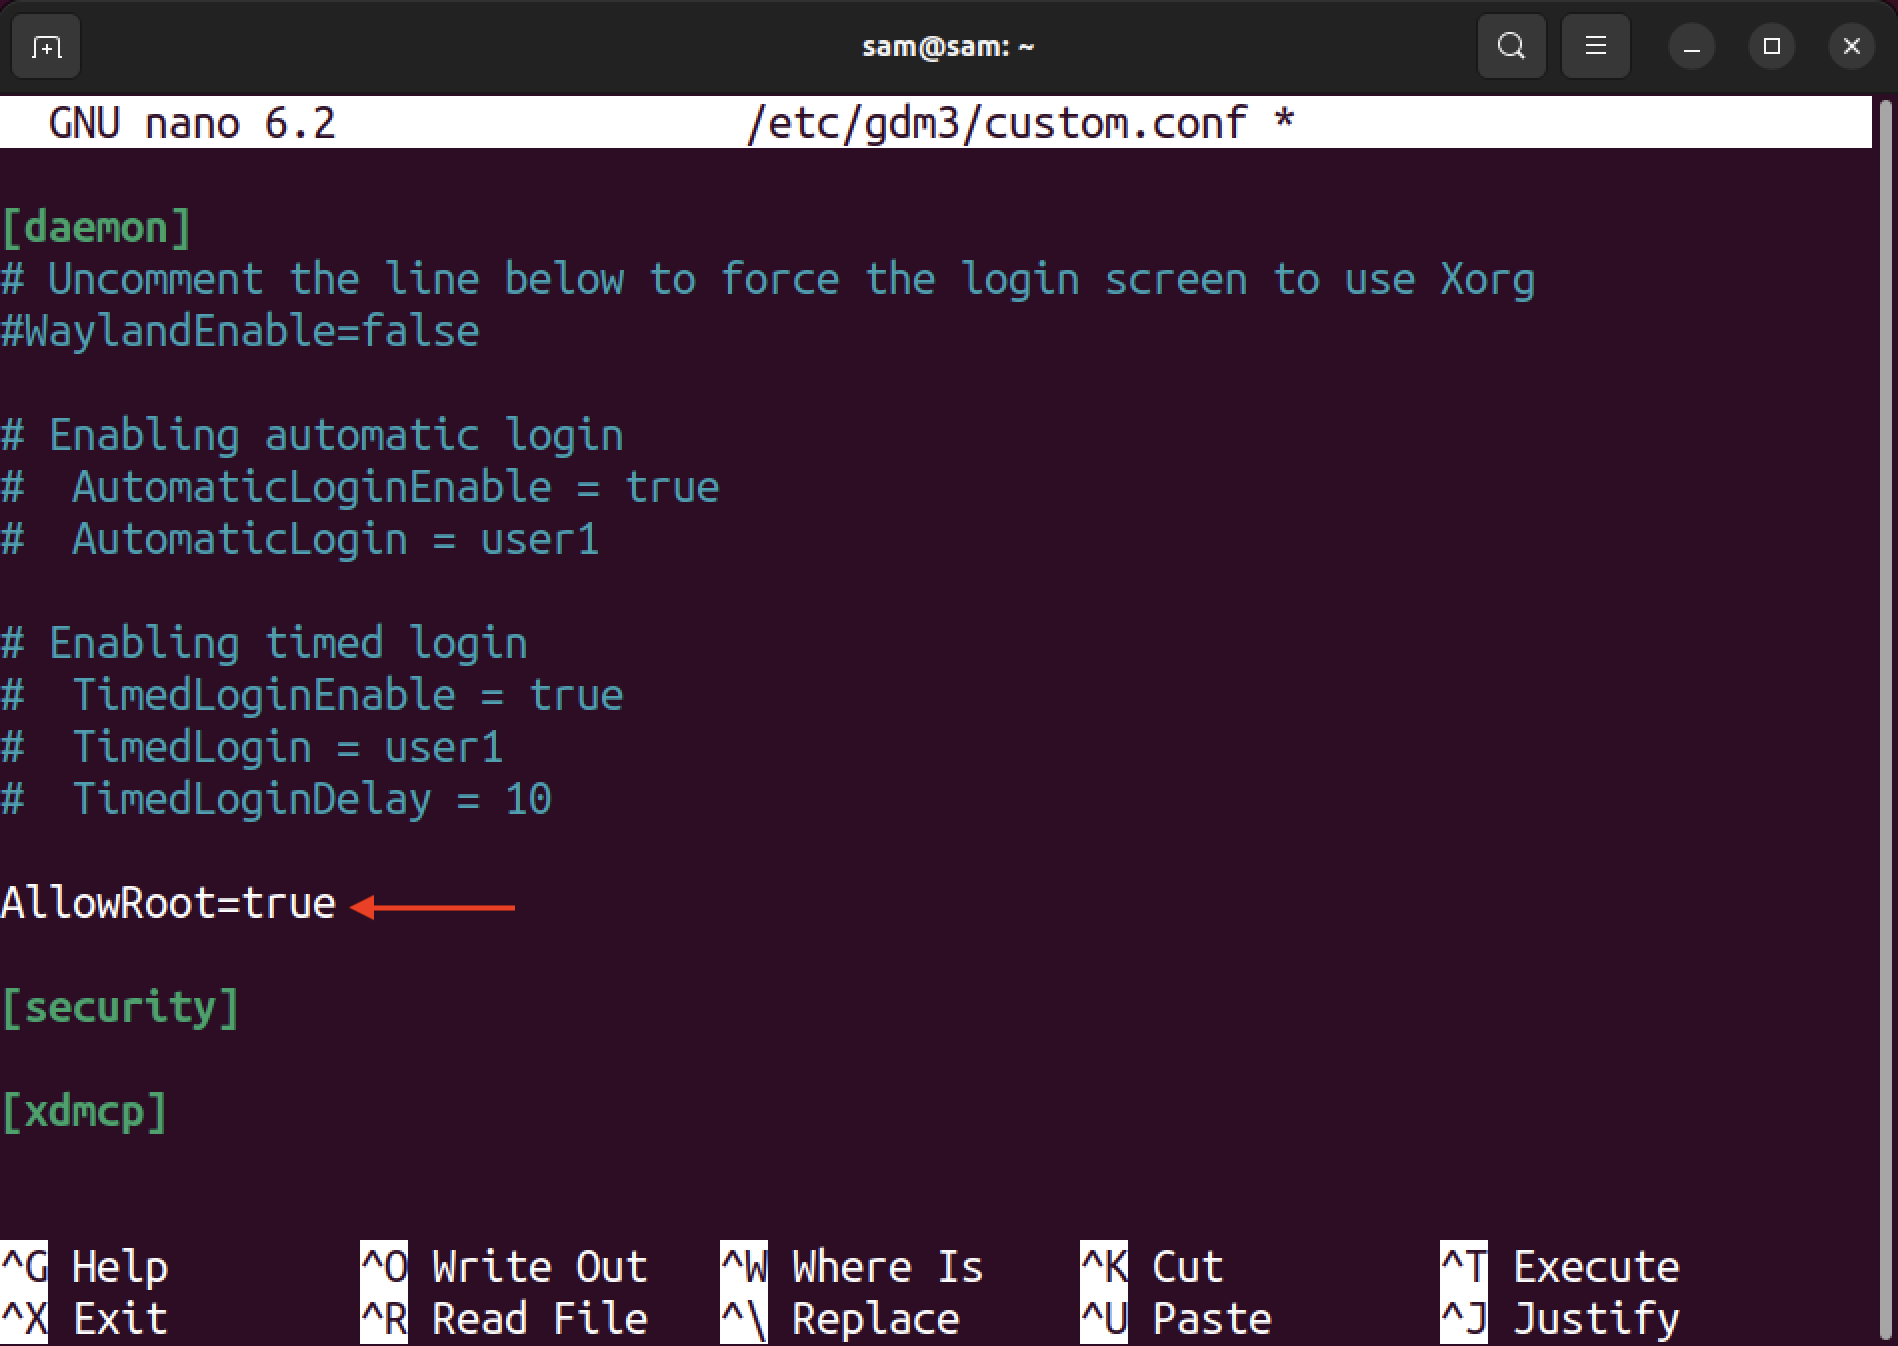
The latest GENOME uses the GDM3 display manager by default, so we will access the GDM3 configuration file using the nano text editor.
Type the following line in the file.
Now, press ctrl+x to quit the file and save the changes.
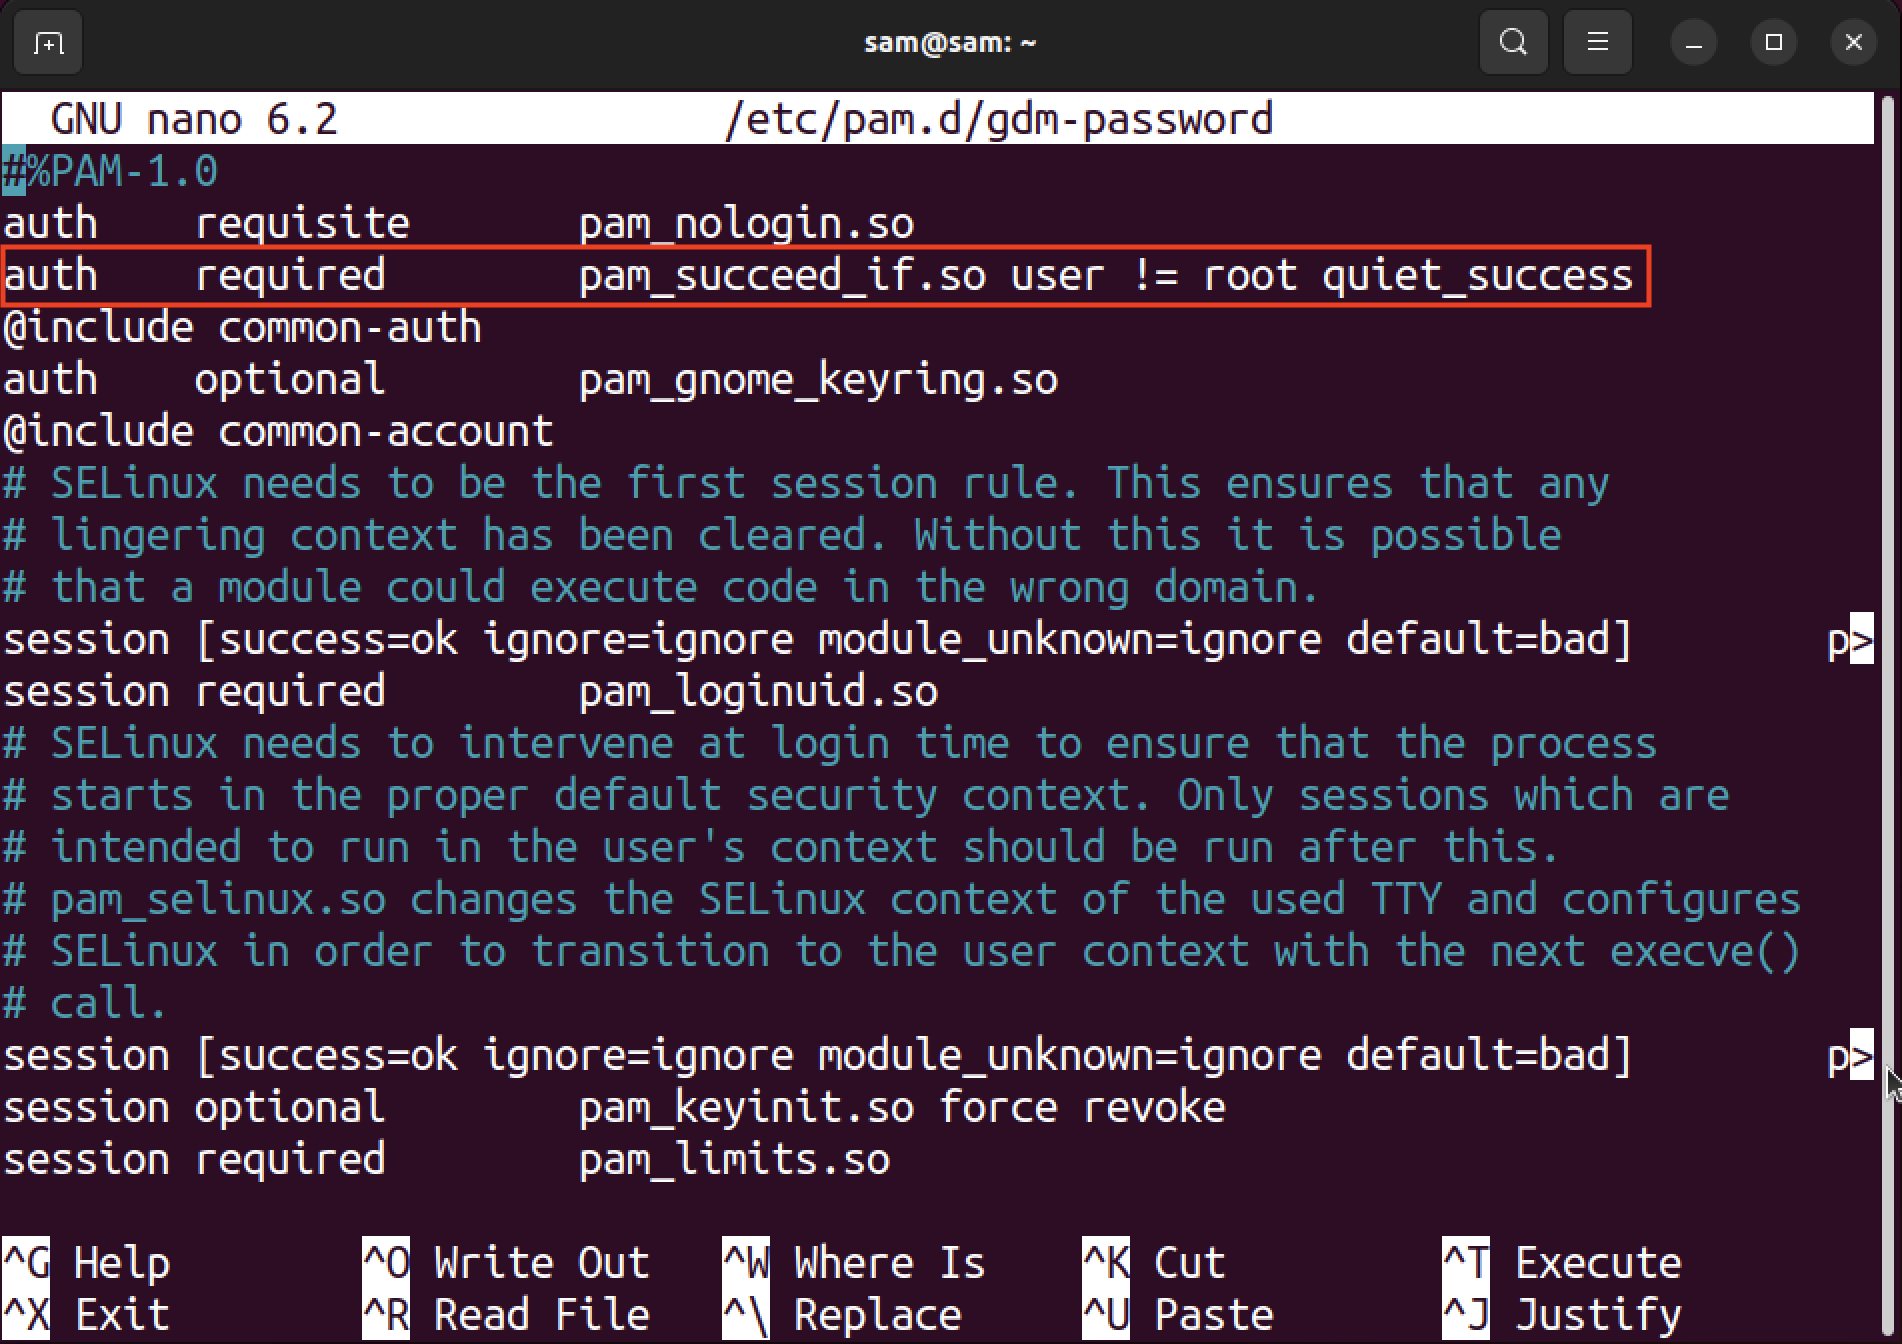
The next step involves the modification of the PAM or Pluggable Authentication Module directory, which has a GDM password file.
Warning: The modification with errors can potentially corrupt the pam.d configuration files, which can ultimately make your server inaccessible.
Open the gdm-passowrd file again using the nano editor.
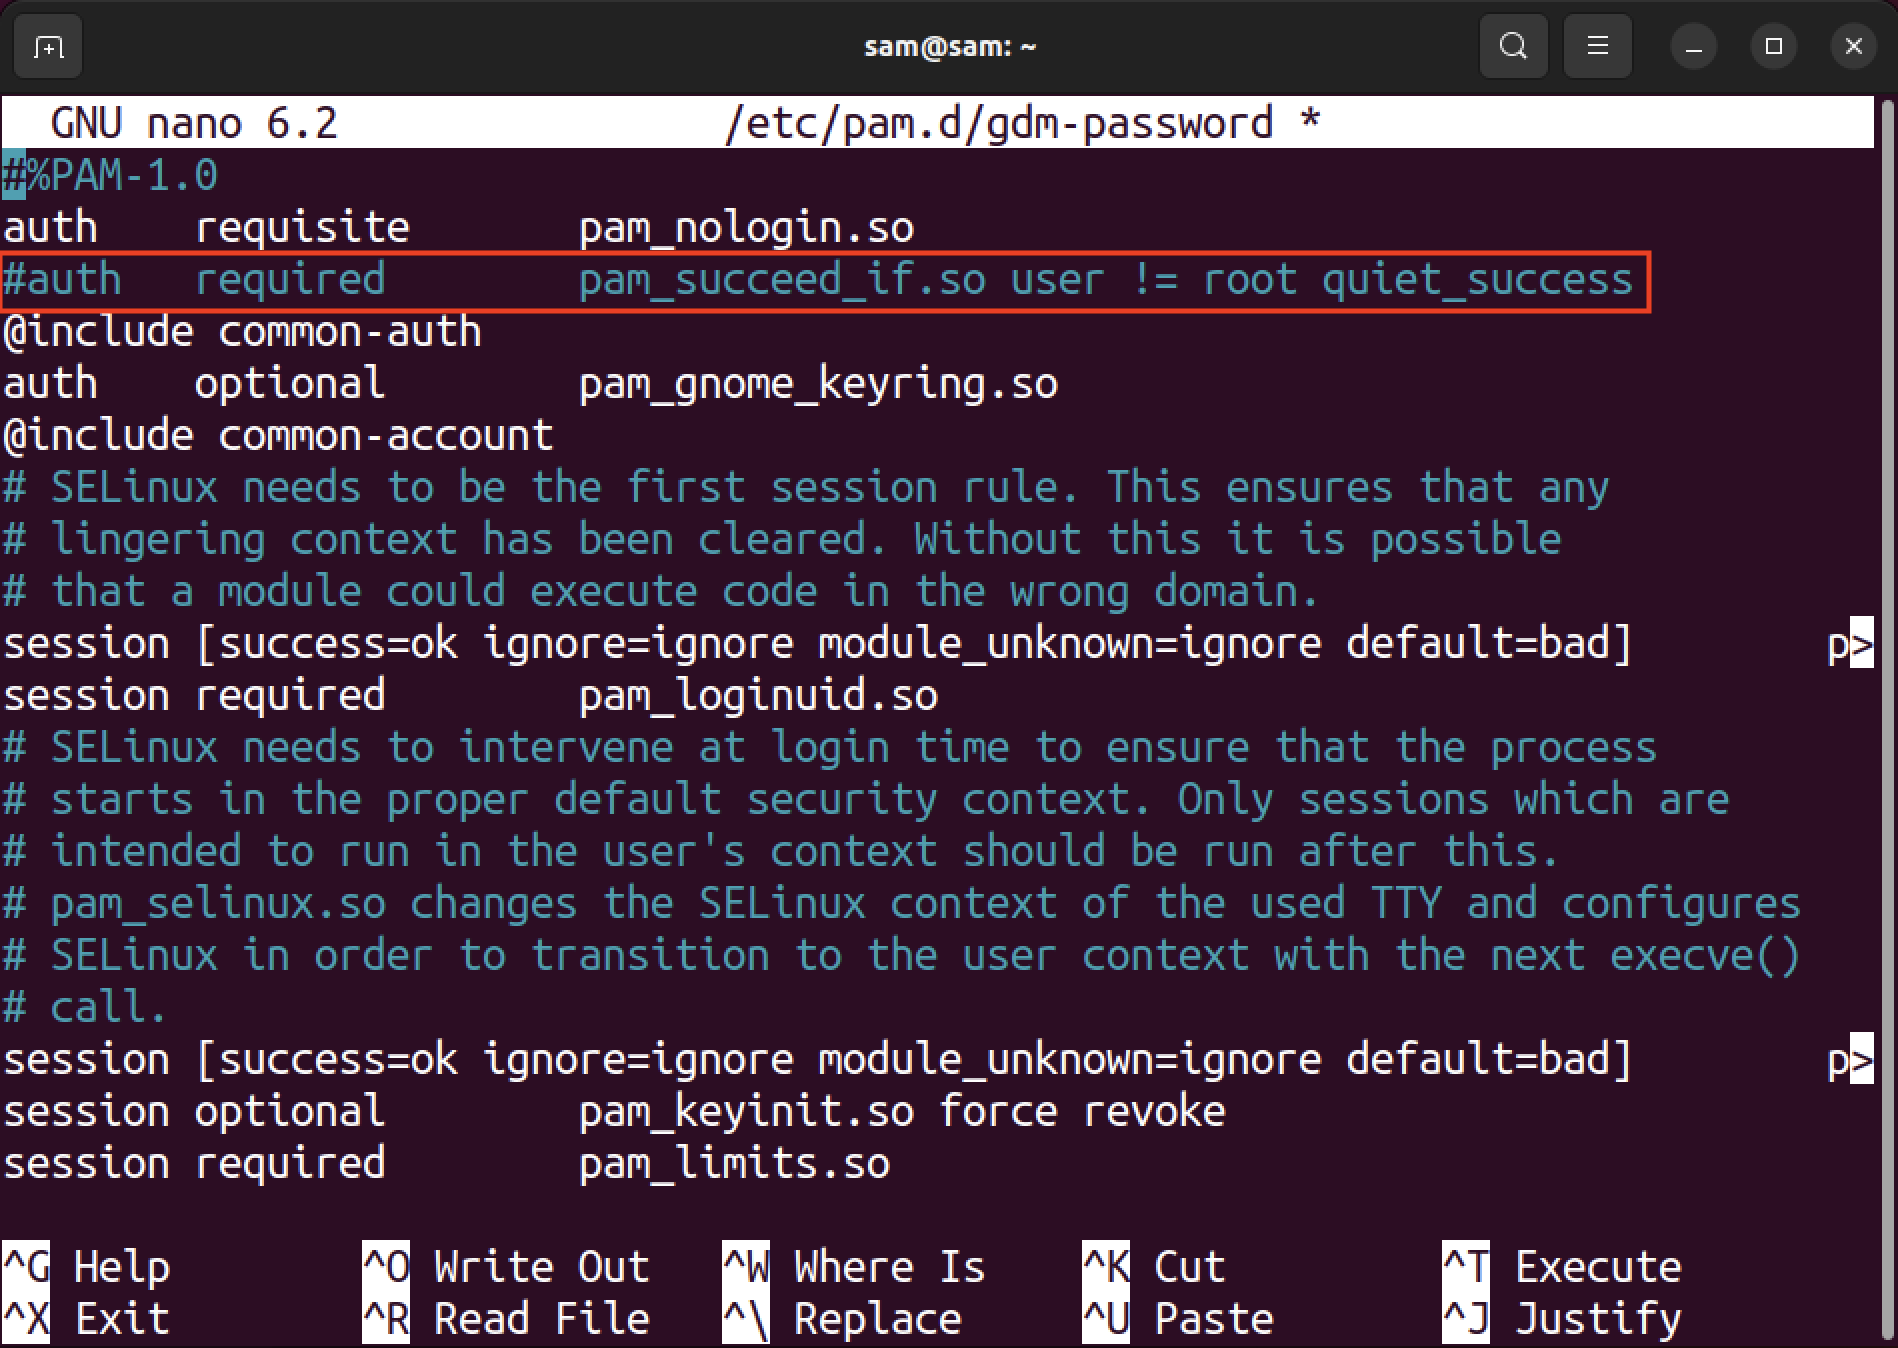
Comment out the highlighted line in the above screenshot using the # sign.
Press ctrl+x to quit and save the file.
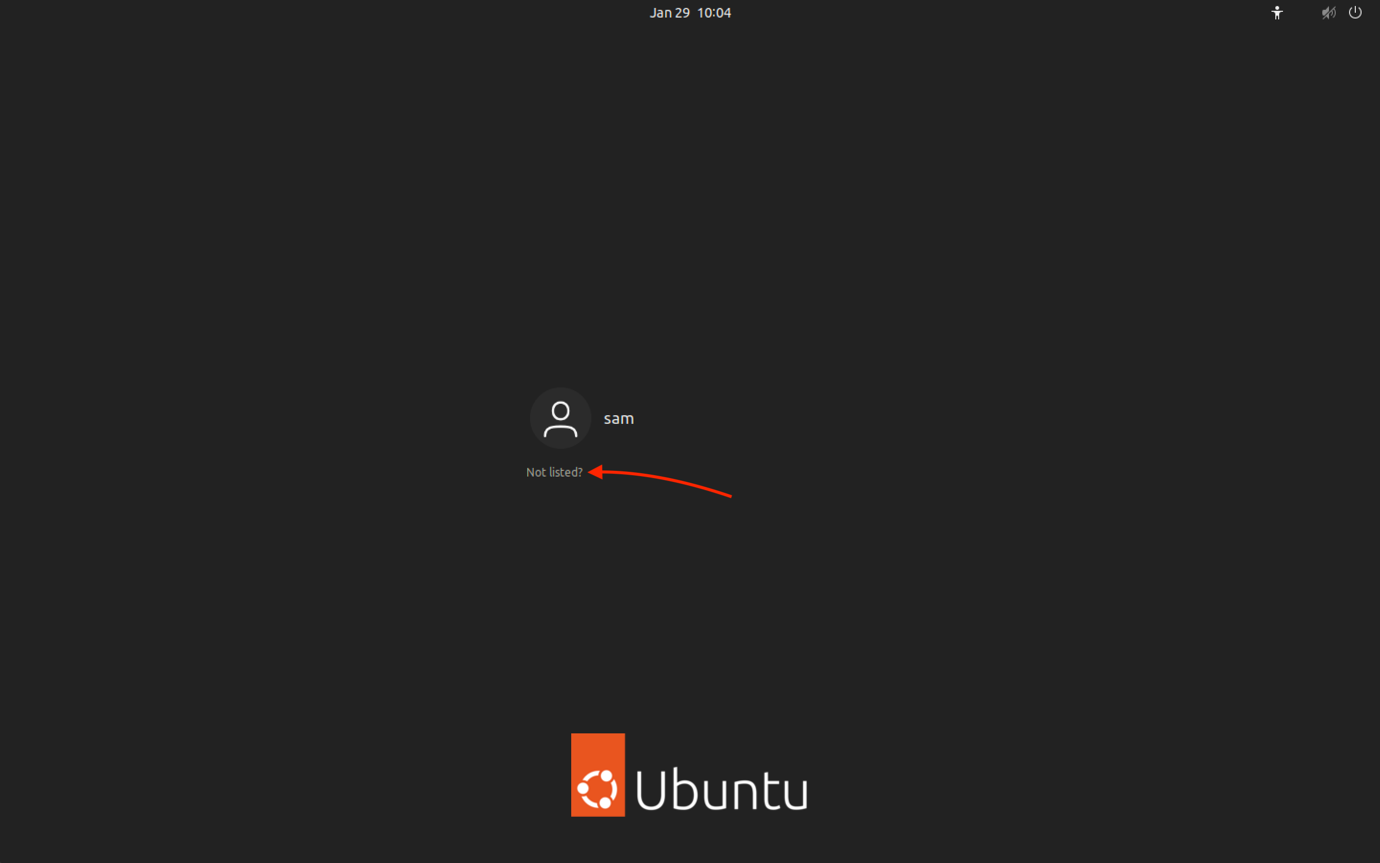
Now, proceed to reboot the Ubuntu system, and then on the login screen select the Not Listed option.
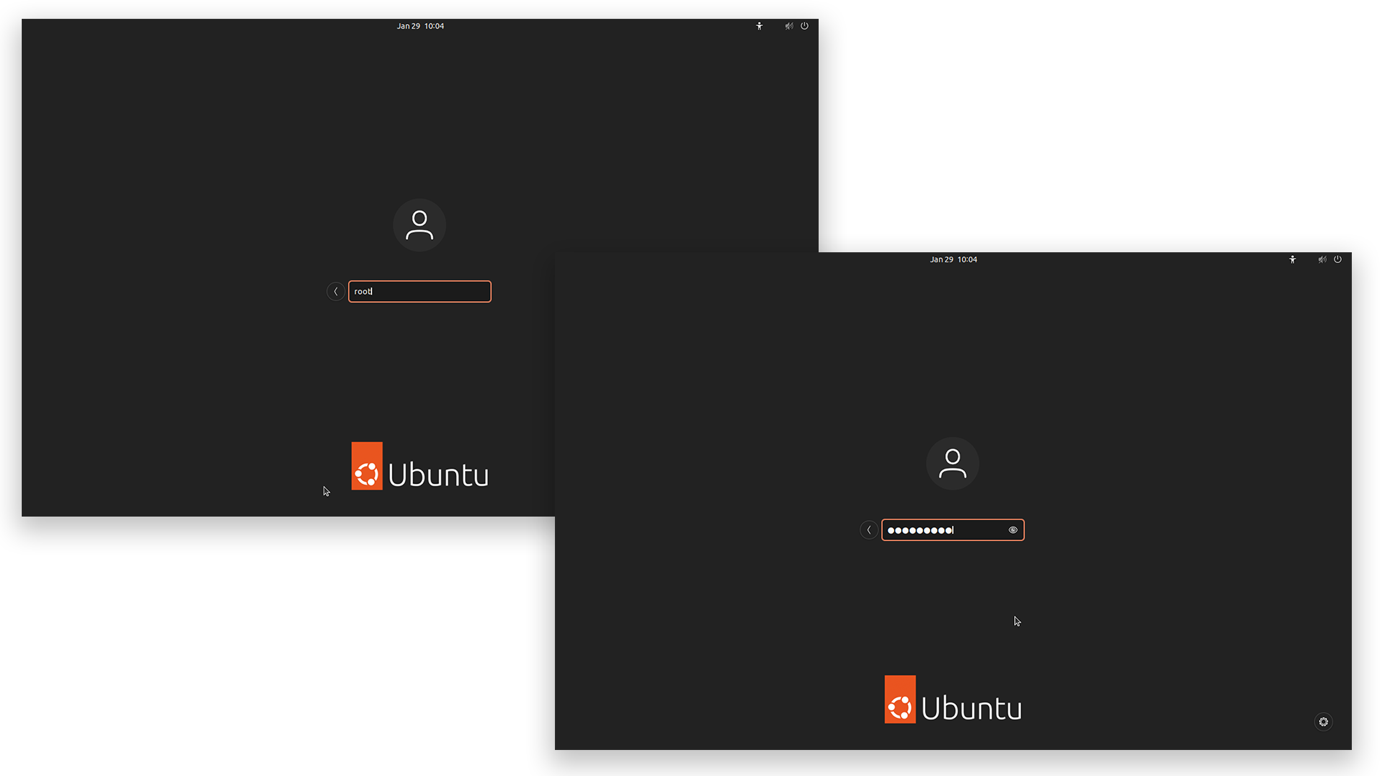
Enter the username root and password that was created in the Login as Root section.
After login, open the terminal, and you will see the # sign by default.
Login as Root using Sudo
If you are a normal user and a part of the admin group or have superuser privileges (sudoer), then you can log in as a root user using the sudo command.
Or
After executing the above command, you will be prompted with the password input, enter your password (user password not root).
The username will be changed from your normal name to root; use the whoami command to know the current username.
Before login as root, the username is sam, but after login as root, the username is changed to root.
There are always security risks associated with active root users. So, I would recommend accessing root user privileges using the sudo command.
Conclusion
A root user is the top-level user with all the permissions, however, on Ubuntu the root user is not active by default. To activate the root user, a password needed to be set using the passwd command. If a user is already a sudoer then that user can become root using sudo -i command. This guide also mentioned a method to enable root login from GUI, which is not recommended. It is essential to note that including Ubuntu in many Linux distributions, the root user is kept inactive due to security risks. It is recommended to use sudo instead of logging in as an active root user because it is a safer option. To learn more about su and sudo use the man su and man sudo commands in the terminal.


