The system admin can open numerous sessions from different locations so that multiple users can access a single OS simultaneously. However, as an administrator, managing the user access for security is essential. If you are new to the Rocky Linux world and wants to list the users, this tutorial is for you. Here, we will include all the ways to list the user accounts on Rocky Linux 9.
How to List the User Accounts on Rocky Linux 9
There are many possible methods of listing the users on Rocky Linux, some of which are as follows:
List All the User Accounts
All the related information to local users is stored under the “/etc/passwd” file. You can access this file through various commands such as:
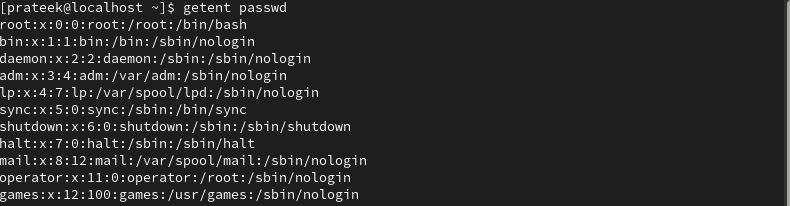
With the “getent” command, you can search and display the database entries:
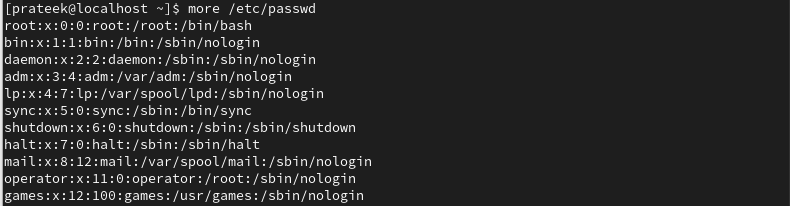
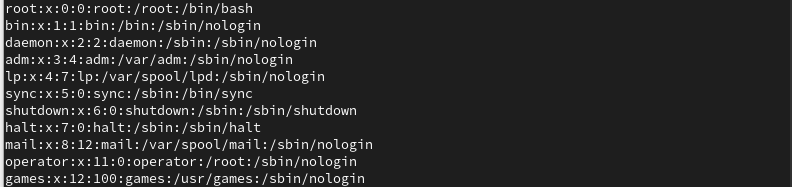
You can also use the “cat” command (a short form of concatenation) to read the data in a file without opening it:
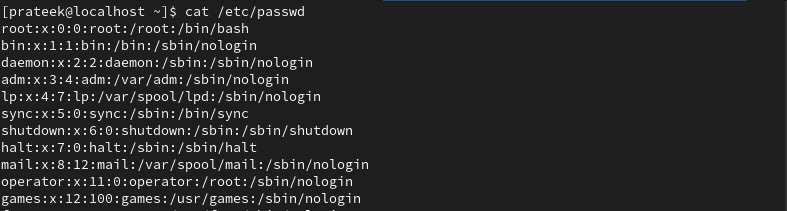
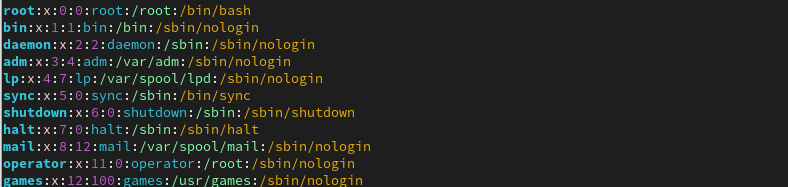
As you can see, each line of this file provides information for a different user which includes the user’s name, login shell, UID (user ID number), and home directory. This file mainly consists of seven fields. For example:
| adm
↓ username |
x
↓ encrypted password |
3
↓ UID |
4
↓ GID |
adm
↓ GECOS |
sbin
↓ home directory |
nologin
↓ login shell |
Run any of the following commands to list the current users:
Or
Customize and List the User Accounts
Instead of listing all users, you can also customize the user account list accordingly. For this, there are many available options.
List Only a Specific Column
If you want to display any specific field of the users out of the seven fields of the file, you can use any of the following commands:
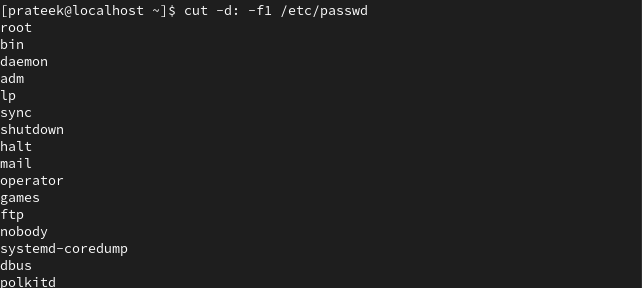
Or
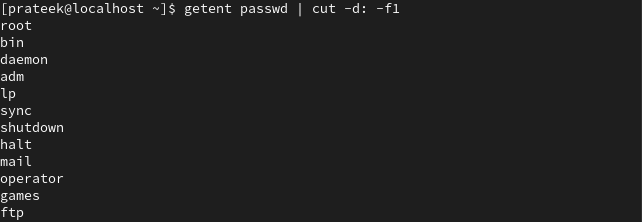
Or
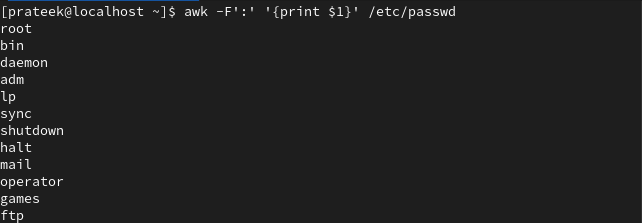
In all the previous commands, the terminal only displays the username of the user accounts.
Here, f1/$1 defines the number of fields and -d specifies the delimiter.
Through Pagers
You can read the files page by page or line by line with the help of the “more” and “less” terminal pagers commands.
The “more” command has limited functionalities. Upon running this command, it displays about 47% data of the file, and you have to use the enter key to see the remaining data.
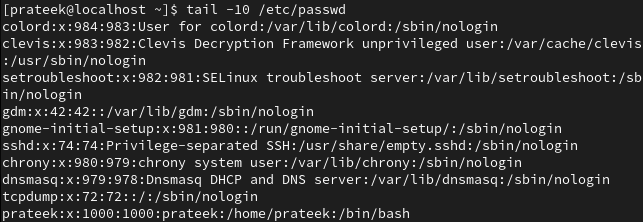
The “less” command displays the list of user accounts until the terminal is scrolled down to the bottom.
Limit the Output
You can also set the list of user accounts in limit through the following commands:
Similarly, if you want to display the initial user accounts, use the following command:
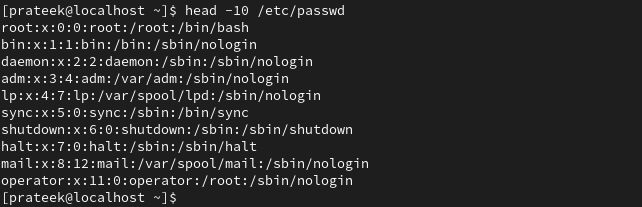
As you can see in the previous examples, we also listed the 10 users from the start to the end.
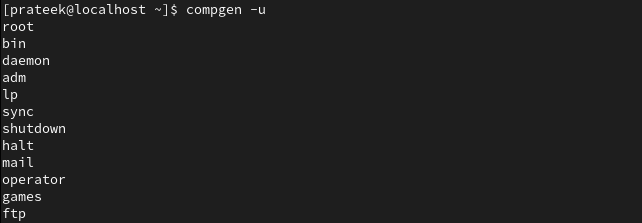
List Only the Username
Use the following “compgen” command to list only the username from the user accounts:
List the Users with a Specific Range of UID
To list the user accounts of specific UID range, find out first the minimum and maximum range of user accounts with the help of the following command:

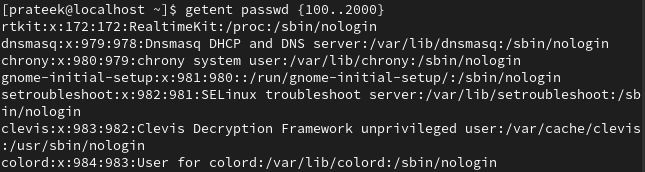
You can see that the minimum range of UID is 1000, and the maximum is 60000. The general syntax to list the user accounts between this range is as follows:
For example, we list the user accounts from the UID range of 100 to 2000 here.
Conclusion
Managing multiple users at a time in any operating system is an administrative task. On the other hand, managing the users in Linux is necessary to maintain the system’s security and privacy. Listing the user accounts in Linux is not difficult because all you need to do is follow the provided methods. Hence, with the help of these simple commands, you can get the information and filter the output according to your needs.