In distros like Fedora Linux, you need to know the required commands first to check the disk-related details. However, as a beginner, it is always tough to know these commands. In this brief guide, we will explain the various methods to list the disks attached to your computer on Fedora Linux.
How to List the Attached Disks to Your Computer on Fedora Linux
In this section, we added multiple commands with additional options to list and check the disk details in the system.
The Lsblk Command
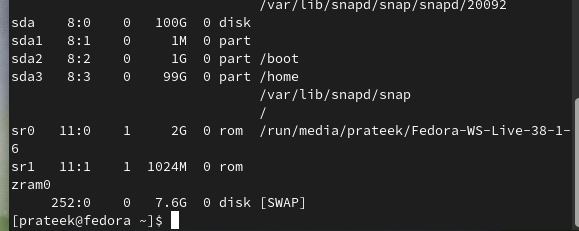
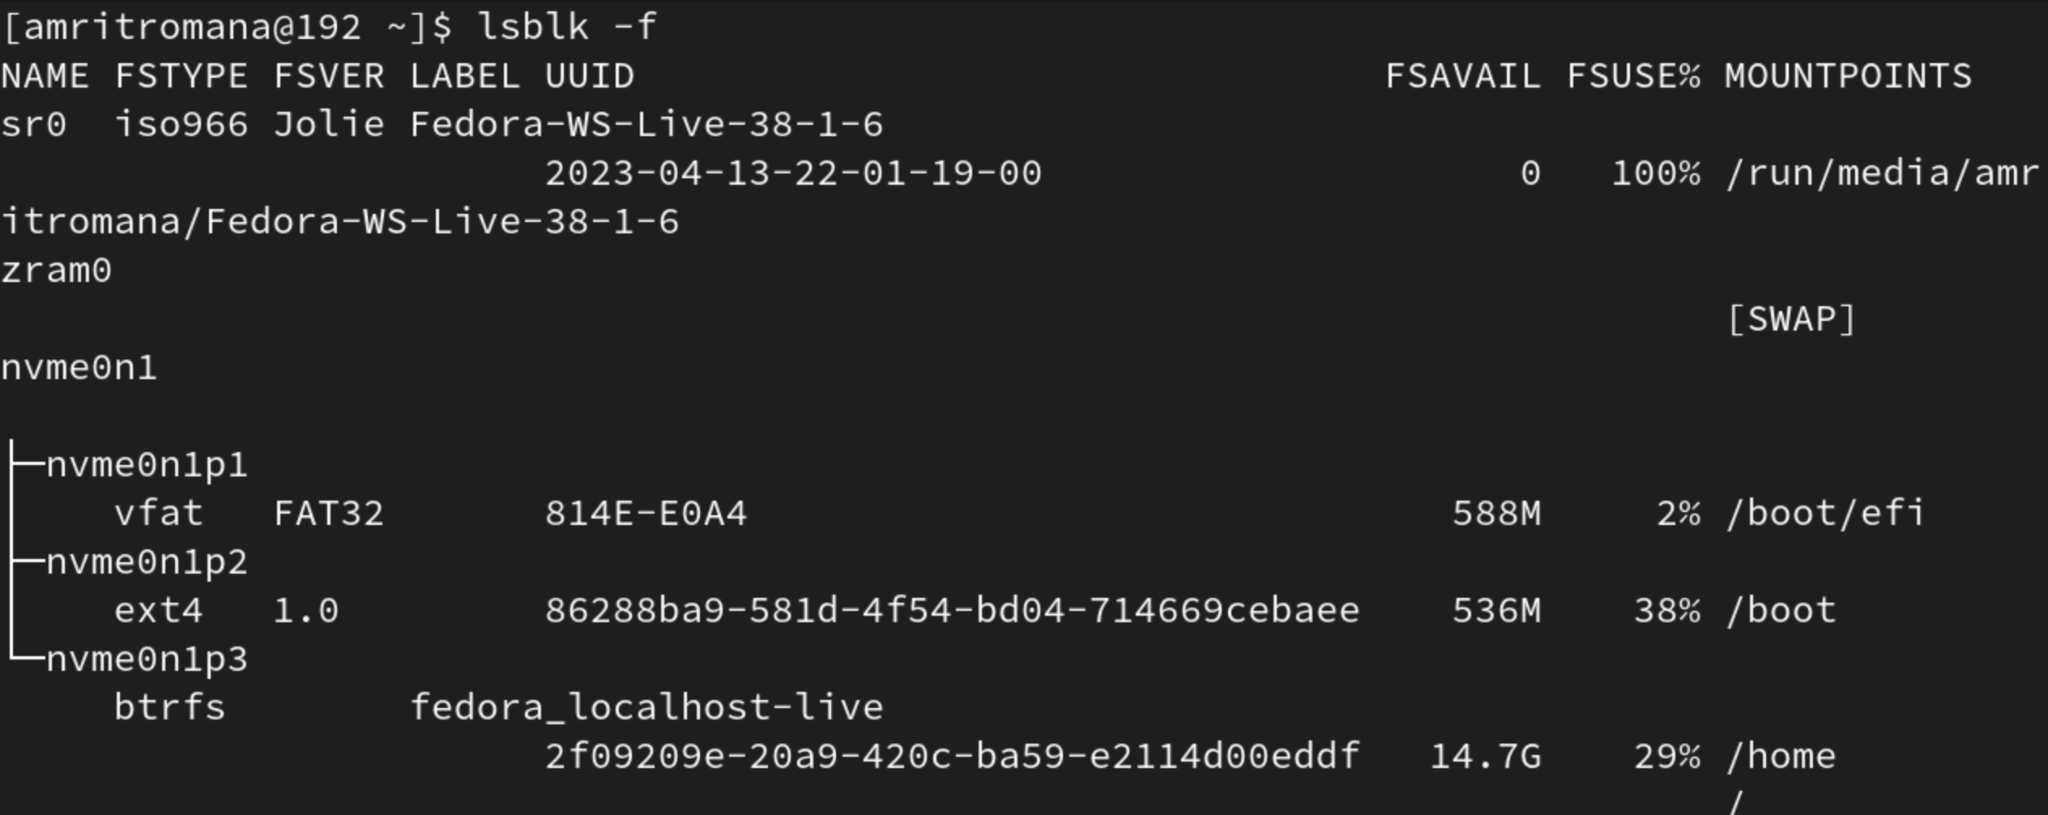
You can use the “lsblk” command to list the complete information about the disks and partitions. The “f” option is used to get the details about the filesystem:
The Fdisk Command
The “fdisk” command is used to manage the disk partitions. Hence, you can use the “fdisk” command with the “-l” option to list all disks and their partitions:
The Df Command
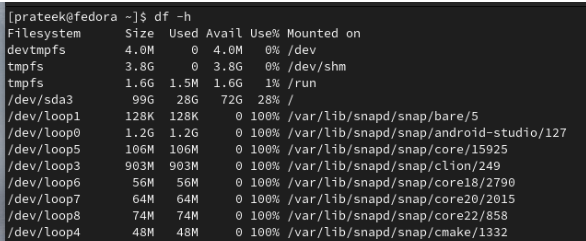
Although the “df” command displays the disk usage, it also provides information about the attached disks. You can use the “h” option with the “df” command to get the output in the human-readable format:
The Lshw Command
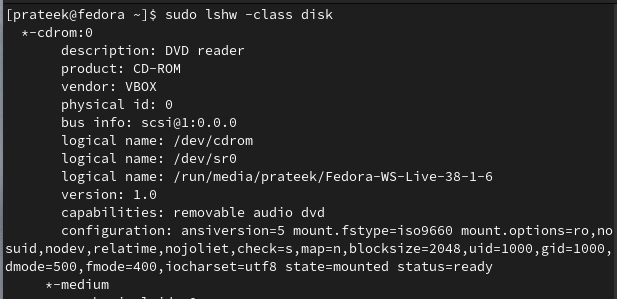
The show the lists of all hardware devices, but you can filter for disks with “-class” disk. This command provides a detailed information about your disks:
The /dev/disk/by-id Directory
You can run the following given command to check the disk-related information available in the /dev/disk/by-id:
The Parted Command
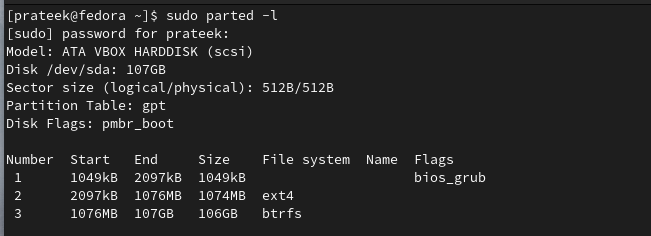
You can use the “parted” command with the “l” option to list the partitions and attached disk-related information:
Conclusion
This is all about the simple commands that you can try to list the disks attached to your computer on Fedora Linux. Whether you need a basic overview or in-depth hardware information, the provided commands will help you get everything. Listing and checking the attached disk-related information can be beneficial in identifying the corrupt one in the system.

