Some time ago, it was very common to install operating systems from a CD. The image was downloaded and then inserted into the computer and the process began. However, as the operating systems added new features and novelties, the space available for these CDs began to cause problems for the developers. I remember, for example, the first controversies with Debian and Ubuntu about the distribution of their ISO images. With the appearance of the DVDs, the controversy moved to another point, the impossibility of reusing them for something else. That is to say, a DVD was equal to an operating system. So, that is why this article will teach you how to burn an ISO on Linux Mint.
An ISO Image
The first thing we need to be clear about is what an ISO image is. If you are a newbie, it is important that you know where it comes from. An ISO file is a perfect representation of a CD, DVD or a complete BD. It’s possible to duplicate all the data of a CD/DVD or other discs PRECISELY (bit by bit) and dump them into an image file, most notably, an ISO file. Moreover, ISO is also a better format for sharing larger programs via the internet because all the files and folders remain in one, single chunk that offers better data integrity.
Burning an ISO Image in Linux Mint
So far, I have talked about burning an image to a CD or DVD. You can still do it, but it is an obsolete practice. What many people do is use USB flash drives to improve the system’s runtime or just copy them as backup to that drive.
So, I will start from the fact that you want to burn an ISO of a Linux distribution using Linux Mint. For it, you must have clear where you want to burn the image, you can do it even in a CD or DVD; or simply use the USB memory stick. Let us go for it.
Burning an ISO File to a CD or DVD
Let’s suppose we already have the .ISO image on our computer. Now you need to burn it to a CD or DVD. For now, I will introduce you to two tools to do it without problems.
First of all, there is Brasero. Brasero is a part of the GNOME Software Family that’s designed carefully to become as user-friendly as possible to burn CD/DVD. In addition, it also comes up with some unique and cool features that offers simple process of creating ISO quickly.
Some of its characteristics are:
- Support for multiple backends.
- Edition of disc contents.
- Burn on the fly.
- Multi-session support.
- Joliet-extension support.
- Write the image to the hard drive.
- Disc file integrity check.
- Auto-filtering of unwanted files.
- Easy to use interface.
To install it, just run:
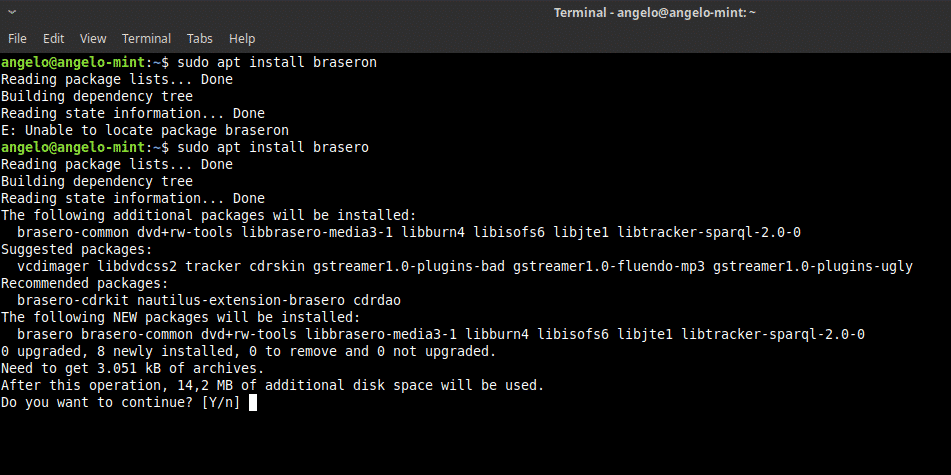
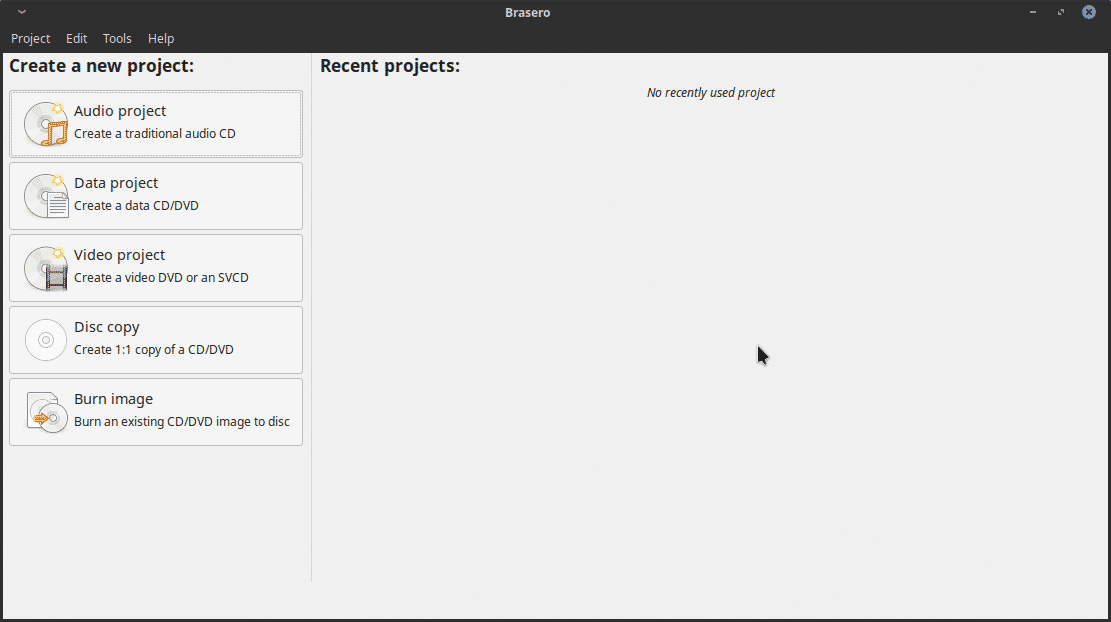
Next, open it from the main menu. And you will see this.
As you can see, it is a pretty simple graphical interface, but it has all the necessary options to handle CD or DVD on Linux Mint.
So, to burn an ISO image, just click on the Burn image option.
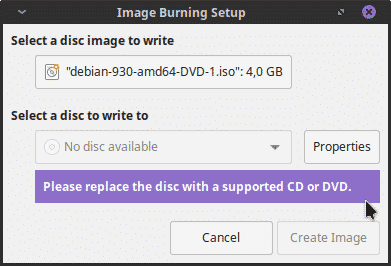
Now, you will see this window.

Next, select a disc to write and click on the Create Image button. And that’s it. It is too easy.
Burning an ISO file to a USB Flash
If, on the other hand, you plan to record the image on a USB flash drive, we have two paths to choose from. The first is to use a program to do it with a graphical interface. Secondly, we can use the terminal to achieve the goal. Do not worry, I will show you how to do both.
Using a Graphical Program
To burn an ISO image graphically, I recommend using UNetbootin. This is because it is a proven program with a wide trajectory in Linux. In addition, its installation is reduced to a few commands.

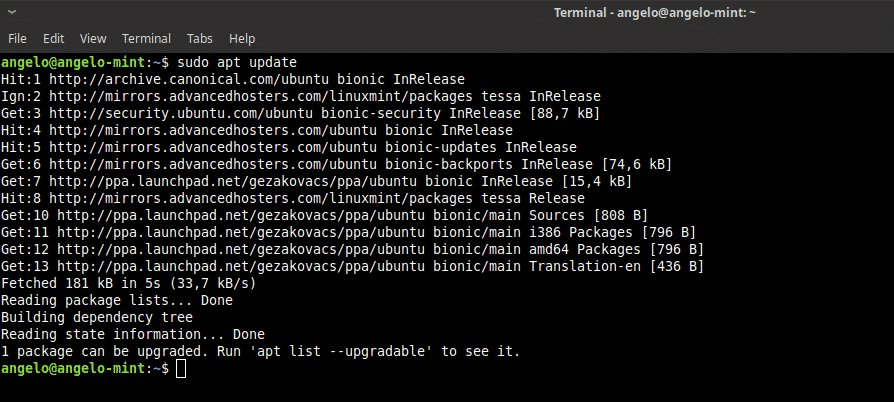
Next, refresh the APT cache.
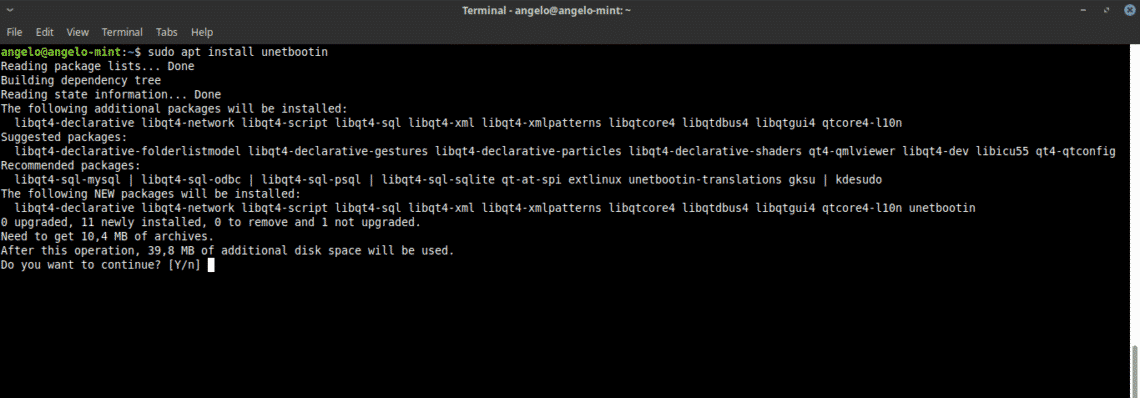
Finally, install Unetbootin.
Next, open the program from the main menu. You will be asked for the root password.
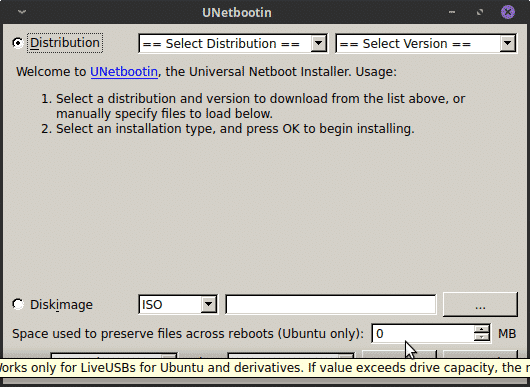
As you can see, the user interface is very simple.
Select DiskImage¹, select ISO from the dropdown menu² click on the … button³, and select an ISO image of your desired Linux distribution.
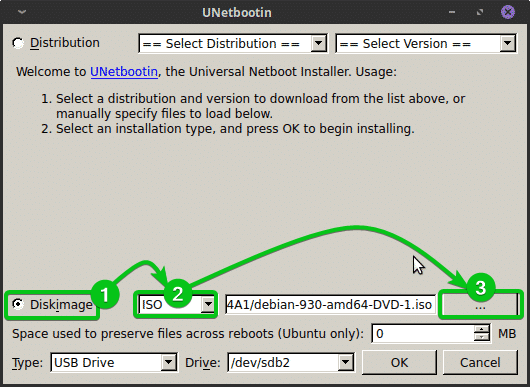
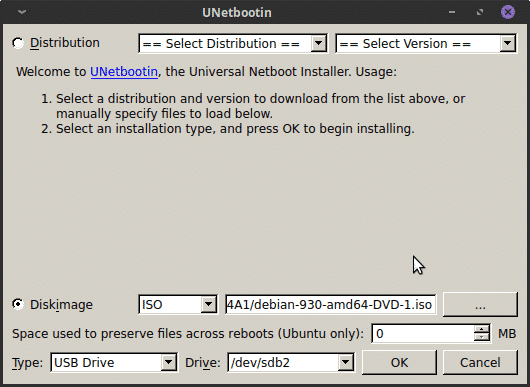
Once you’re done, select USB Drive from the Type dropdown menu¹, select your USB thumb drive from the Drive dropdown menu², and click on OK³.

Using the Terminal to Burn the Image
There’s a way to do the same thing from a terminal. If you are a somewhat advanced user, you may want to do it this way.
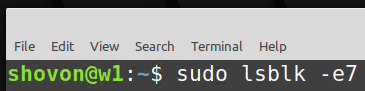
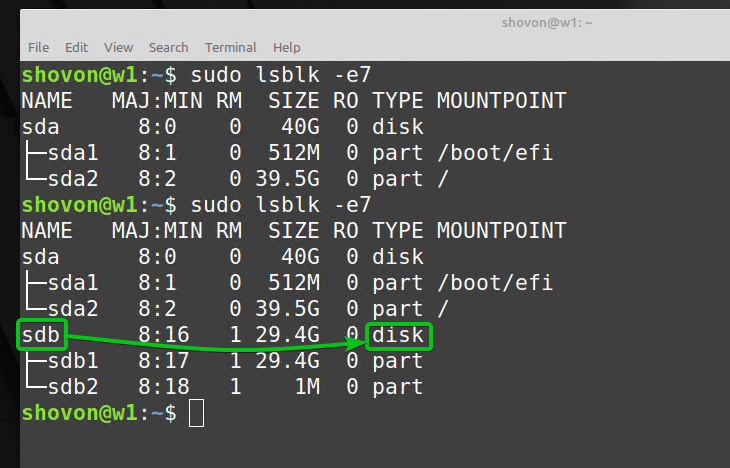
First, open a terminal and run the following command once before inserting a USB thumb drive and once after inserting a USB thumb drive.
If you compare the outputs, you should see a new disk (sdb in my case). This is your USB thumb drive. You can access it as /dev/sdb.
Now, run the following command to start the process:
NOTE: Replace <path-to-ISO-image> with the location of an ISO image of your desired Linux distribution. Replace <USB-device-path> with the path of the USB thumb drive (i.e. /dev/sdb). Also, make sure that there are no important files on your USB thumb drive. Everything will be erased for good.

Here, dd is the command that writes the ISO image to the USB thumb drive. bs=2M tells dd to do the transfer in blocks of 2 MB. if contains the path of the ISO image. of defines the USB thumb drive to which the image will be written. status=progress will show a progress bar. Finally, the sync command is used to flush the cached data to the USB thumb drive so that no data is lost.
So, that is how you can burn an ISO image on Linux Mint.
Conclusion
There are several ways to work with ISO images in Linux Mint. If you are a novice user, I recommend you always do it with graphical programs and leave the terminal for more advanced users.