Pre-requisites:
You have to complete the following tasks before starting the steps of this tutorial.
Create a new Laravel project named validationProject. Here, the composer has been used to create the Laravel project. If the composer is not installed before then, you must install it before executing the following command.
Go to the project folder.
All examples of this tutorial have been tested in Laravel version 9+. Check the installed version of Laravel.
The bootstrap package is required to install for implementing the responsive Contact form. Run the following commands to install bootstrap for the project.
$ php artisan ui bootstrap
$ npm install && npm run dev
Setup Database:
You have to create a database in MySQL to implement the database seeding task. Complete the following tasks to create a database and set up the database for the Laravel project.
Login to the MySQL server and run the following SQL command to create a database named db_validation from the MySQL prompt.
Open the .env file of the Laravel project and initialize the values for the following information based on the database.
DB_HOST=localhost
DB_PORT=3306
DB_DATABASE=db_validation
DB_USERNAME='username'
DB_PASSWORD='password'
Create a Model and Migration file for the table
Go to the Laravel project folder and run the following command to create the model and migration file for the contact table.
After executing the above command, a model file and a migration file will be created. The migration file will be required to modify for adding the fields of the contact_forms table, and it has been done in the next part of the tutorial.
Modify the migration file:
Open the newly created migration file modify the up() function with the following content. According to the script, the contact_forms table will contain 7 fields. These are id, name, email, subject, and message created and updated at fields.
{
Schema::create('contact_forms', function (Blueprint $table) {
$table->id();
$table->string('name');
$table->string('email');
$table->string('subject');
$table->string('message');
$table->timestamps();
});
}
Create the table:
Run the following command to execute the migration file and create the contact_forms table into the database.
Create a controller for validating the Contact Form:
Run the following command to create a controller to validate the contact form. After executing the command, the contactFormController.php file will be created inside the app/Http/Controllers folder.
Open the contactFormController.php file and replace the file’s content with the following content.
'name' =>'required|max:50',
'email' =>'required|email|max:255',
'subject' =>'required|max:100',
'message' =>'required|max:255',
]);
\App\Models\contactForm::create($validatedData);
return response()->json('Message has been sent.');
}
}
Add route for the Contact form:
Open the web.php file from the routes folder and add the following line at the end of the file. The first route will be used to display the Contact form and check the submitted data is valid or not. The second route will be used to store the data of the contact form into the database table,
Route::post('contact','App\Http\Controllers\contactFormController@store')->name('form.store');
Modify the model file:
Open the contactForm.php file from the app/Models folder and replace the content with the following content to mention the mandatory fields of the contact_forms table.
namespace App\Models;
use Illuminate\Database\Eloquent\Factories\HasFactory;
use Illuminate\Database\Eloquent\Model;
classcontactFormextendsModel
{
useHasFactory;
protected$fillable = ['name', 'email', 'subject', 'message'];
}
Create Views for the Contact Form:
Create a layout.blade.php file inside the resources/views folder with the following content that will be used to add necessary css and js files.
<html lang="en">
<head>
<meta charset="UTF-8">
<meta name="viewport" content="width=device-width, initial-scale=1.0">
<meta http-equiv="X-UA-Compatible" content="ie=edge">
<title>Form Validation Tutorial</title>
<link href="{{ asset('css/app.css') }}" rel="stylesheet" type="text/css" />
</head>
<body>
<div class="container">
@yield('content')
</div>
<script src="{{ asset('js/app.js') }}" type="text/js"></script>
</body>
</html>
Create another view file named create.blade.php with the following content to display the responsive contact form.
@section('content')
<style>
.uper {
margin-top: 40px;
}
</style>
<div class="card uper">
<div class="card-header">
Contact Form
</div>
<div class="card-body">
@if ($errors->any())
<div class="alert alert-danger">
<ul>
@foreach ($errors->all() as $error)
<li>{{ $error }}</li>
@endforeach
</ul>
</div><br />
@endif
<form method="post" action="{{ route('form.store') }}">
<div class="form-group">
@csrf
<label for="name">Name:</label>
<input type="text" class="form-control" name="name"/>
</div>
<div class="form-group">
<label for="email">Email :</label>
<input type="text" class="form-control" name="email"/>
</div>
<div class="form-group">
<label for="subject">Subject :</label>
<input type="text" class="form-control" name="subject"/>
</div>
<div class="form-group">
<label for="subject">Message :</label>
<input type="text" class="form-control" name="message"/>
</div>
<button type="submit" class="btn btn-primary">Submit</button>
</form>
</div>
</div>
@endsection
Test the application:
Go to the project folder and run the following command from the terminal to start the Laravel development server.
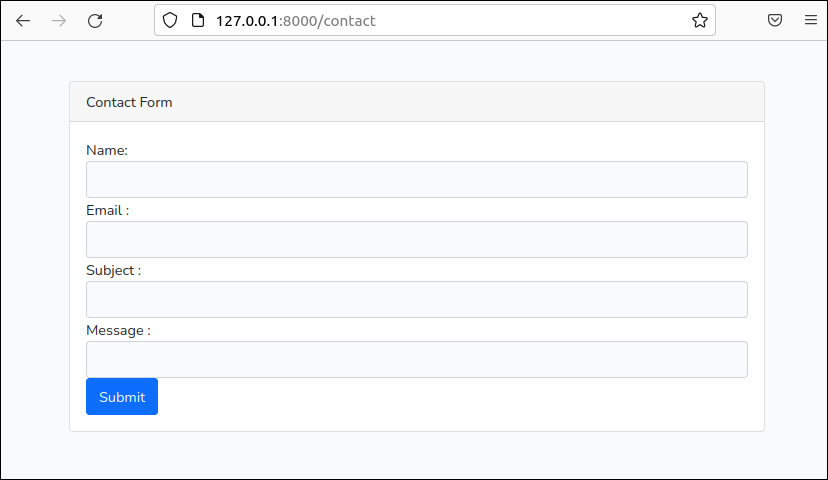
Open the following URL from the browser to display the contact form.
The following Contact form will appear if all of the above steps are completed properly.
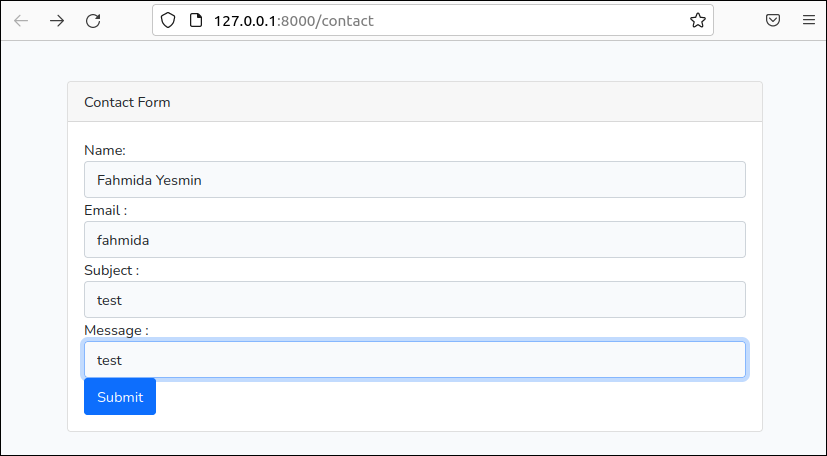
Insert data into the fields and click on Submit button. Here, an invalid email address has been inserted.
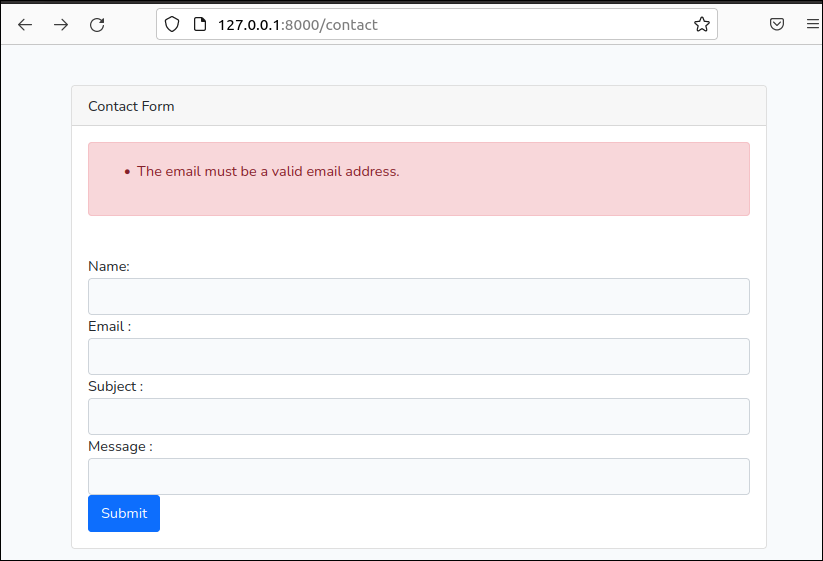
The following output will appear for submitting the invalid email address.
The following output will appear if the contact form submits all valid data. You can check the content of the contact_forms table to confirm whether the data of the contact form has been stored or not.

Conclusion:
One of the simple ways of implementing Laravel form validation has been shown in this tutorial by using a simple contact form. I hope Laravel users will be able to easily do the form validation task by using the controller after reading this tutorial.