What Are Laravel 9 Sessions?
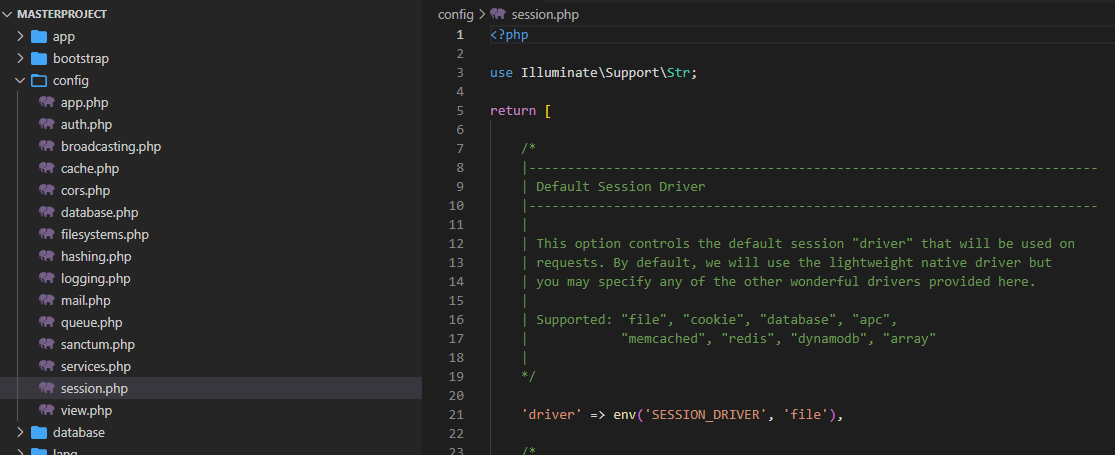
Laravel 9 Sessions typically work to store application information about the system used across the requests. Laravel 9 has multiple drivers like file, APC, cookie, Memcached, array, database, and Redis to handle Laravel session data. By system default, the file driver is used as a Laravel session because it is lightweight. The session was located in the file to the folder at config/session.php.
How To Get Access to Session Data Laravel 9
We create an instance session to access session data for Laravel 9. This can help us access through an HTTP request. To get access, we will use the get() method in our application which has an argument ‘key’ to get session data.
How To Store Session Data Laravel 9
By default, the put() method is used to store session data. It has two arguments one is ‘key,’ and another is ‘Value’.
How To Delete Session Data in Laravel 9
In Laravel 9, to delete or remove an item from the session, apply the forget() method. This method needs only one argument, which is session ‘key’:
This command is used when we need to delete only one key. But if we like to delete all sessions, we have to use the flush() method.
Let’s start with an example for this project.
- Step 1: Create a Session Project
- Step 2: Create and Configure a Controller for the Session Project
- Step 3: Run and Test the project
Step 1: Create a Session Project
We have to run this command to create a session project.

We will use Visual Studio Code as an editor for our Laravel 9 project. You can try another one.
After creating the Laravel 9 project, we need to create a controller in our project. Using this controller, we will store, get, and delete the session.
Step 2: Create and Configure a Controller for the Session Project
For creating a Session controller, we have to run this command:

Once the controller is created, we must create three functions for our session project.
To store, use the following function:
{
$request->session()->put('web', 'www.ronbd.com');
dd('Data has been added to your session');
}
This function will use store session data to file.
For access, use the following function:
{
$value = $request->session()->get('web');
if ($request->session()->has('web')) {
dd($value);
} else {
dd('Nothing to show in this session');
}
}
This function will use get data from the file.
To delete, use the following function:
{
$request->session()->forget('web');
dd('Data has been removed from your session');
}
This function will use delete the session.
All codes look like the following codes . Go to the controller we just created. Now, you need to use “app\Http\Controllers\SessionsController.php”:
{
public function setSessionData(Request $request)
{
$request->session()->put('web', 'www.ronbd.com');
dd('Data has been added to your session');
}
public function getAccessSession(Request $request)
{
$value = $request->session()->get('web');
if ($request->session()->has('web')) {
dd($value);
} else {
dd('Nothing to show in this session');
}
}
public function deleteSetSessionData(Request $request)
{
$request->session()->forget('web');
dd('Data has been removed from your session');
}
}
You can copy the code to your controller.
Now, we need to create the route for these three functions.
For that, you have to go to the following routes/web and add those three routes:
Step 3: Run and Test the Project
To run it, we need to go to the controller we just created for this session project. We run the following command:
Now, go to the following route:
It means our session created the following:
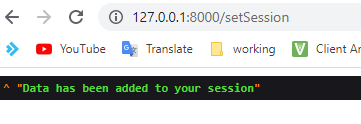
It means our session created the following:
You will get the session here:

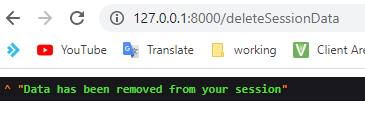
Now, delete the session and go to the following link:
It will delete the session, as shown below:
Conclusion:
This article discussed the three-step process to create a Laravel 9 session project with Laravel 9. The steps include creating a session project, creating and configuring a controller for the session project, and running and testing the project. We hope you found this article helpful on how the Laravel session works.