What is Kubernetes nodeSelector?
A nodeSelector is a scheduling constraint in Kubernetes which specifies a map in the form of a key: value pair custom pod selectors and node labels are used to define the key, value pair. The nodeSelector labeled on the node should match with the key: value pair so that a certain pod can be run on a specific node. To schedule the pod, labels are used on nodes, and nodeSelectors are used on pods. The OpenShift Container Platform schedules the pods on the nodes using the nodeSelector by matching the labels.
Moreover, labels and nodeSelector are used to control which pod is to be scheduled on a specific node. When you use the labels and nodeSelector, label the node first so that the pods do not get descheduled and then add the nodeSelector to the pod. To place a certain pod on a certain node, the nodeSelector is used, while the cluster-wide nodeSelector allows you to place a new pod on a certain node present anywhere in the cluster. The project nodeSelector is used to put the new pod on a certain node in the project.
Prerequisites
To use the Kubernetes nodeSelector, make sure you have the following tools installed in your system:
- Ubuntu 20.04 or any other latest version
- Minikube cluster with a minimum of one worker node
- Kubectl command line tool
Now, we are moving to the next section where we will be demonstrating how you can use nodeSelector on a Kubernetes cluster.
nodeSelector Configuration in Kubernetes
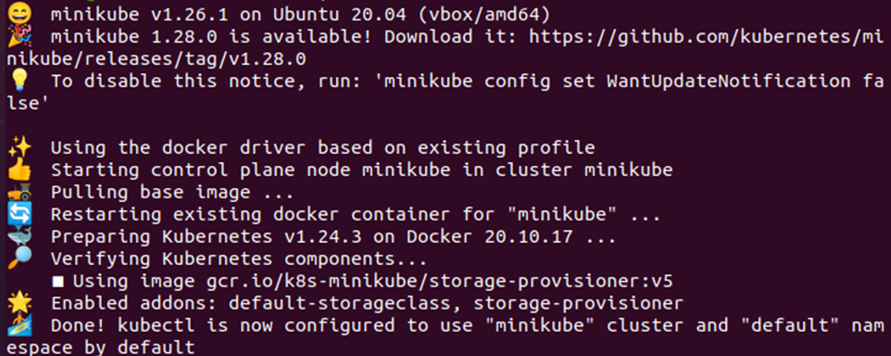
A pod can be restricted to be only able to run on a specific node by using the nodeSelector. The nodeSelector is a node selection constraint that is specified in the pod specification PodSpec. In simple words, the nodeSelector is a scheduling feature that gives you control over the pod to schedule the pod on a node having the same label specified by the user for the nodeSelector label. To use or configure the nodeSelector in Kubernetes, you need the minikube cluster. Start the minikube cluster with the command given below:
Now that the minikube cluster has been started successfully, we can start the implementation of the configuration of the nodeSelector in Kubernetes. In this document we will guide you to create two deployments, one is without any nodeSelector and the other one is with the nodeSelector.
Configure Deployment without nodeSelector
First, we will extract the details of all the nodes which are currently active in the cluster by using the command given below:
This command will list all the nodes present in the cluster with the details of name, status, roles, age, and version parameters. See the sample output given below:
![]()
Now, we will check what taints are active on the nodes in the cluster so that we can plan to deploy the pods on the node accordingly. The command given below is to be used to get the description of the taints applied on the node. There should be no taints active on the node so that the pods can be easily deployed on it. So, let us see what taints are active in the cluster by executing the following command:
![]()
From the output given above, we can see that there is no taint applied on the node, just exactly what we need to deploy the pods on the node. Now, the next step is to create a deployment without specifying any nodeSelector in it. For that matter, we will be using a YAML file where we will store the nodeSelector configuration. The command attached here will be used for the creation of the YAML file:
Here, we are attempting to create a YAML file named deplond.yaml with the nano command.
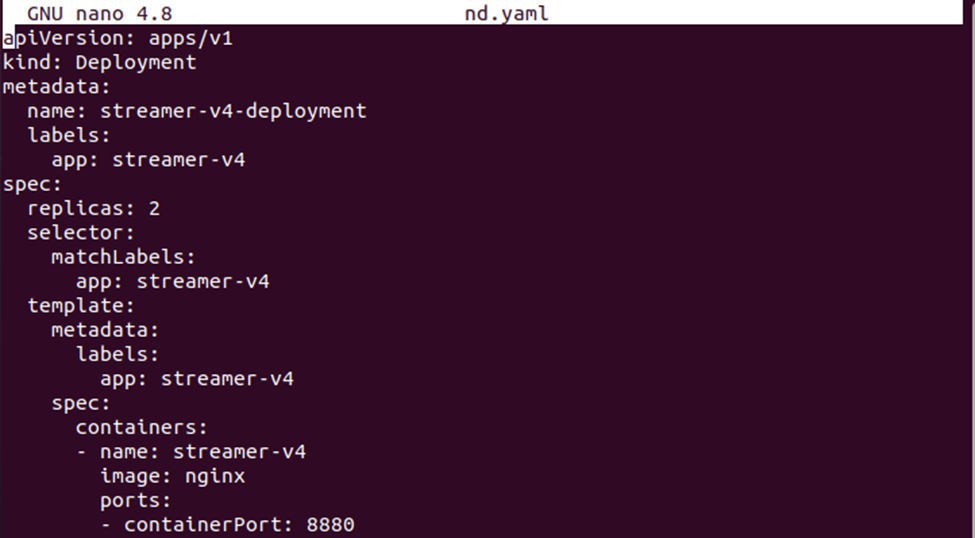
Upon executing this command, we will have a deplond.yaml file where we will store the deployment configuration. See the deployment configuration given below:
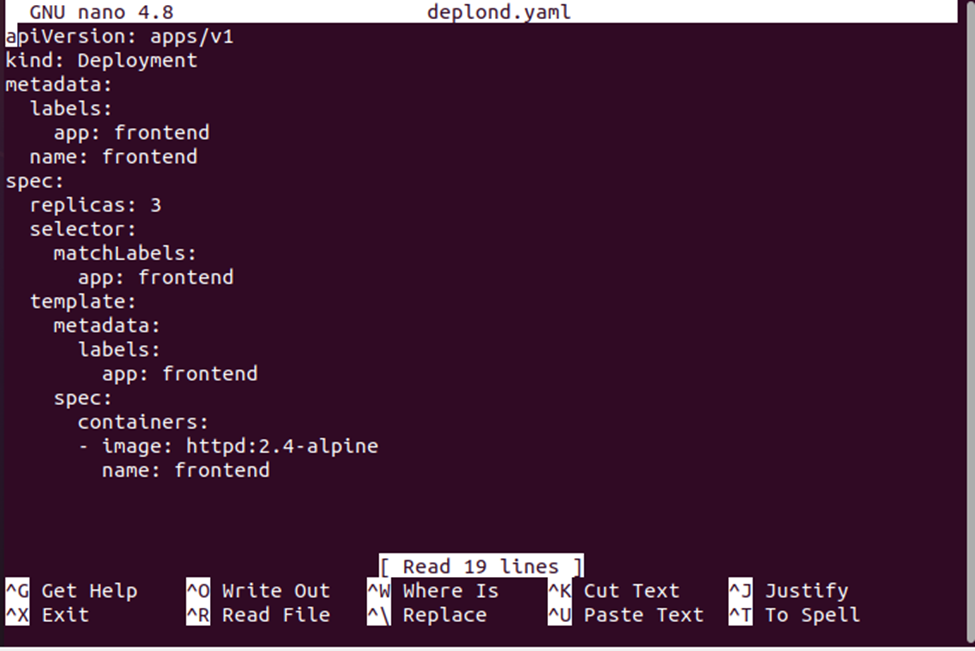
Now, we will create the deployment by using the deployment configuration file. The deplond.yaml file will be used along with the ‘create’ command to create the configuration. See the complete command given below:
![]()
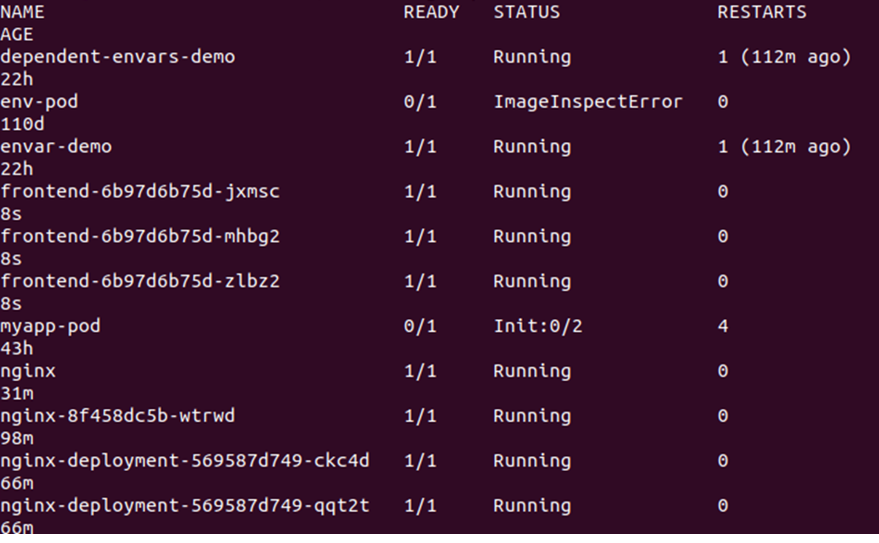
As shown above, the deployment has been successfully created but without nodeSelector. Now, let us check the nodes which are already available in the cluster with the command given below:
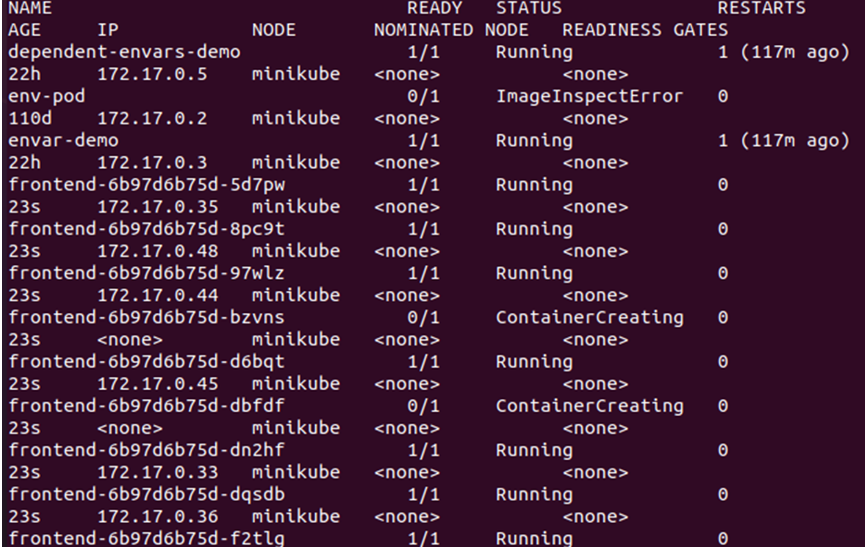
This will list all the pods available in the cluster. See the output given below:
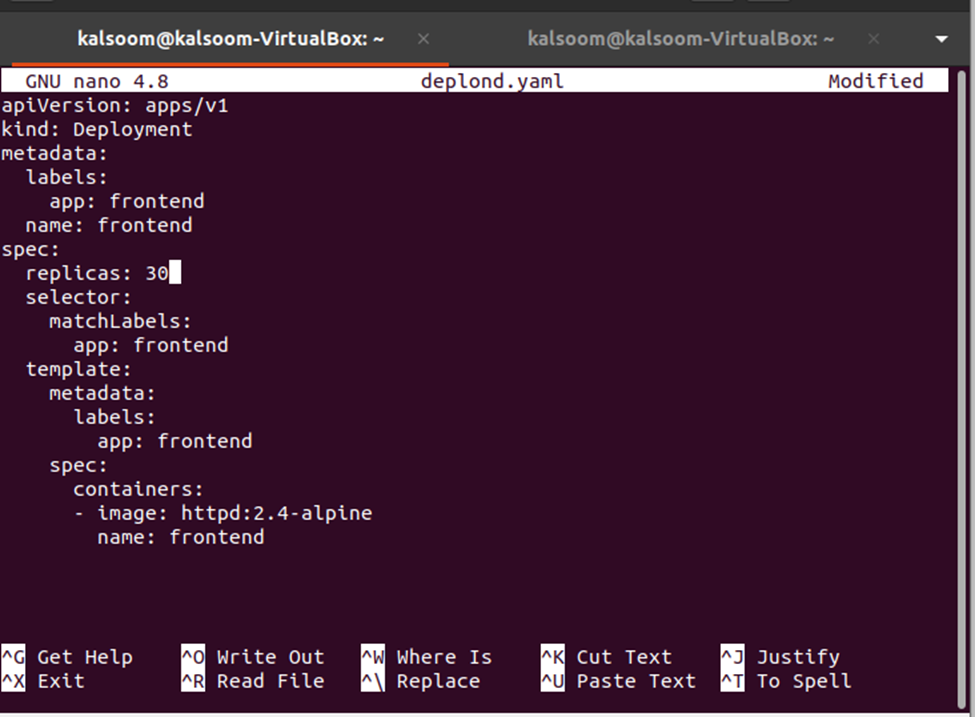
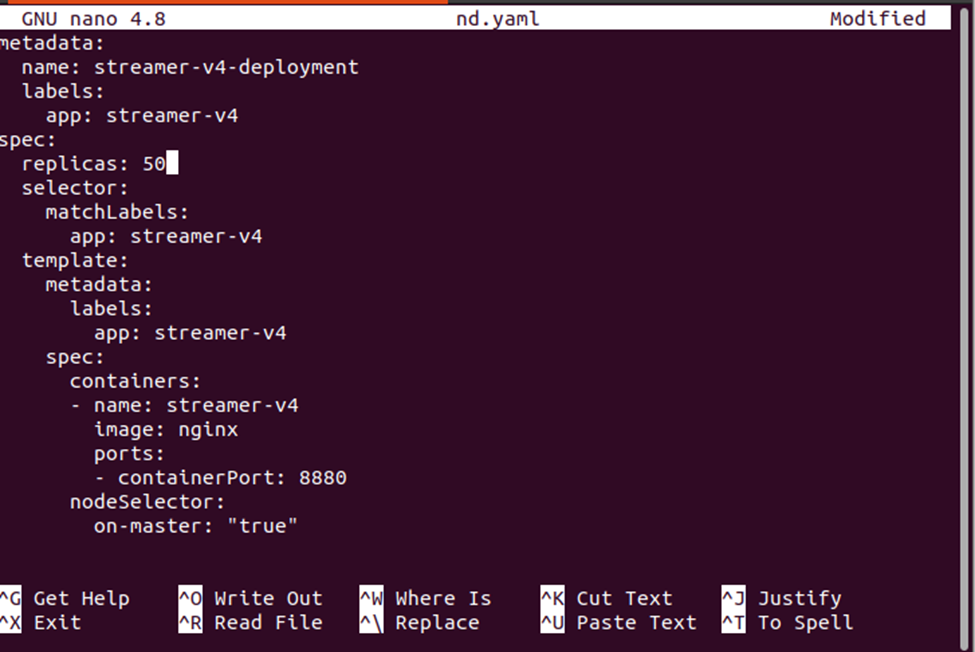
Next, we need to change the count of replicas which can be done by editing the deplond.yaml file. Just open the deplond.yaml file and edit the value of replicas. Here, we are changing the replicas: 3 to replicas : 30. See the modification in the snapshot given below:
Now, the changes need to be applied to the deployment from the deployment definition file and that can be done by using the following command:

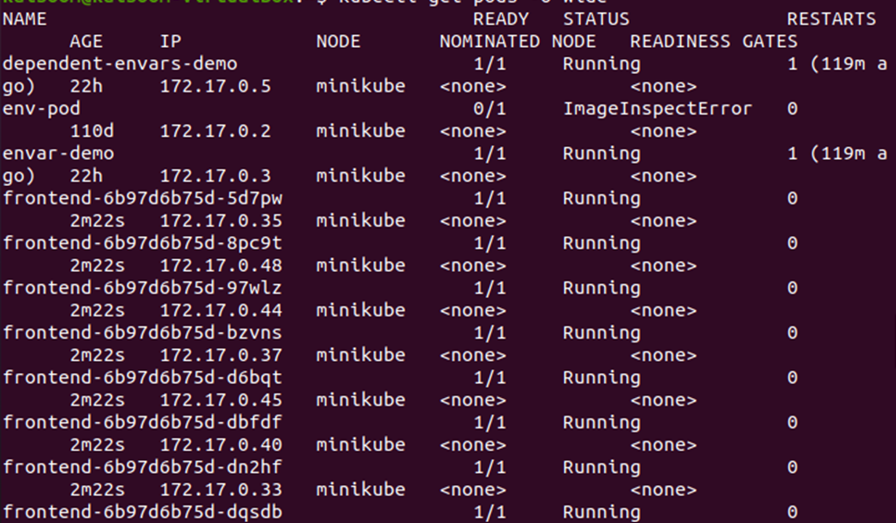
Now, let us check more details of the pods by using the -o wide option:
From the output given above, we can see that the new nodes have been getting created and scheduled on the node since there is no taint active on the node we are using from the cluster. Hence, we specifically need to activate a taint to ensure that the pods only get scheduled on the desired node. For that, we need to create the label on the master node:
Configure Deployment with nodeSelector
To configure the deployment with a nodeSelector, we will follow the same process which has followed for the configuration of the deployment without any nodeSelector.
First, we will create a YAML file with the ‘nano’ command where we need to store the configuration of the deployment.
Now, save the deployment definition in the file. You can compare both configuration files to see the difference between the configuration definitions.

Now, create the deployment of the nodeSelector with the command given below:
![]()
Get the details of the pods by using the -o wide flag:
From the output given above, we can notice that the pods are being deployed on the minikube node. Let us change the count of replicas to check where the new pods get deployed in the cluster.
Apply the new changes on the deployment by using the following command:

Conclusion
In this article, we had an overview of the nodeSelector configuration constraint in Kubernetes. We learned what a nodeSelector is in Kubernetes and with the help of a simple scenario we learned how to create a deployment with and without nodeSelector configuration constraints. You can refer to this article if you are new to the nodeSelector concept and find all the relevant information.