The strategic-merge type tries to “do the accurate thing” when merging the given spec with the current spec. More explicitly, it tries to merge both arrays and objects. For instance, specifying a patch that holds a single or new variable in a pod container specification results in that variable being included in the current variables, not overwriting them. Erasing an array element via a strategic merge patch is more difficult, which needs the usage of merge orders.
Like the strategic approach, the JSON merge patch method takes a partial Kubernetes specification as input and holds the merging objects. This way is quite dissimilar from the above-cited approach as it only supports replacing arrays. While using this approach, you need to stream full specifications for all of the containers; if you need to modify any container propertyOn on the CLI, you can choose JSON merge patch via kubectl patch.
On the other hand, the JSON patch method uses a JSON illustration of the variations you wish to make to a resource. JSON Patch is a more robust and efficient way to state the modifications that you want to make.
Pre-requisites
We need a Kubernetes cluster or a kubectl CLI configuration to interact with the cluster. If you do not have a cluster, then you need to generate one with the help of minikube. While working with Patch commands in Kubernetes, we need to install the minikube cluster on your system to run Kubernetes in Linux.
Kubectl Patch Command
Come let’s illustrate the working of patch commands with the help of kubectl commands or instructions.
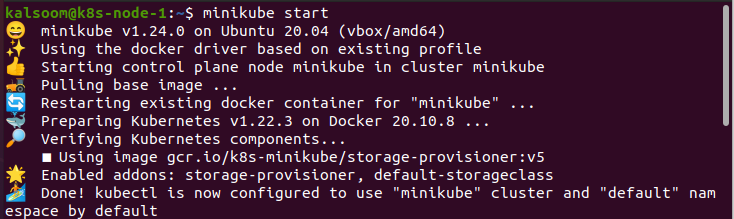
From the app search bar, write “Terminal” or press the “Ctrl+Alt+T” keyboard keys simultaneously. Now write the “minikube start” command in the terminal and wait a while until it successfully gets started.
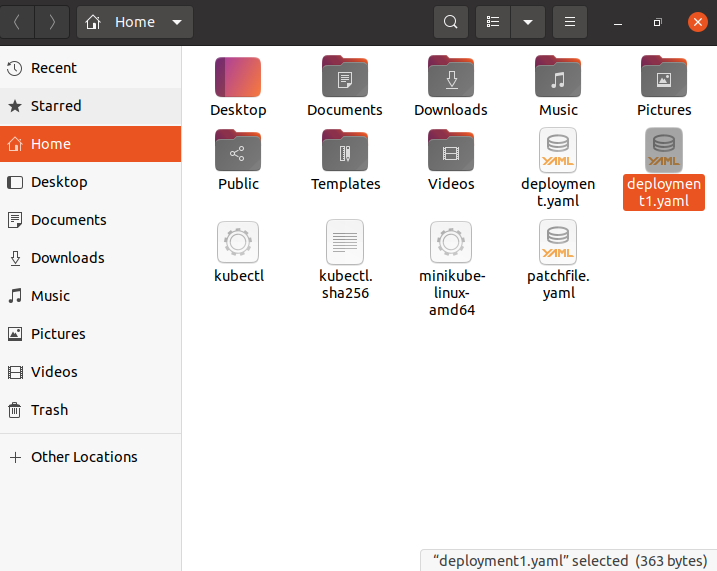
While working with patch commands, we first need to generate a deployment in Kubernetes. For this purpose, we use touch deployment.yaml command to create a file in Ubuntu 20.04, and the touch keyword is used to generate a file.
![]()
Save and execute the kubectl command file. You will then view the file that is created successfully.
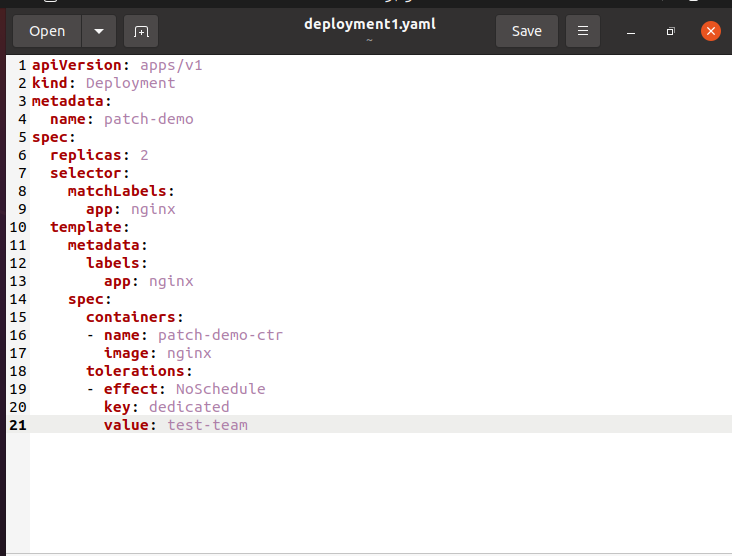
The below-mentioned deployment configuration file has two copies or replicas, and each copy is a Pod that contains one container.
To create the deployment, we use the ‘apply -f’ with the file name to successfully create the deployment.
![]()
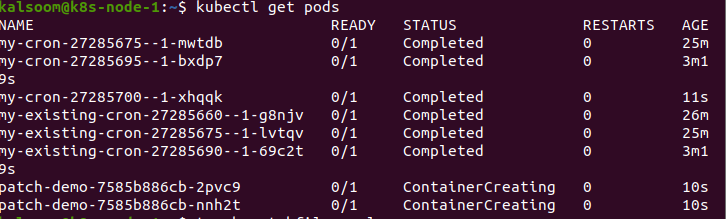
To view the information or check Pods linked with your Deployment, we use the get pods command just like we did in the below screenshot:
After executing the above command, you will display the name, ready, status, restart, and age of all pods executing on your PC.
Keep in mind that the name specifies the currently running Pods. After a few minutes, you will then view that these Pods get ended and swapped by new ones.
At this stage, each Pod contains one Container that executes the Nginx image. Now, if you wish each Pod to hold two containers: one that executes Nginx and one that executes redis. For our below command, generate a patch file.
![]()
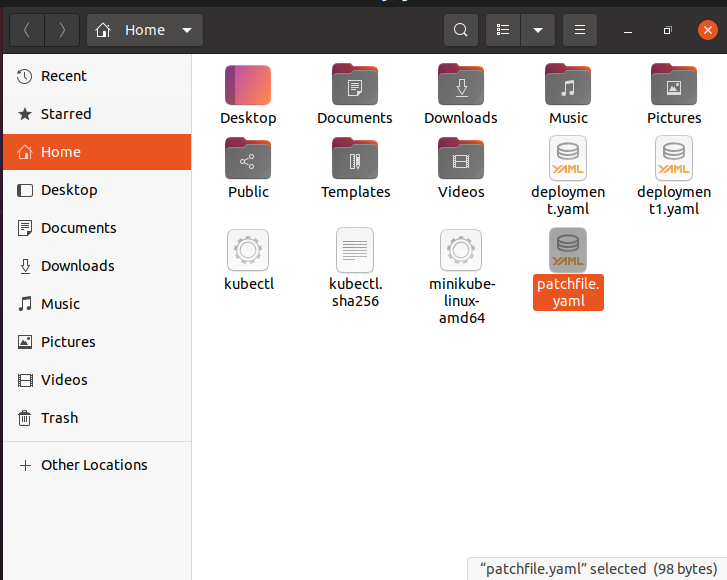
After executing this command, you can then view the patchfile with the “.yaml” extension.
After saving and opening the file, you can view that your “patchfile” contains the desired content.

Now our next focus is to patch the deployment. So, the below command is very helpful to patch deployment.

To display the patched deployment, you’ll need to execute the below command. The result shows that the PodSpec in the Deployment contains two Containers:

The below command shows whether the Pods are linked with your patched Deployment or not. In this output, the currently running Pods have changed names from the Pods that were executing earlier. The Deployment finished the previous Pods and created two other new Pods that conform with the updated Deployment specification.

Conclusion:
So here in this article, we have elaborated the concept of patch command in Kubernetes. We used the kubectl patch to alter the live Deployment object configuration. I hope you can now apprehend the whole concept of the patch in Kubernetes.