A kubectl command-line service is an influential tool that we can utilize to build items and interrelate through the Kubernetes API. Though by this time, it makes sense to run the kubectl commands, which are applied to every Kubernetes item. In this article, we are going to discuss kubectl exec multiple commands.
Prerequisites:
Before we start to execute commands, get familiar with the deliberations listed below:
To execute the commands in Kubernetes, we need to install Ubuntu 20.0 on the Linux operating system. Furthermore, install the Minikube cluster on the system as it is mandatory to run Kubernetes in Linux. Minikube provides an extremely smooth practice as it provides an efficient approach to test the commands and applications.
We have to start Ubuntu 20.04, which is installed, and then we go to the command line terminal. We write “Terminal” in the Ubuntu 20.04 system’s search bar to easily launch the terminal.
Start the Minikube:
The next step is to start the Minikube. To initiate the Minikube, we run the “minikube start” command in the terminal. This command will start the Kubernetes cluster and create a virtual machine capable of executing a cluster. Moreover, it will develop the kubectl installation to interact with this cluster:
The output of the “minikube start” command is shown in the above figure.
Display All Pods:
Everything that is confined in Kubernetes is denoted by resources. These sources are called Kubernetes objects. Every Kubernetes object resides in a single HTTP path. The kubectl command sends HTTP requirements to different URLs to acquire the Kubernetes items in the paths.
The simplest command to display a Kubernetes object through kubectl is “get”. Running the kubectl get command will show a list of all sources in the existing namespace. If we need to acquire a definite resource, we may utilize the kubectl get command with the item name.
The kubectl utilizes a human-readable printer in a reaction to the API server when it removes this human-readable printer. There are many object particulars to appropriate every item to the end line. One method to acquire further data is to enhance a more detailed or wide flag to the extensive line. The general options for operating the output from kubectl include eliminating the header. One more task is to extract a definite field from an object. Kubectl utilizes the Path request to choose the fields of the resumed item. This command eradicates and outputs the IP statement of the pod.
Now, we enlist all the running pods:
Here, we obtain data of different pods. That data includes names, ready state, status, restart state, and age of those pods. The result represents that the container running in the pod is accomplished.
Pick the “nginx” Pod From the List:
In this step, we execute the command “kubectl get pods | grep nginx” to select the “nginx” pod from the list previously mentioned:
Apply the Exec Command:
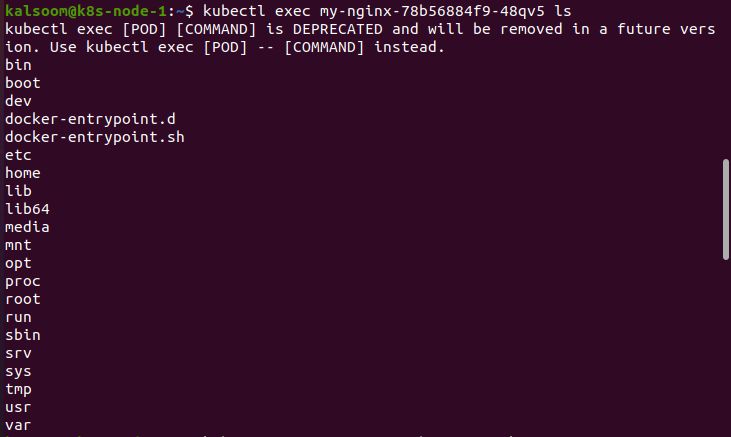
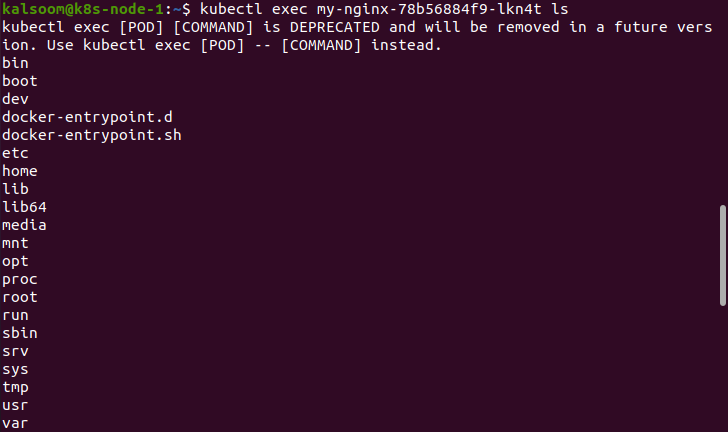
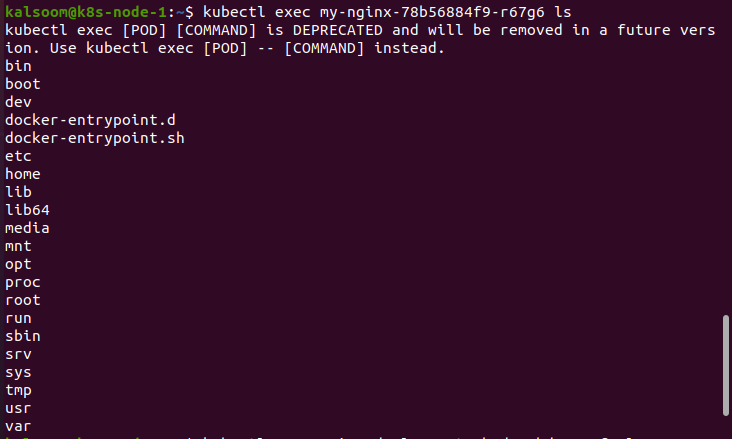
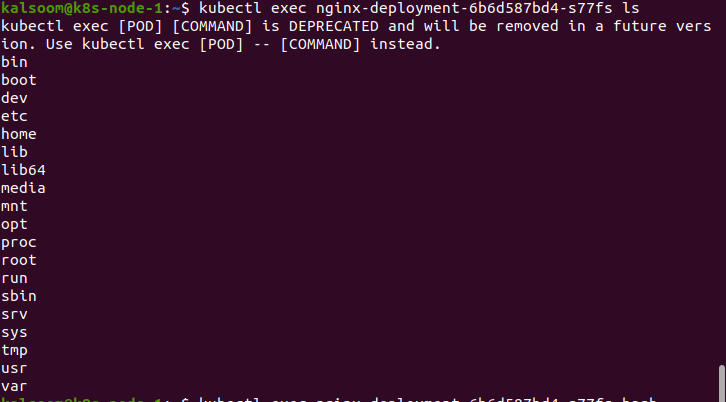
In this instance, we are executing the exec command to the list above that gives four results.
It is useful to utilize the kubectl exec to verify that the work is mounted as estimated. First, we construct a pod with the volume mounted on data. Kubernetes makes the service available by variables of the environment. It is helpful to verify these environmental variables with kubectl exec. We utilize kubectl to make a pod and a command:
After executing the command that is mentioned above, we have this output:
Conclusion:
When the application executes in a Kubernetes pod, it means that the container is packaged and displayed as a pod. The container contains all the requirements and commands needed to run the procedures together, and it is located in the pod. While generating a pod, we may state commands and parameters executed inside the container.
Normally, the commands and parameters we state in the custom form prevail over the standard commands and parameters in the container image. In this article, we create and define different commands for containers that execute utilizing application pods. Plus, we have discussed how to run the kubectl exec command having multiple arguments. We hope you found this article helpful. Check out Linux Hint for more tips and information.


