Before starting:
We will use the Ubuntu 20.04 Linux operating system to demonstrate how the kubectl cp function works. The operating system used will be fully determined by the user’s choices. We must first install kubectl and then set it up on our machine. The minikube’s installation and setup are two of the essential requirements. In addition, you must begin using minikube. Minikube is a virtual machine that operates a single-node Kubernetes cluster. On the Ubuntu 20.04 Linux system, we must use the command line terminal to get it started. Open the shell by pressing “Ctrl+Alt+T” on the keyboard or using the terminal application in the Ubuntu 20.04 Linux system programs. To get started with the minikube cluster, run the command indicated below.
Pod Details
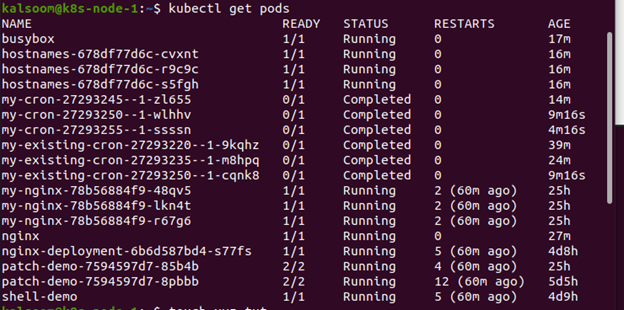
You assign an IP address to a pod when you create it. Localhost can be used to join containers in a pod with a large number of them. You can extend communication beyond the pod by exposing a port. From kubectl, the get commands return data in tabular form for one or more resources. Label selectors can be used to filter content. Information can only be provided to the current namespace or the entire cluster. We’ll need to choose a name for the pod (or pods) with whom we’d like to work. We will use the kubectl get pod command to find the pod’s name (s), and we will use these names throughout the examples. Run the command below to see a list of the pods that are currently available in the system.
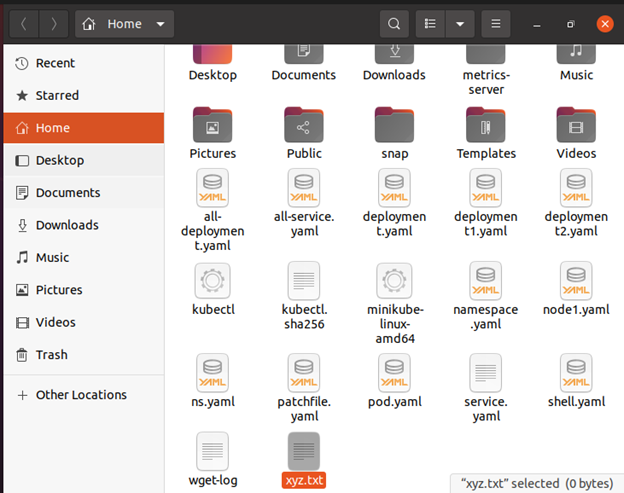
We have generated a file in our system’s home directory. “xyz.txt” is the name of the file. The kubectl cp command will be run from this file.
The file was successfully produced, as you can see below.
Make sure you have everything you will need before you start. We must ensure that our Kubernetes client is connected to a cluster. Second, we will need to decide on the pod’s name (or pods) with which we would like to collaborate. To determine the pod’s name (s), we will use the kubectl get pod and utilize these names in the following parts.
Transfer of a File from a Local PC to a Pod
Let’s suppose we need to move some files from a local PC to a pod. We copied a local file to a pod called “shell-demo” in the preceding example, and we provided the same path on the pod to reproduce the file. You’ll see that we followed an absolute path in both cases. Relative paths can be employed as well. In Kubernetes, the file is copied to the working directory and not in the home directory, which is a significant distinction between kubectl cp and technologies such as SCP.
The kubectl cp command takes two parameters, and the first parameter is the source, while the second seems to be the destination. Like scp, both parameters (source and destination files) can refer to a local or remote file without any doubt.
Copy the File to the Current Directory of the Pod
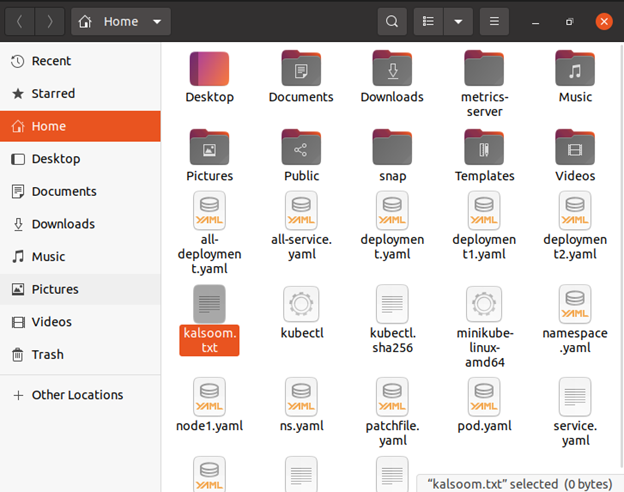
Now we have created a new text file with the name “kalsoom.txt”.
The file is created successfully.
It will copy “kalsoom.txt” from the working directory of your pod to the current working directory. Type the following command in the terminal shell of the Ubuntu 20.04 Linux operating system.
Conclusion
As we learned in this post, the most commonly used kubectl cp command is to copy files between the user machine or the cloud and containers. This command copies files by producing a tar file in the container, replicating it to the network, and then unpacking it with the help of kubectl on the user’s workstation or cloud instance. The command kubectl cp is quite handy and used by many for transferring files between Kubernetes pods and the local system. This command could be useful to debug any logs or content files that are output locally inside the container and if you want to dump the container’s database, for example.


