There are various ways you can use to clean up disk space in Jenkins.
Managing Old Builds
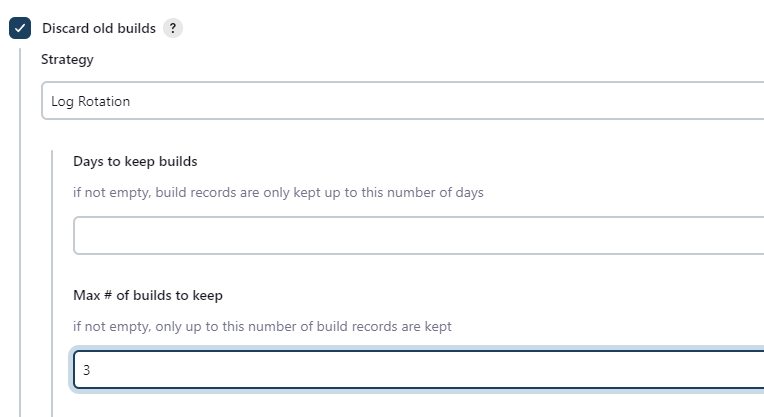
One way to free up disk space is by managing the number of builds that are kept on the Jenkins server. You can configure Jenkins to keep only a certain number of builds for each job and older builds will be automatically deleted. You can access the build management settings by going to the job’s configuration page.
Using a Workspace Cleanup Plugin
We can use a Workspace Cleanup Plugin that allows us to automatically delete files from a job’s workspace after it has been completed. This can be useful for deleting large files or build artifacts that are no longer needed.
You can check the plugin provided in the link below:
https://plugins.jenkins.io/ws-cleanup/
Using a Disk Usage Plugin
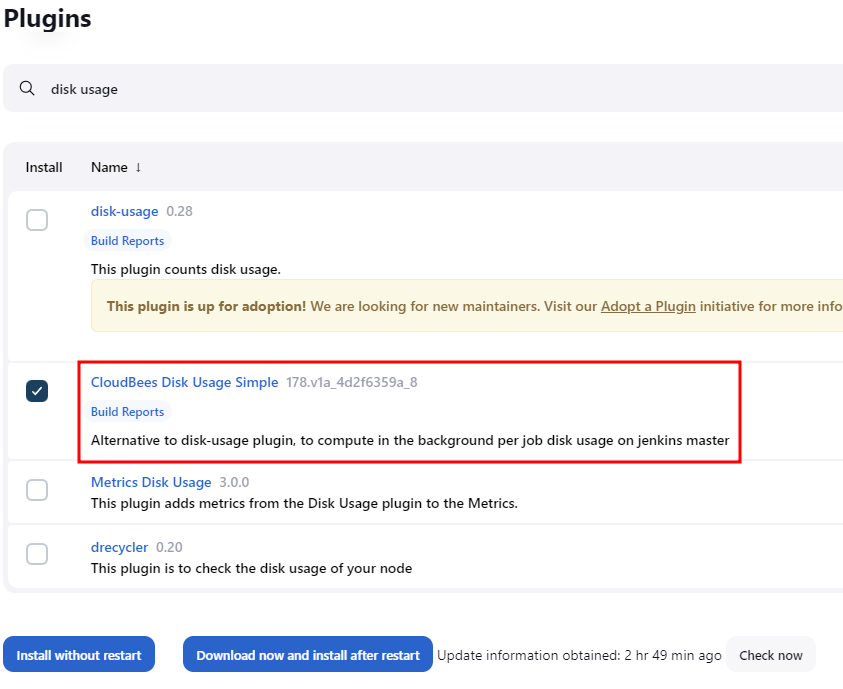
A Disk Usage Plugin visualizes disk usage on the Jenkins server and allows you to see which jobs and builds are taking up the most space. This can help identify specific areas where disk space can be reclaimed.
Once installed, you can check the Disk Usage for your Jenkins controller by heading to Manage Jenkins -> Disk Usage.
Using a Build Pipeline Plugin
Using a Build Pipeline Plugin allows you to configure pipeline a and visualize it as a pipeline flow on the Jenkins UI. This can help you to see the disk space utilization on each pipeline execution, and based on that, you can decide on any builds to keep or if there are any files/folder that needs to be deleted for that specific pipeline.
Manual Disk Management
Another option you can use to clean up your Jenkins disk space is manually deleting files. Jenkins keeps its builds in the “jobs” directory and its plugins in the “plugins” directory. You can manually delete files and directories from these locations if you need to reclaim disk space.
Conclusion
This post discusses the various methods and tools you can use to cleanup your Jenkins disk usage. It’s always a good idea to backup your Jenkins instance before modifying it.


