
Introduction to GUI:
GUI is a user interface that acts as an intermediate between the computer or electronic device and the user. What sets GUI apart from other user interfaces is that GUI employs graphical icons and visually pleasing themes to interact with the help of a pointer rather than text-based components.
Although text-based icons and components are still needed in some GUIs e.g. a login page etc. but the major goal for any good GUI designer should be to make it as easy as possible for the user to interact with it and primarily with a mouse. Like mentioned above, GUIs are easier to use than most other interfaces and the support available for making it visually appealing not only helps the user to focus on certain elements but also lets the designer get creative and experiment with his imagination, making its development intuitive and fun. GUI also lets the designer insert videos and images into the form to make it even more appealing and easy to use for the user.
Java APIs:
Java allows the developer to use three APIs (Application Programming Interface):
- AWT (Abstract Windowing Toolkit)
- Swing
- JavaFX
AWT and Swing are older APIs, while JavaFX was integrated with Java 8 and is the latest API with more options than AWT and Swing.
One major advantage of using JavaFX over other APIs is the integration of Scene Builder. JavaFX Scene Builder is a tool which allows GUI to be developed without coding. It achieves this by providing a blank area where different components from JavaFX can be dragged and dropped to make different GUI forms. These components can also be edited with a huge variety of customization options. All of this can be done in real time and the GUI takes form as the designer develops it.
JavaFX Scene Builder generates FXML, this lets the designer make the interface separately from the program logic. FXML is an XML-based language. JavaFX Scene Builder can be used with any Java IDE to combine the program logic with the interface but it is specially geared towards programs and applications developed in NetBeans IDE.
What is NetBeans?
NetBeans is an open-source, free IDE (Integrated Development Environment) which uses a modular architecture i.e. it uses modules (groups of classes and libraries) to implement specific features into an application. NetBeans is one of the most popular Java IDEs right now. NetBeans is also known for its great Maven support and its user-friendly interface. To start developing on NetBeans and JavaFX Scene Builder, you need to have both installed and JavaFX Scene Builder integrated with NetBeans. This guide will be more than enough to help you with the process of installation and how to integrate both the programs on Windows.
Install NetBeans:
To install NetBeans, you have to download it first from the NetBeans official website:
https://netbeans.apache.org/download/index.html
- Click on the green “Download” button under the Apache NetBeans 10.0 line
- You can also learn more about NetBeans by clicking the blue “Features” button next to the “Download” button.
- You can also download other previous versions as well but its recommended to use the latest version.
- This will take you to a page titled “Downloading Apache NetBeans (incubating)”.
- From this page, click on the “Binaries” link. You can click the “Source” link and download that if you want to compile it yourself but downloading the “Binaries” is faster and easier.

- Once clicked, this will redirect you to the apache page where a link will be generated for you.
- Click the link and it will start downloading.
- Once downloaded, extract the package to your desired directory (you can extract the package by using WinRAR).
- After extraction, go in the extracted directory and look for the “bin” folder.
- Go in the “bin” folder and you will see two “Application” files; “netbeans.exe” and “netbeans64.exe”.
- If you are using 32-bit Windows then open “netbeans.exe” and if you are using 64-bit Windows then open “netbeans64.exe”.
- This will open NetBeans IDE directly. There is no need to install it separately as we have installed the binaries.
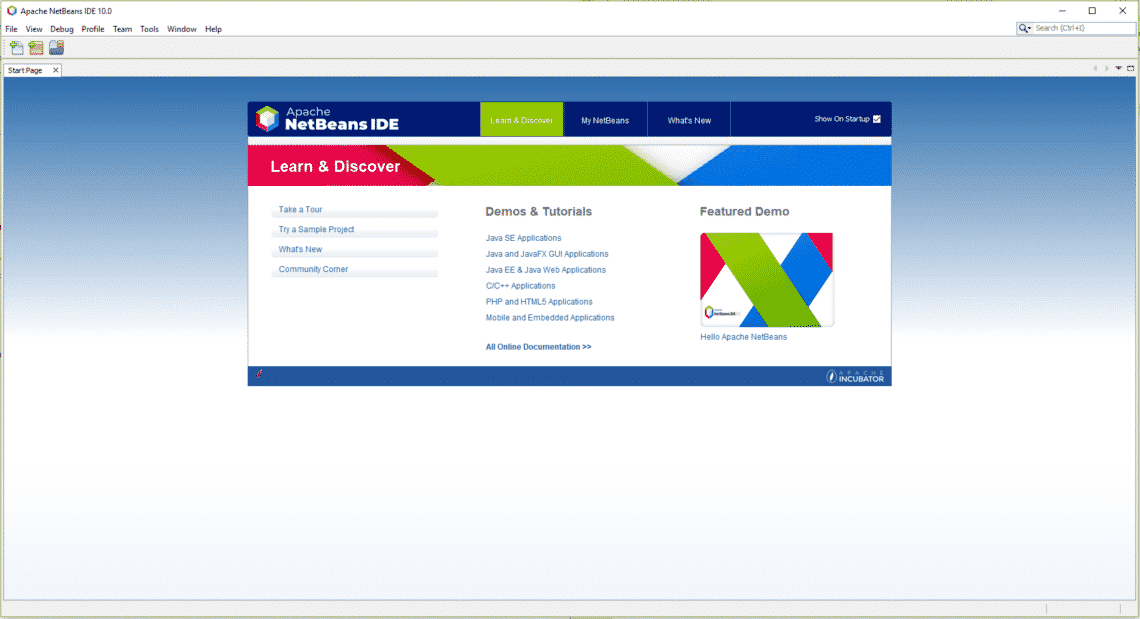
- If you are greeted with this view once it opens, then NetBeans 10.0 has been successfully installed and is ready for you to start writing programs and developing applications on it.
Install the JavaFX Scene Builder:
Now that NetBeans has been successfully installed and is working properly, we can move to the next step; install JavaFX Scene Builder. First, we have to download Scene Builder from its official website:
https://gluonhq.com/products/scene-builder/#download
- On this page, scroll down until you see the download options for your version of Java which can be one of these three: Java 10, Java 8 or Java 11.
- In our case, it is Java 11. Under your version of Java, look for the Scene Builder which has “Windows Installer” as the platform and click the green “Download” button.
- This will redirect you to a “Thanks” page and start downloading.
- Once downloaded, open the installer.
- In the installer, accept the terms and conditions and click install.
- Once installed, click finish.
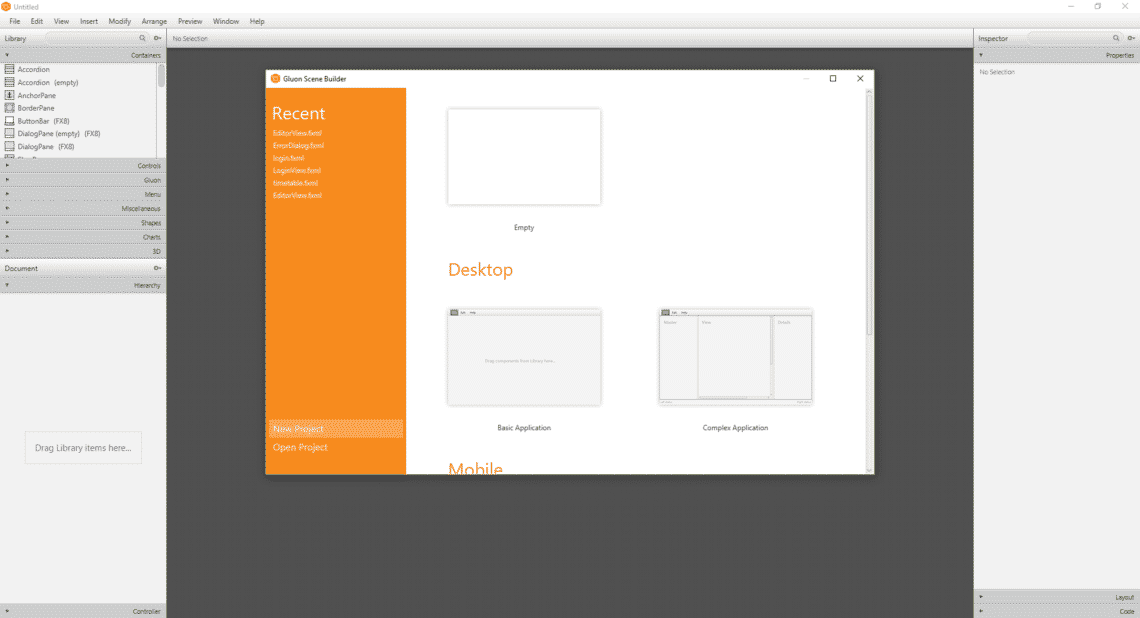
- To check whether the installation was successful or not you can open “SceneBuilder.exe” and will be greeted with the following view if the installation was successful:
Integrate JavaFX Scene Builder and NetBeans:
Once Scene Builder and NetBeans have been installed, it is time to move to the final step; integrate both the programs.
- First, open NetBeans, click on “File” and then “New project.. ”
- in the dropdown menu. A new window will open.
- Click on “JavaFX” from the “Categories” tab and “Java FXML Application” fro, “Projects” tab.
- Click “Next”.

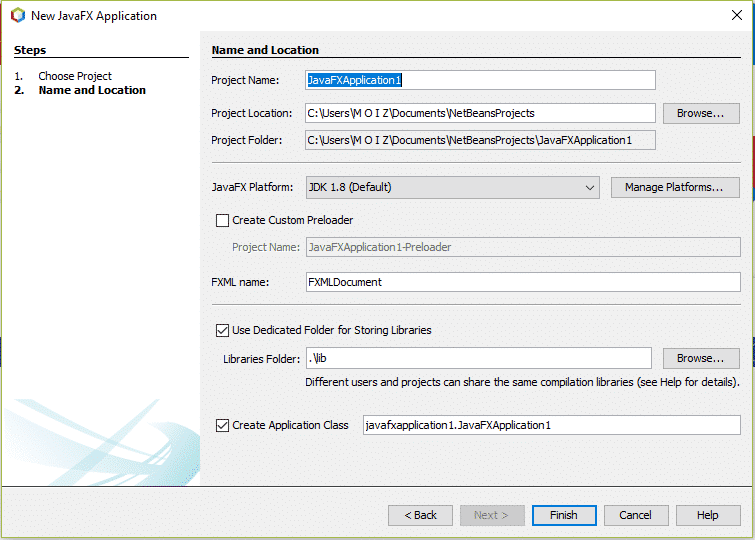
Install any modules, if it prompts to download and activate any modules. In the next window give the project a name and click “Finish”.
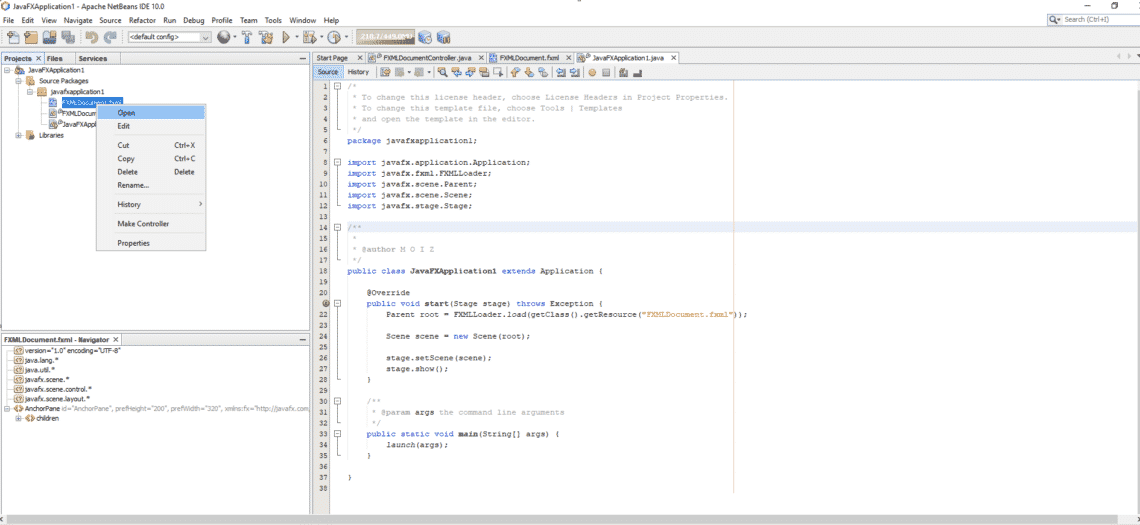
- Once opened, go to the “Projects” tab and click on your project.
- Then click on “Source Packages”, click on your project’s package, and right-click on the .fxml file and click “Open”.
- This will open the file in Scene Builder for you to work on it.
And with this, you have successfully integrated Scene Builder and NetBeans to work together seamlessly. Once you are done with making the GUI, to add functionality and logic to it, edit the “Controller.Java” file directly below the .fxml file and give it functionality. Now you can go on and enjoy making GUI for your programs in an intuitive and fun way using JavaFX Scene Builder.