Wine is a helpful tool that allows you to run many Windows applications on Linux. Therefore, if you have just shifted from Windows to Linux, this tool can prove to be your best partner in helping you getting used to the Linux environment. This article is dedicated to the method of installing Wine on a Linux Mint 20.3 system.
How to Install Wine on Linux Mint 20.3?
To install Wine on Linux Mint 20.3, you need to proceed as follows:
Step 1: Check the Architecture of Your System
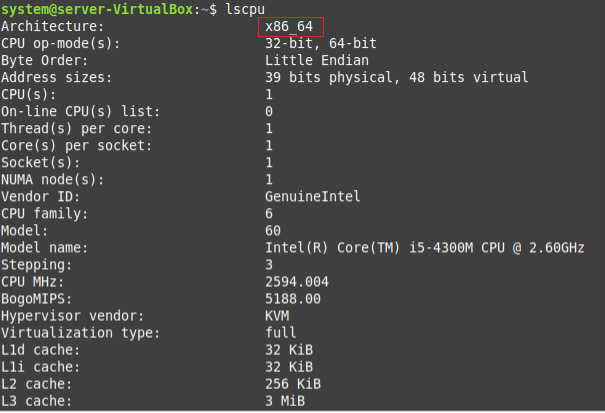
First, you should check the architecture of your system whether it is a 32-bit or a 64-bit system. This will later on help you in installing the appropriate version of Wine on your system. To check the architecture of your system, you can use the command shown below:
The architecture of our system is highlighted in the following image:
Step 2: Install the Appropriate Version of Wine for Your System
Since we are running a 64-bit Linux Mint 20.3 system, therefore, we will execute the command shown below for installing Wine on it:
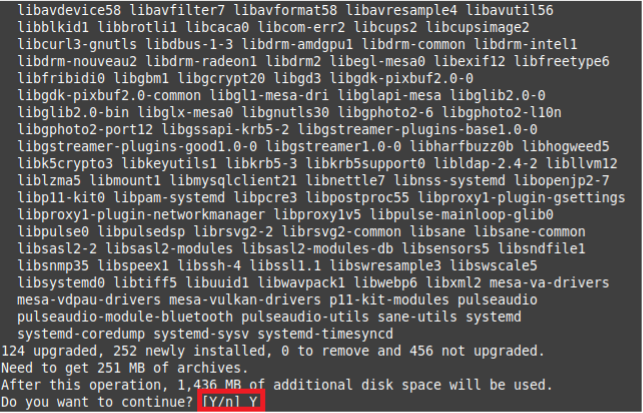
In the same manner, you can also install Wine for a 32-bit system simply by replacing “64” with “32” in the above-mentioned command. The installation of Wine will start right after the execution of this command. However, you will have to provide confirmation for proceeding further as shown in the following image:
Step 3: Confirm the Installation of Wine on Linux Mint 20.3
Once Wine is successfully installed on your Linux Mint 20.3 system, you can confirm this by running the command shown below:
This command will display the version of Wine that we have managed to install as shown in the following image:
How to Uninstall Wine From Linux Mint 20.3?
If you wish to uninstall Wine from your Linux Mint 20.3 system at any given time, then you can simply run the command given below:
Conclusion
This article was meant to convey the installation procedure of Wine on a Linux Mint 20.3 system. After having this tool installed on your Linux system, you can easily run your favorite applications on it.


