
[adthrive-in-post-video-player video-id=”HYMITe4K” upload-date=”2020-12-04T17:00:20.000Z” name=”Install VNC Server on Linux Mint 20″ description=”Install VNC Server on Linux Mint 20″ player-type=”collapse” override-embed=”true”]
In this tutorial, we will describe how to install the VNC server on the Linux Mint 20 system. To test the connection to the VNC server, we will use the VNC viewer (VNC client) application. You can use any other VNC client application.
Before proceeding towards the article, make sure you are logged in as a sudo user.
Step 1: Install the Desktop environment
There are several desktop environments in Linux, such as Gnome, KDE, XFCE, Unity, etc. We will need to install any one of them for the VNC server to work properly. Here, we are going to install the XFCE desktop.
Open the command-line Terminal application using the Ctrl+Alt+T keyboard shortcut and then issue the following command in Terminal to install XFCE desktop.
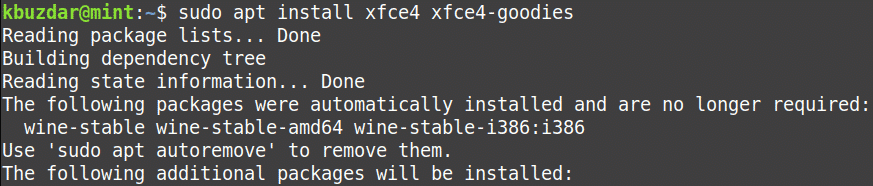
After running the above command, the system might ask for confirmation that if you want to continue the installation or not. Press y to continue; after that, XFCE desktop will be installed on your system along with all dependencies.
Step 2: Install VNC server
There are different VNC servers available for Linux systems. Here, we are going to install “Tightvncserver”. It is pretty easy to set up and run Tightvncserver, and it is also reliable. Issue the following command in Terminal to install Tightvncserver.
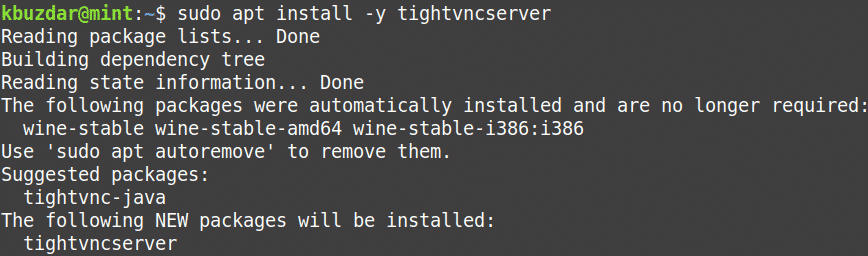
After the installation is completed, issue the following command in Terminal:
You will be prompted to set a password for the VNC server. Enter the password and then confirm it by entering it again. Then you will be asked that if you want to enter a view-only password, hit n. If you press y, you will not be able to use the mouse and keyboard for controlling the VNC instance.
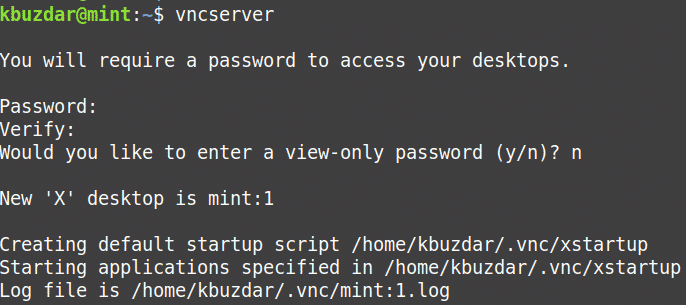
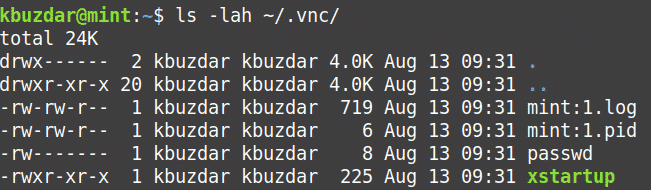
When you run the “vncserver” command for the first time, it creates a new directory “.vnc” under your Home directory. To view this directory, you can issue the following command in Terminal:
To view the VNC server process, issue the following command in Terminal:

Step 3: Configure VNC
Now we will configure the VNC server. For that, first, kill the VNC session using the following command in Terminal:

The default configuration file of the VNC server is ~/ .vnc/xstartup. Before making any changes to this file, let’s create a backup copy of this file. Issue the following command in Terminal to do so:
Now edit the ~/.vnc/xstartup file using any text editor. Here, we are using Vim text editor:
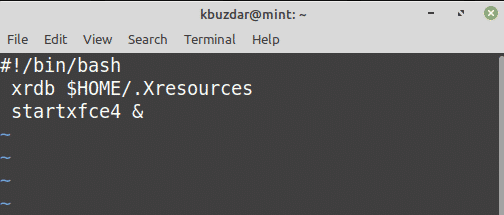
Insert the following lines in this file:
xrdb $HOME/.Xresources
startxfce4 &
Now hit Esc key and press :wq to save and close the ~/.vnc/xstartup file.
Now you will need to make this file executable. Issue the following command in Terminal to do so:
Run VNC server using the following command in Terminal:
Step 4: Configure VNC as a service
Now you will need to create a service file for the VNC server. For this purpose, navigate to the /etc/systemd/system directory using the following command:
Then create a service file with the following command in Terminal:
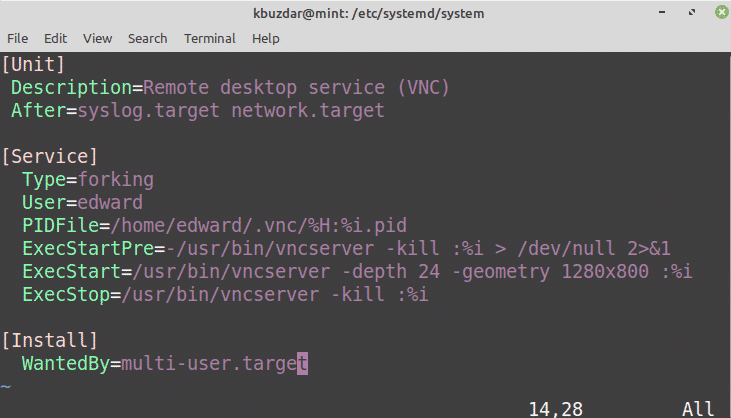
Insert the following lines in this file:
Description=Remote desktop service (VNC)
After=syslog.target network.target
[Service]
Type=forking
User=edward
PIDFile=/home/edward/.vnc/%H:%i.pid
ExecStartPre=-/usr/bin/vncserver -kill :%i > /dev/null 2>&1
ExecStart=/usr/bin/vncserver -depth 24 -geometry 1280x800 :%i
ExecStop=/usr/bin/vncserver -kill :%i
[Install]
WantedBy=multi-user.target
Now hit Esc key and press :wq to save and close the file.
Now reload the systemd processes using the following command in Terminal:
Then start the VNC server services:
To enable the VNC server service to start at boot, use the following command:
To check the VNC service status, use the following command:

Step 5: Connect to VNC server
Now we will try to connect to the VNC server through an SSH tunnel as VNC itself is not an encrypted protocol. Issue the following command in Terminal to do so:
Replace the [user_name] and [server_ip] with the actual user name and the IP address of the VNC server. In our example, the command would be:
![]()
This command will set up a secure tunnel between your localhost and the VNC server.
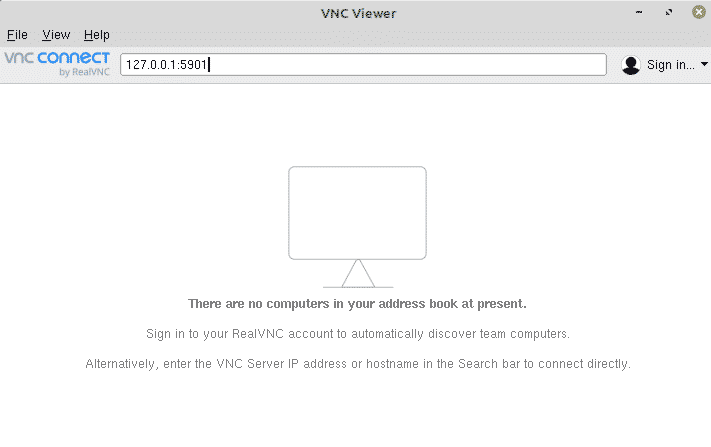
Now install VNC client application (VNC viewer )on your system and launch it. In the top bar of a VNC viewer, type 127.0.0.1:5901, and press Enter.
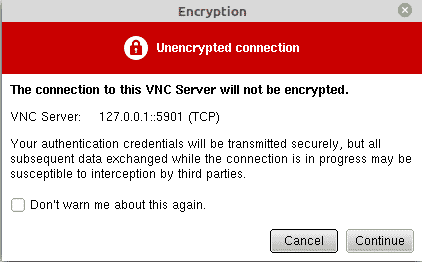
When the following dialog appears, click Continue.
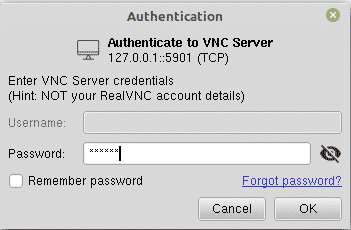
In the following Authentication dialog, type VNC server password and click OK.
Now you will see the remote system’s desktop.
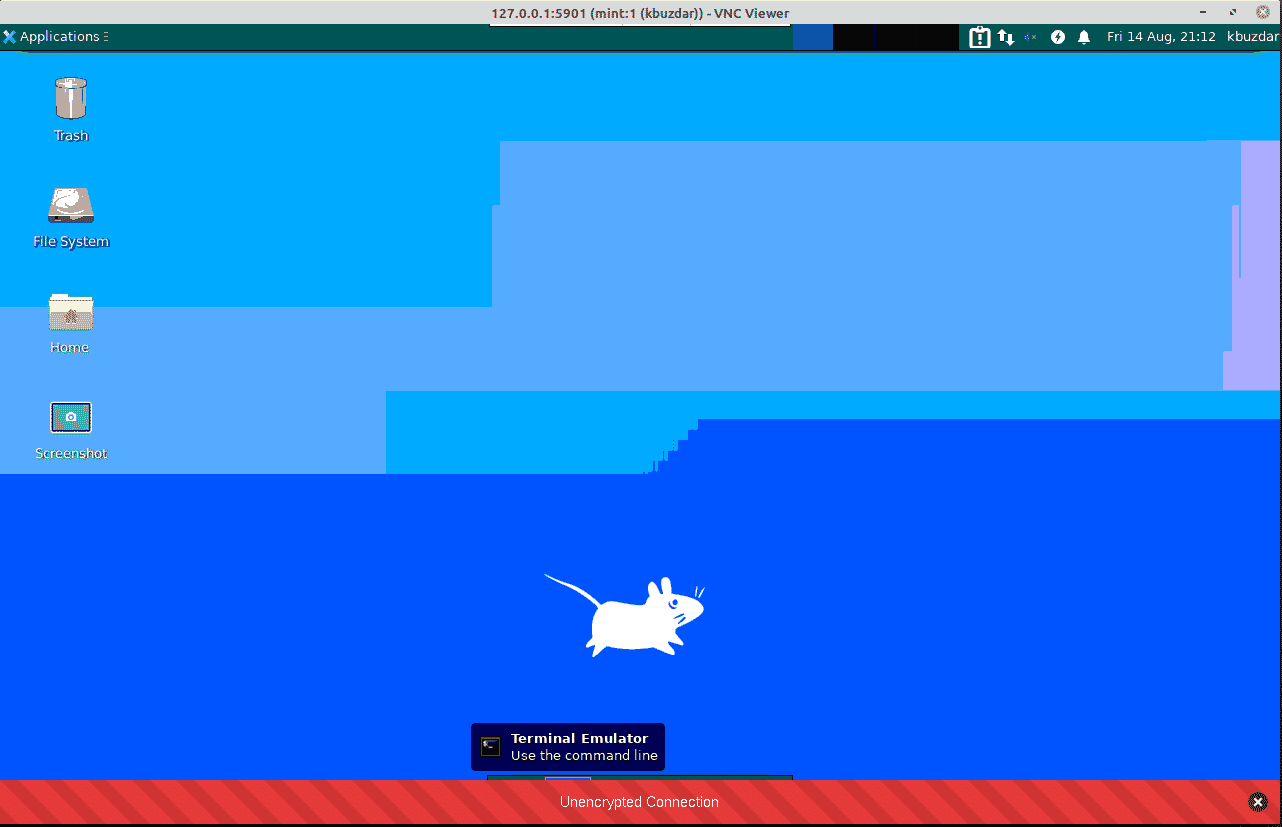
VNC server connection has successfully established now. Once you are finished, close the VNC viewer application and also kill the SSH tunnel by using the Ctrl+c in the Terminal window. If you need to connect to the VNC server again, first create the tunnel and then connect to the VNC server using the VNC viewer application.
In this article, you have learned how to install the VNC server on the Linux Mint 20 system. Now you can easily manage Linux Mint from your local system using the GUI interface. I hope you liked the article!