“XFCE is one of the popularly available desktop environments for the Linux operating system. It is a lightweight and hence faster desktop environment but still offers an appealing look and feel. In this guide, we will learn to install the XFCE desktop on a Linux Mint 21 system.”
Installation of XFCE on Linux Mint 21
To install XFCE on Linux Mint 21, you need to perform the following steps:
Step # 1: Check the Current Desktop Environment
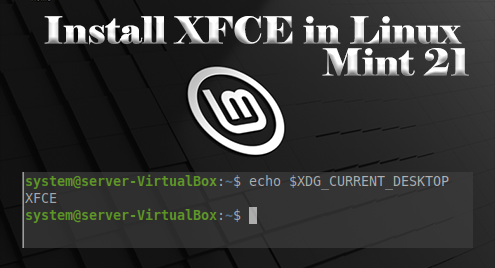
First, you should check your current desktop environment with the command given below:
![]()
You can realize from the output of this command shown in the following image that the current desktop environment is X-Cinnamon.

Step # 2: Update Linux Mint 21
Now, we need to update our Linux Mint 21 system with the command shown below:
![]()
Step # 3: Install the XFCE Desktop on Linux Mint 21
Once the Linux Mint 21 system is updated, you can install the XFCE desktop on it with the following command:
![]()
Step # 4: Switch to the XFCE Desktop Environment
After the complete installation of the XFCE desktop on your system, you can switch to this environment by executing the command shown below:
![]()
This command will produce the following output on the terminal:

Step # 5: Reboot Your System
Now, you need to reboot or log out of your system. Once you will do this, you will be presented with the login screen. From here, you need to click on the icon highlighted in the image shown below:

When you will do this, you will be presented with a menu from where you need to select the “Xfce Session” option and then log into your system.

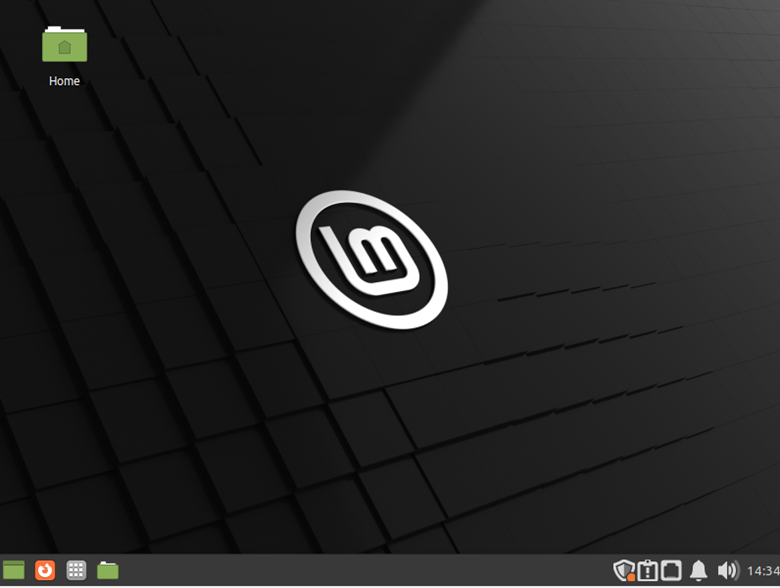
Once you will do this, you will land straight into the XFCE desktop environment, as shown in the following image:
Step # 6: Verify if the Desktop Has Been Changed to XFCE or Not
You can verify if the current desktop environment has been changed to XFCE or not by running the same command that we executed in the first step of this method. The output of this command is shown in the image below, which confirms that the XFCE desktop has been successfully installed on our Linux Mint 21 system.

Removal of XFCE on Linux Mint 21
You can remove the XFCE desktop from your Linux Mint 21 system at any time by running the following command:
![]()
Conclusion
This article shared the method of installing the XFCE desktop on a Linux Mint 21 system. Not only that, but we also taught you how you could set this desktop as your default desktop environment. Moreover, we even shared with you the method of removing this desktop from your system so that whenever you feel like you are not using it any longer, you can simply free up your system’s space by removing it from your system.