This write-up will discuss the procedure of installing and configuring Wine on Ubuntu 22.04. So, let’s start!
How to install Wine on Ubuntu 22.04
You must follow the below-given step-by-step instructions for installing Wine on Ubuntu 22.04.
Step 1: Update system repositories
Press “CTRL+ALT+T” to open the terminal of your Ubuntu 22.04 and run the below-given commands to update system repositories:
Step 2: Enable 32-bit architecture
On 64-bit systems, applications that support “32-bit” architecture does not work properly. So, if you are working on a “64-bit” system, then utilize the following command to enable “32-bit” Architecture:
Step 3: Add Wine Repository
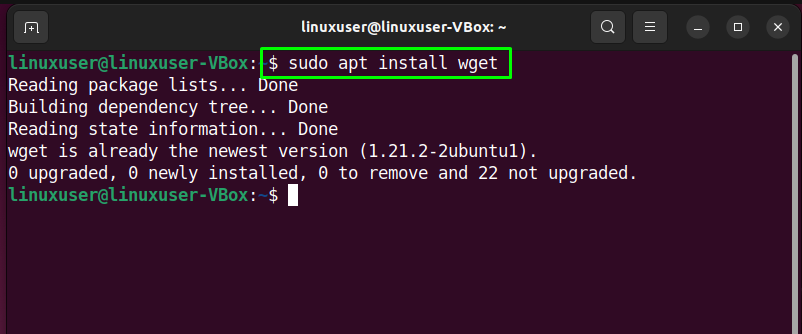
In the next step, we will use the “wget” command for adding the “Wine” repository to the system. For this purpose, install “wget” if you do not have it already on your system:
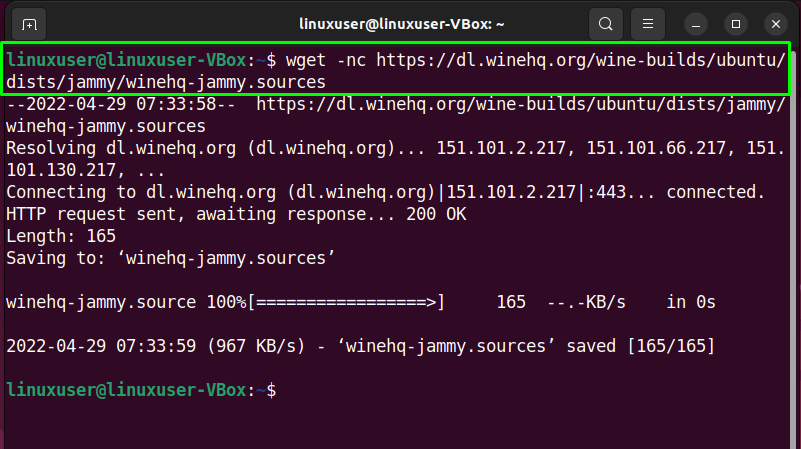
After installing “wget”, write out the following command in your Ubuntu 22.04 terminal:
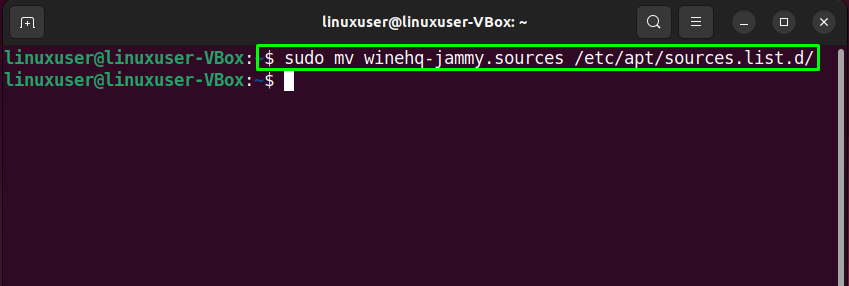
Then, move the Wine repository to the system sources directory:
Step 4: Add Wine GPG key
Now, execute the following command for adding the Wine GPG key to sign packages:
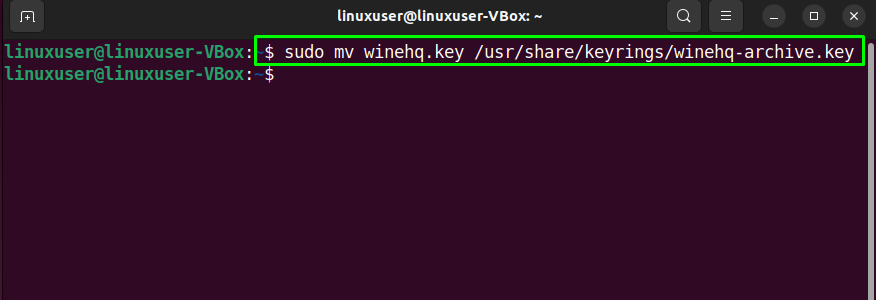
Move the added GPG key to the system keyring:
Step 5: Install Wine on Ubuntu 22.04
If you are a developer who want to get the development experience of the branch packages, then install the “winehq-devel” packages:
In the other case, the stable version of Wine can be installed by utilizing the following command:
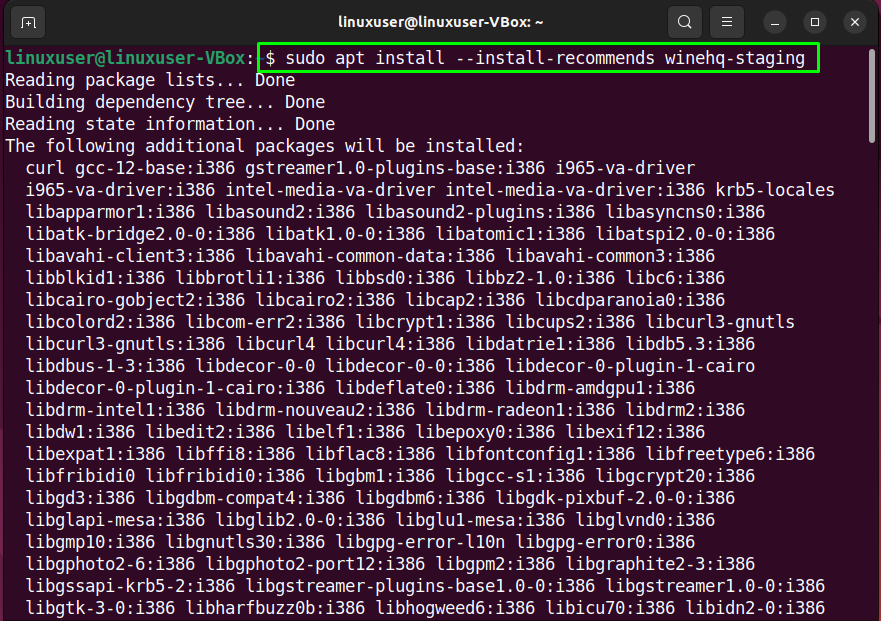
On our Ubuntu 22.04 system, we will install the staging branch of Wine with the help of the below-given “apt” command:
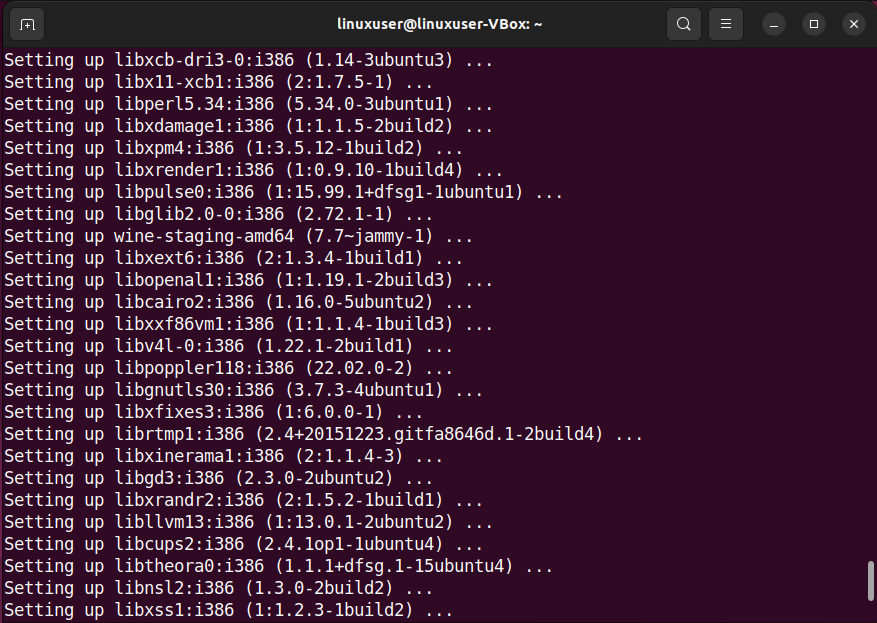
Wait for a few minutes to let the installation process complete the operation:
The given error-free output indicates that we have successfully installed Wine on our Ubuntu 22.04 system.
Step 6: Verify Wine version
Lastly, verify the version of the installed Wine application:
As you can see, we now have “wine-7.7” installed on our system:
Now, let’s move ahead towards the configuration of Wine on Ubuntu 22.04.
How to configure Wine on Ubuntu 22.04
On Ubuntu 22.04, you can configure Wine for the “32-bit” and “64-bit” Windows applications. In our case, we are setting the Wine environment for the “32-bit” system:
Then, execute the following command:
Lastly, open up the Wine configuration window:
The Wine configuration will start updating in your “home” directory:
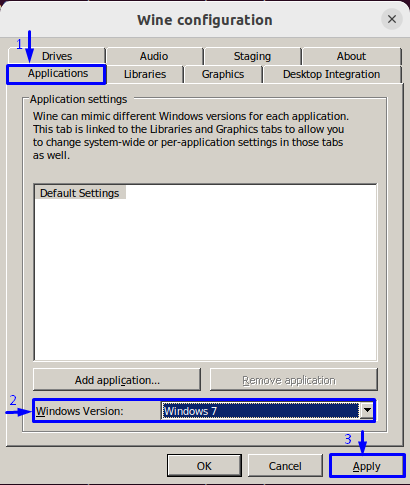
After completing the update process, the following Wine configuration dialog box will appear on your screen. You can utilize it for tweaking different options.
For instance, we will move open the “Applications” tab and set the Windows Version as “Windows 7”:
To change the appearance-related settings, switch to the “Graphics” tab and set the options according to your requirements:
That was the basic method related to the installation and configuration of Wine on Ubuntu 22.04.
Conclusion
For the installation of Wine on Ubuntu 22.04, execute the “$ sudo apt install –install-recommends winehq-devel” command to install the Wine development package, or “$ sudo apt install –install-recommends winehq-stable” for the stable Wine version or “$ sudo apt install –install-recommends winehq-staging” for wine-staging branch and configure it with “$ winecfg” command. This write-up discussed the method to install and configure Wine on Ubuntu 22.04.


