Downloading TeamViewer:
TeamViewer is not available in the official package repository of CentOS 8. But, you can easily download TeamViewer from the official website of TeamViewer and install it on CentOS 8.
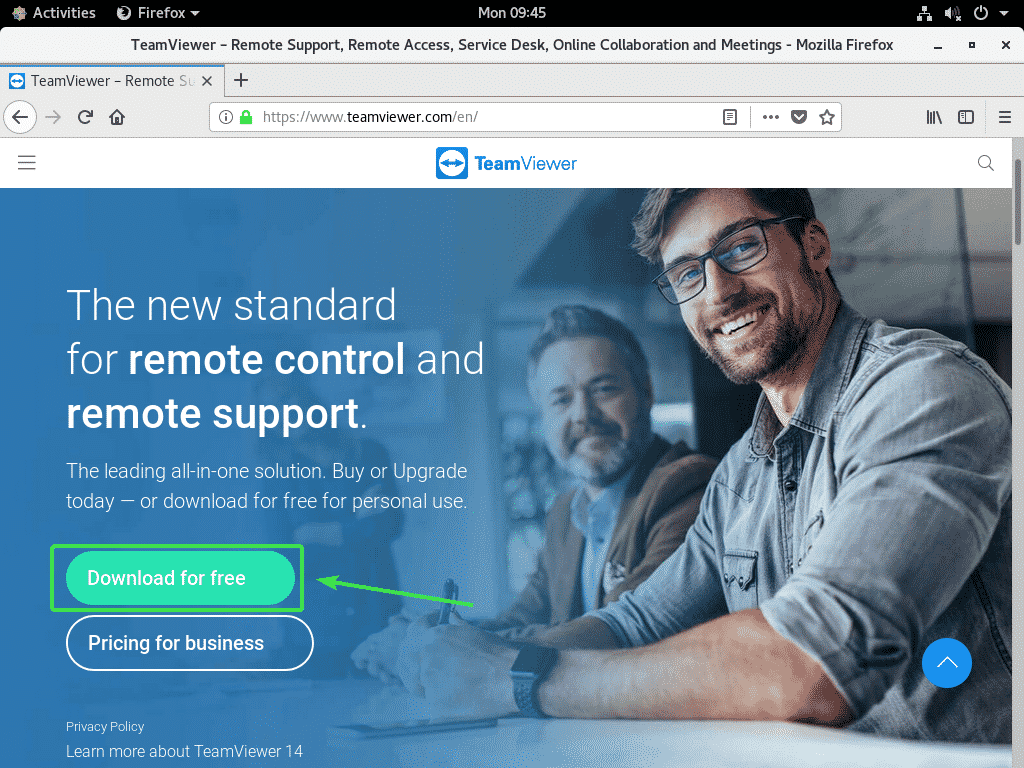
To download TeamViewer, visit the official website of TeamViewer from your favorite web browser. Once the page loads, click on Download for free.
The TeamViewer Linux download page should load.
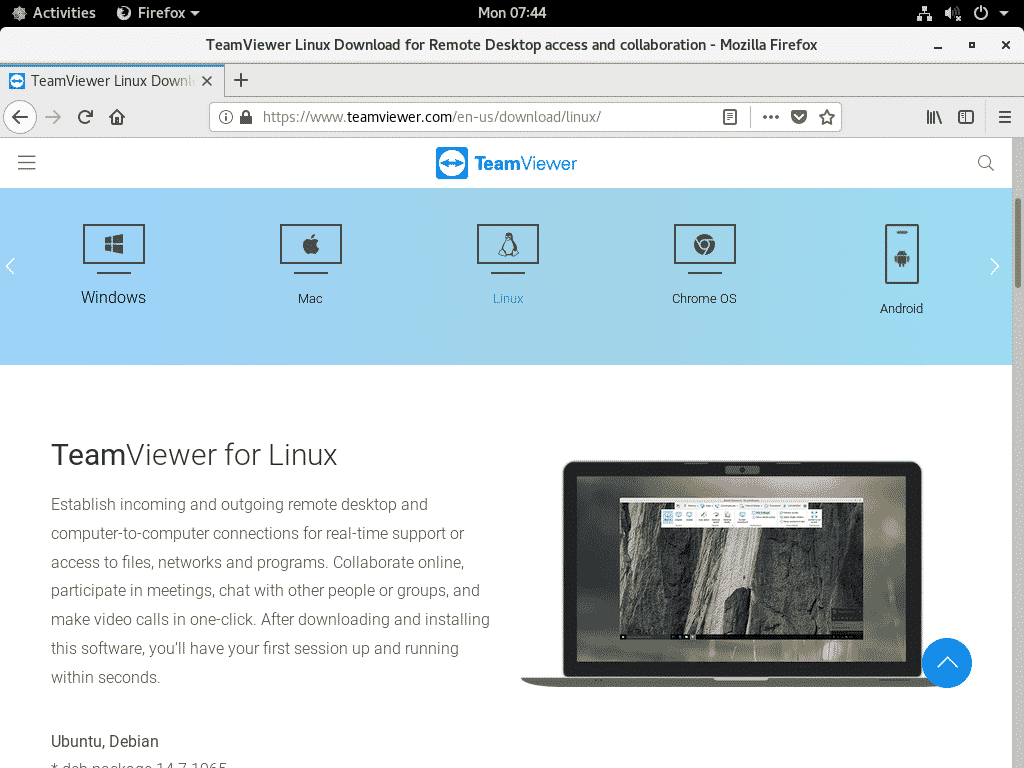
Now, scroll down a little bit and click on the x86_64bit link from the Red Hat, CentOS, Fedora section as marked in the screenshot below.

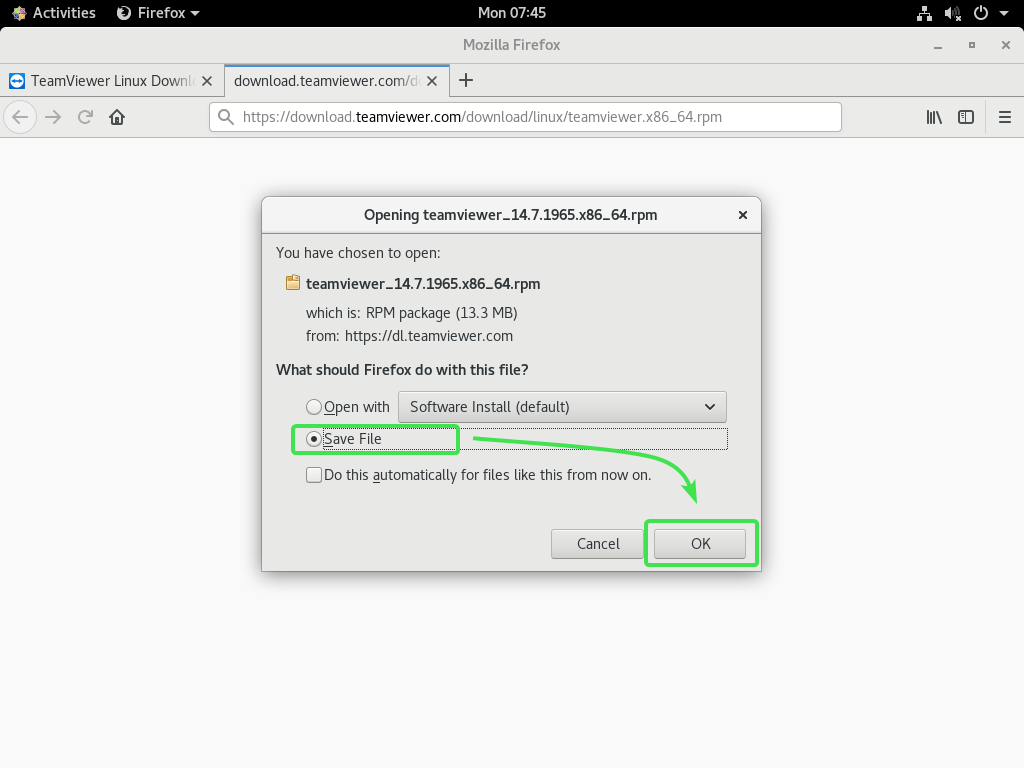
Your browser should prompt you to save the TeamViewer RPM package. Select Save File and click on OK.
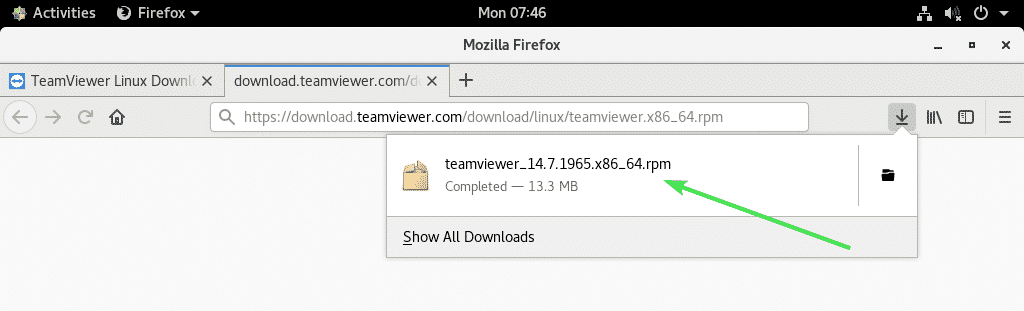
Your browser should download TeamViewer RPM package file.
Enable CentOS 8 EPEL Repository:
CentOS 8 EPEL repository has all the required dependency packages for TeamViewer. So, you must enable CentOS 8 EPEL repository before you try to install TeamViewer on CentOS 8.
To enable EPEL repository, install epel-release package with the DNF package manager as follows:

Now, press Y and then press <Enter> to confirm the installation.
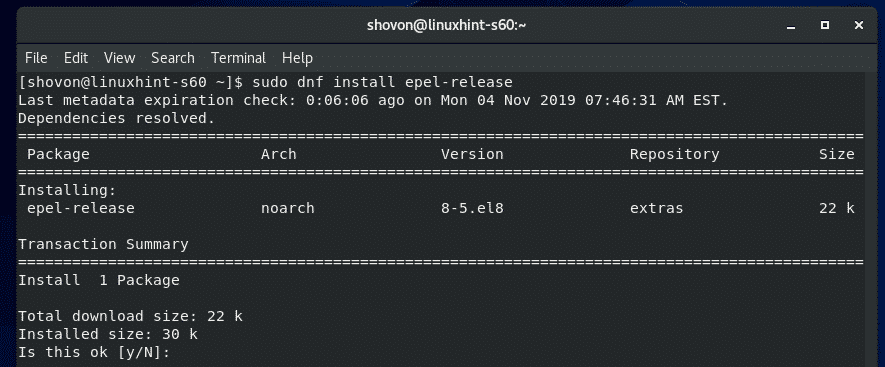
epel-release package should be installed and CentOS 8 EPEL repository should be enabled.

Now, run the following command to update the CentOS 8 package repository cache.

CentOS 8 package repository cache should be updated.

Installing TeamViewer:
Now, you’re ready to install TeamViewer.
First, navigate to the directory where you downloaded TeamViewer RPM package file. It’s usually the ~/Downloads directory.
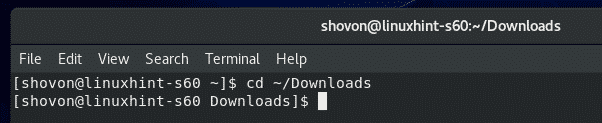
The TeamViewer RPM package file teamviewer_14.7.1965.x86_64.rpm should be here.

Now, install the TeamViewer RPM package file teamviewer_14.7.1965.x86_64.rpm using the DNF package manager as follows:

To confirm the installation, press Y and then press <Enter>.

DNF package manager should download all the required dependency packages automatically.

Once the dependency packages are downloaded, you may be asked to add the GPG key of the CentOS 8 EPEL repository. Just press Y and then press <Enter>.

TeamViewer should be installed.

Starting TeamViewer:
Once TeamViewer is installed, you can start TeamViewer from the Application Menu of CentOS 8.

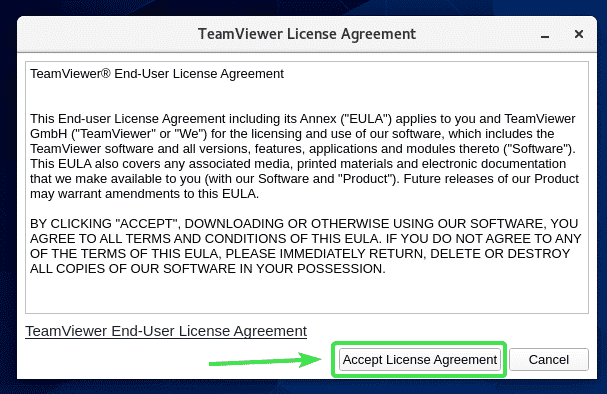
TeamViewer will show you their license agreement the first time you run TeamViewer. You have to accept the license agreement in order to use TeamViewer.
To accept the TeamViewer License Agreement, click on Accept License Agreement
TeamViewer should start.
Now, you should be able to use TeamViewer to connect to other computers remotely.
To do that, type in the TeamViewer ID of the remote computer you’re trying to connect in the Partner ID section and click on Connect.
TeamViewer will prompt you for the TeamViewer password. Once you type in the TeamViewer password of the remote computer, you should be connected.

Accessing Your CentOS 8 Machine Remotely:
If you’re using Wayland (which is the default display server on CentOS 8), you will only be able to connect to another computer running TeamViewer remotely. You can’t access your CentOS 8 machine remotely from other computers.

To remotely connect to your CentOS 8 machine, you will have to use X11 display server. Luckily, CentOS 8 server with GUI comes preinstalled with both Wayland and X11 display servers.
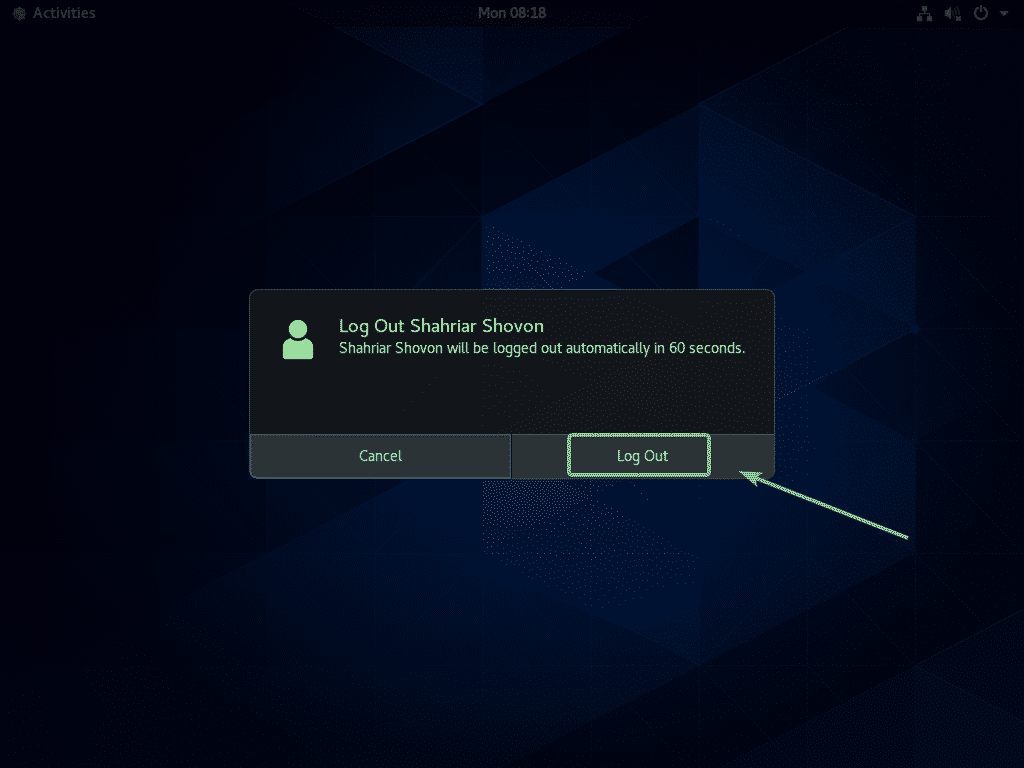
To switch to X11 display server, first Log Out of the Wayland session as shown in the screenshot below.

Click on Log Out.
Now, from the GDM3 login screen, click on the gear icon as marked in the screenshot below.

Now, select either Classic (X11 display server) or Standard (X11 display server) on Xorg depending on whether you like GNOME 3 classic desktop environment or the GNOME 3 modern desktop environment.
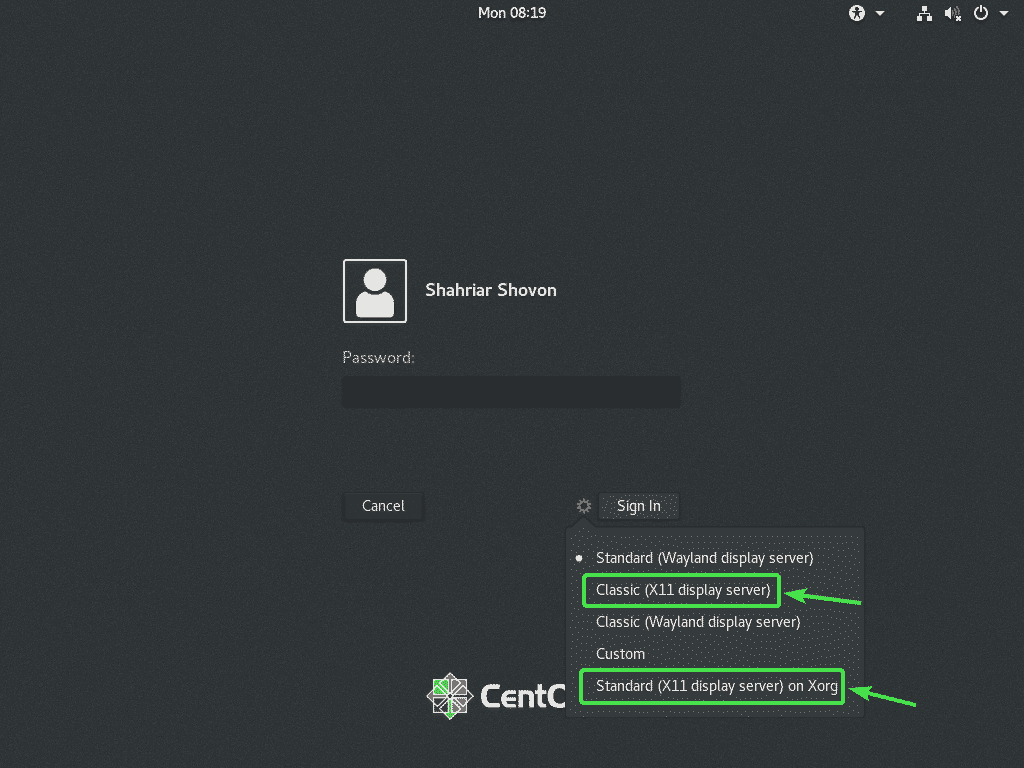
Now, type in your login password and click on Sign In.

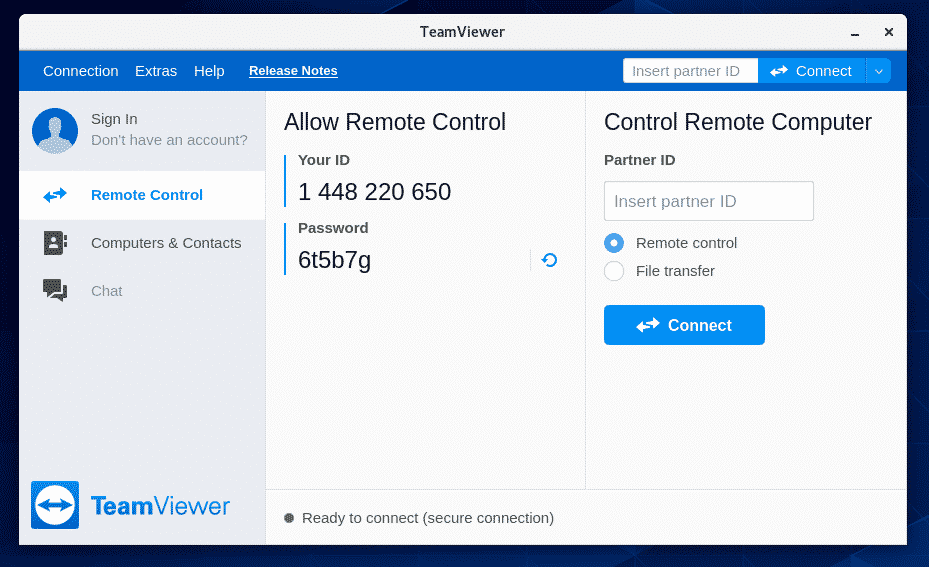
Once CentOS 8 desktop environment starts, start TeamViewer.
The warning message should be gone. Now, you should be able to remotely connect to your CentOS 8 machine from another computer using TeamViewer.
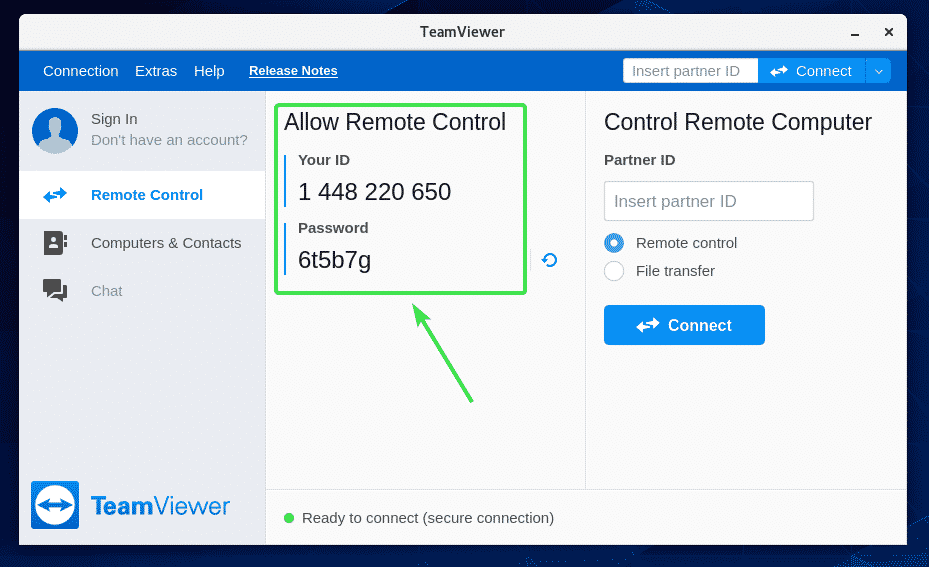
To connect to your CentOS 8 machine remotely via TeamViewer, you will need the TeamViewer ID and password as shown in the Allow Remote Control section of the screenshot below.
Then, from another computer, start TeamViewer and type in your TeamViewer ID in the Partner ID section. Then, click on Connect.
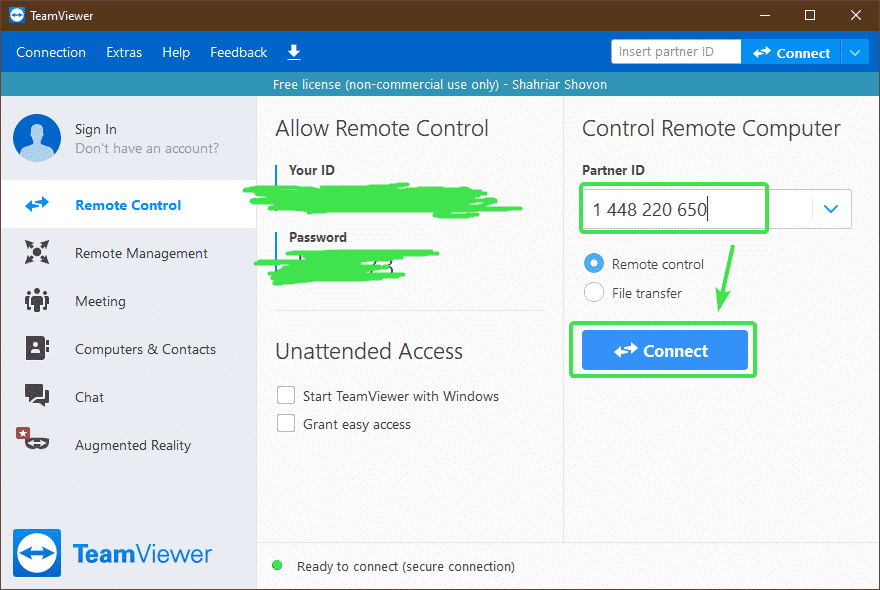
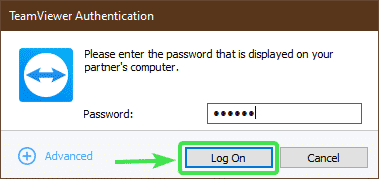
Now, type in the TeamViewer password of your CentOS 8 machine and click on Log on.
You should be remotely connected to your CentOS 8 machine via TeamViewer.

So, that’s how you install TeamViewer on CentOS 8 and remotely access it. Thanks for reading this article.