As a standalone Operating System it is not very stable and despite 20 years after its initial release it is still in Alpha stages and you don’t want to trust such an unstable OS to run on your physical device. So what do you do? Well the OS inquisitive folks, like us would just spin up a VM and run the OS inside it. Using VirtualBox you can run ReactOS risk free and without any commitments.
Prerequisites
You can get your copy of ReactOS from their official site make sure to get the boot disc since installation is not possible with the live media. The latter is just for the sake of testing things out.
Next, we also need to have VirtualBox installed, you can get a copy for your Operating System, here. They support quite a few platforms.
Creating VM
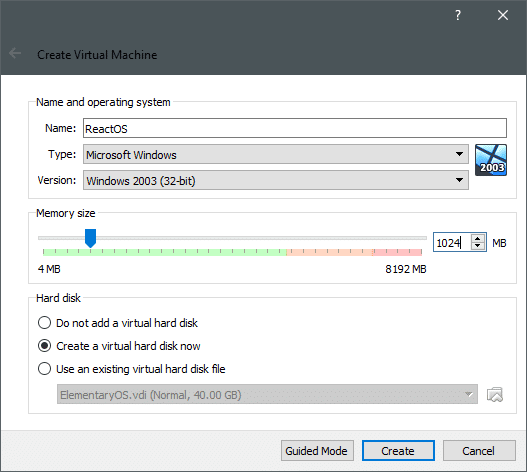
ReactOS is not a typical Linux distro, it is not even Unix. Being a Windows clone, you need to set the type to Microsoft Windows and the version of the VM to Windows 2003 (32-bit). The memory and storage requirements are very low. This is primarily because the clone is of an OS from a long lost age. You can set the memory as low as 256MB and it will still work.
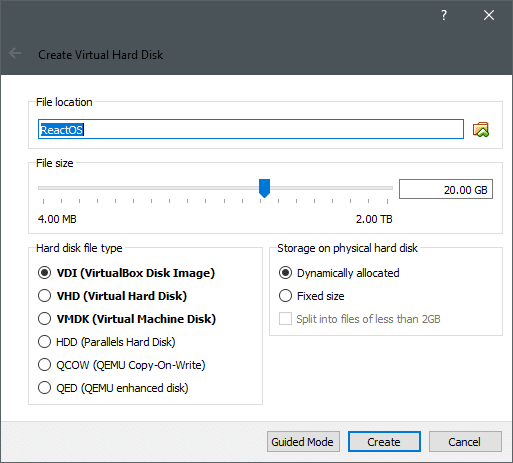
Next step would involve creation of a virtual disk.
After this the VM is created and the only thing left for us is to install the OS on top of it.
Installing ReactOS
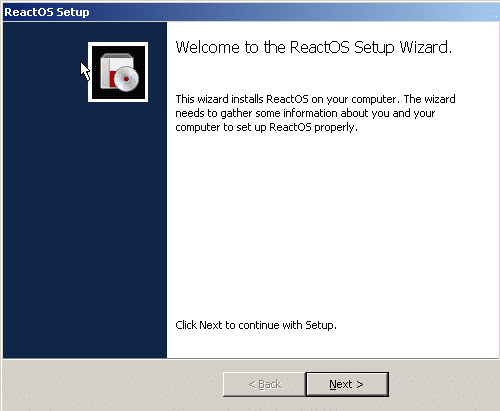
Installing ReactOS is a very simple process. Just like any old Windows setup wizard, you just have to click next through various options and you are pretty much good to go. The defaults options are good enough to get you up and running out of the box.
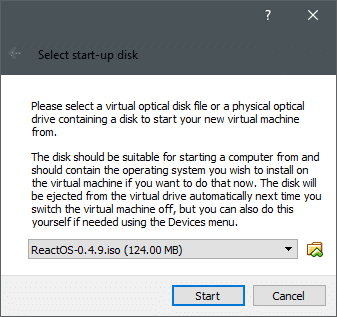
Start the VM by double-clicking on it. We can select the ISO we downloaded earlier and boot the VM off of it. VirtualBox will prompt for it the first time you boot the VM.
Once you start the VM it’s just a bunch of generic options that you can just click through. For the sake of completeness, the setting as well as the options selected are listed below, in case you might want to pause and change any of them:
- Language: English (United States).
- Press ENTER to install ReactOS. There are other options to repair existing installation or to view license.
- It asks you to confirm installation despite the fact that it is still in Alpha and supports only FAT filesystem, without any system checks. Press Enter to continue.
- It will then list current devices that VirtualBox provided it with. This includes the processor, display, keyboard and keyboard layout is mentioned as well. To continue press Enter.
- It then detects the virtual hard disk and asks you to let it automatically partition it. Hit Enter, again.
- It then asks you how do you want to format it. Quick format just overwrites the existing filesystem whereas the regular format checks for bad sectors as well. Let’s stick to quick format.
- It then asks you where do you want to install ReactOS. \ReactOS is the default directory and that’s good enough.
- Lastly, it asks what bootloader do you want. The default option of “MBR and VBR on the hard disk” is alright.
The system then prompts you to reboot it. Upon doing so you will be greeted with a very nostalgic Windows 98 era interface. But the setup still has some steps left but thankfully the interface is now GUI.
You will be shown a license page after this, with Next being the option you want. Since we selected the keyboard and language, earlier we don’t have to do anything but click next.
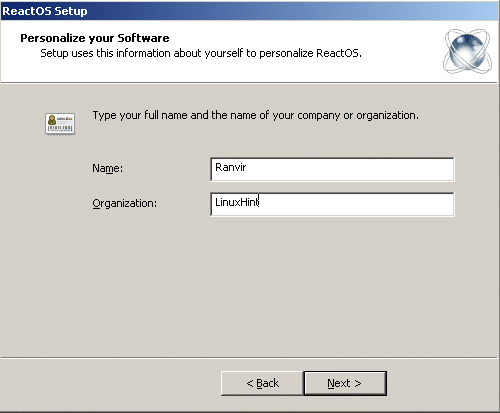
Next you get to mention the name of the Owner of the System and its organization, in a typical Windows Server fashion.
And then you can set your administrative password and the name of the PC.
A quick check on Data and Time is next.
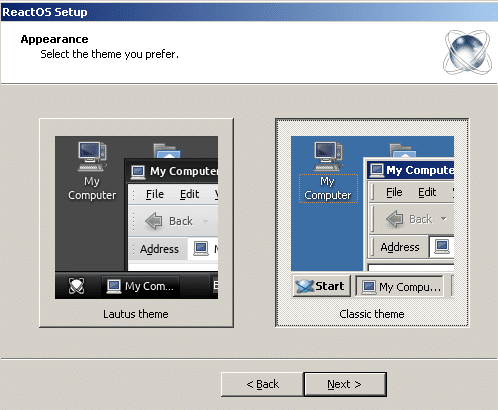
After which you can pick your favorite theme.
For Network Settings, which will come next, stick to the Typical Settings option.
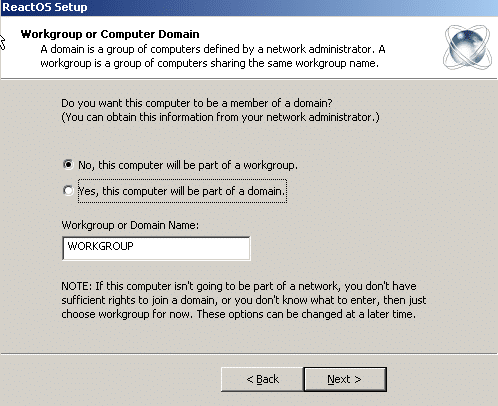
And you don’t need to make the computer a part of a Domain. Workgroup is just fine
After this the computer will reboot, and hopefully VirtualBox will detach the ISO from the VM and you will boot into a new ReactOS instance.
Initial Impressions
While offering nothing serious in terms of utility or productivity, ReactOS is a fun toy nonetheless. Users from the dot com era will find the experience nostalgic and entertaining. Everything from the Start Menu to My Computer seems to be from the good old days.
It even has ports for Minesweeper (they call it Winemine) and Paint.
Hope, this experience did bring out some of the fonder memories from your lifetime. If there is anything else that you want us to cover from the world of open source tech, please feel free to let us know.

