
How to Install PostgreSQL Client DBMS on Ubuntu
The PostgreSQL client allows you to run the PostgreSQL shell command to remotely connect to PostgreSQL server databases.
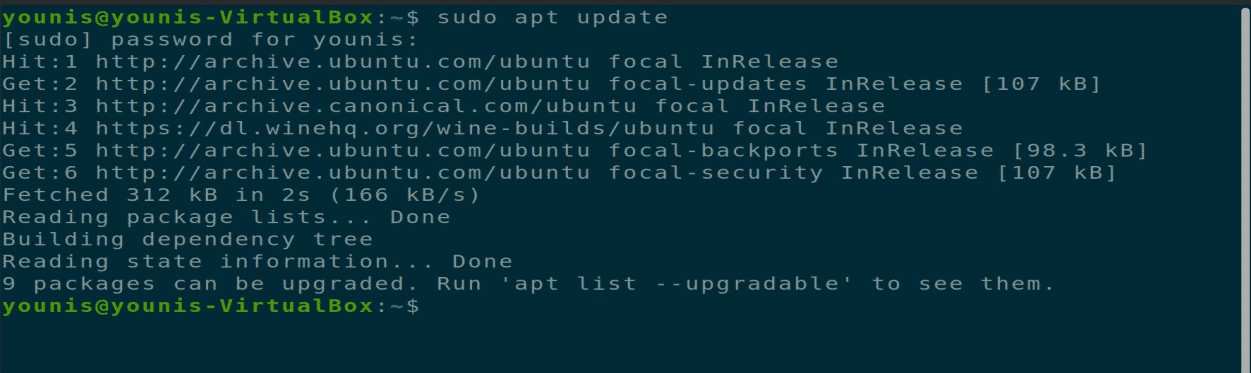
Step 1: Update APT
As you should always do when installing a new system, first update and upgrade your APT.

Step 2: Download and Install PostgreSQL Client
After updating your APT, download and install PostgreSQL Client with the following terminal command.

Step 3: Connect to PostgreSQL
You can connect to a remote PostgreSQL server using the psql command. You will have to provide the correct host or server IP address of the remote server. You will also have to provide the correct credentials to gain access to the server. Use the command below to connect to the server.

How to Install PostgreSQL Server on Ubuntu
You can host one or many PostgreSQL databases on your own local machine with the help of the PostgreSQL server package.
Step 1: Update APT
As you should always do when installing a new system, first update and upgrade your APT.

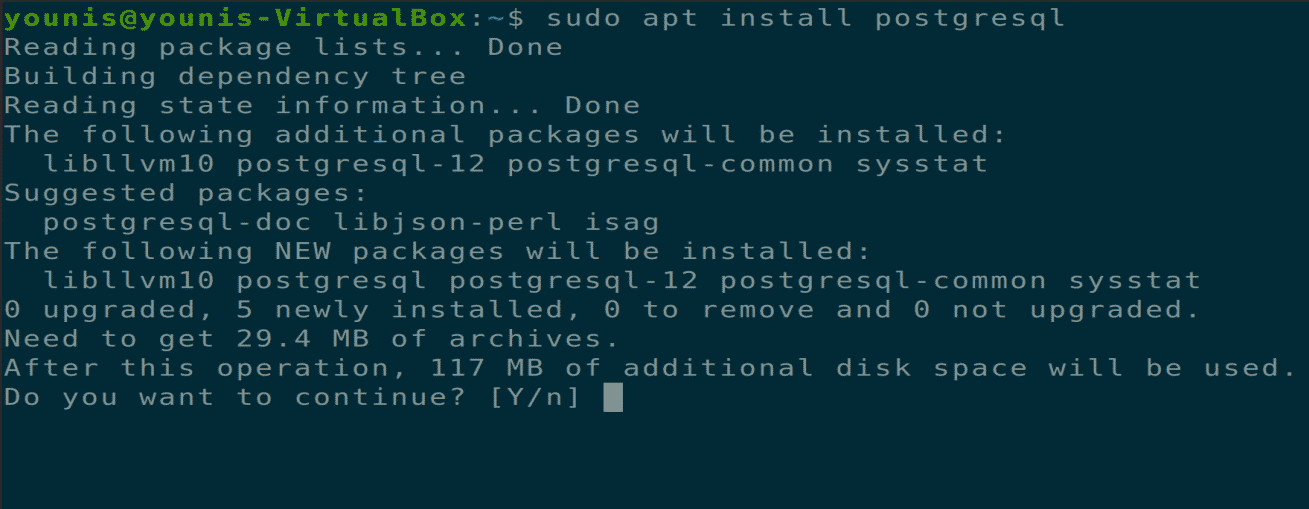
Step 2: Download and Install PostgreSQL Server
Now download and install the PostgreSQL server package via the command.
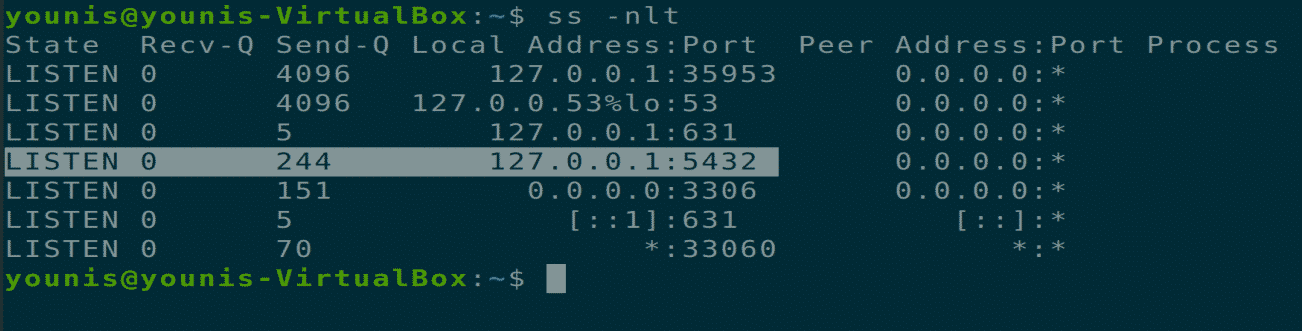
Step 3: Check Port Used by PostgreSQL
After the installation is completed, you can listen to the port used by the PostgreSQL through default port 5432. Check this by giving the following command.
Step 4: Change Startup Settings
You can also change startup settings of the PostgreSQL Server after system boot-up through the systemctl commands.


Step 5: Access PostgreSQL Server
When PostgreSQL Server installs, it is accessible from a local machine only and uses the loopback IP address of your machine. You may change this setting in the PostgreSQL configuration file to allow remote access. Enter the following command to open the PostgreSQL configuration file in gedit or any other text editor.
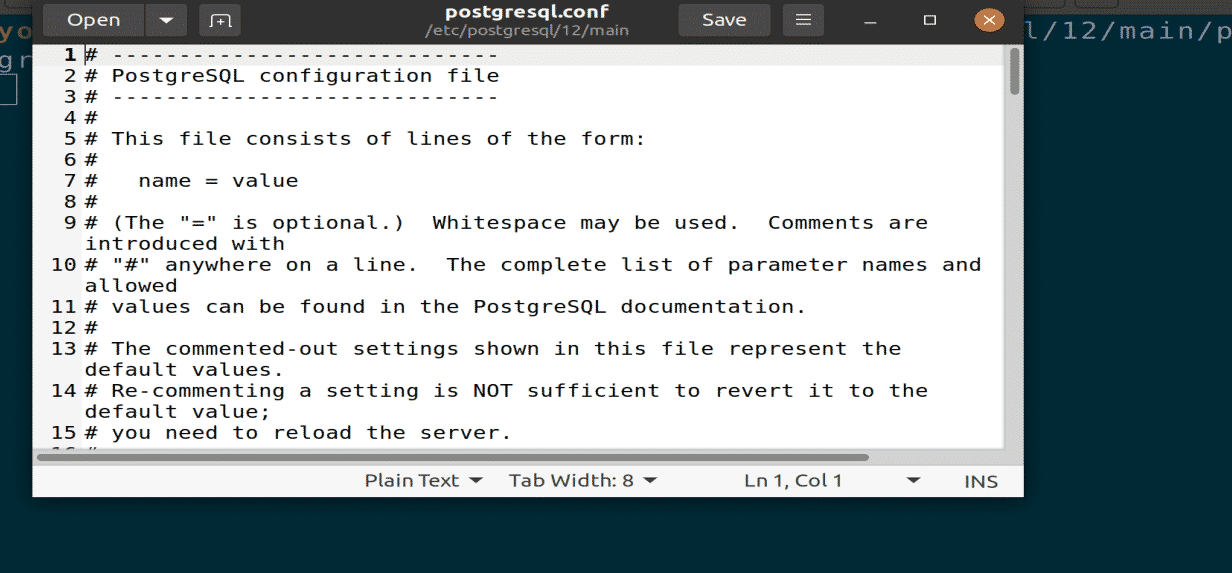
Figure: PostgreSQL configuration file opened in a gedit editor.
Change the following line under the “CONNECTIONS AND AUTHENTICATIONS” section. This command will make PostgreSQL listen to all incoming traffic through the port. Next, save the file and close it.
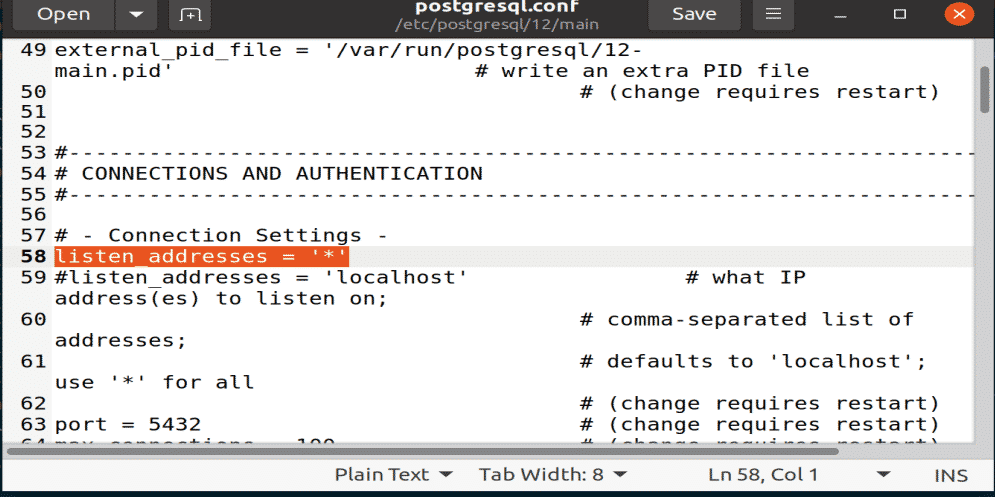
Figure: Listen code pasted under CONNECTION AND AUTHENTICATIONS area.
Step 6: Restart PostgreSQL
You will need to restart PostgreSQL service to take effect of all the changes to do that execute the following command in your terminal window.

Step 7: Check PostgreSQL Port Usage
You can check the PostgreSQL port usage and IP address by using the listening command.

Step 8: Allow Incoming Client to Connect
You should add the following line to another configuration file that will allow an incoming client to connect your databases and users. The MD5 option in this command is used to apply the authentication password to all the connecting users.
Line = host all all 0.0.0.0/0 md5
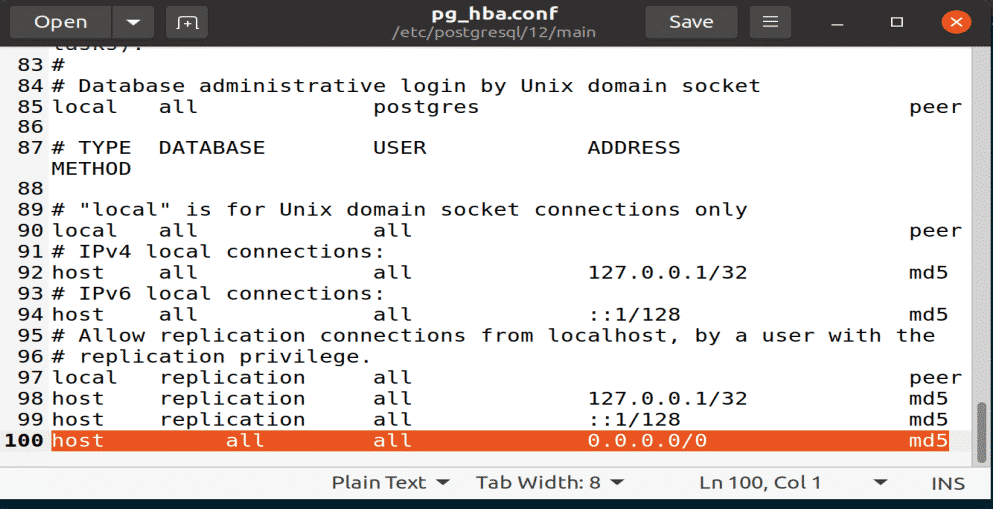
Figure: Adding line to pg_hba configuration file with gedit editor.
Step 9: Adjust Firewall Settings
You should make sure that the firewall does not stop incoming connections through the PostgreSQL port 5432. To do this, input the following command in the terminal window.

Conclusion
This article covered how to install the PostgreSQL Client package, how to install the PostgreSQL Server package, and how to set up a PostgreSQL database. After reading this article, you should also know how to grant access to other accounts for remote access to the server or to a database.