Requirements
Before the installation process, you are required to have access to the following for the initial installation set-up in your system.
Ubuntu 20.04 server.
A non-root user encompassing the privileges of sudo.
Essentials encompassing php-cli, and unzip.
Firewall with permission access on your server.
Installation process
The core process of installing PHP composer is dependent on the 3 primary functions that are given below.
Step# 1: Initial updating
Step# 2: Installation of PHP composer
Step# 3: Global access
Initial Updating
Use the apt command of sudo to update your existing system packages.

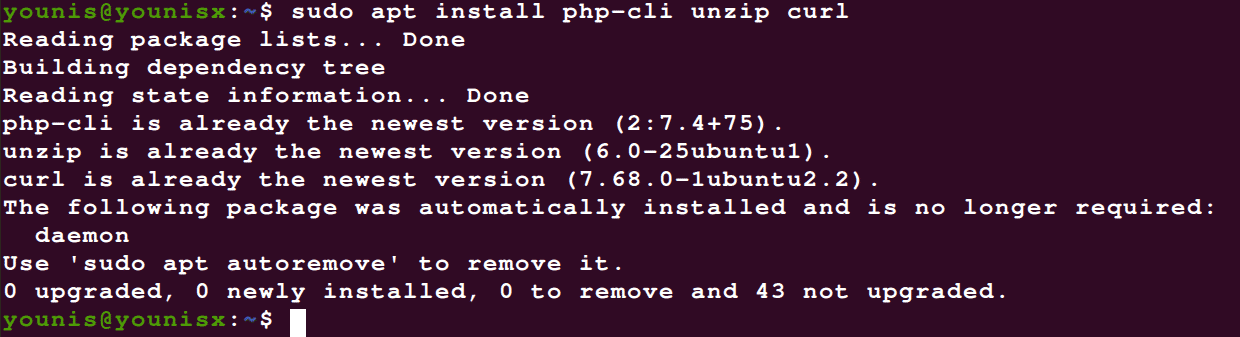
If you don’t have the dependencies mentioned in requirements, then use one of these commands to install them.
php-mbstring php-xmlrpc php-soap php-gd php-xml php-cli php-zip

If you want to check the compatible version of the PHP composer with your system, then apply the following command.

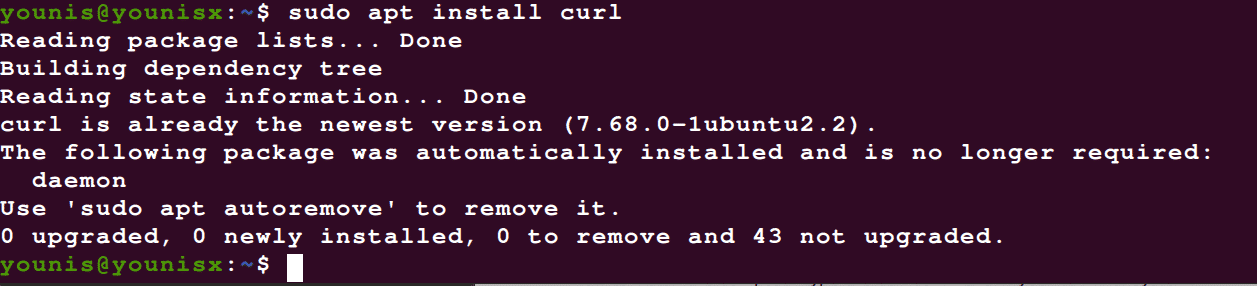
You will need curl to proceed with the installation of PHP composer so implement the following command to download curl, in case you don’t already have it in your system.
Installation of PHP composer
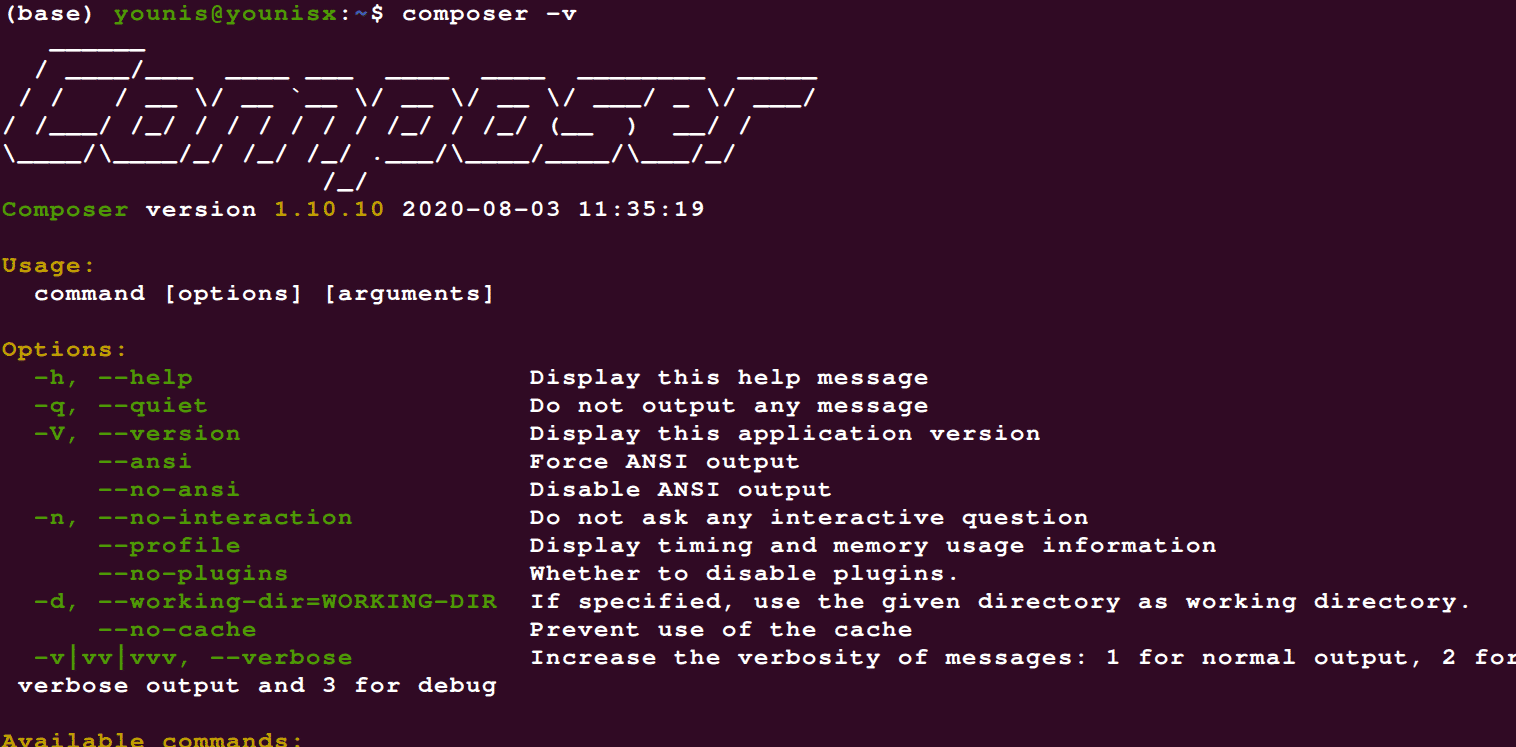
Now to install the composer type the curl command in your terminal system. you can also apply the “wget command” instead of the curl command.

The output window will show you the installation description of the composer along with its version.
Global access
If you want to broaden the access of the PHP composer globally exploitable then you can use impose the following command in your terminal system.


Lastly, you can copy this command to validate the operationality of the composer you installed.
Once you have successfully installed the composer you will receive some basic repository packages along with the PHP composer package. Those packages encompass “composer.json”, “composer.lock”, “vendor”, “autoload.php”, “composer.phar”.
Using PHP Composer on Ubuntu 20.04
To begin the implementation of PHP composer for your project you will need to undergo the following procedures.
Add a root directory
The first thing you need to do to start a project by using the PHP composer is to generate a root directory for your project.
$ cd ~/composer-project

You can replace the composer-project with your project name or anything to make a URL path commonly known as a slug in programming.
Installation of packages
In this step, you will look for the libraries that are mandatory to create your project. There will be a central repository for the composer that contains all the generally accessible PHP composer packages you get with installing the composer. You can use either the package of nesbot/carbon, cocur/slugify, and cakephp/chronos, all of these are the simple packages for time.
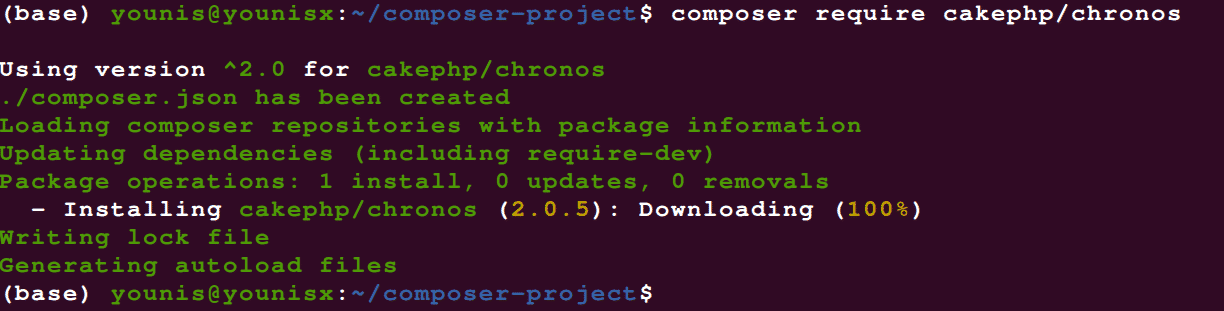
The output window will display the installation of the composer.json file along with the essentials of the package we applied above. Now run the following command to check the addition of composer.json and cakephp/chronos in your project root depository.

Forming a PHP file
We can generate a PHP file by taking “Chronos” into account and utilizing the gedit editor and .php package.

You can replace the demo with your actual project. Now copy this code in the demo.php function
# require 'vendor/autoload.php';
# use Cake\Chronos\Chronos;
# printf("Now: %s \n", Chronos::now());
# ?>
This code comprises 7 lines where the 2nd line portrays the composer file that will assist in auto loading of the libraries and packages specifically installed for your project
Now execute the operation by running this command

You can conveniently update all your project-based packages using this command.

Conclusion
Installation of PHP composer on ubuntu 20.04 is a convenient process. Though, the usage of PHP composers for your projects is a complicated concept. But once you grasp the feel of it you can easily run any project dependent on the PHP composer. Make sure to replace the demo in the above-mentioned steps with your project to effectively manage your project build.