Why use openSUSE
There are plenty of reasons to talk about and here’s a short explanation.
- Community-driven free software: It’s “free” in terms of freedom, not price. The licensing is very friendly to those who are willing to study how it works, modify, give or sell copies to others and use whatever way you want. As a result, it’s a popular distro among corporate world.
- User-friendly: Even if you’re new to the world of Linux, openSUSE is perfect for them. There’s a bit of learning curve. Anything new is always difficult, right? But fear not; it’s something that any decent human can overcome.
- Stability: Unlike other Linux distros, openSUSE is more about stability rather than experiment. Because of the nature of free software, it’s a lot more secure and stable at the same time. Thus, it’s easier to play around. As for the power users, it’s easier to modify and configure.
- Support: OpenSUSE has a large community support behind it. It’s fully community-driven at the core. For any problem, the community is there to help you out.
- Look into the Enterprise: OpenSUSE is a great introduction to SUSE Linux Enterprise. Both share a common base, so you’ll find a lot of familiarity between them. OpenSUSE is basically a free version of SUSE Linux Enterprise.
With that out of the way, let’s get started with openSUSE installation!
Getting openSUSE ISO

Before installing openSUSE, we need a few things. First of all, let’s decide which flavor to choose. There are two flavors of openSUSE: Tumbleweed (rolling release) and Leap (regular release).
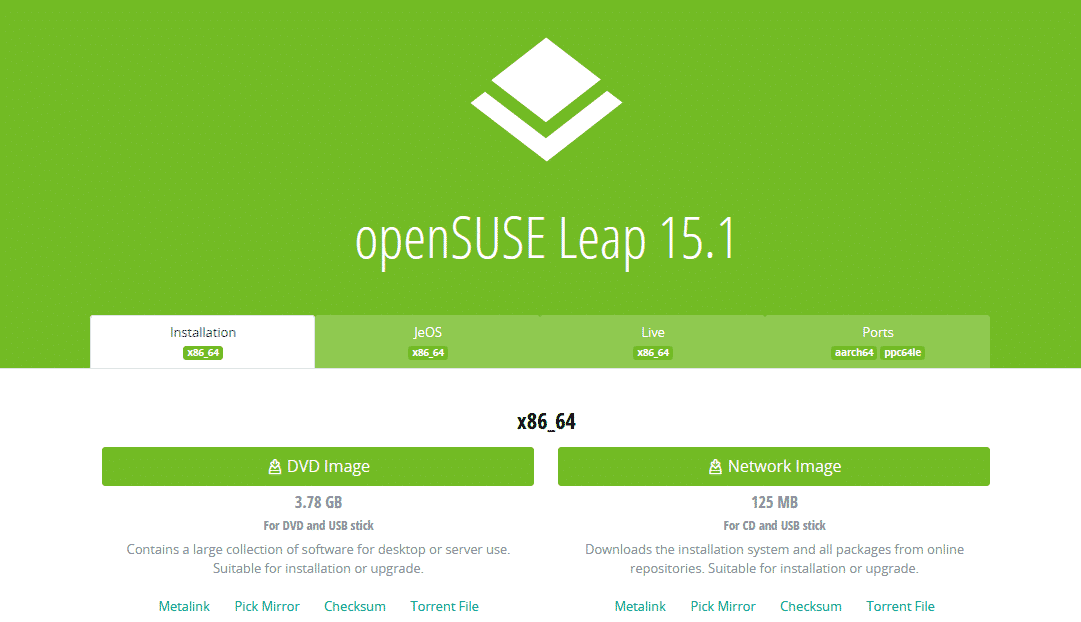
OpenSUSE Tumbleweed follows a “rolling-release” model, meaning the software always gets the latest stable packages from the openSUSE project. OpenSUSE Leap, on the other hand, follows the “regular-release” model. It’s released once a year with security and stability updates. There won’t be any significant changes until the next annual release. Interestingly, openSUSE Leap shares a common base system with SUSE Linux Enterprise.
Tumbleweed is recommended for developers, openSUSE contributors, and Linux enthusiasts whereas Leap is recommended for system admins, enterprise developers and general users. Worry not, though. We’ll be covering the installation procedure of both distros.
Get openSUSE Leap
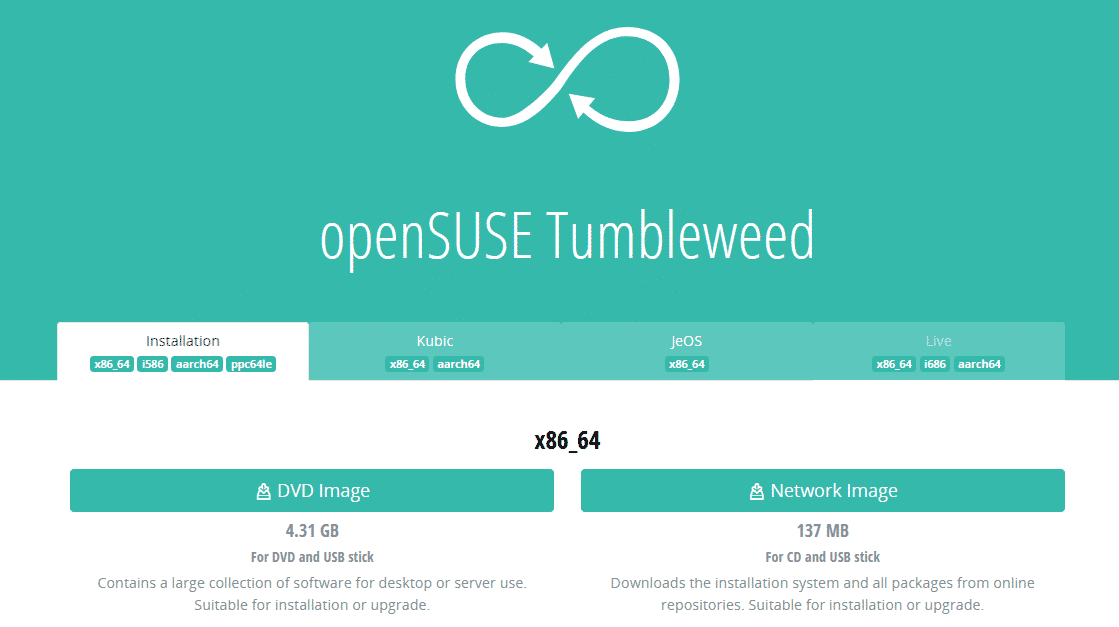
Get openSUSE Tumbleweed.
Once downloaded, verify the openSUSE ISO with their respective checksum to ensure that the download wasn’t corrupted.
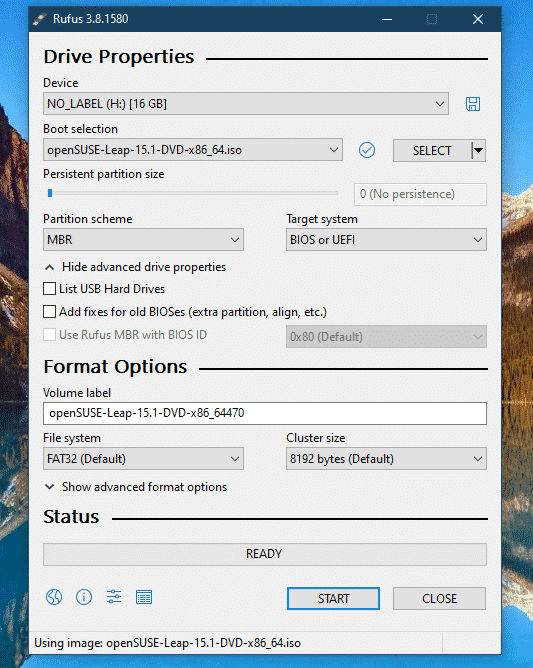
Preparing a bootable USB drive
Using a USB flash drive as the bootable media is the easiest and fastest way to perform any OS installation. For installing openSUSE, we need a USB drive with a minimum of 8GB capacity.
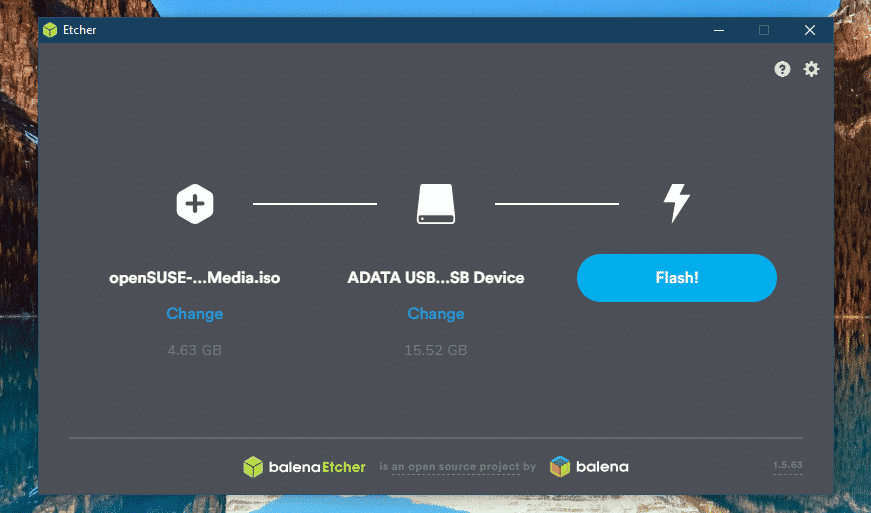
For making the bootable drive, we’ll be taking the help of a 3rd-party software: Rufus (for Windows) or Etcher (for Linux/Windows).
Once downloaded, verify the openSUSE ISO with their respective checksum to ensure that the download wasn’t corrupted.
Preparing a bootable USB drive
Using a USB flash drive as the bootable media is the easiest and fastest way to perform any OS installation. For installing openSUSE, we need a USB drive with a minimum of 8GB capacity.
For making the bootable drive, we’ll be taking the help of a 3rd-party software: Rufus (for Windows) or Etcher (for Linux/Windows).
Once the bootable media is created, connect it to the target machine and select it as the boot device.
Install openSUSE
Now, we’re ready to perform the installation. For the installation process, I’ll be showcasing openSUSE Tumbleweed screenshots only as the steps are identical to openSUSE Leap installation.
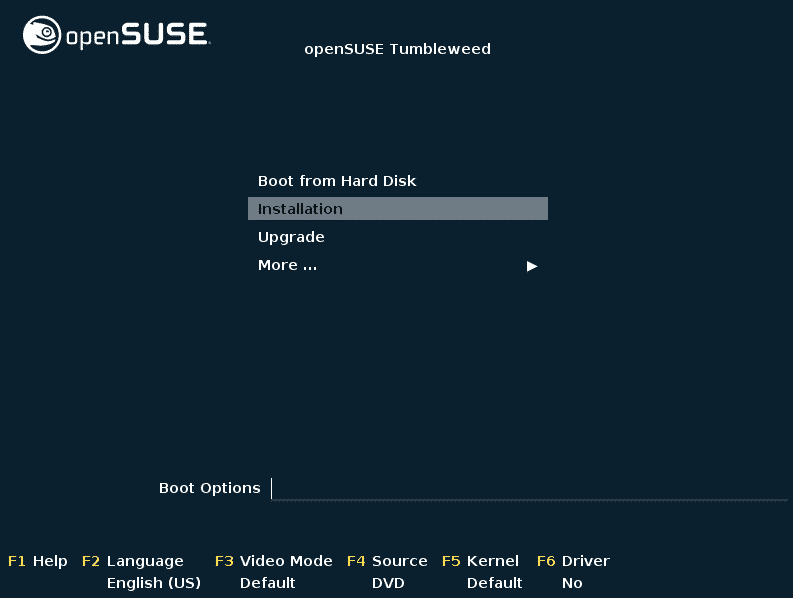
At first, you’ll be prompted with the following options. Use the arrow keys and select “Installation” from the list.
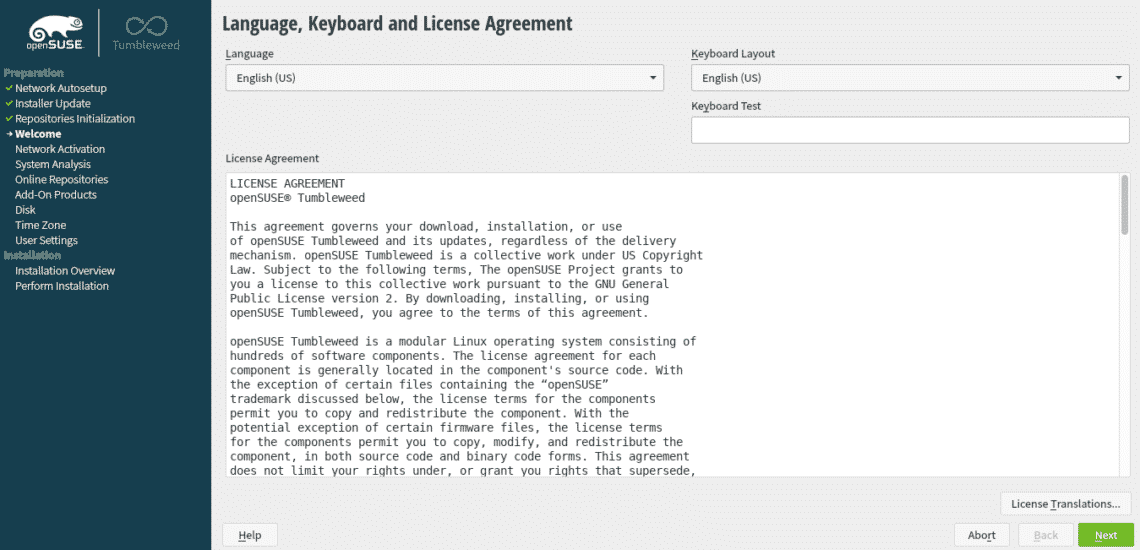
Select the appropriate language for your system, select the right keyboard layout and agree to the license agreement.
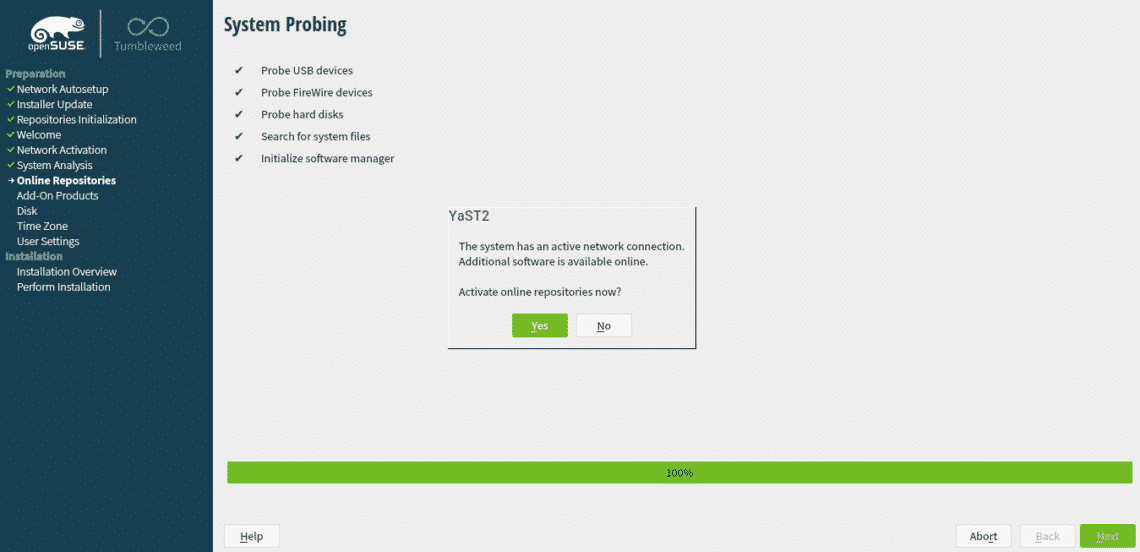
Using online repository allows access to additional software and software updates. Click “Yes” to activate the online repositories.
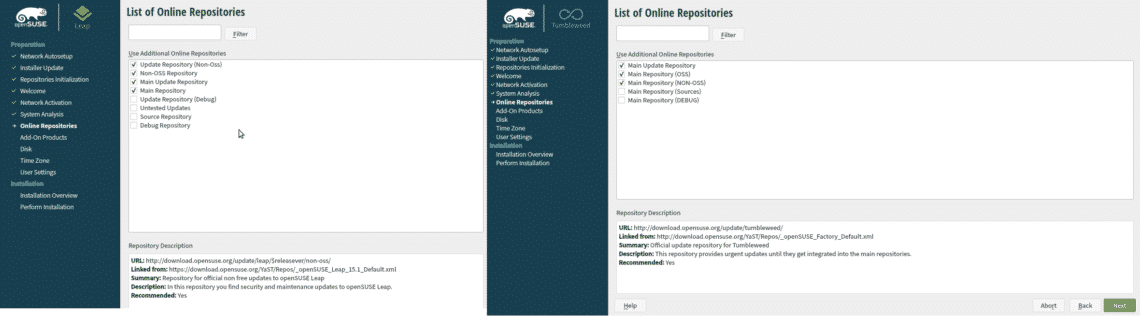
Select the repositories that you want to activate. Here, we can see some difference between the Leap and Tumbleweed version. In either case, the default repositories will be enough.
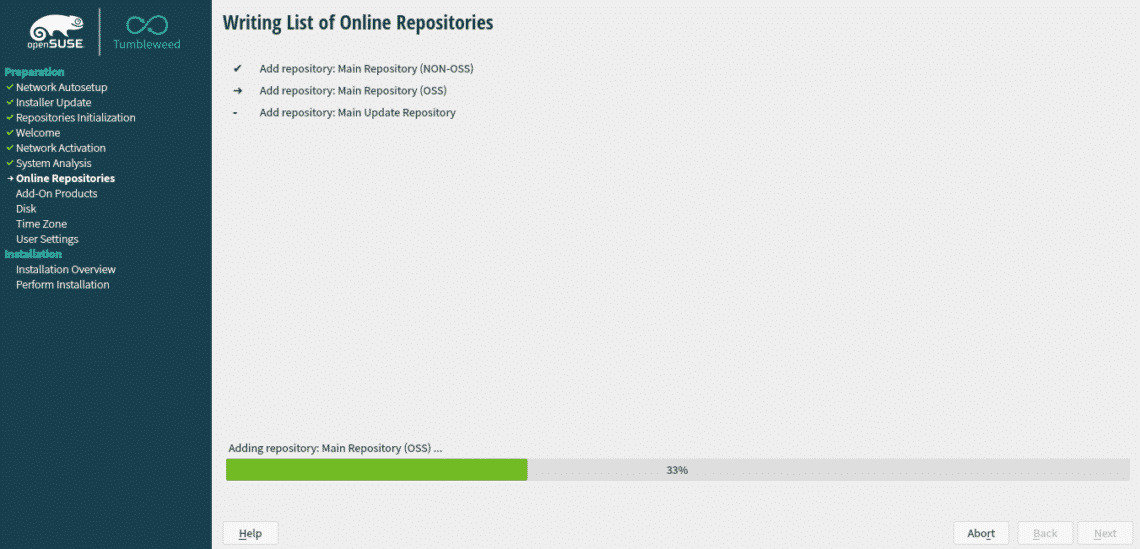
Wait for the process to complete. Depending on your internet speed and location, it may take a while.
Now, it’s time to select the desktop environment. From the installer, you get a handful of options: KDE Plasma, GNOME, and Xfce etc. You can also use openSUSE as the server OS. I’ve chosen GNOME for openSUSE Leap installation and for openSUSE Tumbleweed, KDE Plasma.

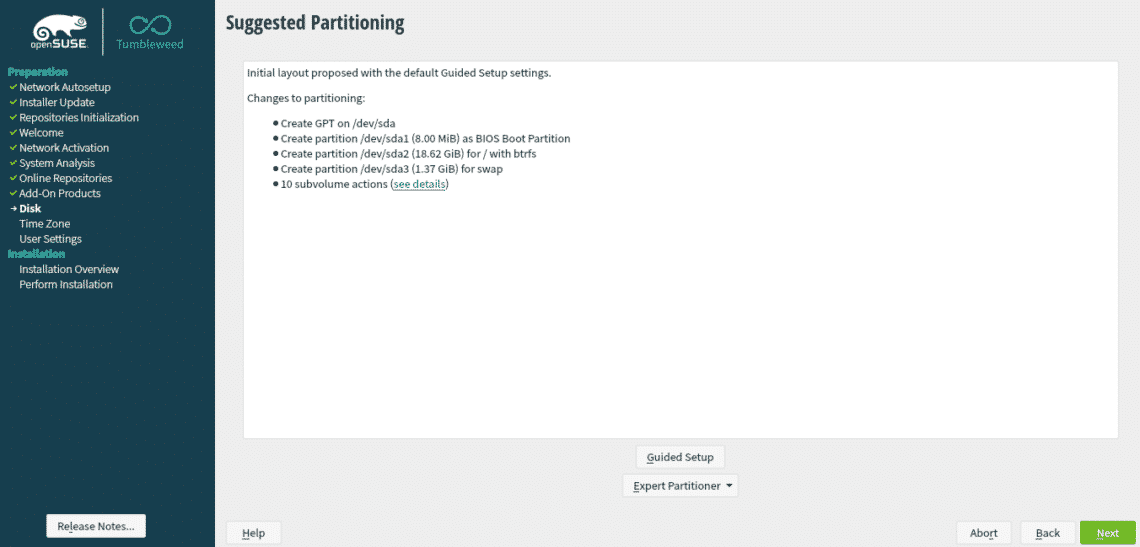
For any OS installation, you need a dedicated partition. At this stage, the openSUSE installation will ask for partitioning. Interestingly, openSUSE, by default, will offer a suggestion for partitioning. However, my suggestion is a manual partitioning. It’s recommended to dedicate a partition of 20GB to the openSUSE installation.
Choose the right time zone and your geolocation.

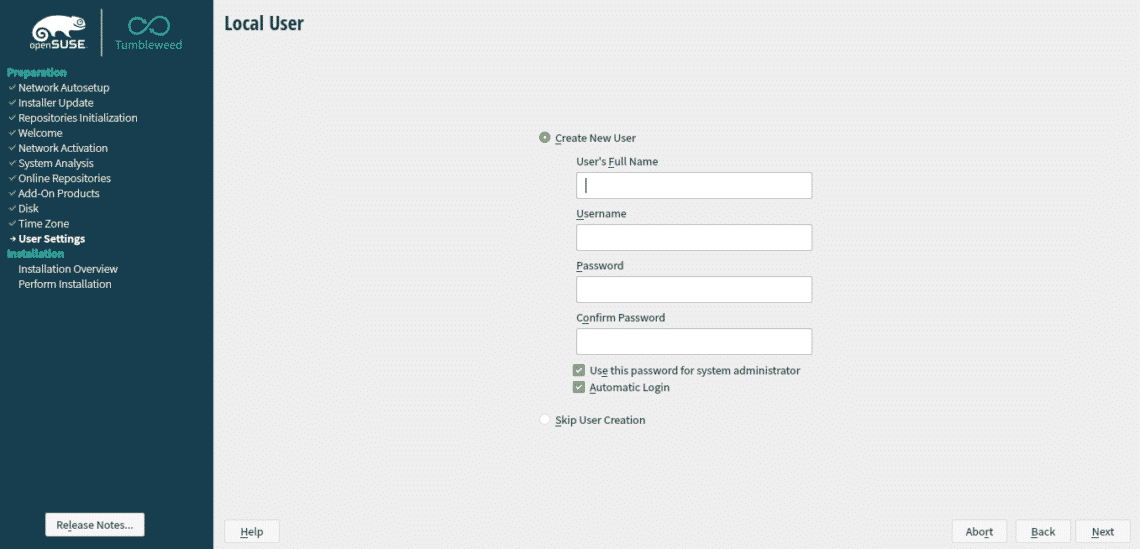
Enter the credentials for creating a new user. It’s going to be the administrator account for the new installation.
You’ll be presented with a short summary of the entire installation process. It’s the final stage before the changes are permanently written to the disk.
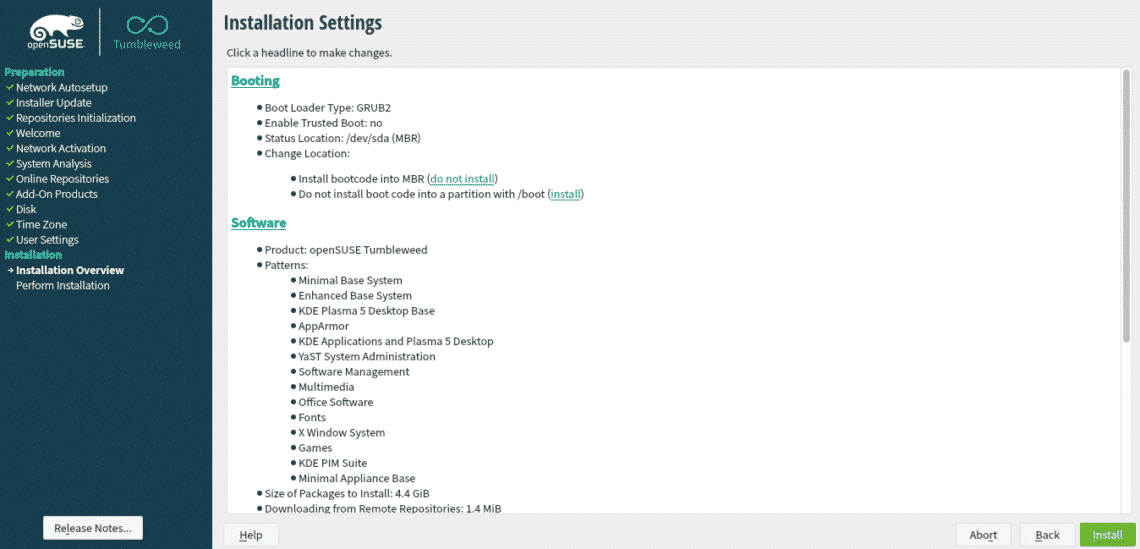
From the “Confirm Installation” dialog box, click “Install” to perform the installation.

The installation is going to take some time. Let’s have a cup of coffee in the meantime!
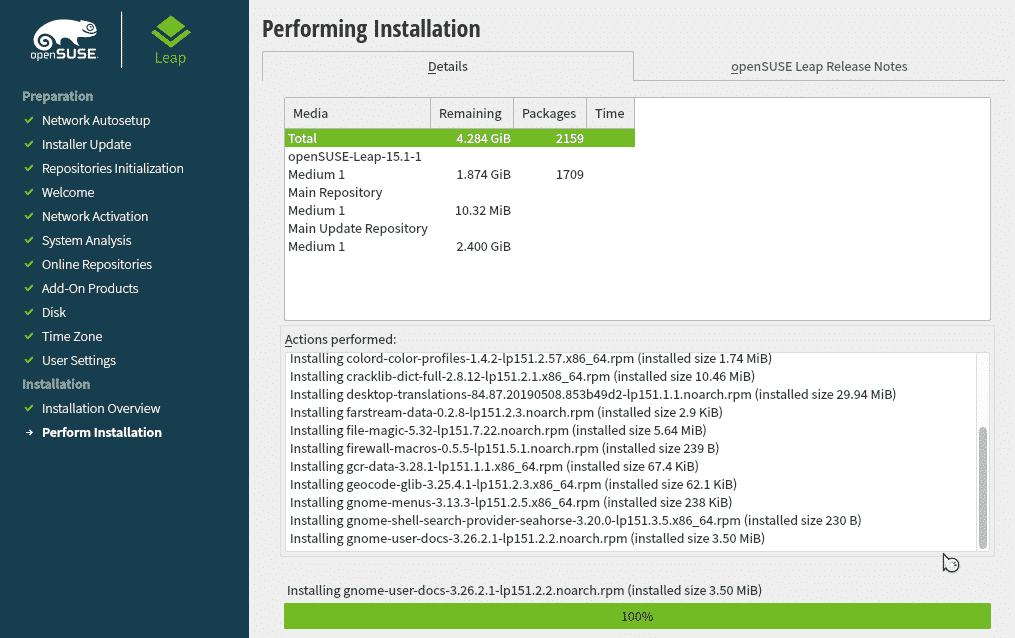
The system will automatically reboot once the installation is complete.
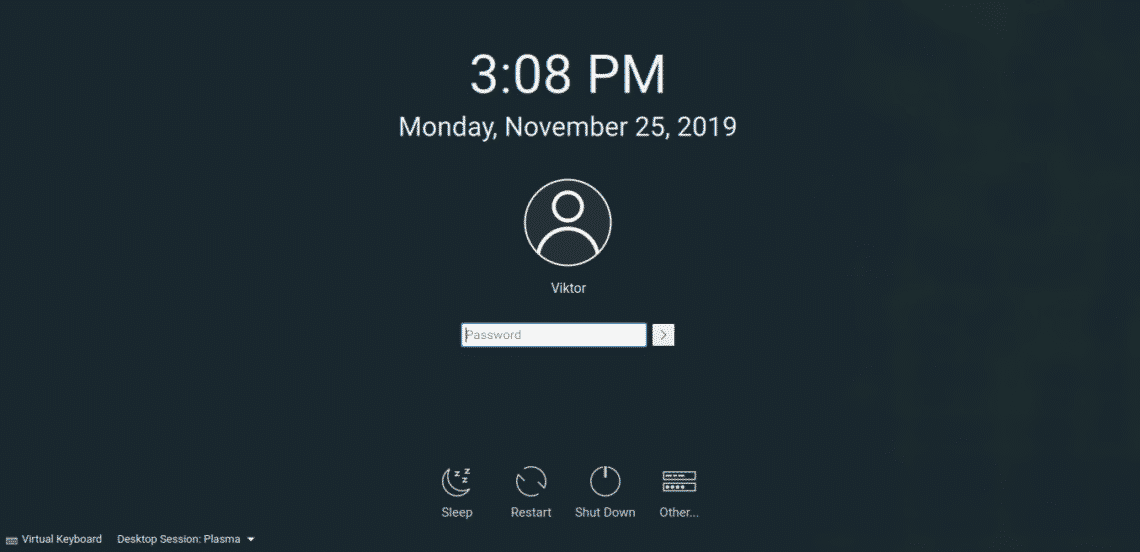
Voila! The installation is complete! Log in to the system using your credentials.
Post-installation
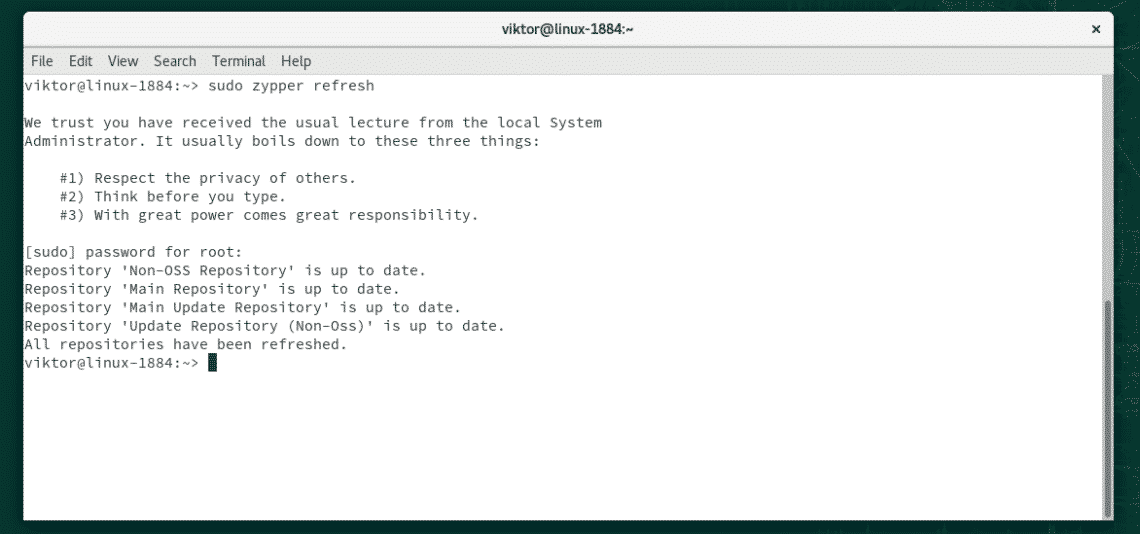
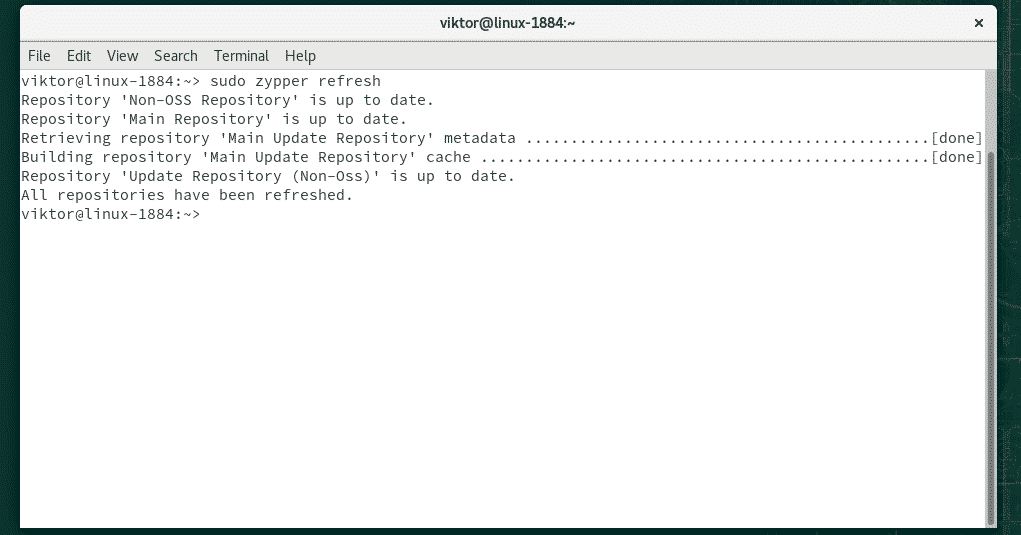
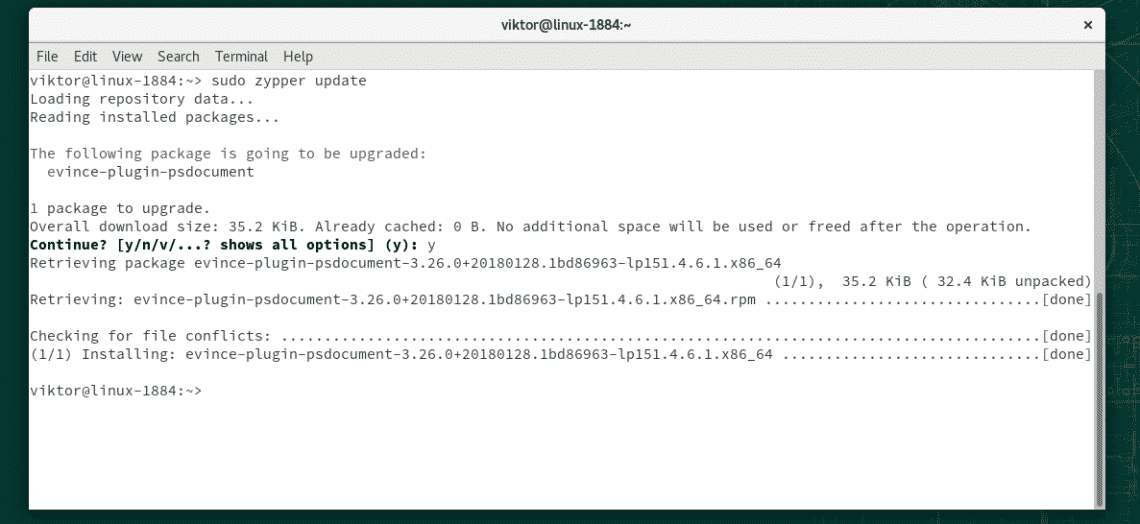
After installing any Linux system, it’s always a good idea to run an update to make sure that you’re rocking with all the latest stable packages. It’s just a matter of running a couple of lines of commands in the terminal and there’s very few chance of breaking down things. Let’s get started!
Fire up the terminal by pressing “Ctrl + Alt + T” and run the following command.
If you prefer using YaST/YaST2, use the following command.
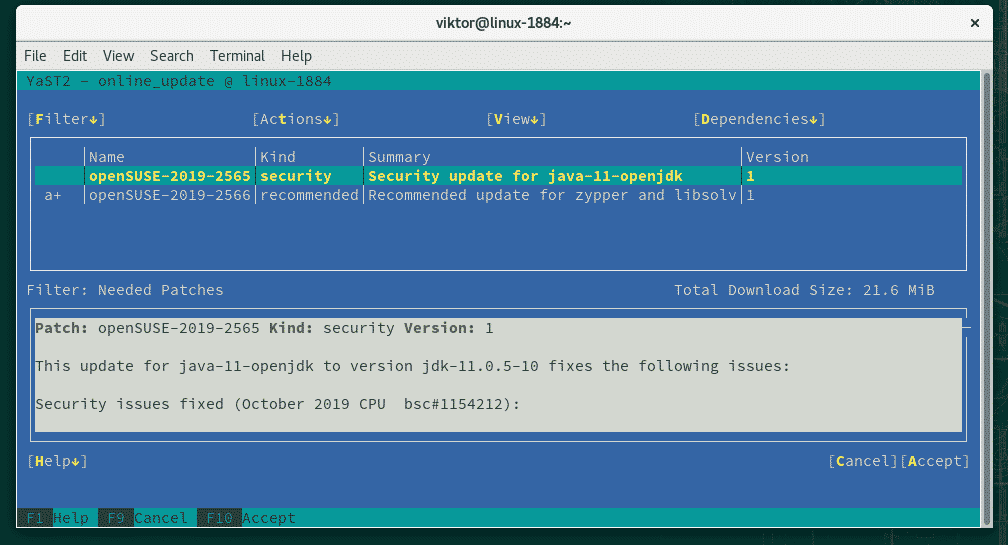
Voila! You’re done!
Final thoughts
OpenSUSE is one of the best Linux distros out there. It’s a rock-solid distro that offers excellent out-of-the-box experience and packed with awesome tools like YaST. Most of all, it’s a great example of a true community-driven project.
If you’re afraid of making a quick jump to openSUSE, why not trying it out through virtualization? VirtualBox and VMware Workstation Player etc. are good virtualization software. All the installation process works the same.
Enjoy!