Installing NextCloud:
NextCloud is a PHP based web app. It runs on the LAMP (Linux, Apache, MySQL/MariaDB, PHP) stack. All the required packages to setup a LAMP stack is available in the official package repository of Debian 10. So, we can easily setup a Debian 10 LAMP server and configure NextCloud on there.
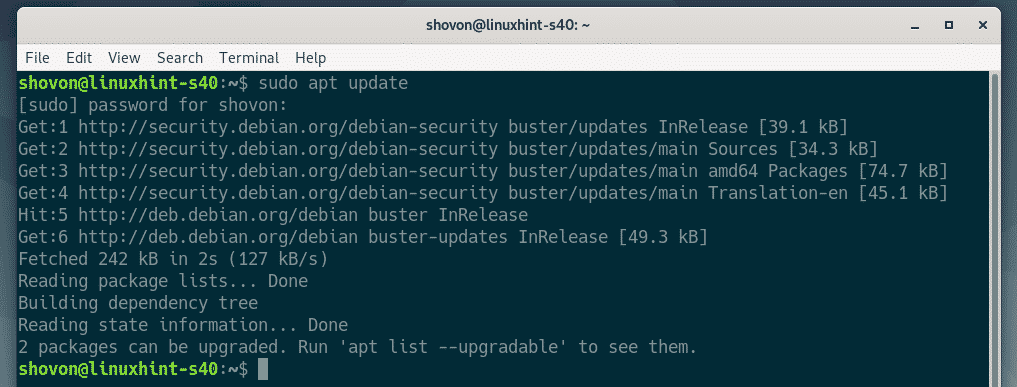
First, update the APT package repository cache with the following command:

The APT package repository cache should be updated.
Now, install Apache web server, PHP and required PHP libraries for NextCloud, MariaDB database server, and other required tools from the official package repository of Debian 10 with the following command:
mariadb-server wget unzip bzip2 curl php php-common php-curl php-gd
php-mbstring php-mysql php-xml php-zip php-intl php-apcu php-redis
php-http-request

Now, press Y and then press <Enter> to confirm the installation.

The APT package manager will download and install all the required packages. It may take a while to complete.

At this point, all the packages should be installed.

Now, you have to create a MariaDB database for NextCloud.
To do that, first, login to the MariaDB shell as root database user with the following command:

By default, no root password should be set. So, just press <Enter>.
NOTE: If you have a LAMP server setup already, then your MySQL/MariaDB database may have a root password set. In this case, type in the root password and press <Enter>.

You should be logged in to the MariaDB shell.
Now, create a new database nextcloud for NextCloud with the following SQL statement:

Now, create a new user nextcloud, set the password for the new user (123 in my case) and grant the new user all the privileges to the database nextcloud with the following SQL statement:
IDENTIFIED BY '123';

Now, run the following SQL statement for the changes to take effect:

Now, exit out of the MariaDB shell as follows:

Now, navigate to /var/www directory as follows:

Now, download NextCloud 16 zip archive from the official website of NextCloud with the following command:
NOTE: NextCloud 16 is the latest stable release at the time of this writing. By the time you’re reading this article, new version of NextCloud may be released. If that’s the case, then just copy the new download link from the official website of NextCloud and replace it here.

NextCloud zip archive should be downloaded.
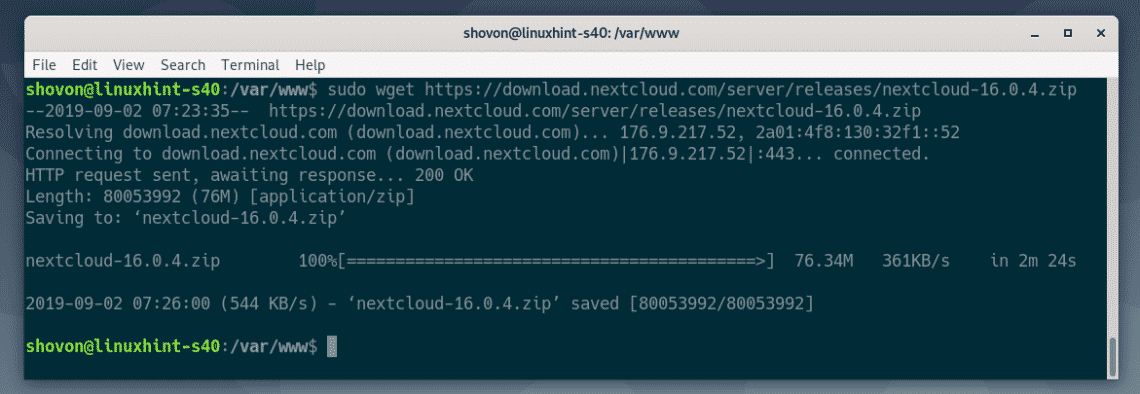
As you can see, the NextCloud zip archive is in the /var/www directory.

Now, extract the NextCloud zip archive with the following command:

NextCloud archive should be extracted.
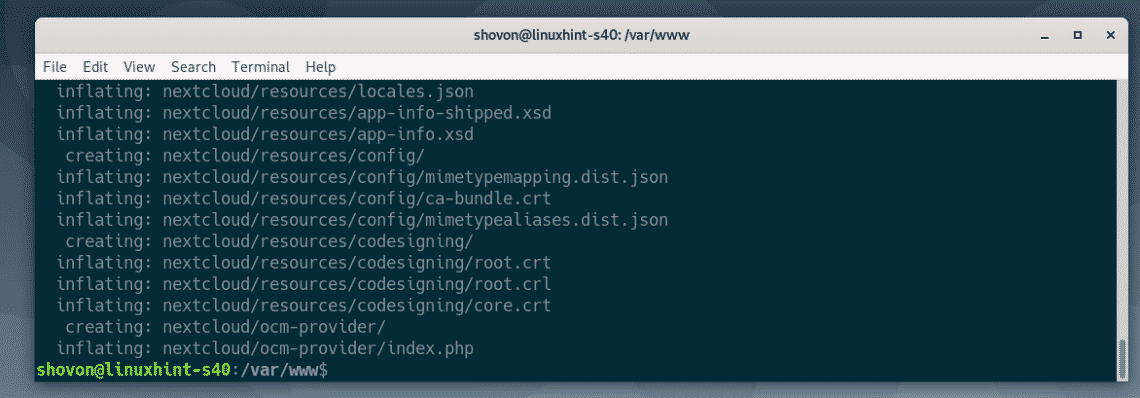
A new directory nextcloud/ should be created. This is the webroot of NextCloud.

Now, change the owner and group of all the files and directories in the nextcloud/ directory to www-data as follows:

The owner and group should be changed.

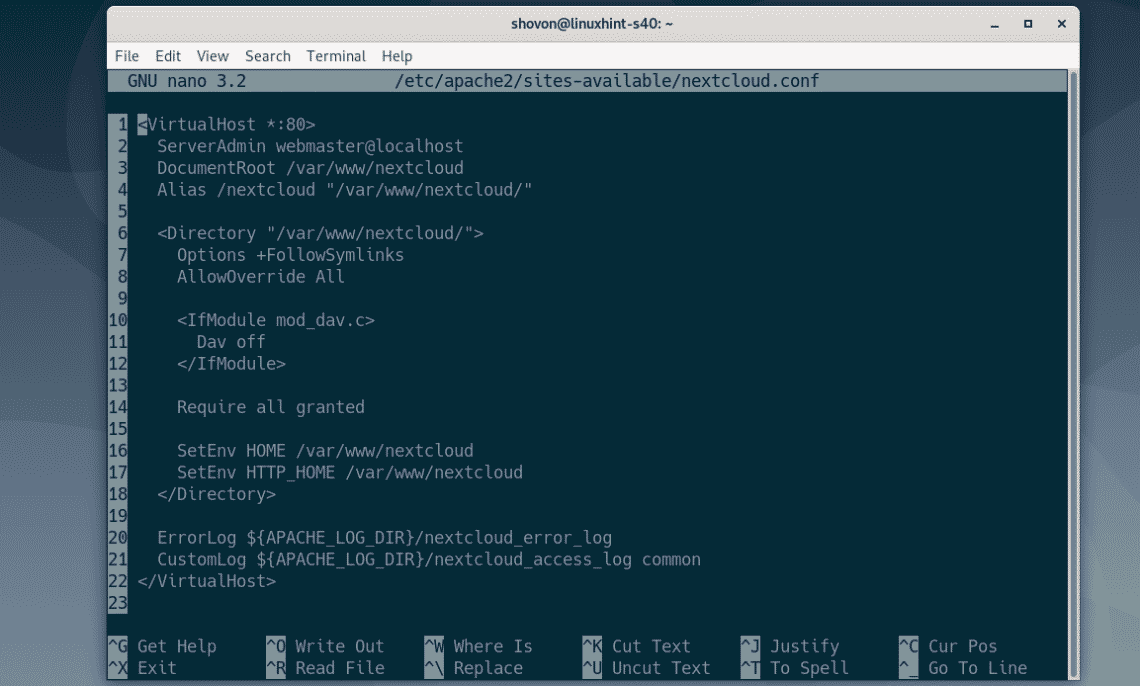
Now, create a new Apache 2 site configuration for NextCloud with the following command:

Now, type in the following lines in the configuration file.
ServerAdmin webmaster@localhost
DocumentRoot /var/www/nextcloud
Alias /nextcloud "/var/www/nextcloud/"
<Directory "/var/www/nextcloud/">
Options +FollowSymlinks
AllowOverride All
<IfModule mod_dav.c>
Dav off
</IfModule>
Require all granted
SetEnv HOME /var/www/nextcloud
SetEnv HTTP_HOME /var/www/nextcloud
</Directory>
ErrorLog ${APACHE_LOG_DIR}/nextcloud_error_log
CustomLog ${APACHE_LOG_DIR}/nextcloud_access_log common
</VirtualHost>
The final configuration file should look as follows. Now, save the file by pressing <Ctrl> + X followed by Y and <Enter>.
Now, enable the NextCloud site configuration with the following command:

Now, disable the default site configuration with the following command:

Now, restart Apache 2 web server with the following command:

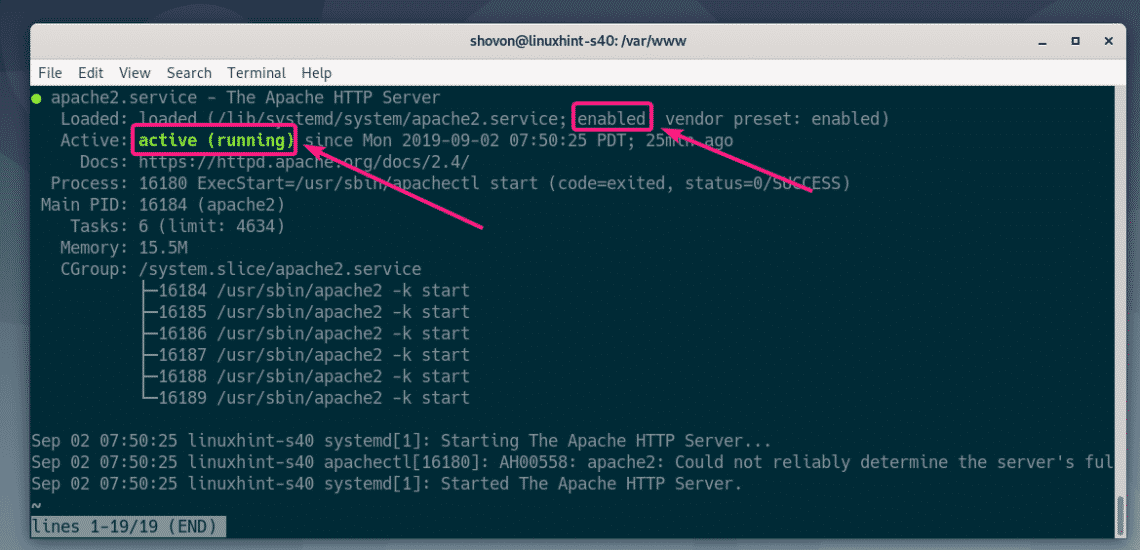
Now, check whether the apache2 service is running with the following command:

As you can see, the apache2 service is running. So, the configuration should be successful.
Configuring NextCloud:
As you’re running NextCloud for the first time, you will have to create a NextCloud admin user and provide database credentials for NextCloud. You can do all that from the NextCloud web interface.
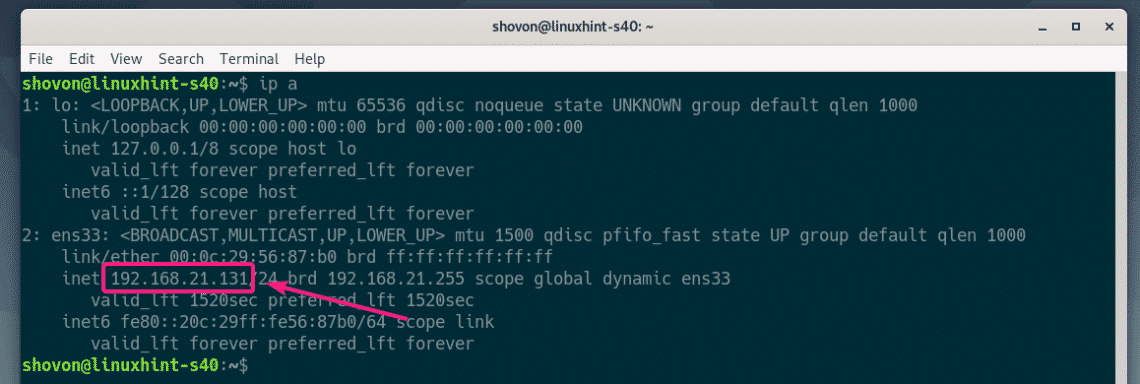
First, find the IP address of your Debian 10 machine with the following command:
As you can see, the IP address of my Debian 10 machine is 192.168.21.131. It will be different for you. So, make sure to replace it with yours from now on.
Now, open your browser and visit http://192.168.21.131 and you should see the following page. Now, type in the name of your admin user and password here.
The default data directory of NextCloud is /var/www/nextcloud/data. If you want to change that, you have to mount a storage device on /var/www/nextcloud/data and change the owner and group of that directory to www-data. For more information, read Using Dedicated Storage for NextCloud section of the article Install NextCloud on Ubuntu.

You should be logged in. Click on X.
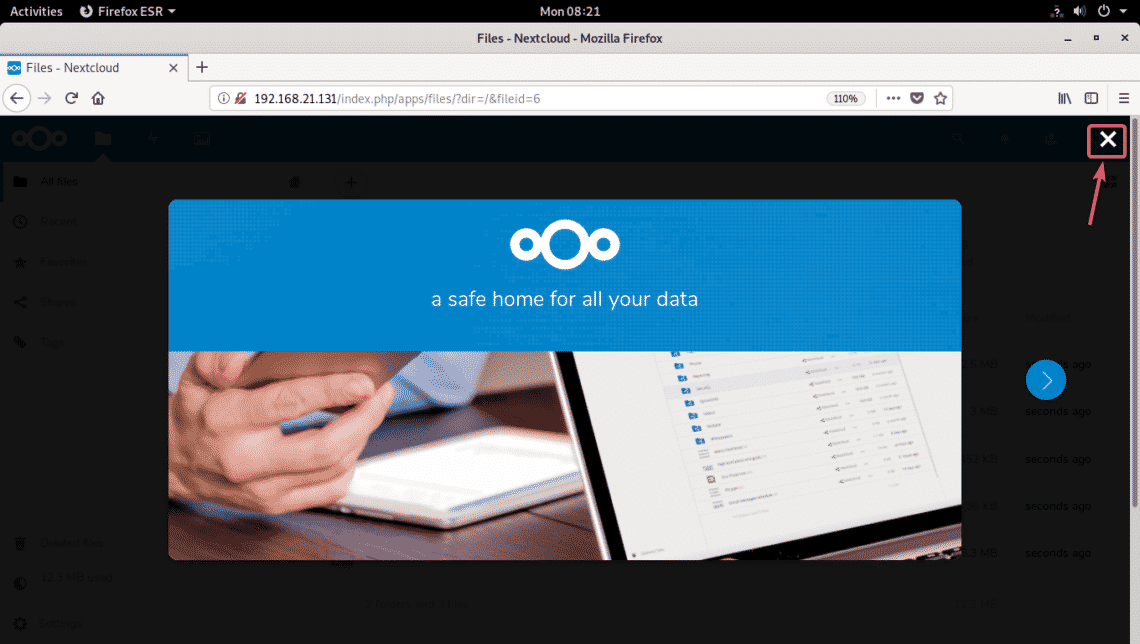
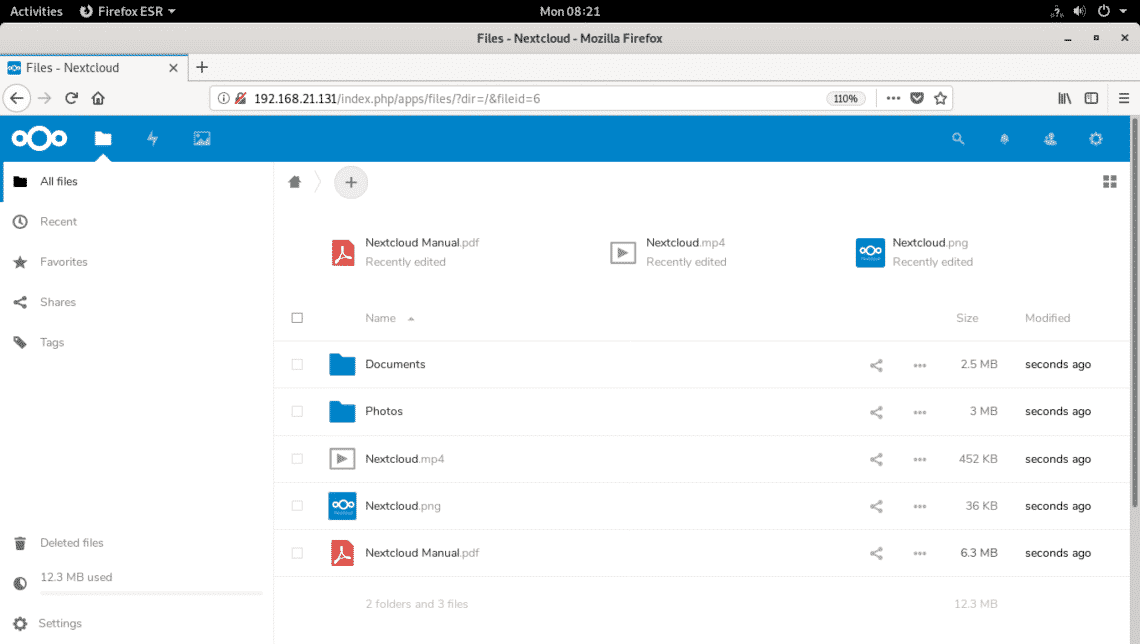
You should see the NextCloud dashboard. You can manage your personal files, create new users or administer NextCloud from here.
So, that’s how you install NextCloud on Debian 10. Thanks for reading this article.