Joining the network:
Step 1. Check for the IP range and Gateway from a Windows device by running “ipconfig” (the DOS command equivalent to ifconfig)

I apologize but the network belongs to a Latin American company and all workstation are in Spanish. Where “Direcciòn” means “address” and “Puerta de enlace determinada” means “gateway”.
Step 2.
Then we assign an ip address and the gateway (ping IP addresses to find a free one). Run:
route add default gw x.x.x.x
Replace enp2s0 for your network device and write the proper IP addresses instead.
Edit the file nano /etc/samba/smb.conf adding the correct Workgroup. Run:
Installing a printer on Debian/Ubuntu Linux based distributions (graphical way):
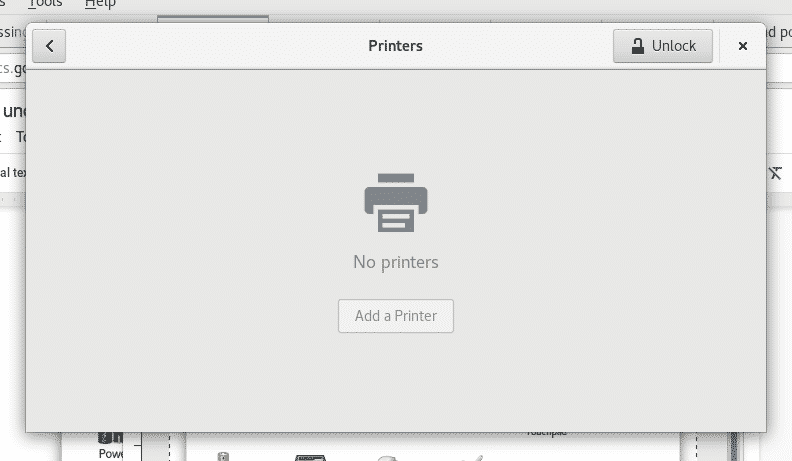
On Debian/Ubuntu Linux based distribution click on Settings>Printers
On the emerging window click on Add Printer (probably you’ll need to click the Unlock button and complete your root credentials before).
Note: On some Debian/Ubuntu versions the icon may be called “Network Printers”
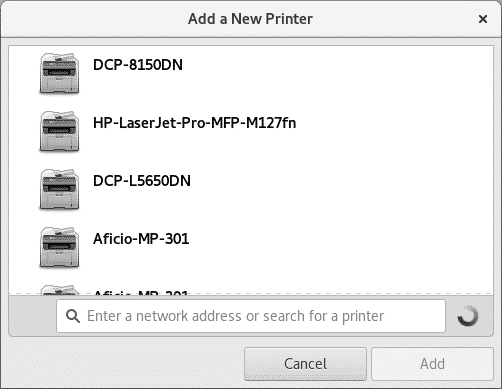
Your device will scan for available printers and will list them
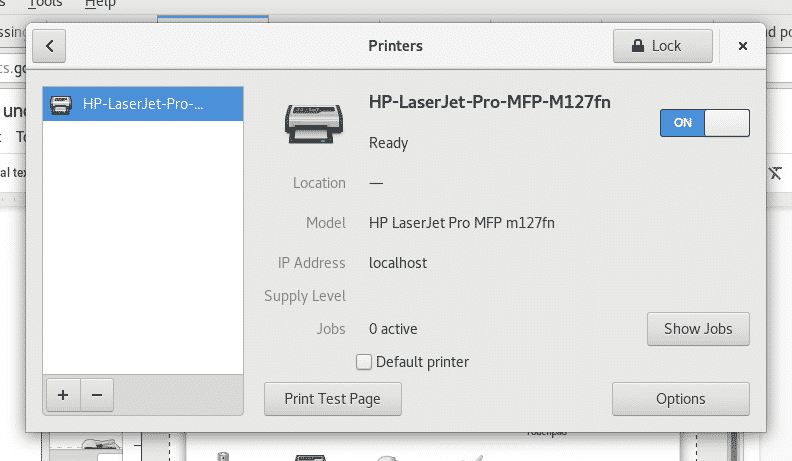
Select your printing device and click on “Add”, your printer will be listed and ready to print
Installing a printer on Debian/Ubuntu Linux based distributions (cups):
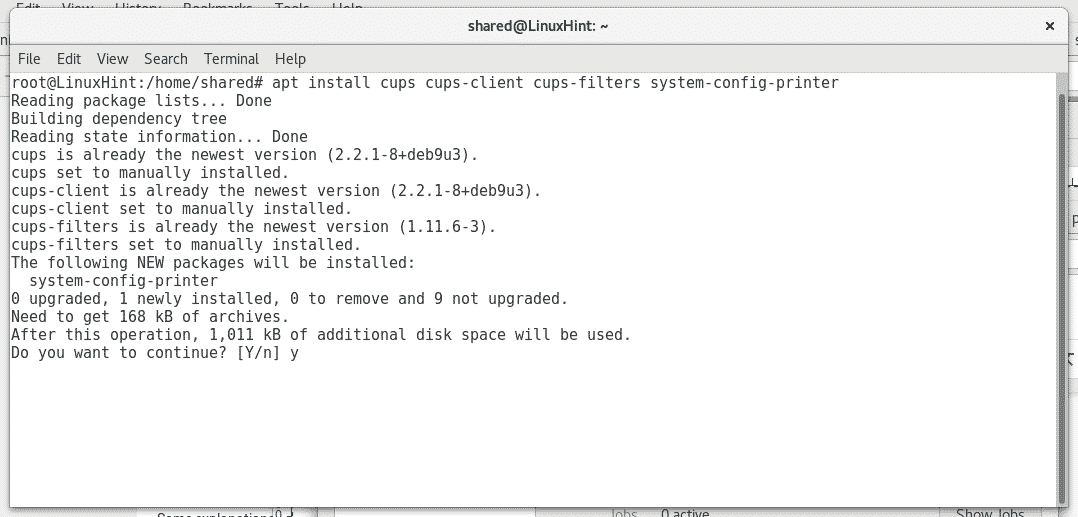
Run as root or using sudo
And press Y when asked.
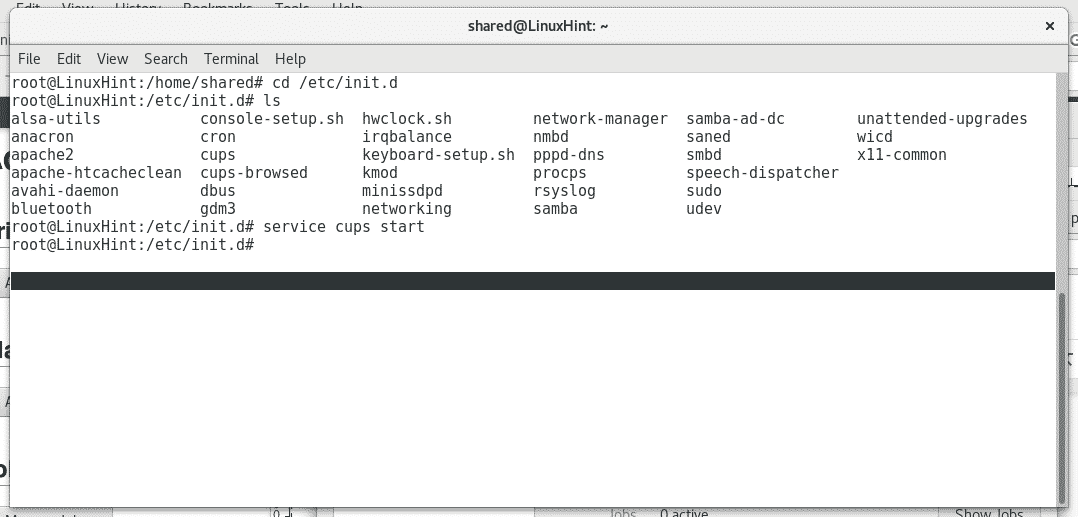
Start the cups service by running “service cups start” or “/etc/init.d/cups start”
Cups has an intuitive and user friendly web interface to manage printers, open in your browser http://localhost:631/admin
Click on “Add Printer” , it will ask for your root credentials, fill it and cups will list the available printers
Select your devices and press “Continue”, as you see cups allows to install both local and network printers. Next fill the requested information (descriptive information) and press Continue.
Next, select your printer type and press “Continue”
Select your printer model and press on Add Printer.
Now your printer is added, and you can determine the default settings for printing.
Now if you open your Open office and click on File>Print you’ll see the printers you just installed.
I hope this tutorial helped you to deal with printers under Linux, keep following LinuxHInt for more tips and resources on Linux.


