In this tutorial guide, I will show you how to install, run, and uninstall MongoDB on ubuntu 20.04.
Install MongoDB NoSQL Database:
MongoDB is very easy to install, and it is present in Ubuntu 20.04 software repository.
Step 1:
As always, first, update and upgrade your APT.
Step 2:
Now download and install it via the following terminal command. It requires root privileges so type sudo with command.
Step 3:
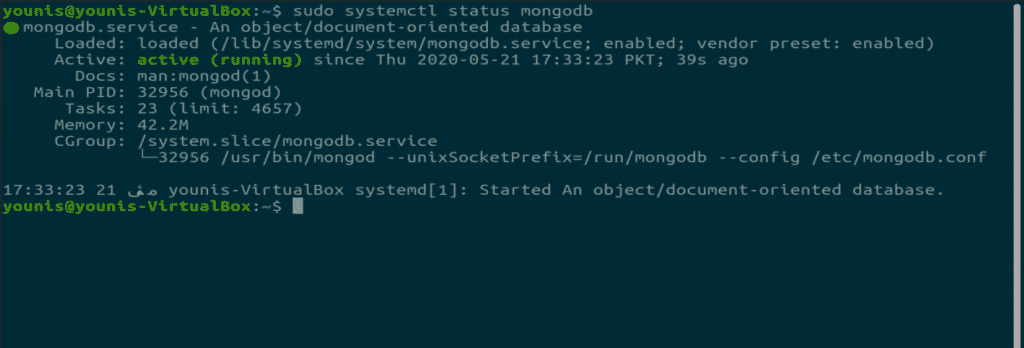
MongoDB is installed on your system now and it starts automatically after installation. To check the status of this database, type the following command in the terminal window.
Run MongoDB service:
MongoDB service needs the systemctl command to modify its state. It requires root privileges so sudo must be used before every command.
MongoDB status checking:
The following command is used to check the status.
MongoDB starts command:
MongoDB can be started through the following command.
MongoDB stop command:
MongoDB can be stopped with this command.
MongoDB restart command:
In case you run into some errors and restart is compulsory then type the following command.
Enable option MongoDB when the system boots:
Disable option for MongoDB when the system boots:
By default, MongoDB is enabled after installation.
Starting MongoDB shell:
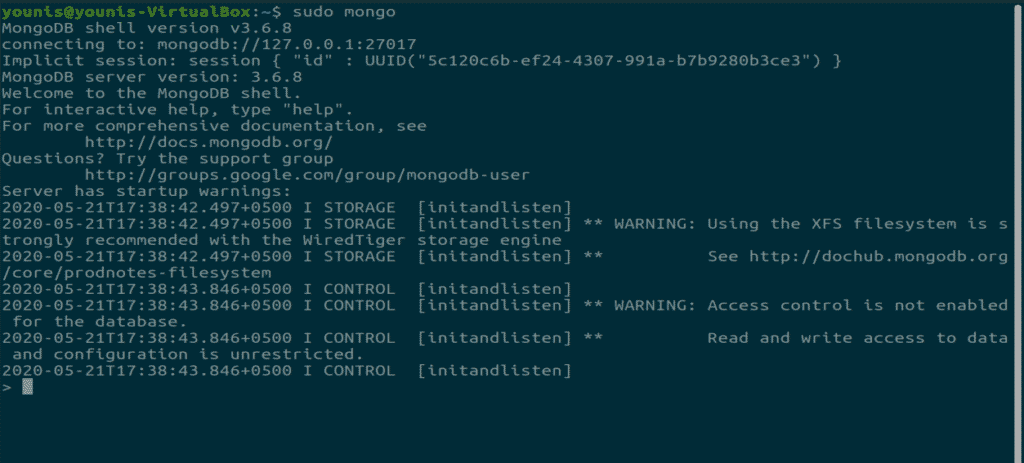
To work on the databases, you can open the “mongo shell” with the following terminal command.
Uninstall MongoDB:
In case you do not need MongoDB and want to uninstall it then enter these three commands.
This command will stop the service.
These two commands will uninstall the MongoDB database. This will wipe out all the database files so make sure that you have backed up your necessary files.
Conclusion:
Wasn’t this an easy tutorial for installing MongoDB on ubuntu? MongoDB is a popular database for creating NoSQL documents.


