How LVM Works:
LVM has basically three terms, Physical Volume PV, Volume Group VG, Logical Volume LV.
- PV – It’s a raw hard drive that it initialized to work with LVM, such as /dev/sdb, /dev/sdc, /dev/sdb1 etc.
- VG – Many PV is combined into one VG. You can create many VGs and each of them has a unique name.
- LV – You can create many LVs from a VG. You can extend, reduce the LV size on the fly. The LV also has unique names. You format the LV into ext4, zfs, btrfs etc filesystems, mount it and use it as you do other ordinary partitions.
Installing LVM:
LVM may not be installed on your CentOS 7 machine. But it is available in the official package repository of CentOS 7.
First update the YUM package repository cache with the following command:
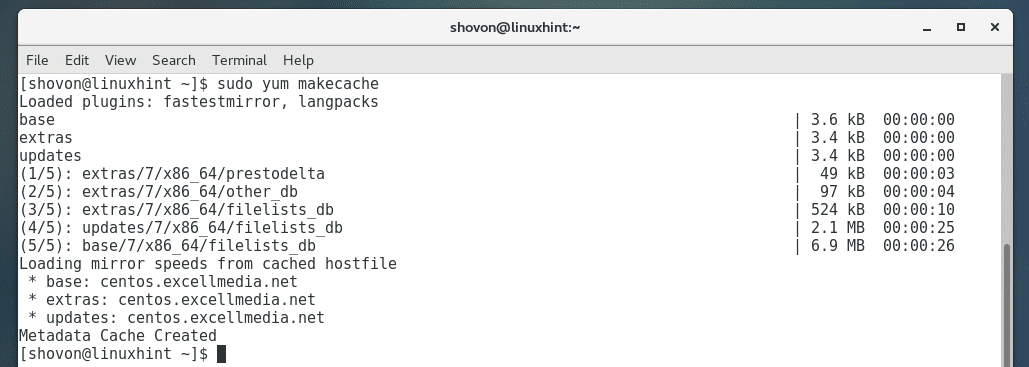
Run the following command to install LVM on CentOS 7:

Now press y and then press <Enter> to continue.

LVM should be installed.

Initializing Disk for LVM:
You can use the raw disk such as /dev/sdb or /dev/sdc as LVM PV. LVM has no problem with that but it is not recommended as other operating systems won’t be able to detect LVM metadata and you may not be able to tell whether the disk is set up to use LVM if you have many disks lying around.
So I recommend you create a single partition on your hard drive with all the available space and change the partition type to Linux LVM or 8E.
Use fdisk to create a single partition on the disk, let’s say /dev/sdb:

Now type in o and press <Enter> to create empty partition table on the disk.

Now type in n and press <Enter> to create a new partition. Now keep pressing <Enter> to accept the defaults.

The partition should be created.

Now type in t and press <Enter>. Then type in 8e as the Hex code and press <Enter>. The partition type should be set to Linux LVM.

Now type in w and press <Enter> to save the changes.

The partition /dev/sdb1 is now ready to be used with LVM.
Adding the Disk to LVM PV:
Now run the following command to add the disk /dev/sdb1 to the LVM as PV:

You can list all the PV with the following command:

If you want to display more information about any specific PV, let’s say /dev/sdb1, then run the following command:

Creating Volume Groups:
Now you can create a VG out of as many PV as you have available. Right now I have only one PV /dev/sdb1 available.
Run the following command to create VG share with PV /dev/sdb1:

Now you can list all the VGs with the following command:

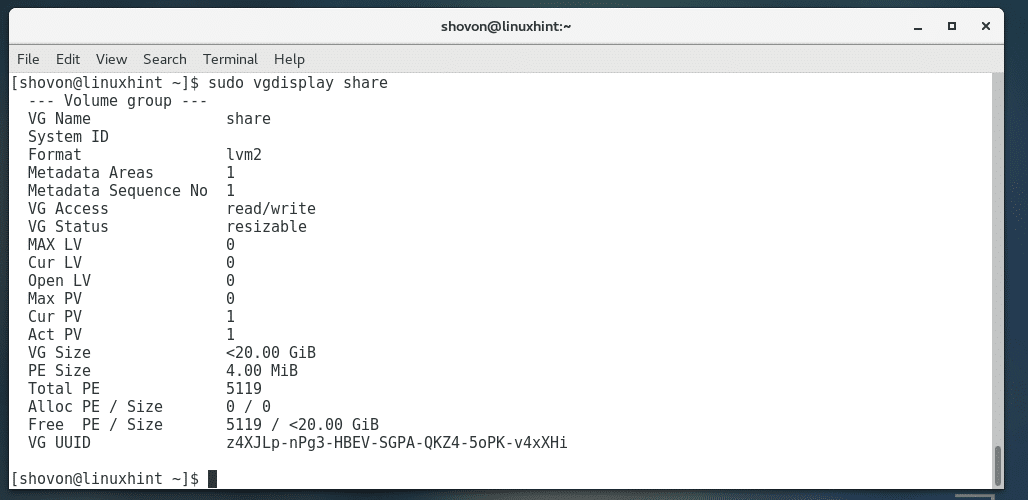
You can display more information about any specific VG, such as share with the following command:
Extending Volume Groups:
If you wish you can add more PV to an existing VG share with the following command:

Creating Logical Volumes:
Now you can create as many LVs as you want using a VG, in my case VG share.
You can create a 100MB LV www_shovon from VG share with the following command:

Let’s create another LV www_wordpress of size 1GB from VG share with the following command:

Now you can list all the LVs with the following commands:

Or

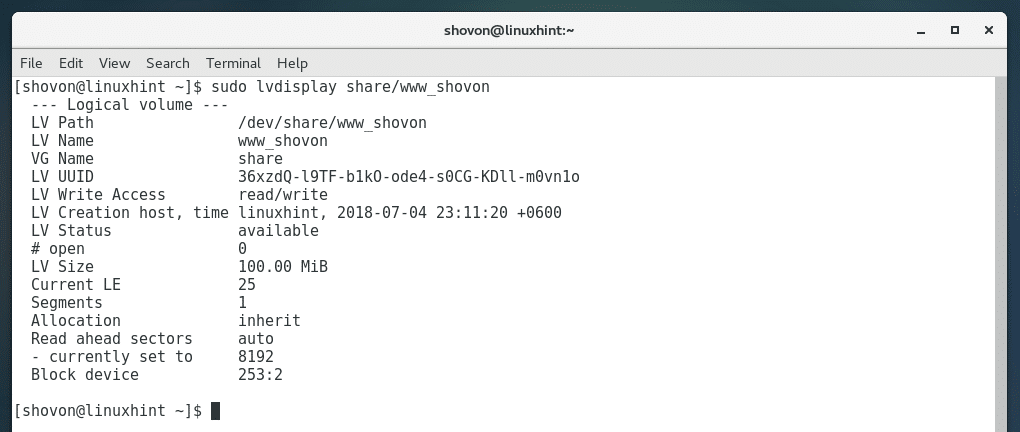
You can also display more information about any specific LV with the following command:
In my case, VG_NAME is share and LV_NAME is www_shovon
Formatting and Mounting Logical Volumes:
You can access your LVs just as you do with ordinary hard drive partitions such as /dev/sdb1, /dev/sdc2 etc.
The LVs are available as /dev/VG_NAME/LV_NAME
For example, if my VG_NAME is share, and LV_NAME is www_wordpress, then the LV is available as /dev/share/www_wordpress
You can use /dev/share/www_wordpress just as you use an ordinary hard drive partition /dev/sdb1.
Once you’ve created a LV, you need to format it.
Run the following command to format /dev/share/www_wordpress LV to EXT4 filesystem:

Now run the following command to create a mount point where you want to mount /dev/share/www_wordpress LV:

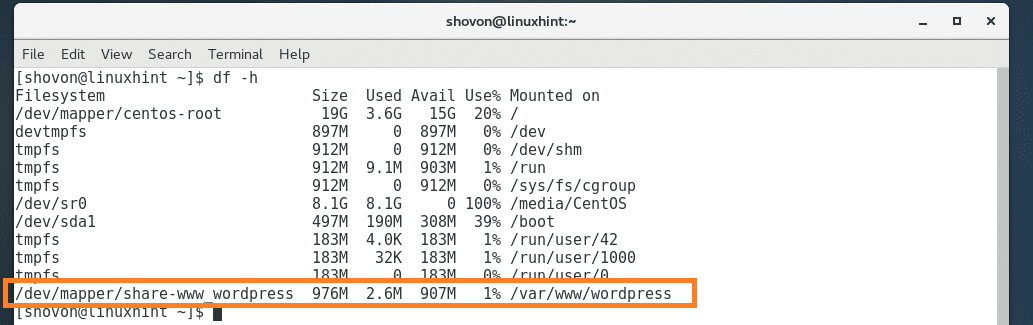
Now you can mount /dev/share/www_wordpress to any empty directory such as /var/www/wordpress with the following command:

As you can see, the LV is mounted to the desired mount point:
Now you can use copy and paste files, create new files and directories in the /var/www/wordpress directory.
Extending Logical Volumes:
LVM is a good tool for quota management. You give away the space you need, no more, no less on each LVs. But if you do require more space, you can always resize the LV on the fly.
Even if you’re not doing quota management, when you’re out of disk space, you can just add new hard drives, add it to the PV, extend the VG with your new PV, extend the LV and you’re good to go.
For example, to add 500MB more to our LV www_wordpress created from VG share, run the following command:
Note: You can use G keyword for GB. For example, –size +2G
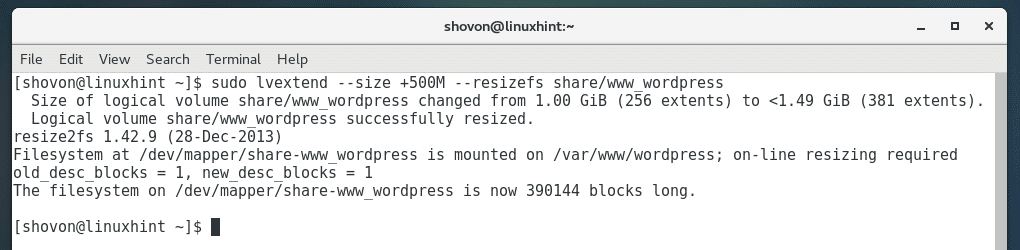
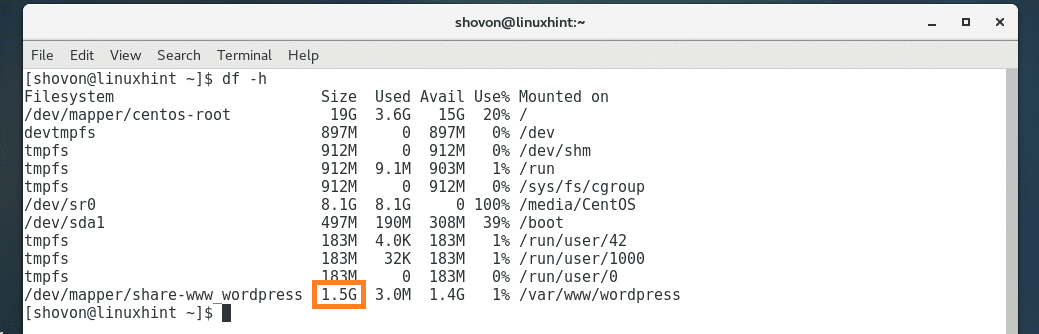
The www_wordpress LV should be resized as you can see from the screenshot below.
That’s how you install and configure LVM on CentOS 7. Thanks for reading this article.