If you often switch between different operating systems, it is highly advisable to use virtualization, instead of installing each operating system on your machine every time you need to use it. VirtualBox is a useful software that allows you to create as many Virtual Machines (VMs) as you like. VirtualBox can be used to install VMs in Linux, Windows, Mac, and others.
Linux Mint 20 is yet another powerful distribution of the Linux operating system. This distribution has various editions contained within it. This article will show you how to install Linux Mint 20 with VirtualBox.
Method for Installing Linux Mint 20 in VirtualBox
To install Linux Mint 20 in VirtualBox, perform the following steps:
- First, visit the official website of Linux Mint, and then download the edition highlighted in the image shown below:

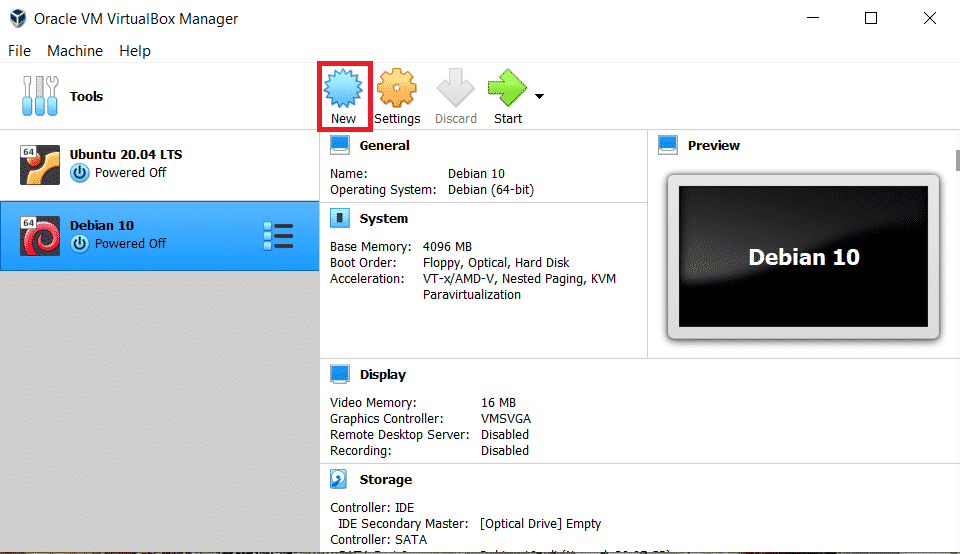
- Once the Linux Mint 20 iso file has been downloaded onto your system, launch the VirtualBox application by double-clicking on it. Then, click the ‘New’ button, as highlighted in the following image:
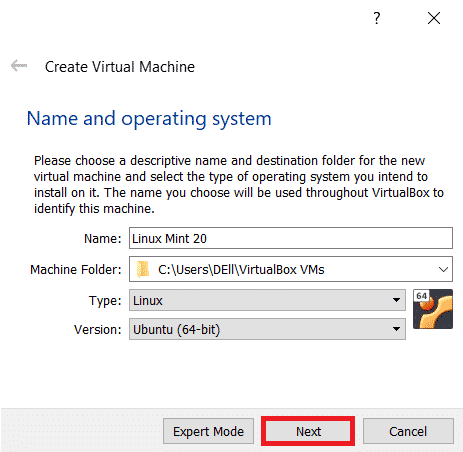
- Write down a name of your choice for your Linux Mint 20 VM, and then click the ‘Next’ button, as shown in the image below:
- Set the Memory Size to 4096 MB, and then click on the ‘Next’ button, as highlighted in the following image:

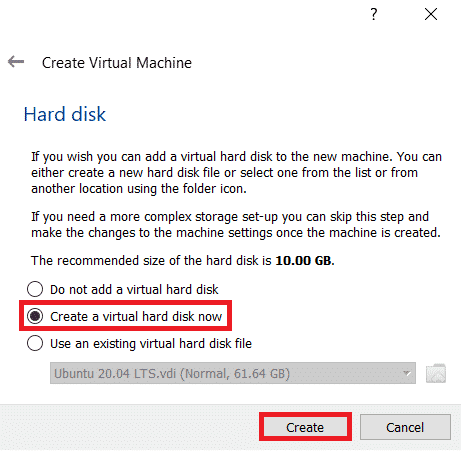
- Choose the ‘Create a virtual hard disk now’ option, and then click the ‘Create’ button, as shown in the image below:
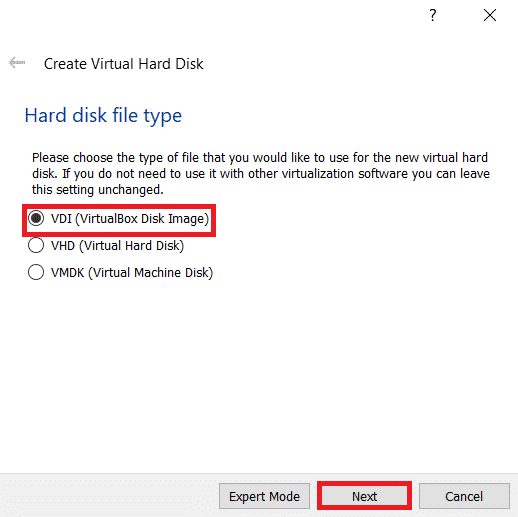
- Choose the ‘VirtualBox Disk Image’ option as your hard disk file type, and then click the ‘Next’ button, as shown in the following image:
- Choose the ‘Dynamically Allocated’ option for your storage on the physical hard disk, and then click the ‘Next’ button, as highlighted in the image shown below:

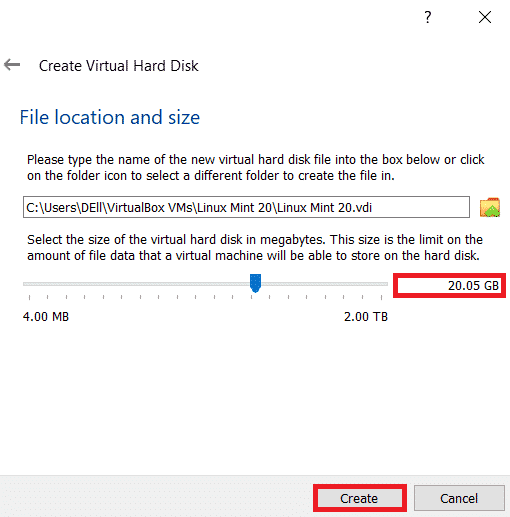
- Set the size of your virtual hard disk to around 20 GB, and then click the ‘Create’ button, as highlighted in the following image:
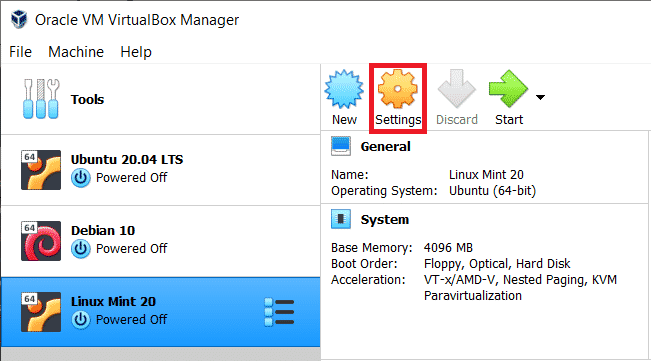
- Now, you will be able to see the Linux Mint 20 VM, along with your other VMs in VirtualBox. Select your newly created VM by clicking on it, and then click the ‘Settings’ button, as highlighted in the image shown below:
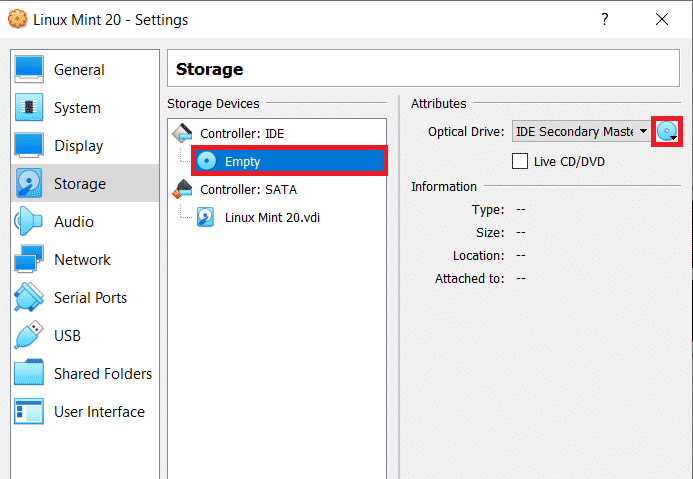
- Then, click the ‘Storage’ tab, as highlighted in the following image:

- Select the ‘Empty’ option to empty the disk, and then click on the disk icon, as highlighted in the image shown below:
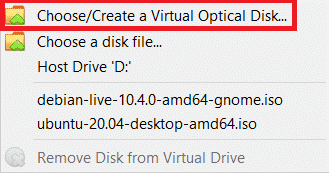
- Choose the ‘Create a Virtual Optical Disk’ option from the menu that pops up:
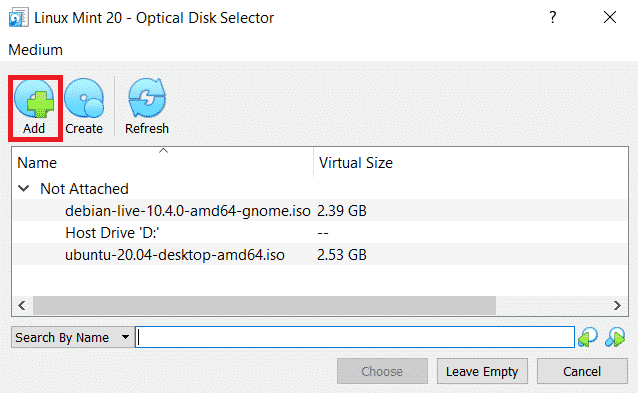
- Clicking this option will open up a dialogue box. Click on the ‘Add’ button in this box, as highlighted in the following image:
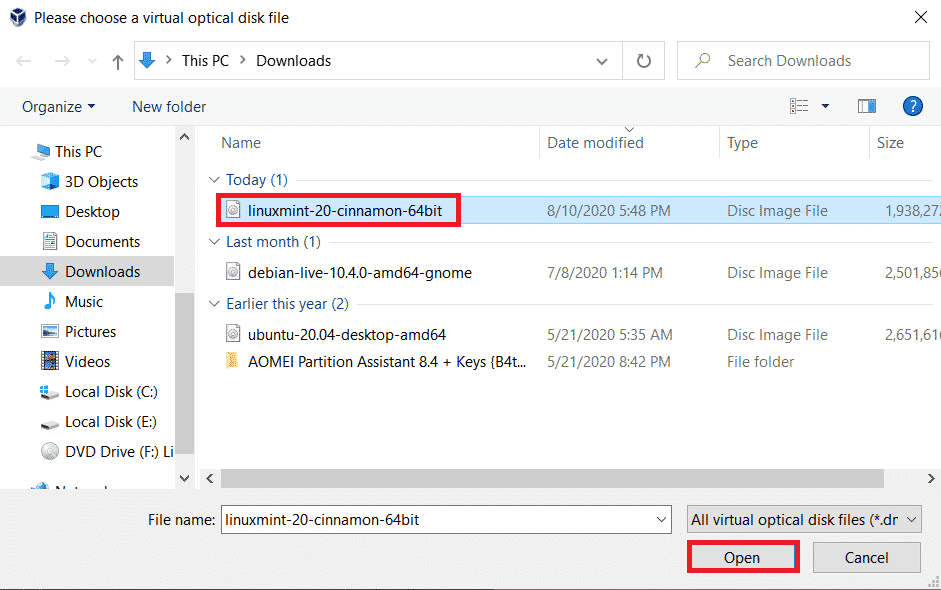
- This will let you browse through your computer system to find the downloaded Linux Mint 20 iso file. Choose the iso file and click on the Open button as highlighted in the image shown below:
- The Linux Mint 20 iso file will appear along with your other iso files. Select this iso file, and then click the ‘Choose’ button, as shown in the following image:

- Now, the Linux Mint 20 iso file will appear as your disk. Click the ‘OK’ button for confirmation, as highlighted in the image shown below:

- It is now time to install the new VM. To do so, select the Linux Mint 20 VM from your VirtualBox and click the ‘Start’ button, as highlighted in the following image:

- Click the ‘Install Linux Mint’ icon located on the desktop that appears, as highlighted in the image shown below:

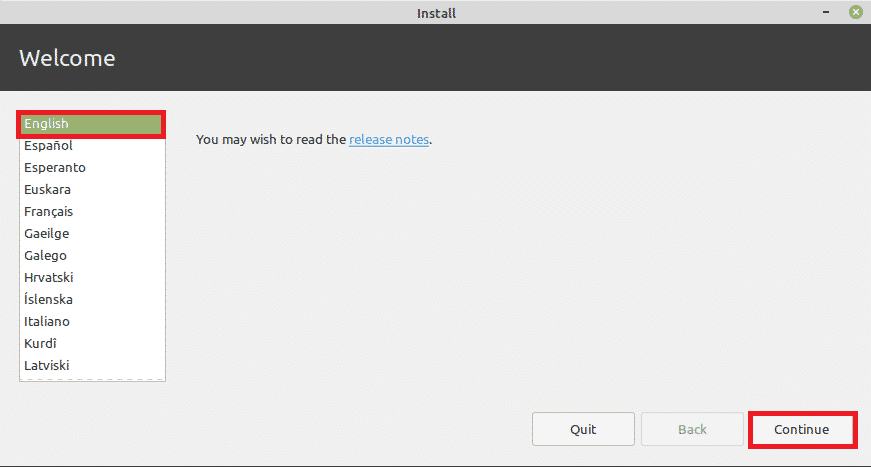
- Select English as the installation language, and then click the ‘Continue’ button:
- Choose your desired Keyboard Layout, and then click the ‘Continue’ button, as highlighted in the following image:

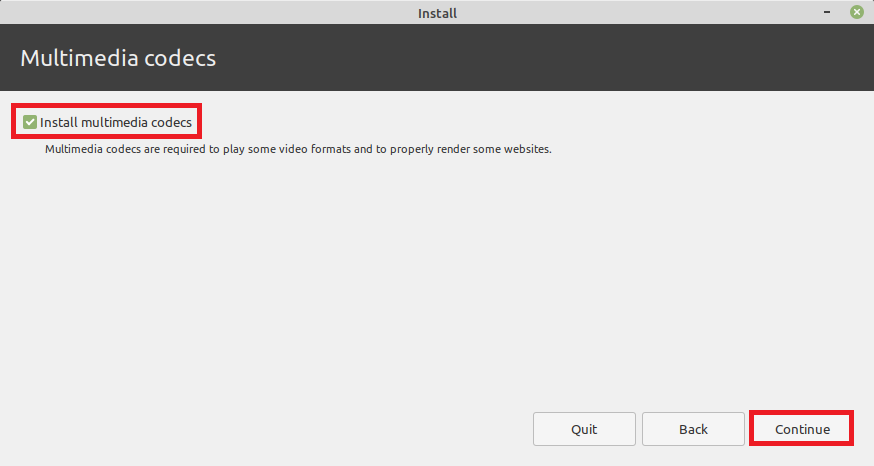
- Check the ‘Install multimedia codecs’ options, and then click the ‘Continue’ button, as highlighted in the image shown below:
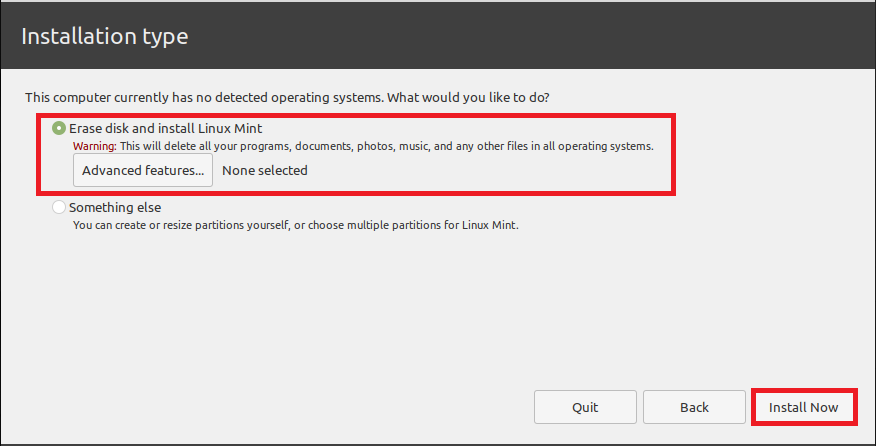
- Choose the ‘Erase disk and install Linux Mint’ option, and then click the ‘Install Now’ button.
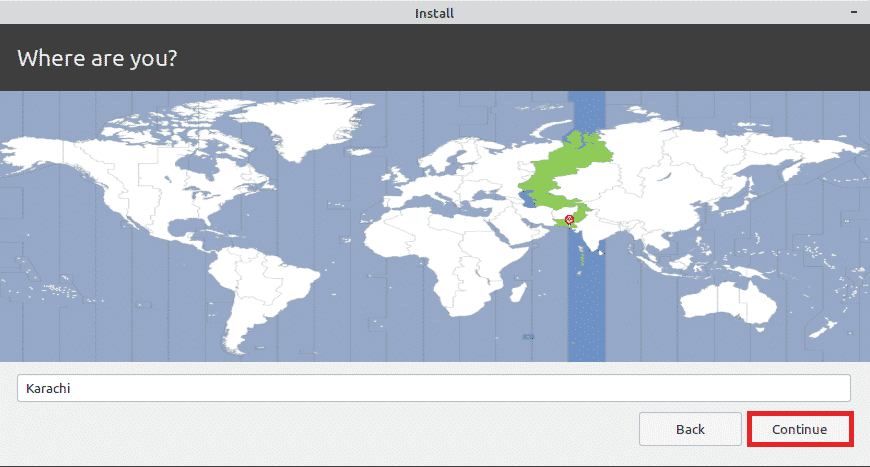
- Select your location, and then click the ‘Continue’ button:
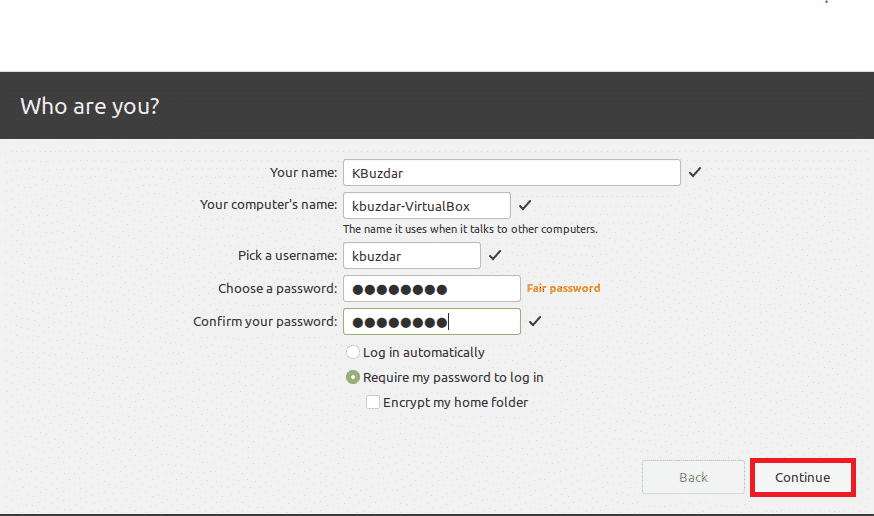
- You will now be prompted to set up your user account by choosing a Name and a Password for it. After you have provided these credentials, click the ‘Continue’ button, as highlighted in the following image:
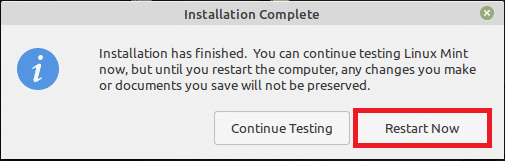
- The installation process will take some time to complete. Once installation has completed, you will be prompted to restart your VM. To do this, click the ‘Restart Now’ button, as highlighted in the image shown below, and then you will be all set to use your newly installed Linux Mint 20 VM.
Conclusion
By following the method described in this article, you can conveniently install Linux Mint 20 on your VirtualBox. The only pre-requisite for following this method is to have VirtualBox installed on your system. Moreover, you also need to be a little patient, as the downloading and installation processes will take some time to complete.