This app is a part of the GNOME software collection. If your system is using GNOME, then getting Maps would be the most obvious solution. However, if your system doesn’t run on GNOME, don’t worry as we can install GNOME Maps without any problem.
Installing GNOME Maps
- Ubuntu/Debian
If you’re using Ubuntu or Debian, GNOME Maps is easily available from the default software repository. Just run the following code and you’re good to go!

- OpenSUSE and Fedora
These Linux distros use RPM and GNOME Maps is available as an RPM package as well. For downloading the latest version, go ahead to the RPM find page.
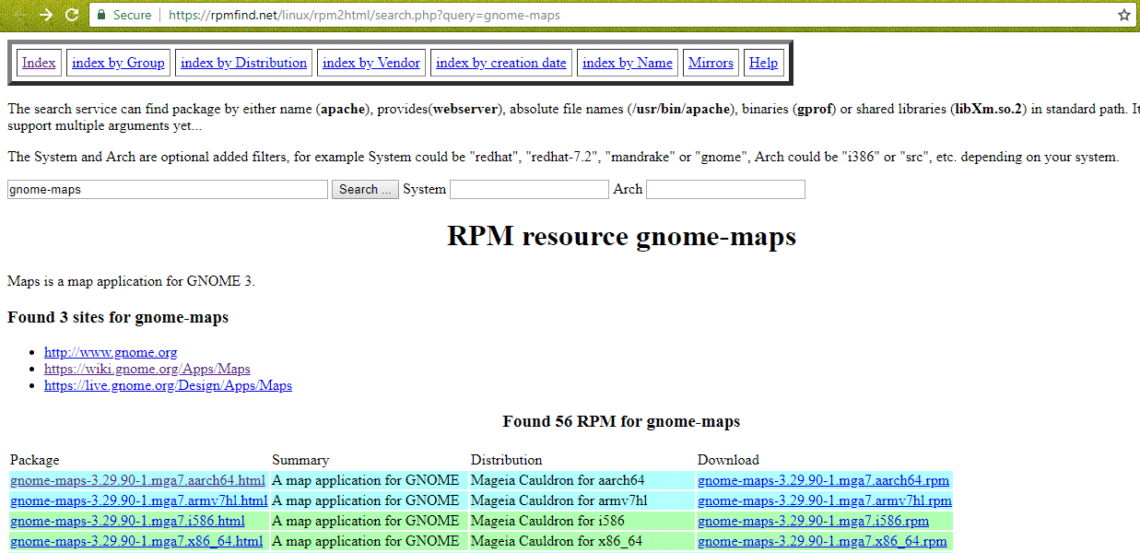
Here, you can find out all the available versions of Maps RPM package. Download the proper one according to your system and architecture. Note that there are also separate RPM packages for Fedora, openSUSE and Mageia.
After the RPM is downloaded, just run the command for installing it.
rpm -ivh gnome-maps-3.16.4-11.1.x86_64.rpm
# For Fedora
sudo dnf install gnome-maps-3.28.2-2.fc29.aarch64.rpm
- Arch Linux
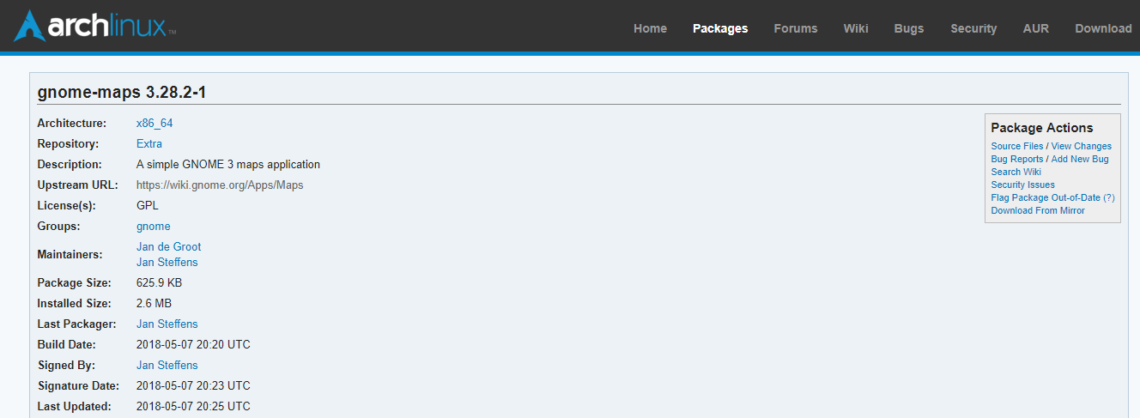
You can get GNOME Maps from Arch Linux package repository.
- Other users
If your system isn’t listed above, it’s possible to yet install GNOME Maps. It’s an open-source software and the source code is available to download and build it for your own system. Let’s build and install it.
First, download the source of GNOME Maps.
Now, run the following commands for successfully building and installing the software for you. Before running, make sure that all the dependencies were pre-installed in your system or the building process won’t go any further.
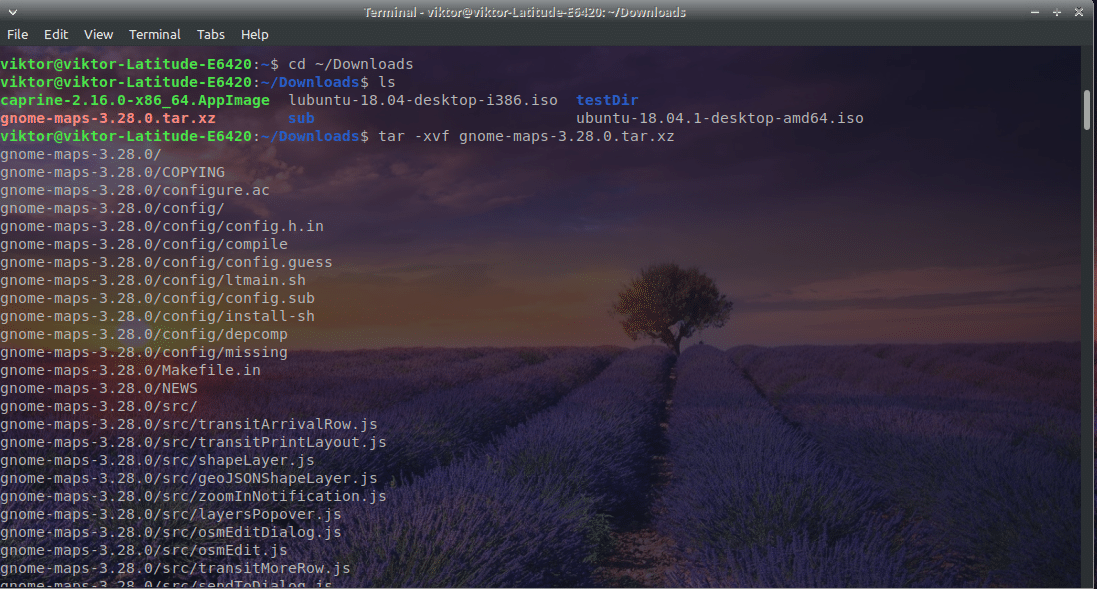
tar -xvf gnome-maps-3.28.0.tar.xz
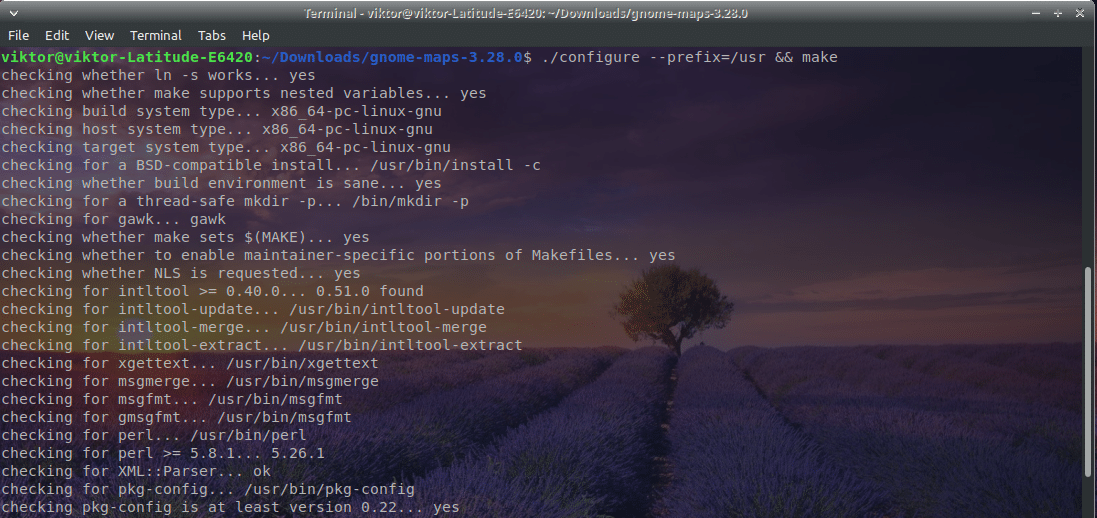
./configure --prefix=/usr && make
Using GNOME Maps
GNOME Maps uses the database of OpenStreetMap – a nice map collection.
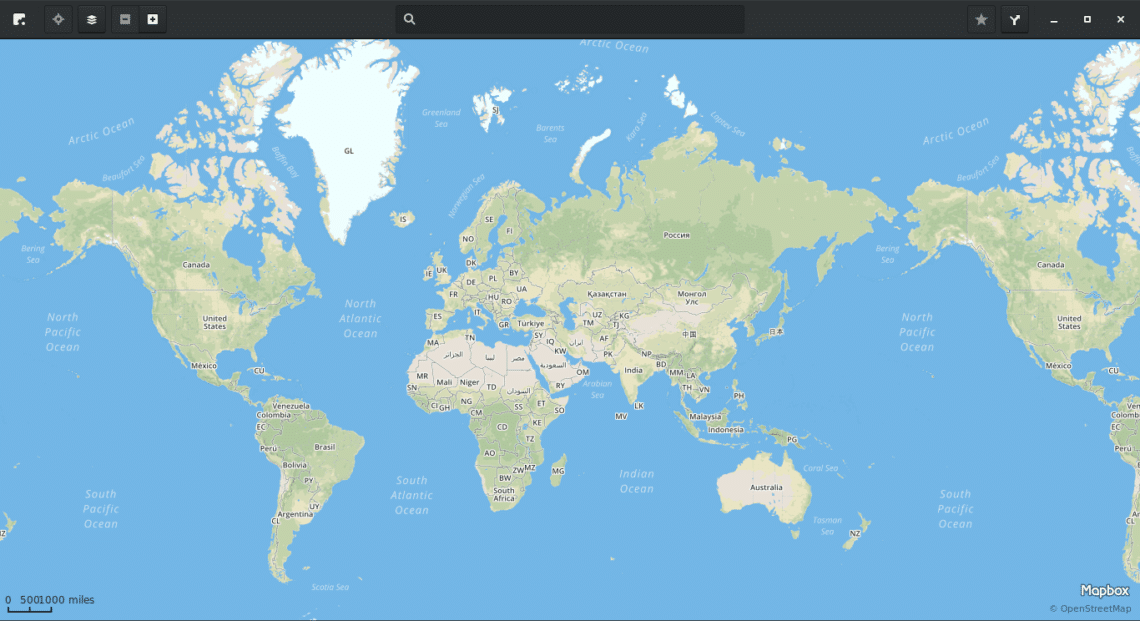
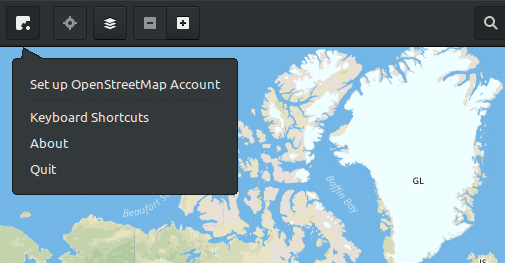
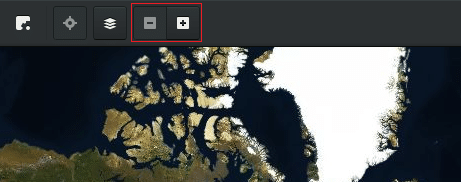
Once you open the software, here’s what you’ll see.
For getting the more out of the map, sign up with OpenStreetMap.
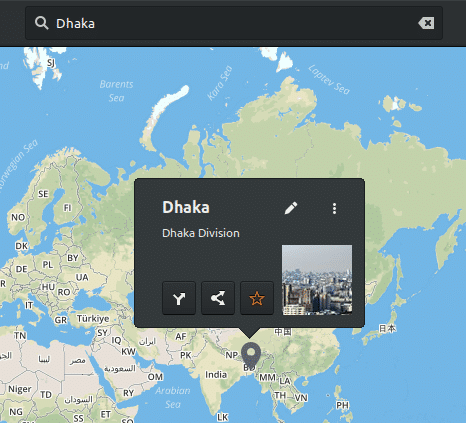
Now, it’s time to get familiar with the app. There’s a handy search menu where you can search for any location. Just type in the name, hit Enter and pick the suggestions that suit your desire.
Here, I’m currently on Dhaka and the map tagged it for me.
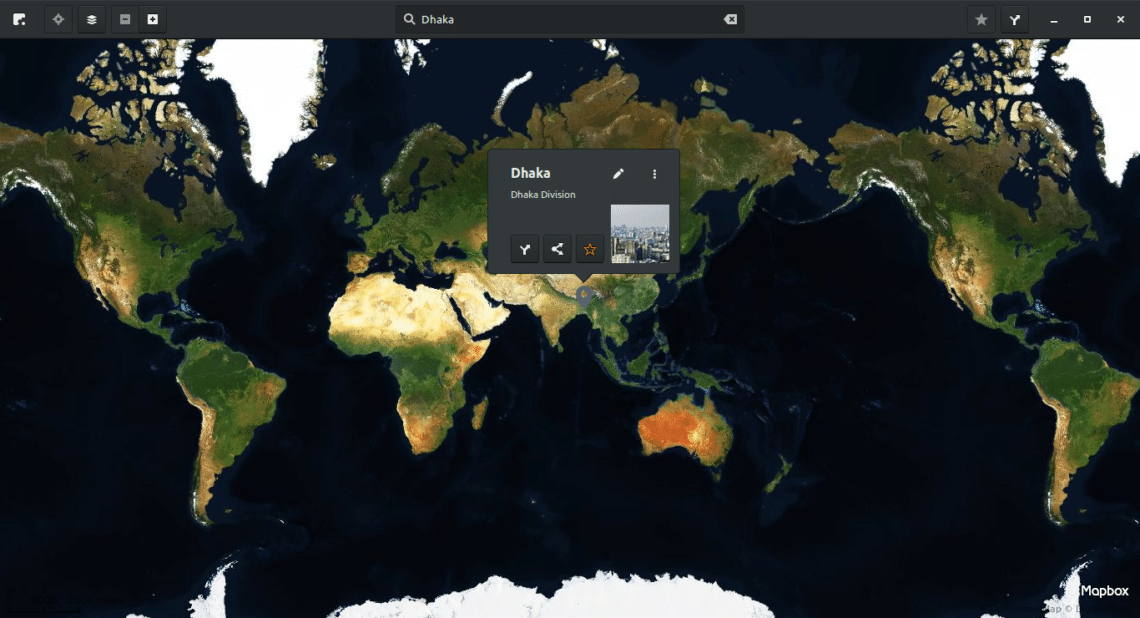
There’s also a handy maps shape changer. Using it, you can either switch to the classic or satellite view.
Looks nice, right?
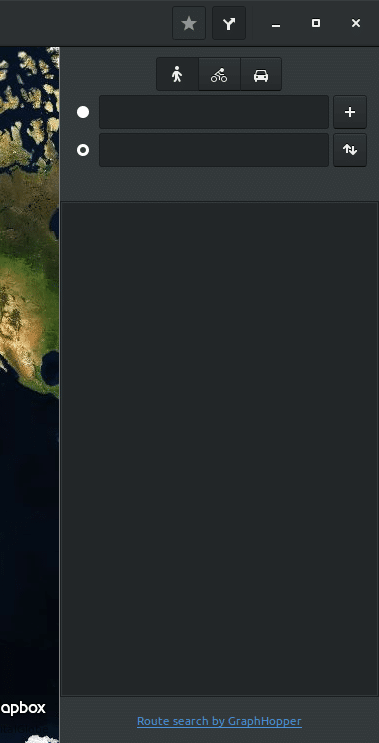
On the top-right side, there’s a route planner. You can check out your route and plan each of your trips perfectly.
Zooming in and out is just as easy as scrolling the mouse scroll. Alternatively, you need to click on the top-right buttons of “Zoom in” and “Zoom out”.
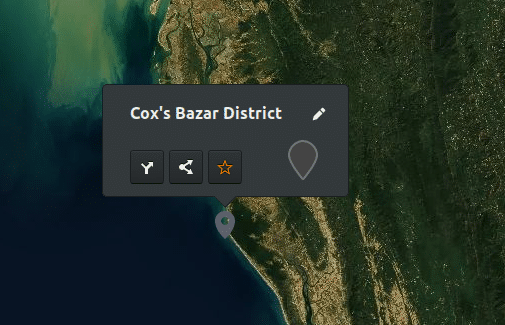
When a location is marked, you can do a few things with it – adding to a new route, open with other app or bookmark it for later usage.
Enjoy the awesome Maps wherever you go!

