If you wish to learn more about it a great way to get started is by installing it in a Virtual Machine. We will be using VirtualBox to install a FreeBSD VM. You will notice a couple of terminologies that are different from that of Linux world. As we go along, we will discover the proper meaning of these terms too.
Getting the base image
Just like Ubuntu has its LTS release and then a six-monthly ‘regular’ release. FreeBSD offers three branches, one is RELEASE branch. This is the FreeBSD equivalent of the LTS branch. It is meant for production purpose and receives only occasional bug fixes and security patches. STABLE branch receives updates intended for next release branch, and is equivalent of Ubuntu’s six monthly release. It is somewhat tested and you can use it, if you wish to get relatively new version of applications. Last is the CURRENT branch meant for developers and testers.
We will be using the RELEASE branch. The latest RELEASE, at the time of this writing is, 11.2. Get your copy of the ISO here. Click on the amd64 under the RELEASE branch (whatever the version is, if you are reading this far into the future) and get the disc1.iso, if you wish to save bandwidth you could go for iso.xz extension and later extract the iso from it. Once the ISO is downloaded we can move on to creating a VM and installing FreeBSD on it.
P.S: If you want to install FreeBSD on a physical machine, consider getting the memstick.img image and then follow these steps to make a USB stick bootable.
Creating a VM
Open your VirtualBox interface, click on New from the top left corner and in the Create Virtual Machine window give your VM a name, select BSD as its type and FreeBSD(64-bit) as its version. If you are using older hardware, you might need 32-bit version, but that’s unlikely.
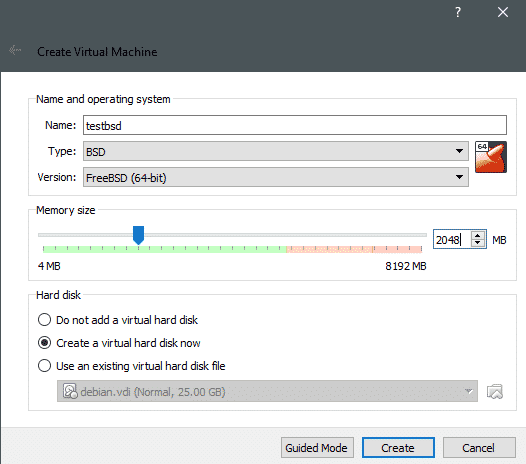
As you can see above, the memory size has been set to 2GiB and now we are creating a new virtual hard disk for the device. Click on Create. 25GiB of space would be enough for you to run FreeBSD, if you want you can use more.
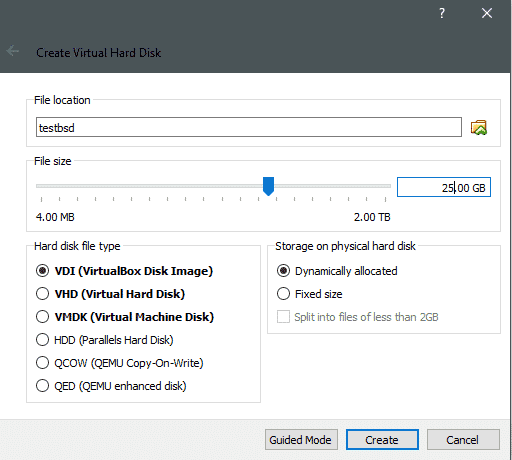
Click on Create and we are done with the VM creation. If you want you can go to the VM’s setting (Right-click on the VM and select settings) and go to Systems → Processors and allocate more CPU cores.
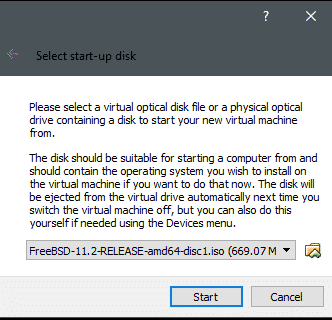
Now it’s time to install FreeBSD on this VM. Select the VM, and click on Start from the top menu.
Installing FreeBSD
As the VM boots for the first time, VirtualBox will prompt you to select a boot media, select the iso file that we downloaded earlier.
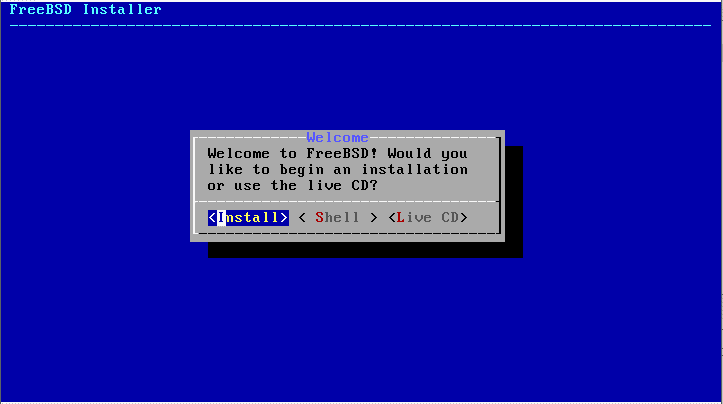
And Start the install process.

Select Multi User mode by entering 1, as the boot menu prompts you. Then select <Install>
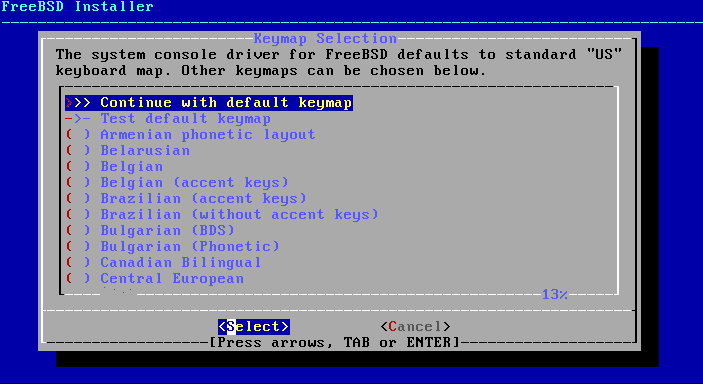
Continue with the default Keymap, unless you are using a different keymap,
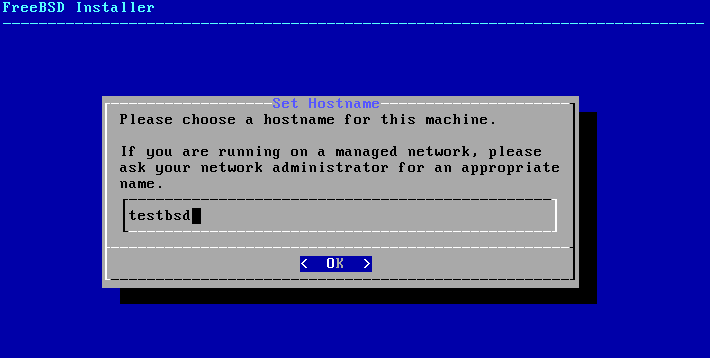
Choose a hostname for the machine. I am going with testbsd you can name it whatever you like. Hit <Enter> to click Ok.
The optional system components can be left at their default selections (which contains lib32 and ports tree) or if you like you can select some other stuff as well. For example, if you wish to create FreeBSD jails then selecting src is a good idea. Highlight the option using up and down arrow keys and select using spacebar.

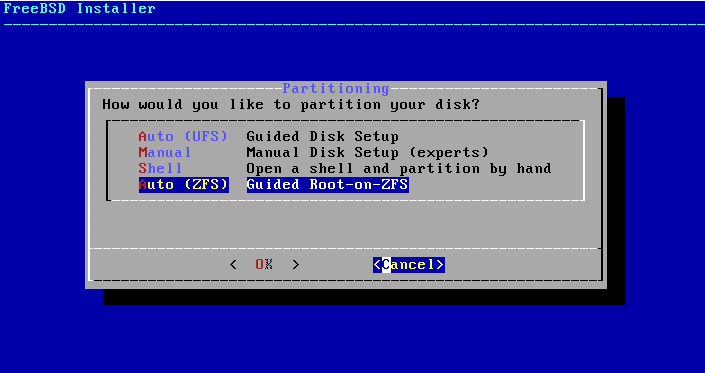
Selecting File System and Partitioning Scheme
Partitioning can again be left to the system. Select Auto (ZFS) to use the ZFS filesystem, or if you prefer you can go with UFS.
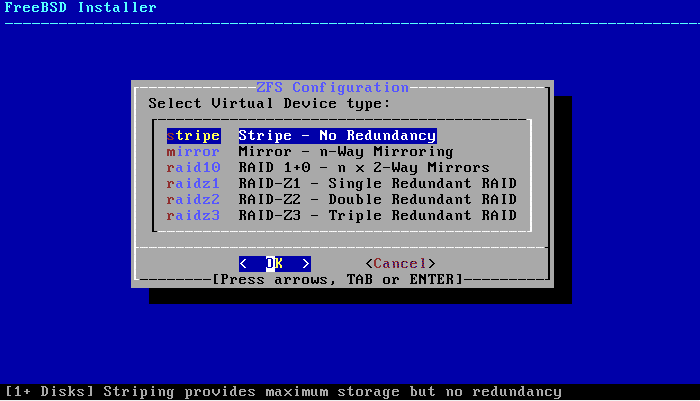
Use left or right arrow keys to toggle to Ok and hit Enter to make you choice. The ZFS configuration option can be left to the default, but if you want to learn more about what any of that means you can follow this link.

Since we have created only one Virtual Disk in the beginning we can’t have RAIDZ or mirroring among different disks. The data will be striped on a single virtual disk.
Select the ada0 device by using spacebar.
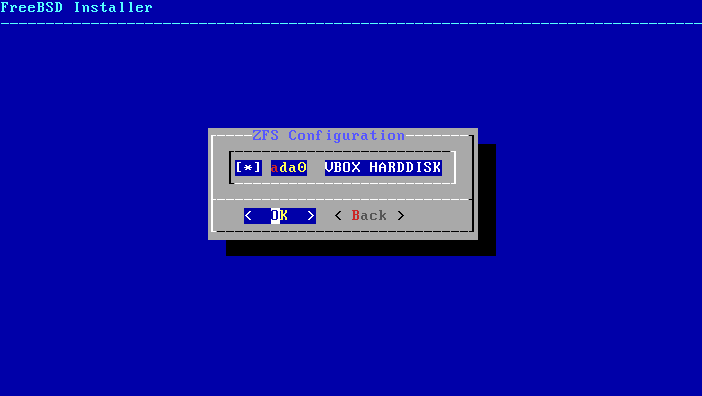
And say yes, when it warns you that this will destroy all data on this disk.

Now we wait as files are extracted from the OS image. It will then prompt you to set a new root password and confirm it.
Network Configuration
Then comes the part of Network configuration.
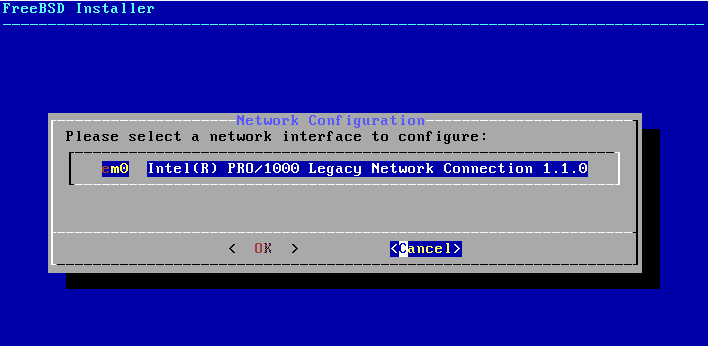
Select Ok and hit enter. On a real server with multiple interfaces you would have to be a bit more careful, but a single interface VM is not that complicated.
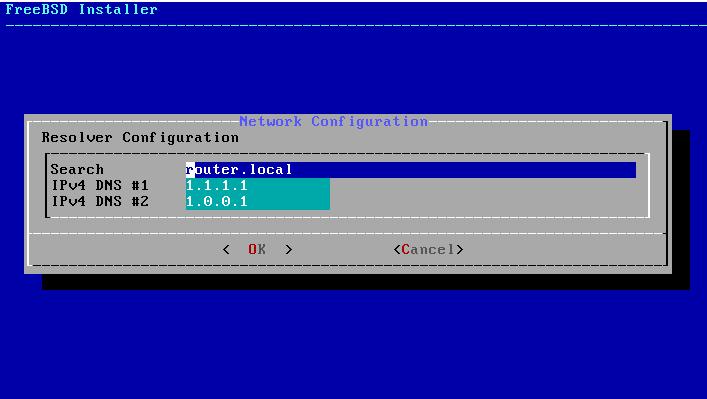
Select Yes, for configuring IPv4 next and then say yes to DHCP configuration as well. This will allow VirtualBox (or your local DHCP) server to allocate an IP to your VM. You can say no to IPv6, if you like. Resolver configuration can be left to its default value so you can use Google’s DNS servers or if you prefer you can use Cloudflare DNS 1.1.1.1 and 1.0.0.1 instead.
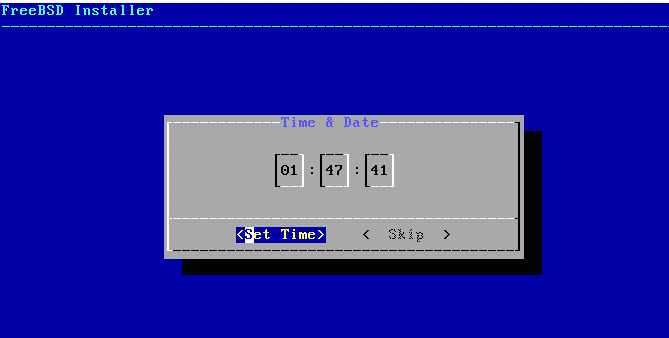
Date and Time
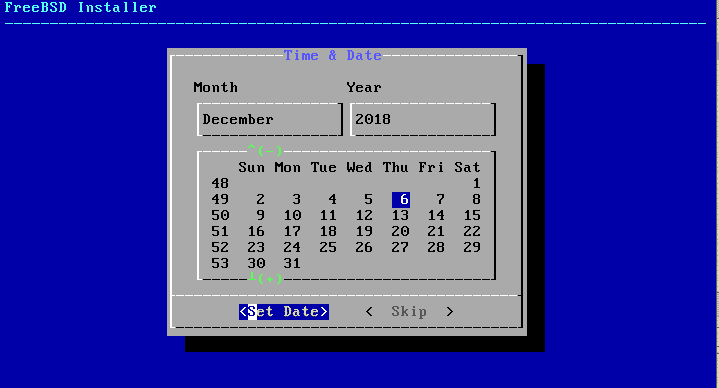
Then you get to select your Time Zone and optionally set your time and date as well.

I will go with Asia → India since that’s where I am from. You should select either UTC or your region. Then we move on to setting data and time, this is pretty standard.
Miscellaneous
You also get to install a few system services. I like to go with sshd (for remote access), ntpd (for time synchronization) and moused.

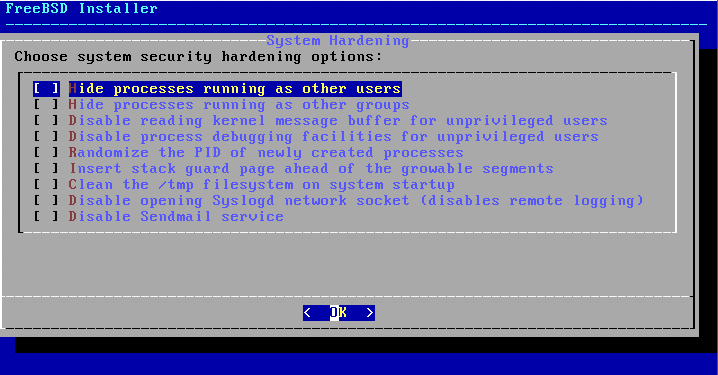
System hardening options can be left as is, unless you know what you are doing.
Lastly, if you want to, you can add a new user for the system. Currently, there’s only root user. Adding a new user is completely optional.


Review the final configuration

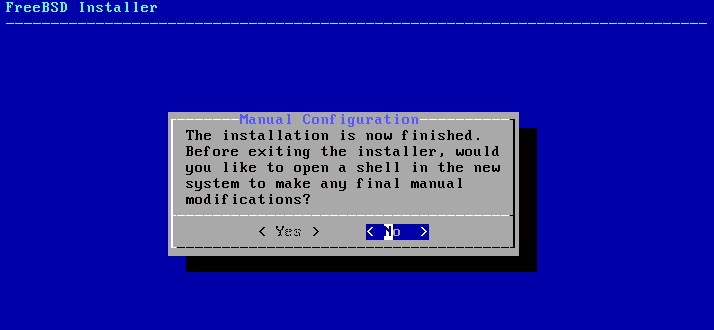
You can review the configuration and change a few things if you want to by going back. Or you can select Exit, if you are satisfied with the install. You can do some additional manual configuration using a shell, but more often than not, that is not required
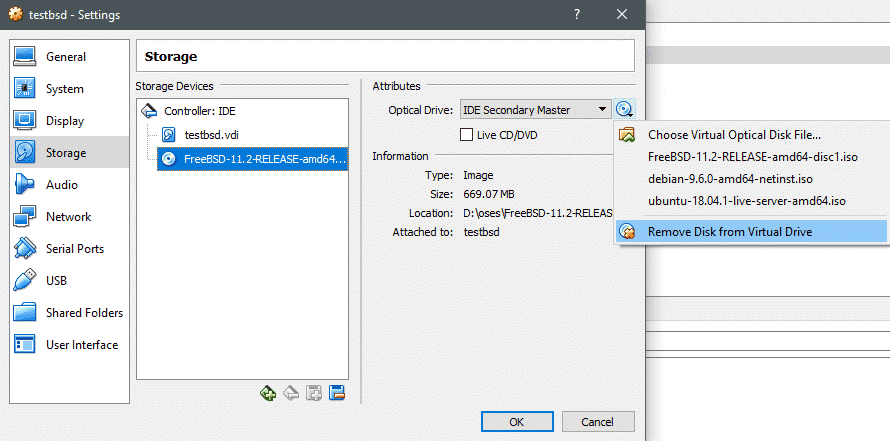
In the last prompt select Reboot option so the VM can boot into the newly installed VM. The installation media should be automatically removed by VirtualBox. If it doesn’t get removed, you can power down the VM and go to its Settings → Storage and remove it yourself.
Post Installation
After the system boots for the first time, you can login as root and bring your system up to speed with the rest of the FreeBSD packages and base OS.

Select 1 and login as root user.
Update the base OS using the command:
Next you can type pkg to bootstrap pkg package manager for your system.
![]()
Once pkg is installed, it can be used as a regular package manager to install and update packages across your system
Conclusion
To delve deeper into the world of FreeBSD, you might want to explore the FreeBSD Handbook which documents most common place FreeBSD tasks and makes your life much easier.
Let us know if you want more of FreeBSD related content on LinuxHint or if you have any questions and queries regard this tutorial.