To install the FAMP stack on FreeBSD 12.2, we’ll use pkg, the package manager for FreeBSD.
Step 1: Prime your FreeBSD system for FAMP installation
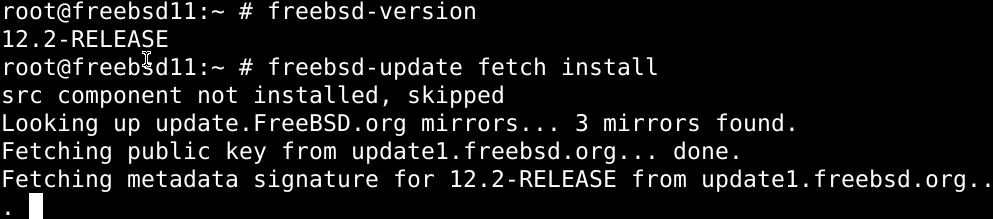
Before we start with the installation, it’s better to make sure that our system is up to date.
To see what version you’re using, enter:
If the version is out of date, enter the command below to update it:

Next, install the supporting dependencies:

Then add a new user with the command below:

You’ll be prompted to enter the user credentials and account information.
# Full name: Younis Said
# Uid (Leave empty for default): <Enter>
# Login group [younis]: <Enter>
# Login group is younis. Invite younis into other groups? []: wheel
# Login class [default]: <Enter>
# Shell (sh csh tcsh nologin) [sh]: bash
# Home directory [/home/younis]: <Enter>
# Home directory permissions (Leave empty for default): <Enter>
# Use password-based authentication? [yes]: <Enter>
# Use an empty password? (yes/no) [no]: <Enter>
# Use a random password? (yes/no) [no]: <Enter>
# Enter password: your_secure_password
# Enter password again: your_secure_password
# Lock out the account after creation? [no]: <Enter>
# OK? (yes/no): yes
# Add another user? (yes/no): no
# Goodbye!
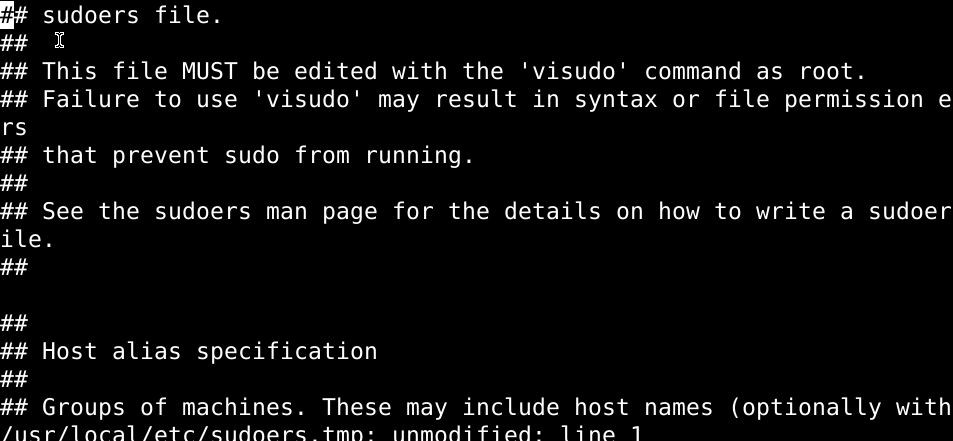
Lastly, issue the visudo command as under to delegate command privileges of the admin to all users of the wheel group:
# Uncomment by removing hash (#) sign
# %wheel ALL=(ALL) ALL
Use su command followed by the new username to change the account to the one you just created:

Also, update the time zone:

Step 2: Install Apache HTTPS server 2.4
Out of all the web servers in use today, the Apache HTTPS server is by far the most popular and is used worldwide to host both static and dynamic webpages and applications.
Pkg, the default FreeBSD package manager, allows the convenient installation of the Apache HTTPS server from the FreeBSD repository. Type in the command below to install Apache with pkg:

See what version is installed with the command below:

Before you boot Apache, you must enable it:

Then enter the command below to launch Apache:

Verify the launch with the following command:

The output should clearly state if it’s running.
You can also verify that everything is working properly by putting your public IP address in your web browser’s search field. If the installation went smoothly and everything is working properly, you should be redirected to a webpage confirming your install.
Step 3: Install MySQL 8.0 with pkg
With the Apache HTTPS server active and running, we can move on to the third step: installing MySQL. MySQL is a database server, and it maintains and regulates access to databases to which information relating to the website is stored.
Like we did with Apache, we’ll download MySQL off of the FreeBSD repository with pkg.
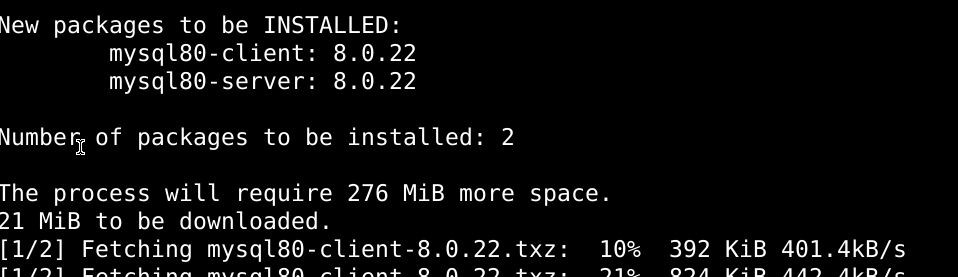
With the above command executed, the latest version should be installed on your system. Look up the latest version on the web, then check it against the version installed on your drive with the following command:

Before you launch MySQL, you must enable it:

Enter the command below to fire up the database:

Verify the launch by issuing the command below:

To reinforce the security measures on your database, you should enter the security script to remove some inconsistencies with MySQL and tighten the access to your system:
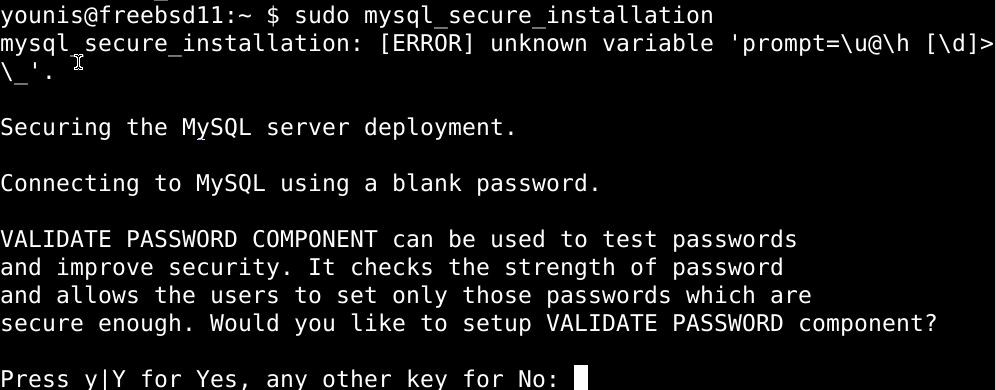
Then set a password and answer the questions that come after. You can select the default on all questions by pressing :key_enter:
Step 4: Install PHP 7.4
The final component of the FAMP stack is PHP, the leading programming language in the web development scene at the moment. Without PHP, the dynamic websites you’re looking to run on your server won’t be fully operational.
Like we’ve used the pkg command before, we can also install PHP from the FreeBSD repositories.
To install the crucial php74, php74-mysqli, and mod_php74 packages, enter the command below:

See the version installed:

If the version installed is up to date, proceed to replicate the sample PHP configuration file by running the command as under:

To run PHP, type:
$ sudo service php-fpm start
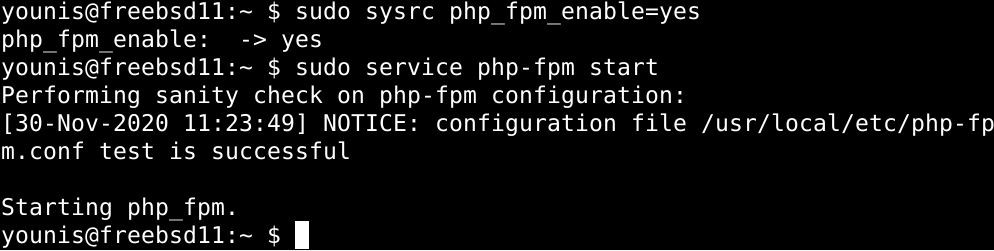
To check if PHP has started, type:

To add more to the PHP package that you just installed, try out some supporting modules. Look up packages written with PHP modules:

Then use the command below to search for any PHP modules available:

You should see a handful of PHP modules. You can install any of these you want to try out with the pkg command.
Step 5: Configure Apache to load PHP modules
The FAMP stack can only work when Apache is configured to work with PHP.
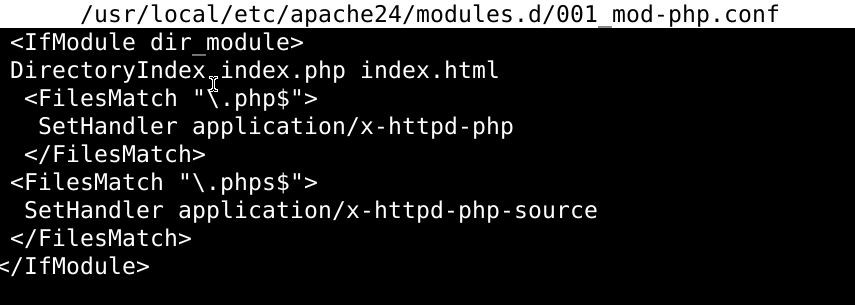
Run the command below enter the configuration file:
Then add the following entries to the file:
# DirectoryIndex index.php index.html
# <FilesMatch "\.php$">
# SetHandler application/x-httpd-php
# </FilesMatch>
# <FilesMatch "\.phps$">
# SetHandler application/x-httpd-php-source
# </FilesMatch>
# </IfModule>
To apply changes, save and exit the file.
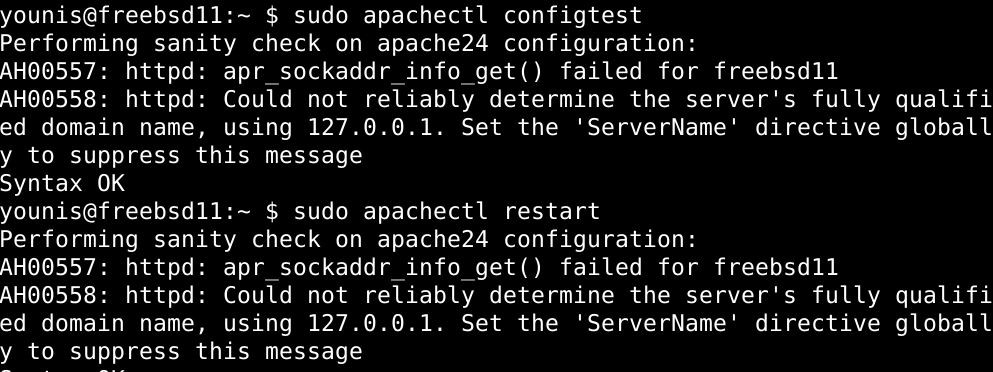
Test out the Apache Configuration with the command below:
To have the configurated changes apply, restart Apache with the following command:
Step 5: Testing PHP Processing
Before you proceed to work with the FAMP stack, it’s good practice to test out if there’s any problem with PHP. Configuring PHP can alleviate this situation for us.
You can easily perform the configuration with a simple PHP script. Use the command below:
Copy the line below and paste it into the configuration file:
Head over to http://your_server_IP/info.php, and you’ll be redirected to this page:

Make the server details private by deleting the info.php file.

In Summary
This tutorial illustrated how to install the FAMP stack on a FreeBSD 12.2 system. You can now host dynamic web content on your system and have it work as a fully functional webserver. Be it a dynamic website or a large-scale web application, your server’s potential has no bounds. Make sure to check out more FreeBSD tutorials on our website before you start, though. We have a lot of content here on our website, and you’re bound to find some that’ll help you get started.