Downloading CentOS 8 Stream:
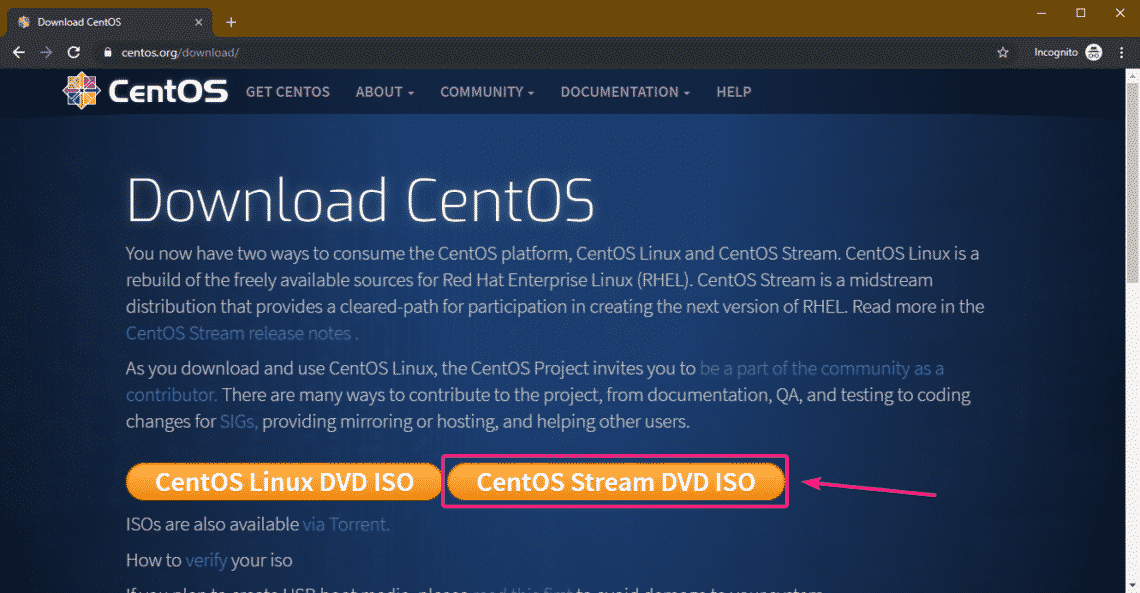
First, visit the official website of CentOS. Once the page loads, click on CentOS Stream DVD ISO as marked in the screenshot below.
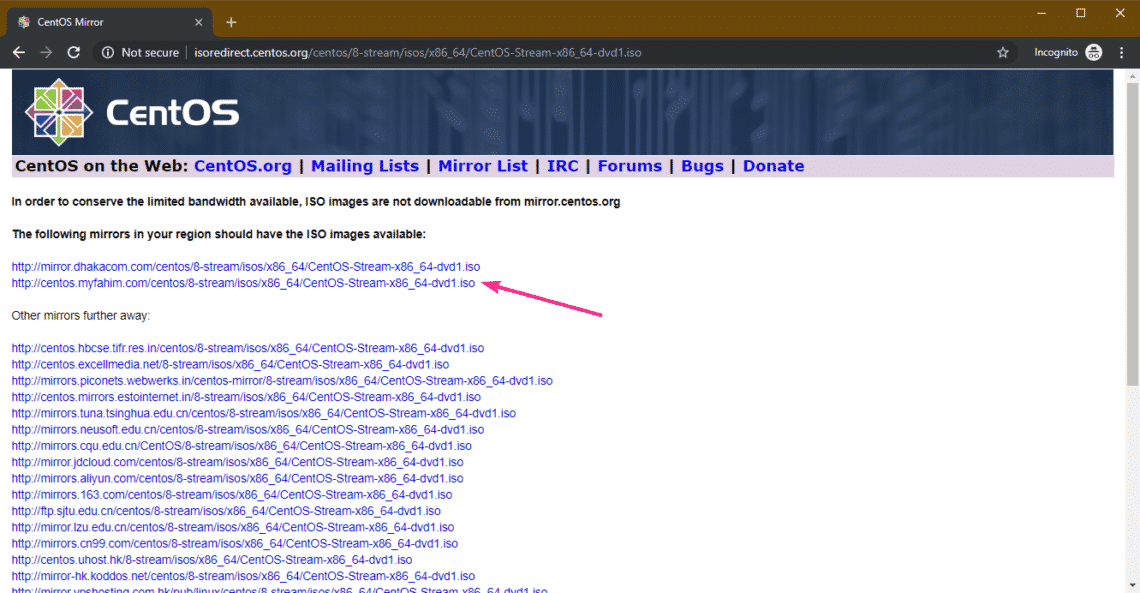
Now, click on a mirror link that is geographically closer to you.
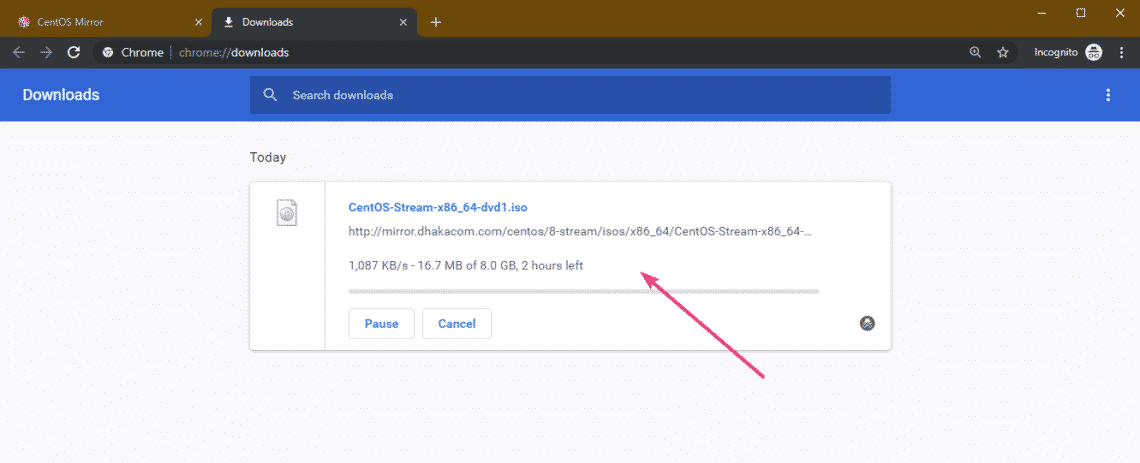
Your browser should start downloading CentOS 8 Stream DVD ISO installation image. It may take a long time to finish.
Making a Bootable USB Thumb Drive of CentOS 8 Stream:
You can use Rufus, Etcher, and many other tools to create a bootable USB thumb drive of CentOS 8 Stream. In this article, I am going to use Rufus.
First, visit the official website of Rufus. Once the page loads, click on the Rufus Portable link as marked in the screenshot below. Rufus should be downloaded.

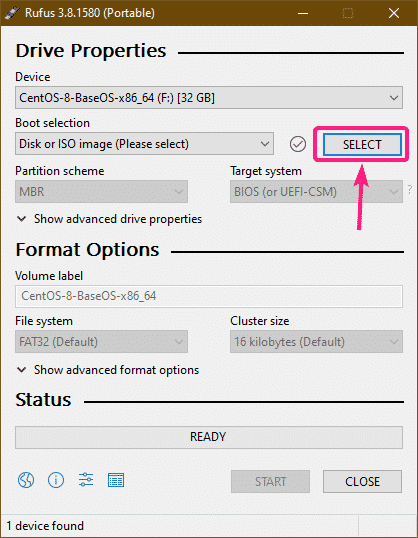
Now, insert a USB thumb drive and run Rufus. Then, click on SELECT.
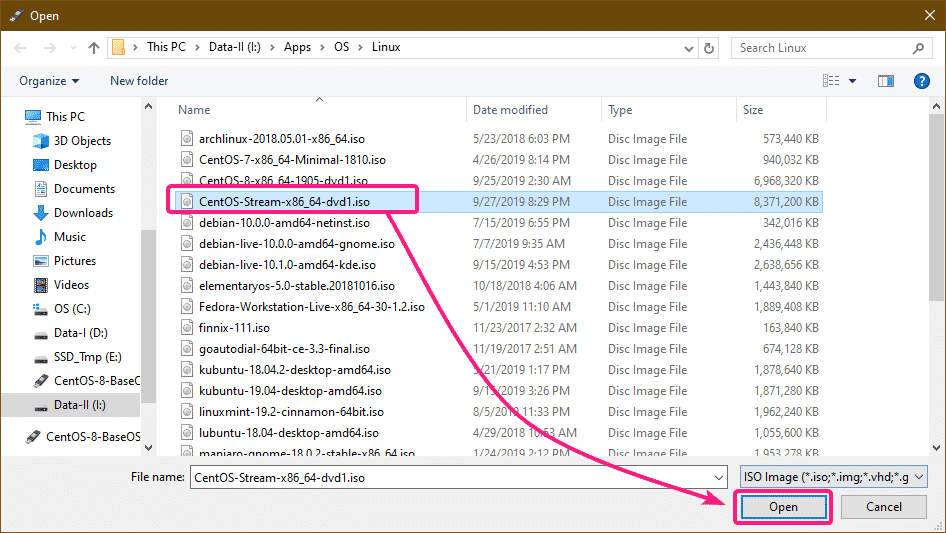
Now, select the CentOS 8 Stream ISO installation image and click on Open.
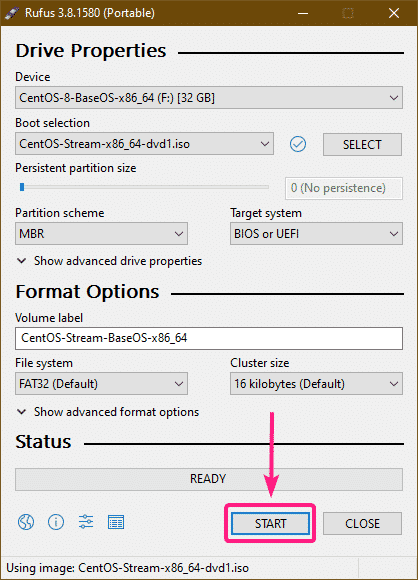
Now, click on START.
Click on Yes.

Click on OK.

Click on OK.
NOTE: If you have any important data on your USB thumb drive, be sure to copy them somewhere safe before you click on OK.

Rufus should start copying all the necessary files to the USB thumb drive.

Once the USB thumb drive is READY, click on CLOSE.

Installing CentOS 8 Stream:
Now, insert the USB thumb drive on your computer and select it from the BIOS of your computer to boot from it.
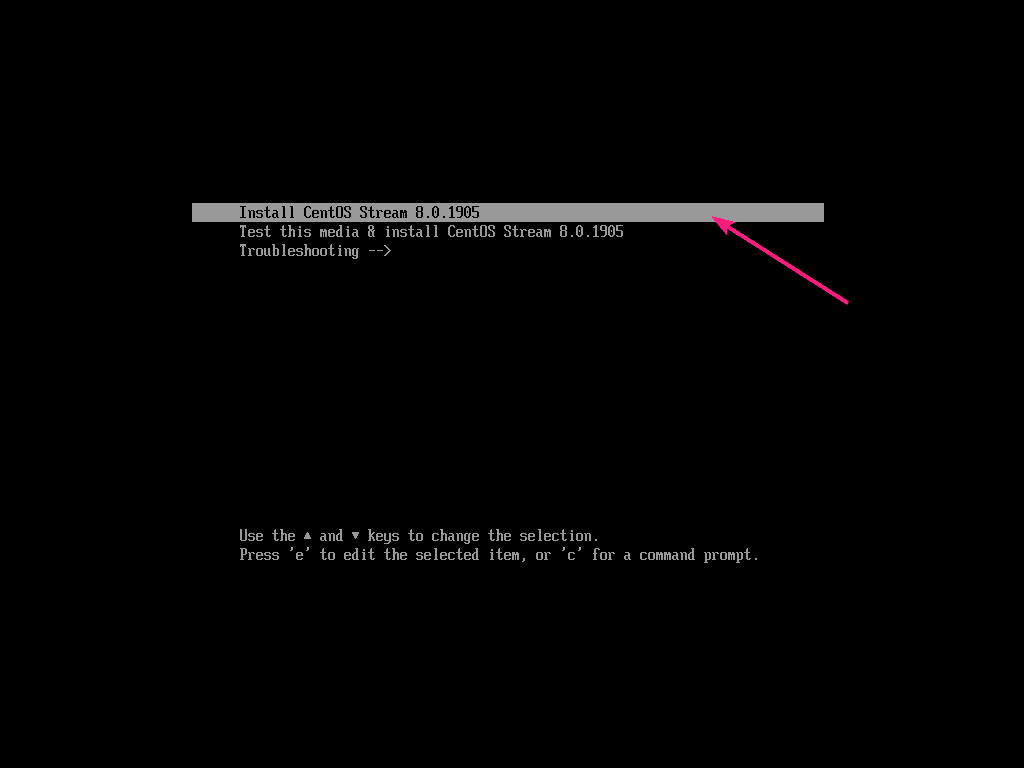
You should see the following GRUB menu. Select Install CentOS Stream 8.0.1905 and press <Enter>.
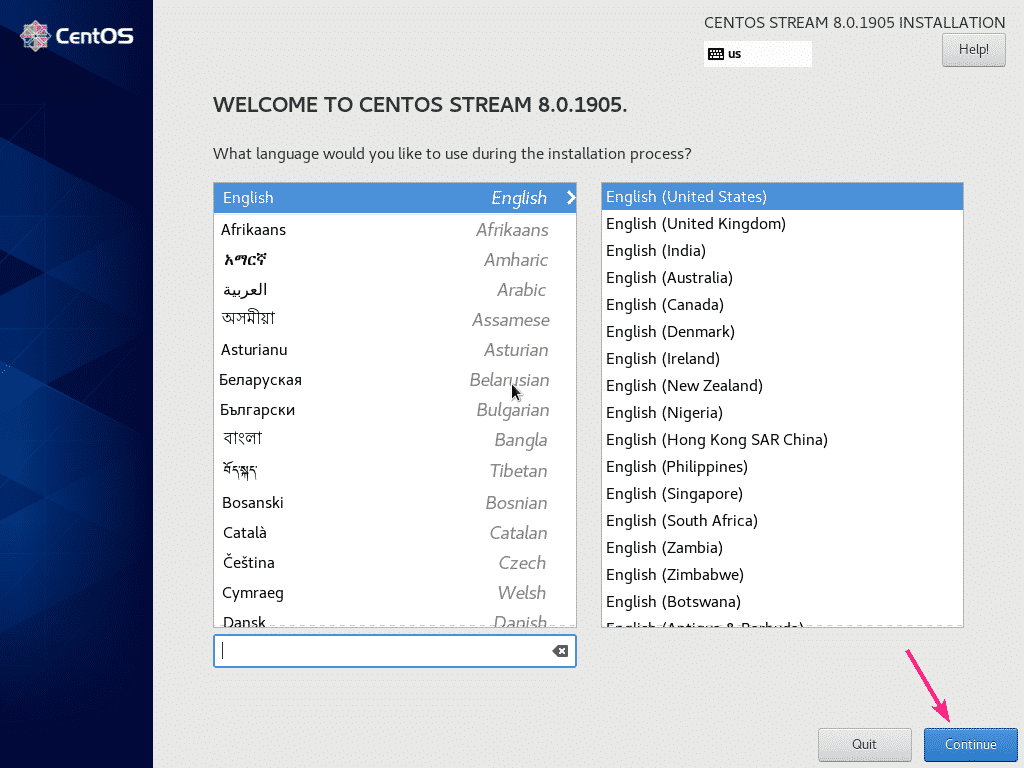
Now, select your language and click on Continue.
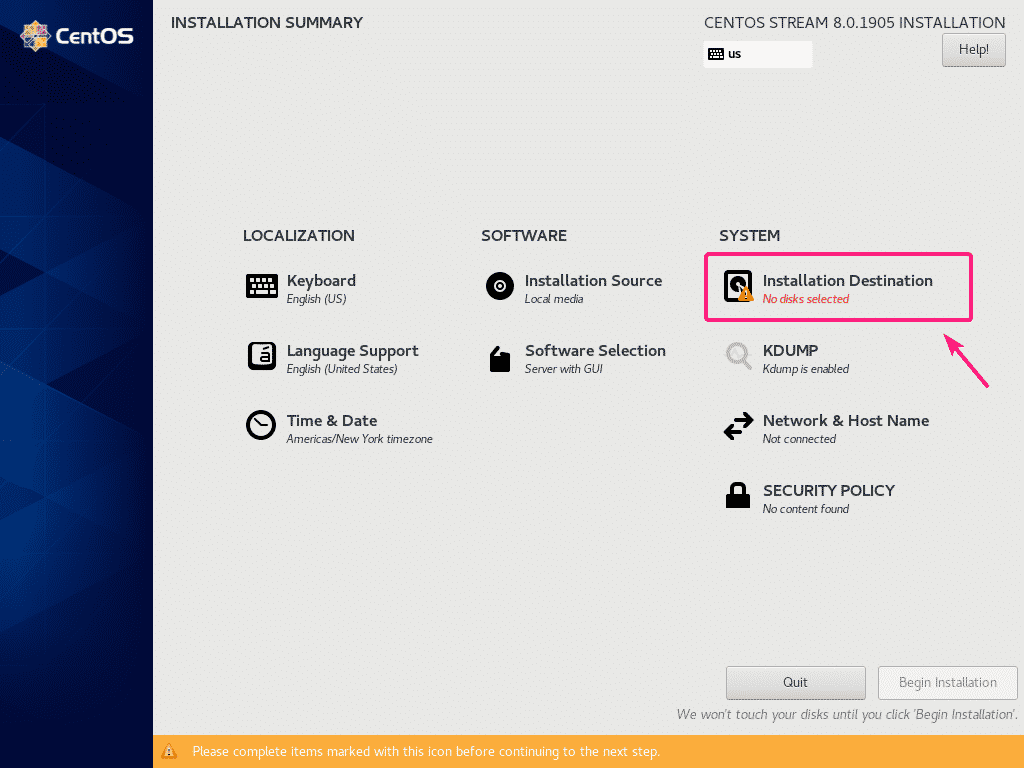
Now, you have to select the installation destination. So, click on Installation Destination.
Now, select your hard drive or SSD.
You can either let CentOS 8 Stream to automatically partition the hard drive or SSD. Or, you can manually partition it yourself.
For, automatic partitioning, select Automatic and click on Done. For manual partitioning, select Custom and click on Done.
In this article, I am selecting Custom as I want to show you how to manually partition your hard drive or SSD.

You can also create partitions automatically from here if you click on Click here to create them automatically.

On CentOS 8 Stream, 3 different partitioning schemes Standard Partition, LVM, and LVM Thin Provisioning are available. The default is LVM. You can change to a different partitioning scheme from the partitioning scheme dropdown menu if you want.

On UEFI based motherboards, you have to create at least 2 partitions, an EFI System partition (/boot/efi) and a root partition (/).
On old BIOS based motherboards, a root partition (/) is enough.
The EFI System partition must be a Standard Partition. To create the EFI System partition, select Standard Partition and click on the + button.

Now, you have type in the mount point and capacity of the partition.

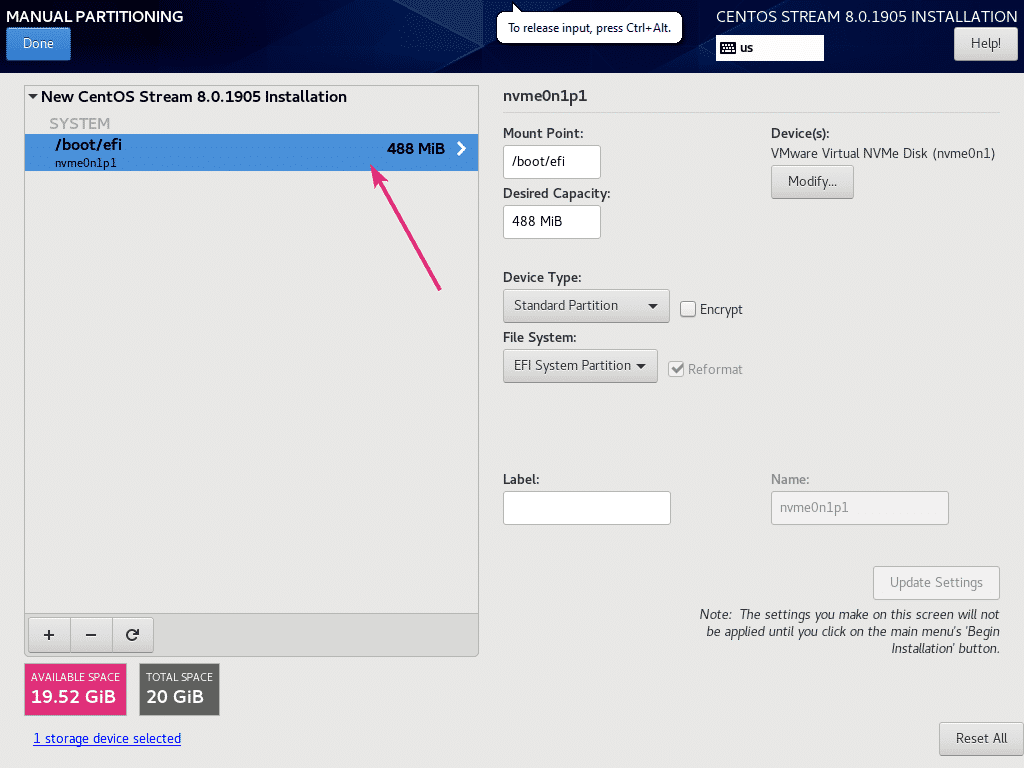
For EFI System Partition, set the Mount Point to /boot/efi and Desired Capacity to 512 MB. Once you’re done, click on Add mount point.

The partition should be created.

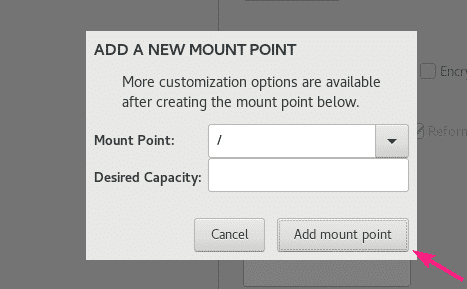
The same way, create another partition. This will be the root partition. So, set the Mount Point to / and set the Desired Capacity depending on your need. If you want to use up all the available free space, then leave the Desired Capacity field empty. Once you’re done, click on Add mount point.
The same way, create another partition. This will be the root partition. So, set the Mount Point to / and set the Desired Capacity depending on your need. If you want to use up all the available free space, then leave the Desired Capacity field empty. Once you’re done, click on Add mount point.
The partition should be added.
You can select any partition that you’ve created and change its properties from here if you need.

To save the changes, click on Done.
NOTE: You may need to click on Done twice.
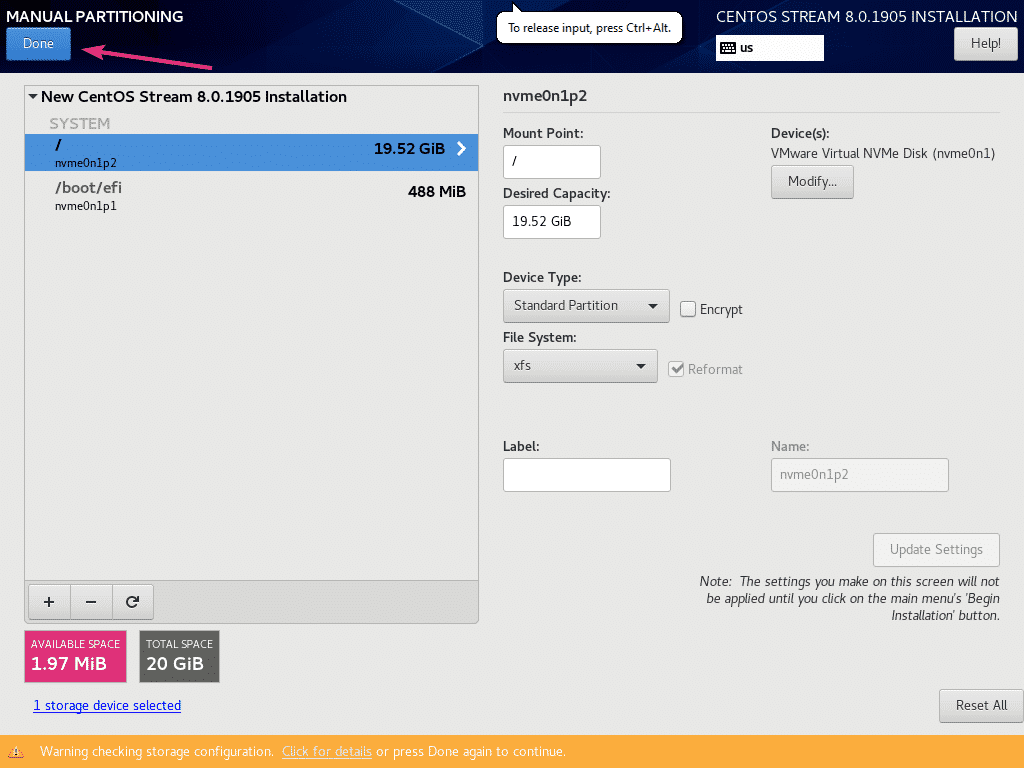
Now, click on Accept Changes to confirm your changes.

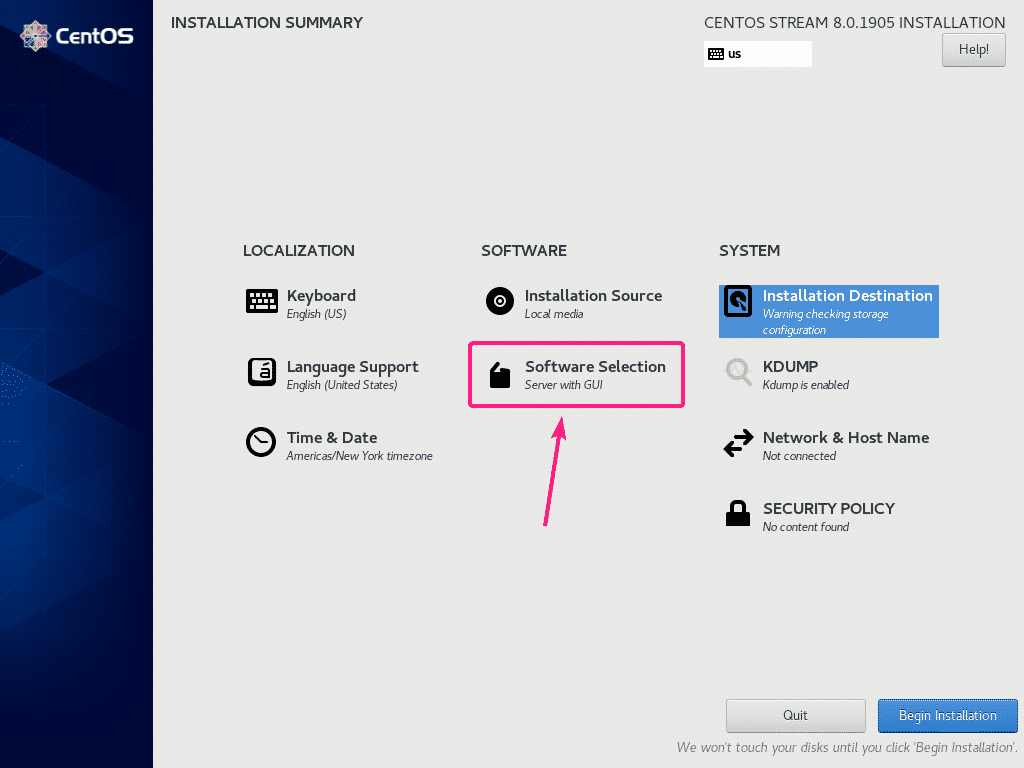
By default, CentOS 8 Stream will install Server with GUI environment. If you want to change that, click on Software Selection.
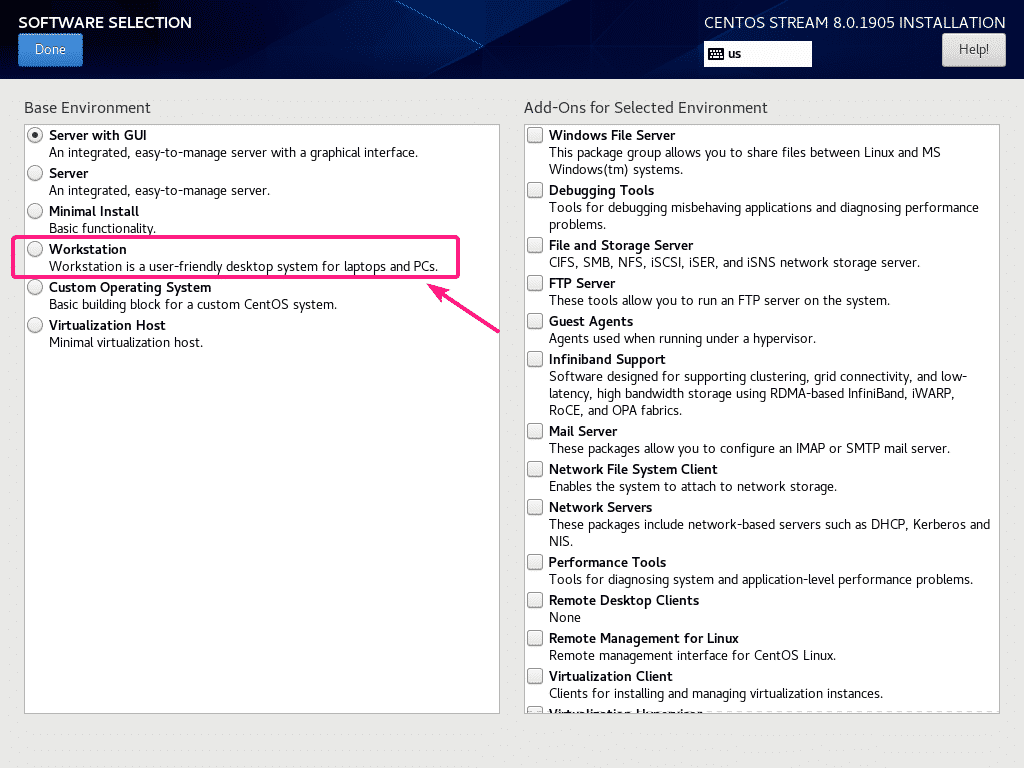
You can select a different environment from here depending on need. I will go for the Workstation environment as I want to run CentOS 8 Stream as a desktop operating system.
Once you’ve selected an environment, click on Done.
To set up a hostname, click on Network & Host Name.

Now, type in your hostname and click on Apply.
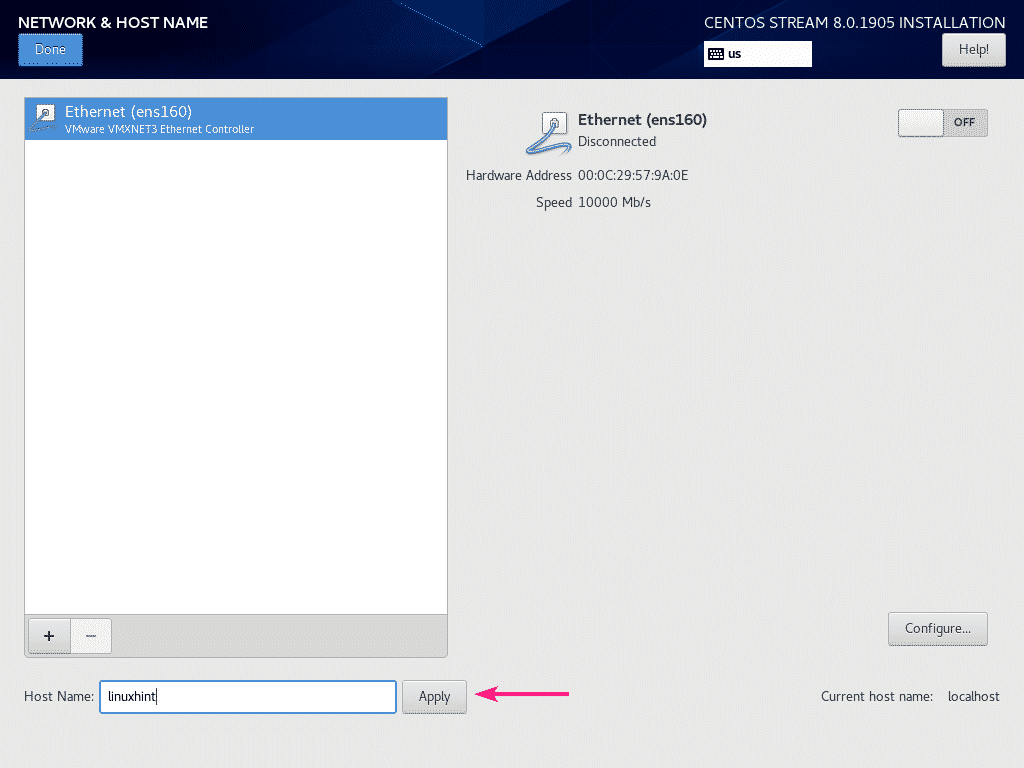
You can also turn on your network using the toggle button as marked in the screenshot below.

Once you’re done, click on Done.
 You can also configure your language, keyboard layout, location, time and date from the LOCALIZATION section.
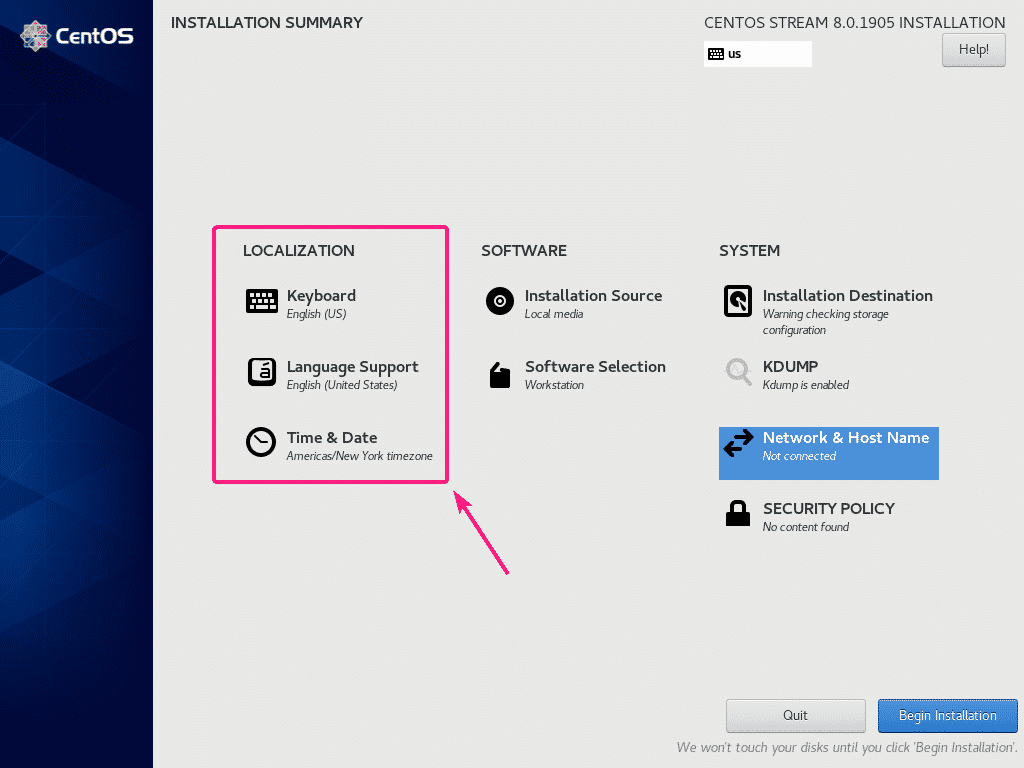
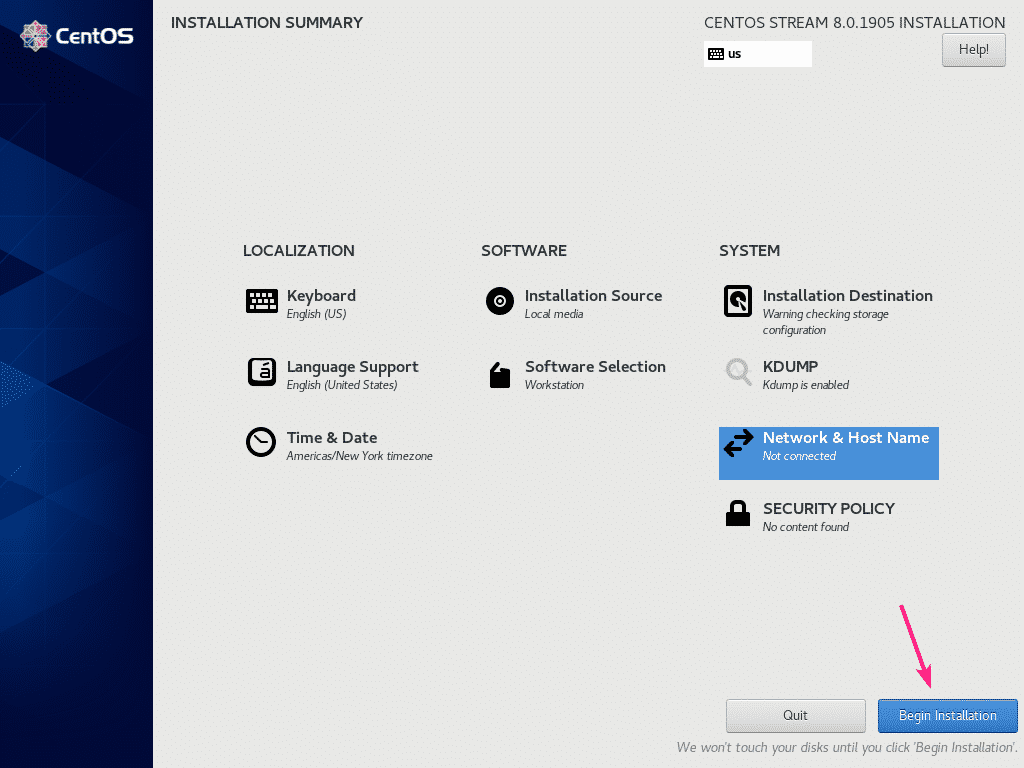
Once everything is setup correctly, click on Begin Installation.
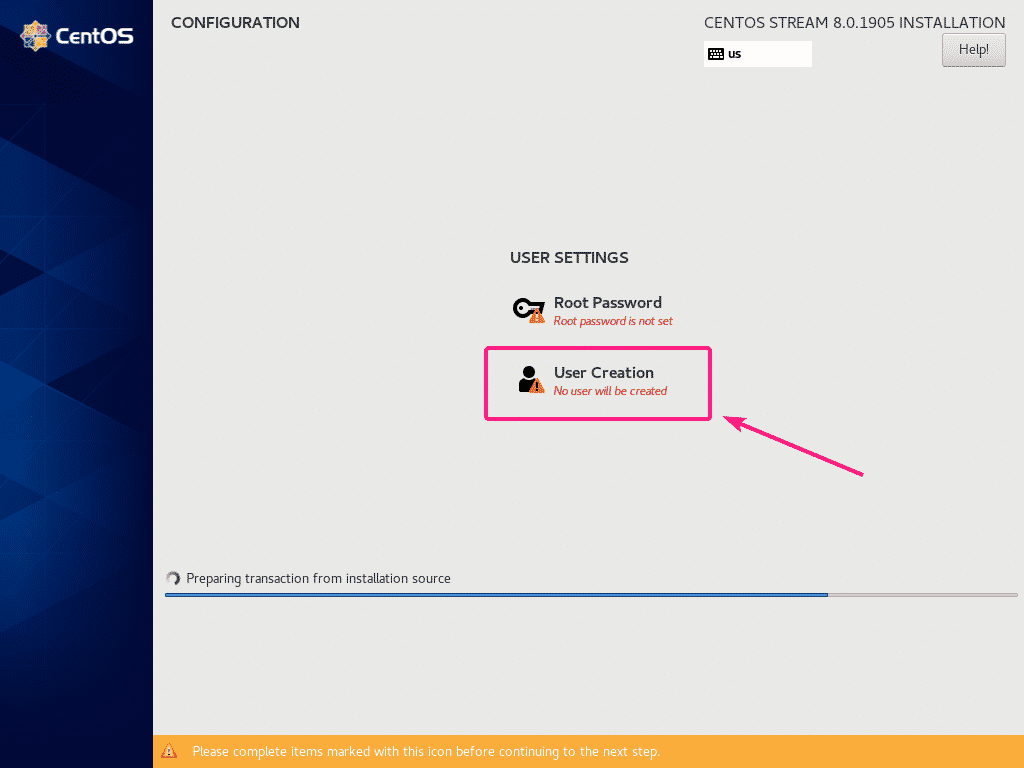
The installation should start. Now, click on User Creation to create a new user.
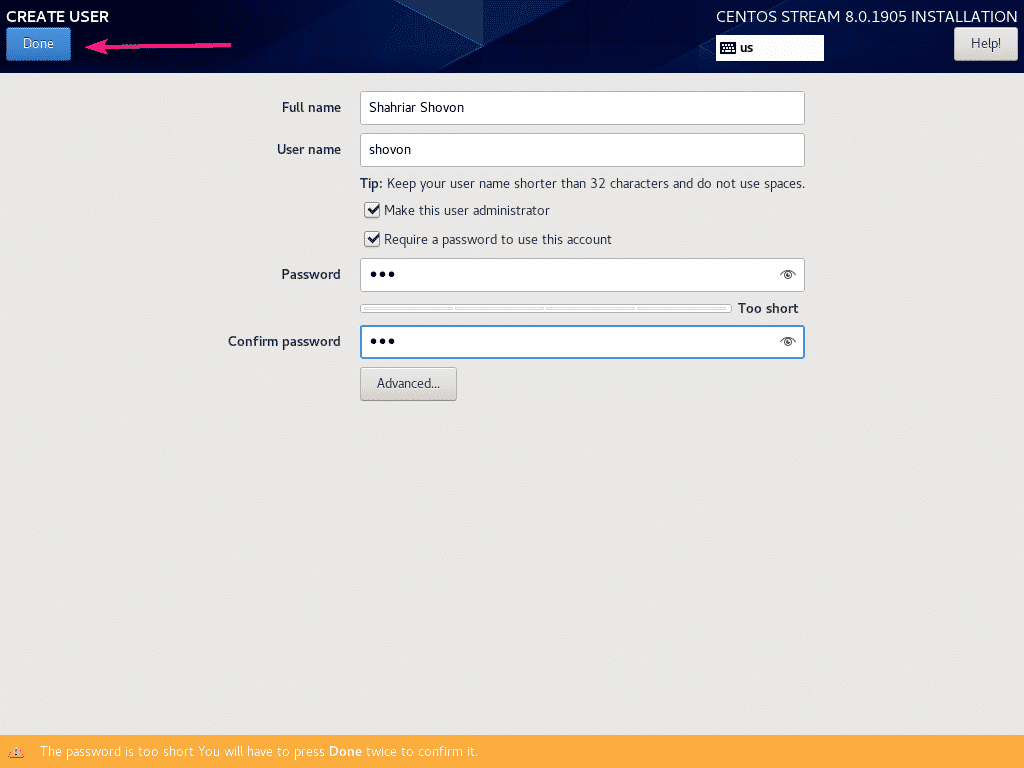
Type in your personal details. Make sure to check make this user administrator. Once you’re done, click on Done.
NOTE: If you’re using short/simple password, you may need to click on Done twice to confirm that you really want this.
The installation should continue.

Once the installation is complete, click on Reboot.

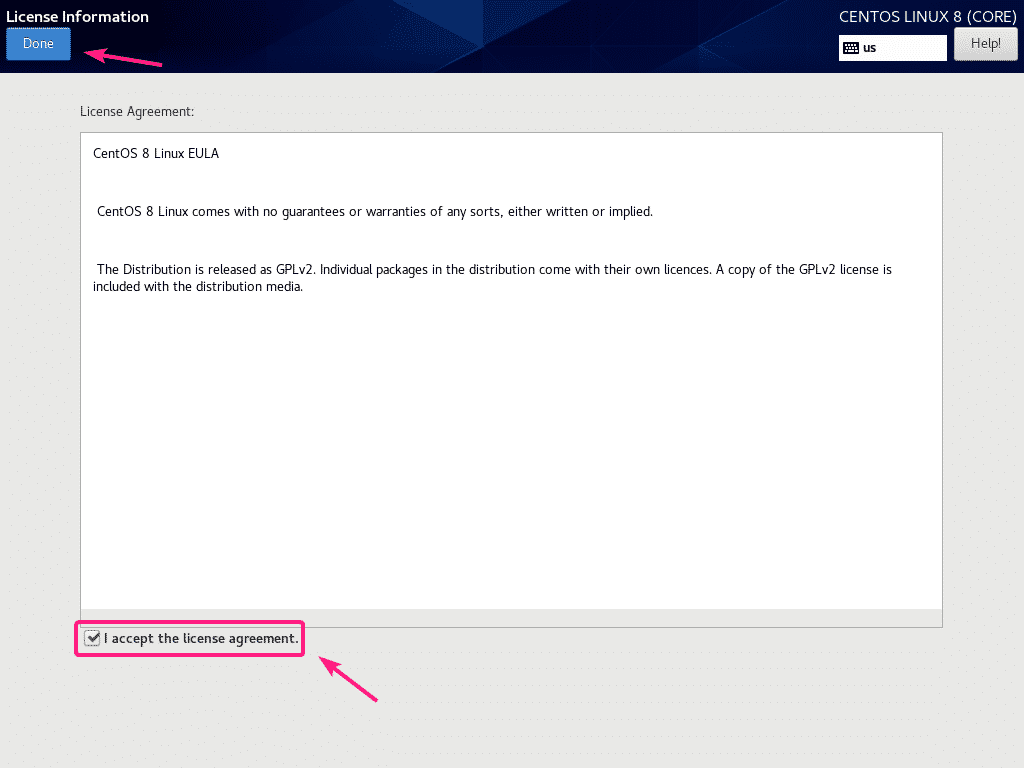
Once CentOS 8 Stream boots, you will be asked to accept the license. Click on License Information.

Check I accept the license agreement checkbox and click on Done.
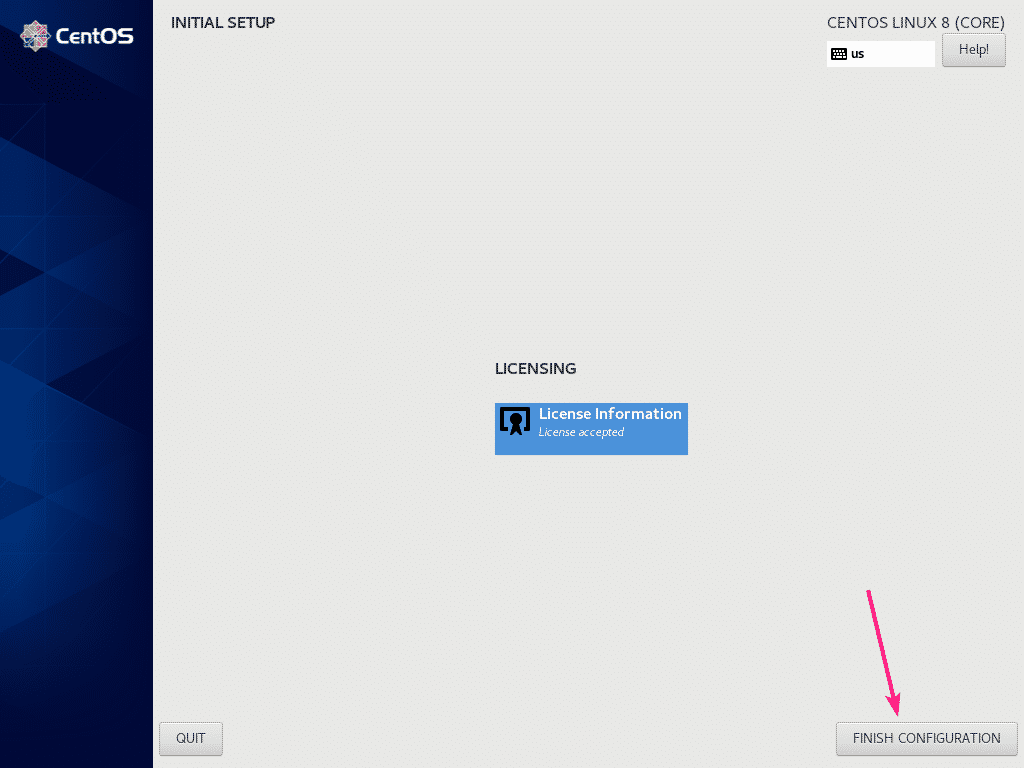
Then, click on FINISH CONFIGURATION.
You should see the CentOS 8 Stream login window. Now, select your login user from here.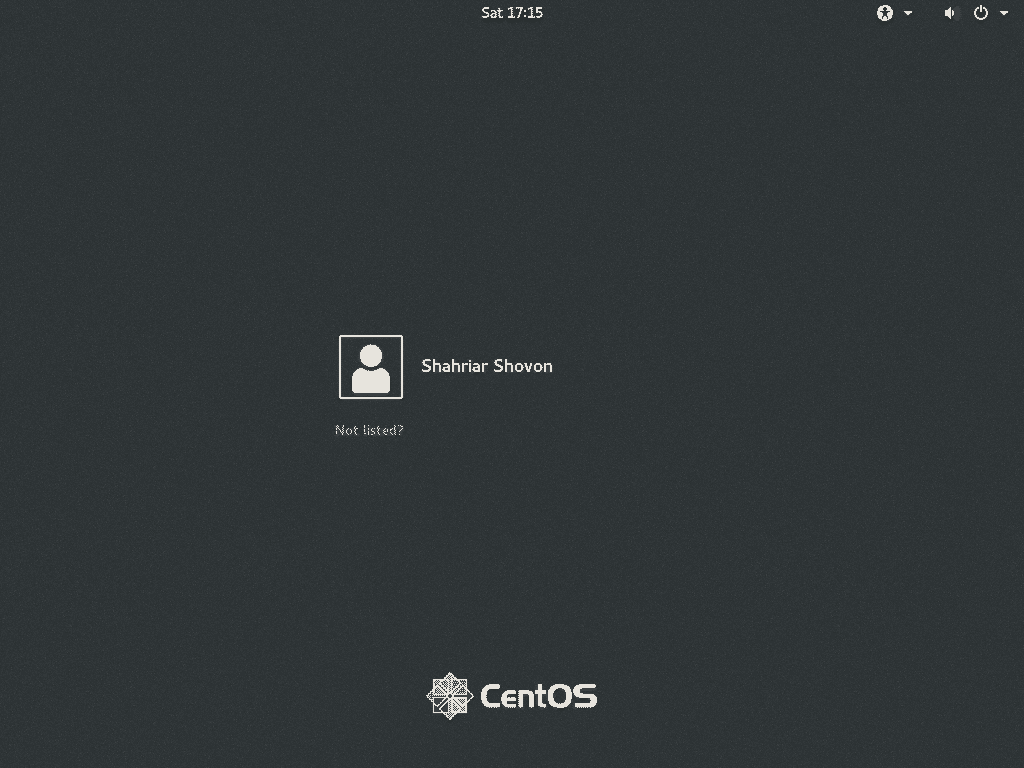
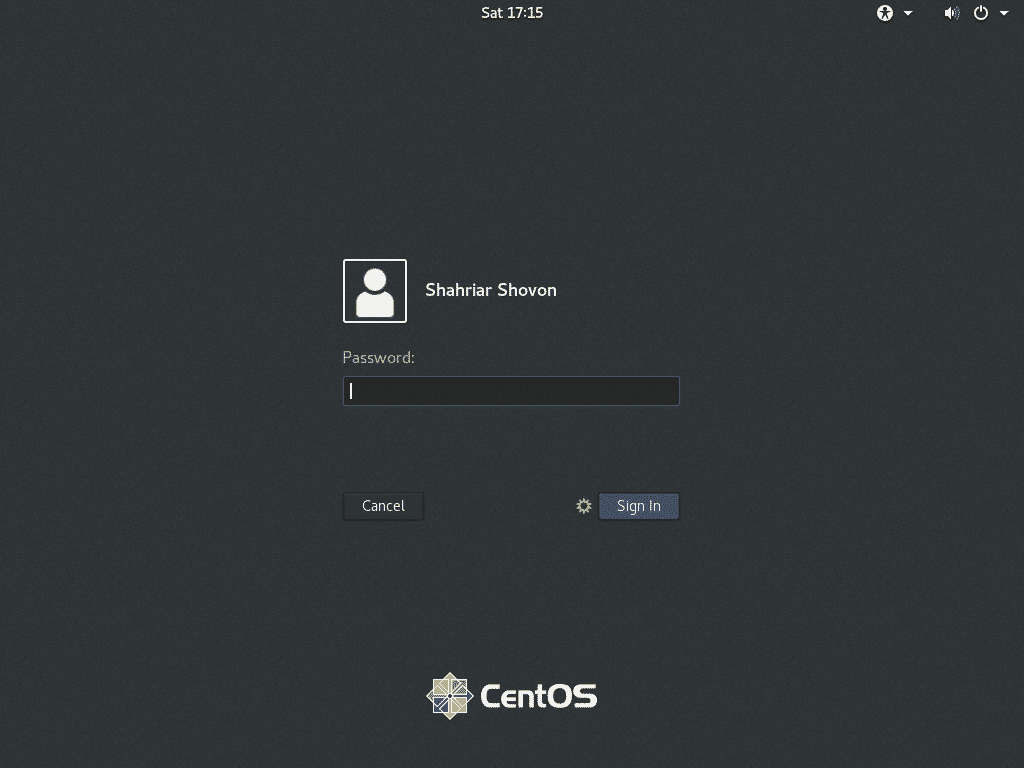
Now, type in the password of your login user and click on Sign In.
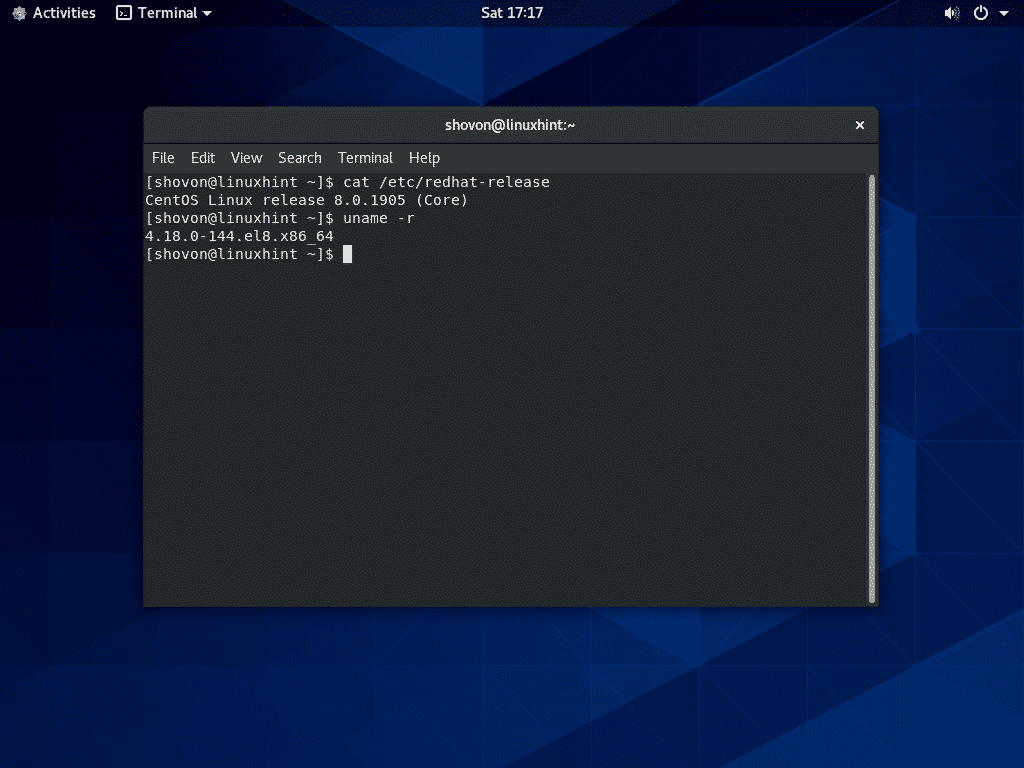
Once you’re logged in, you can check the CentOS Stream version and kernel version with the following commands:
$ uname -r
As you can see, I am running CentOS 8.0.1905 and the it’s using Linux kernel 4.18.0.
So, that’s how you install CentOS 8 Stream on your computer. Thanks for reading this article.