
[adthrive-in-post-video-player video-id=”cLHQ8NHG” upload-date=”2020-03-25T19:53:22.000Z” name=”Installing CentOS 8 using Netboot ISO” description=”How to install CentOS 8 using the CentOS 8 NetBoot ISO installation image” player-type=”collapse” override-embed=”true”]
Downloading CentOS 8 NetBoot/NetInstall ISO Installation Image:
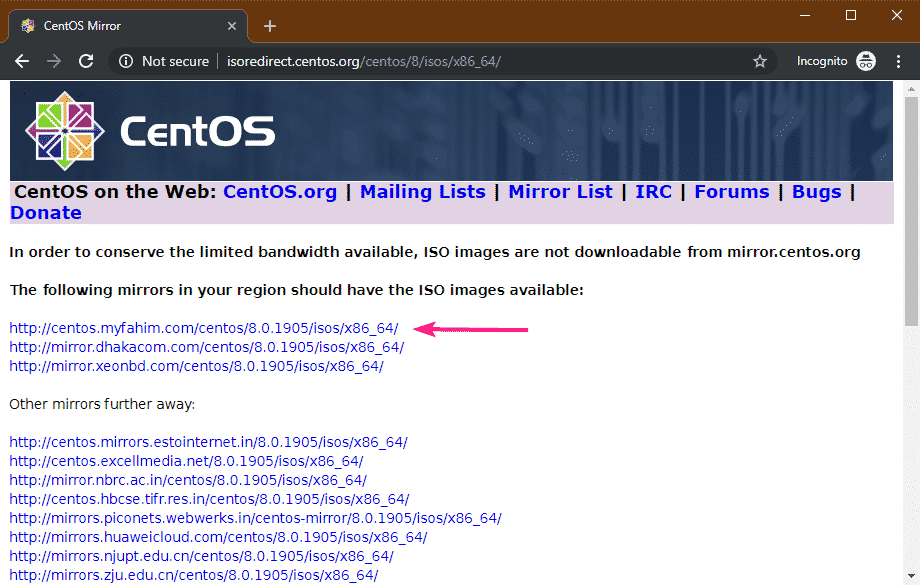
First, visit the CentOS 8 official ISO mirror page.
Once the page loads, click on a mirror link that is geographically closer to you.
Now, click on the CentOS-8-x86_64-1905-boot.iso (about 534 MB) file.
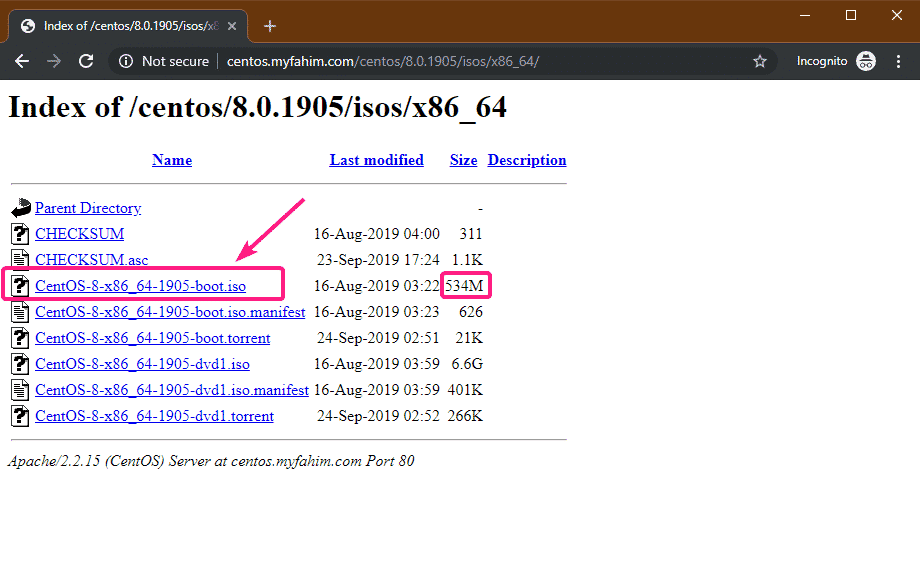
Your browser should start downloading the CentOS 8 NetBoot ISO installation image. It may take a while to complete.

Making a Bootable USB Thumb Drive of CentOS 8 NetBoot ISO Image:
You can use Rufus, Etcher, UNetbootin, Linux dd command and many more tools to create a bootable USB thumb drive of CentOS 8 NetBoot ISO image. In this article, I am going to use Rufus.
First, visit the official website of Rufus. Then, click on Rufus Portable link.

Your browser should download Rufus portable.

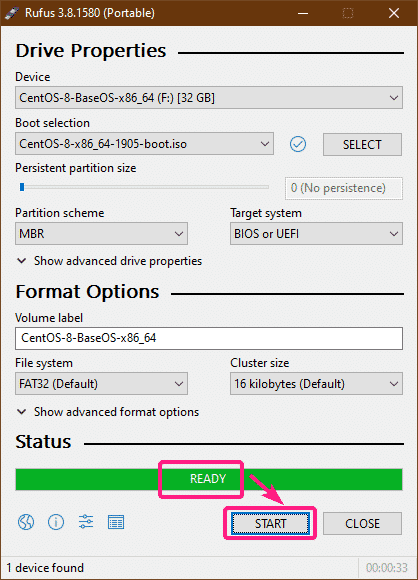
Once Rufus is downloaded and CentOS 8 NetBoot ISO installation image is downloaded, insert a USB thumb drive and open Rufus. Then, click on SELECT.

Now, select the CentOS 8 NetBoot ISO installation image using the File Picker and click on Open.

Now, click on START.

Click on OK.
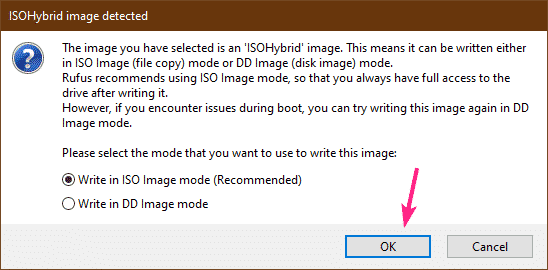
Click on OK.
NOTE: If you have any important data on the USB thumb drive, move them somewhere safe before you click on OK.

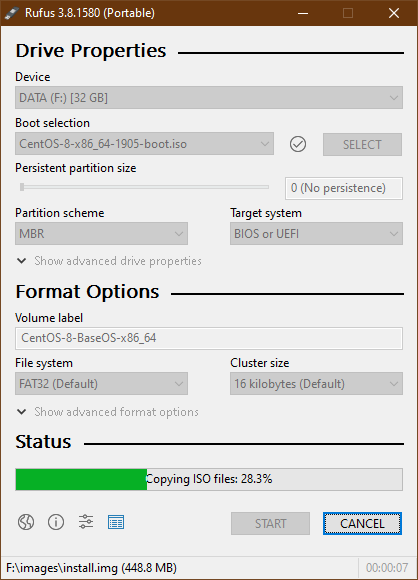
Rufus is copying the contents of the ISO installation image to the USB thumb drive. It may take a while to complete.
Once the USB thumb drive is READY, click on START.
Installing CentOS 8 from the NetBoot Image:
Now, insert the bootable USB thumb drive in your computer and boot from it.
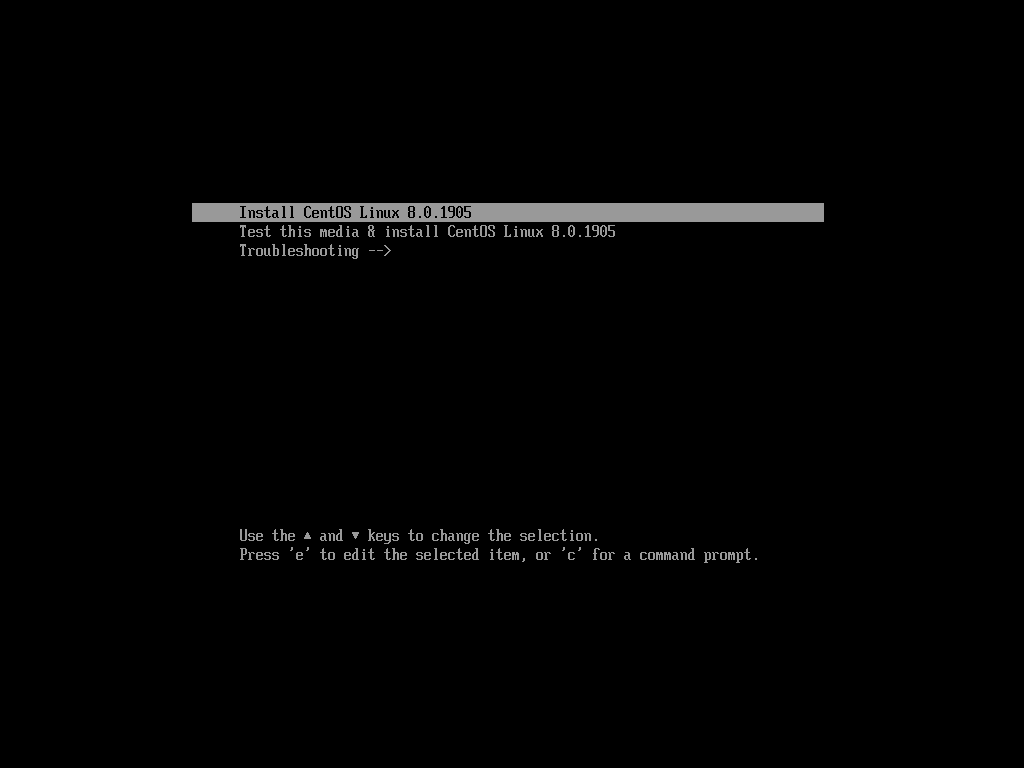
Once you see the following GRUB menu, select Install CentOS Linux 8.0.1905 and press <Enter>.
Once the CentOS 8 GUI installer starts, select your language and click on Continue.

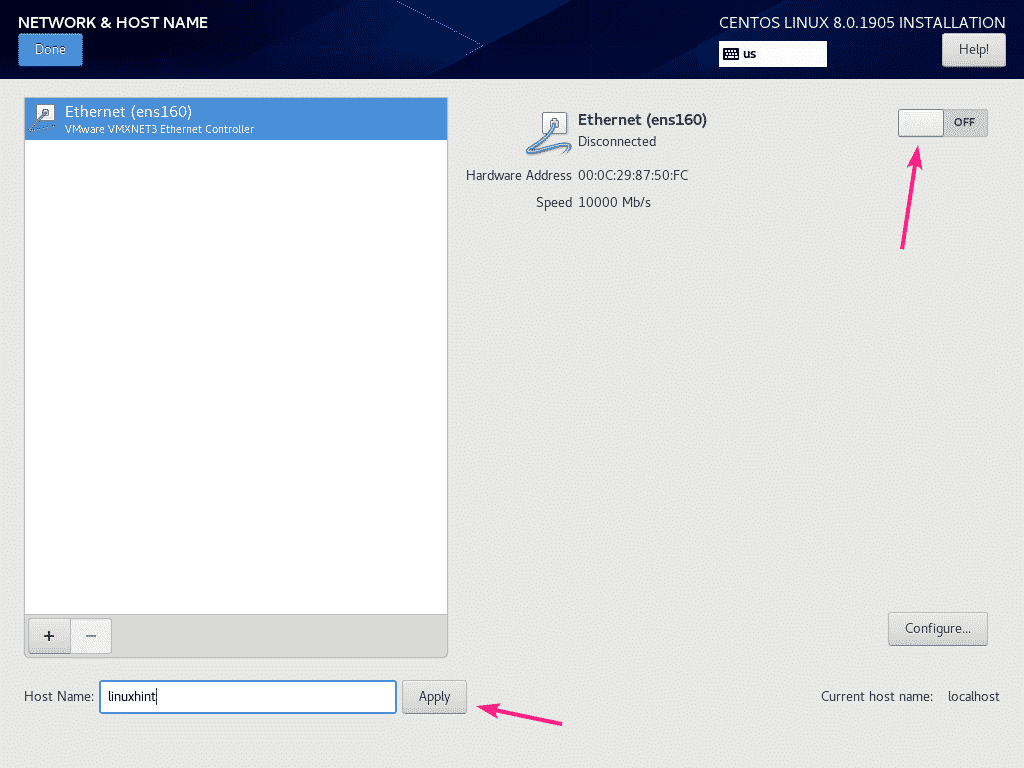
Now, click on Network & Host Name.

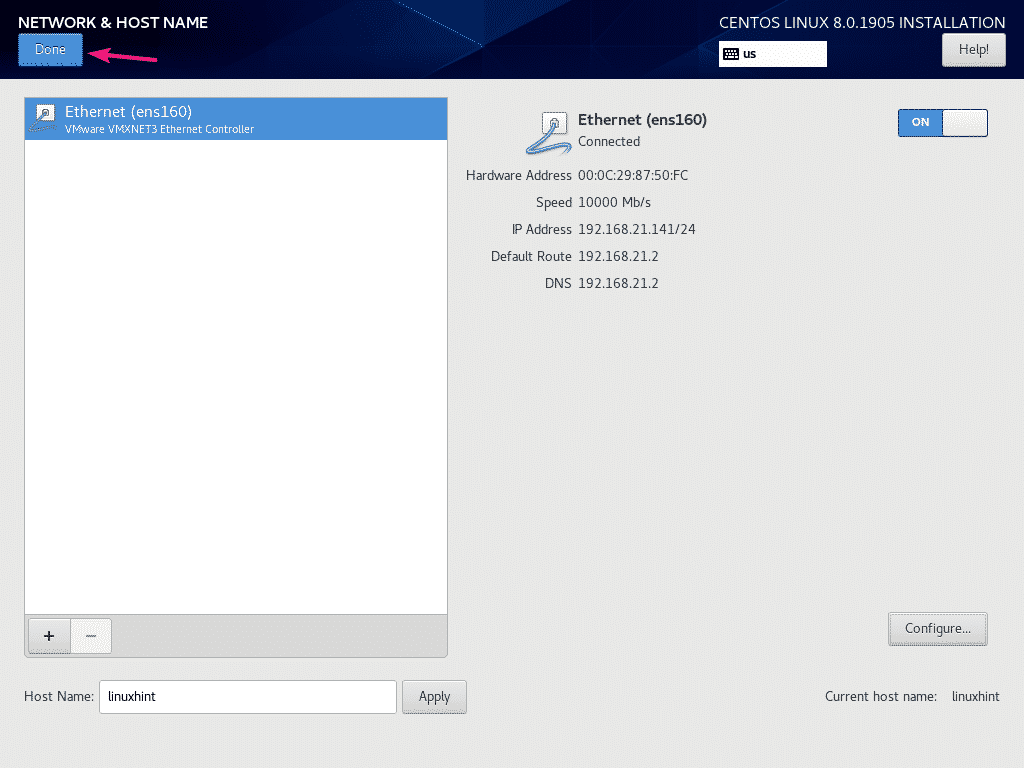
Now, type in a host name and click on Apply. Then, click on the toggle button on the top right corner to enable the network adapter.
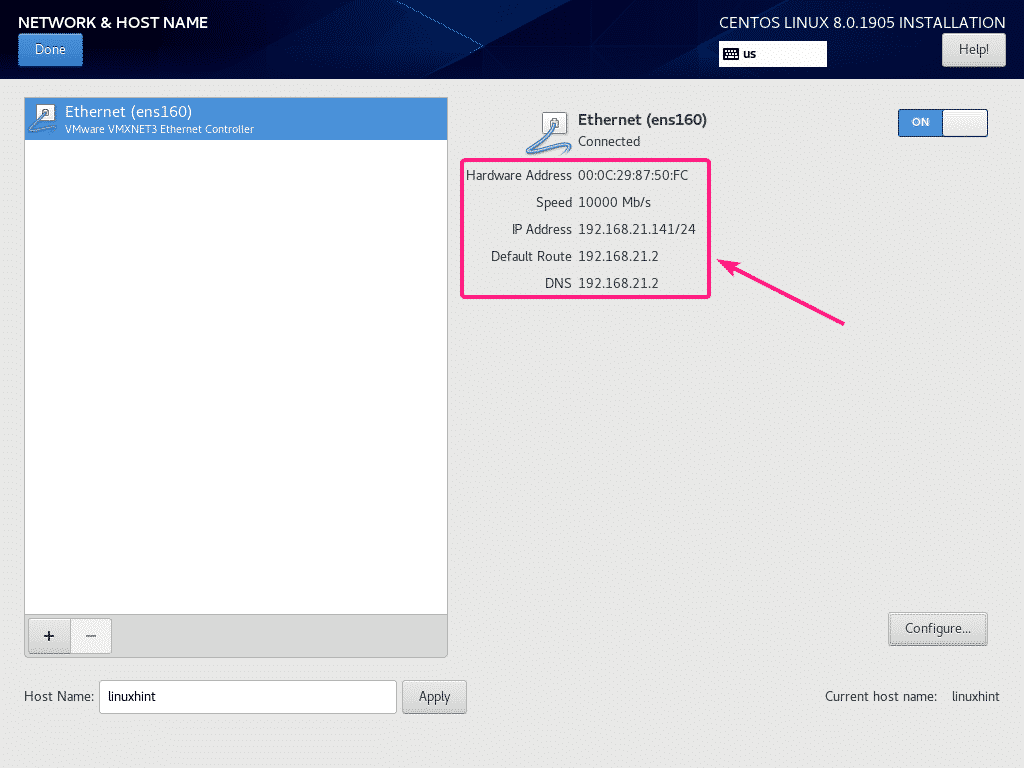
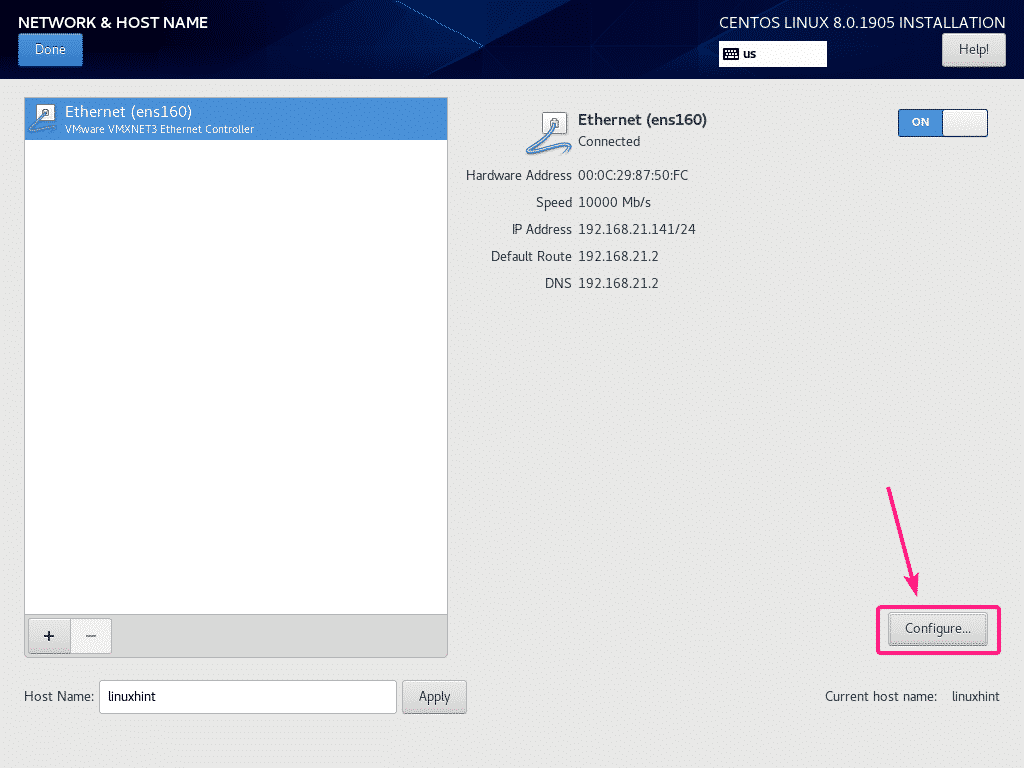
If your network is configured with DHCP, the network adapter should get an IP address from your Router.
If you want to manually configure the network, then click on Configure.
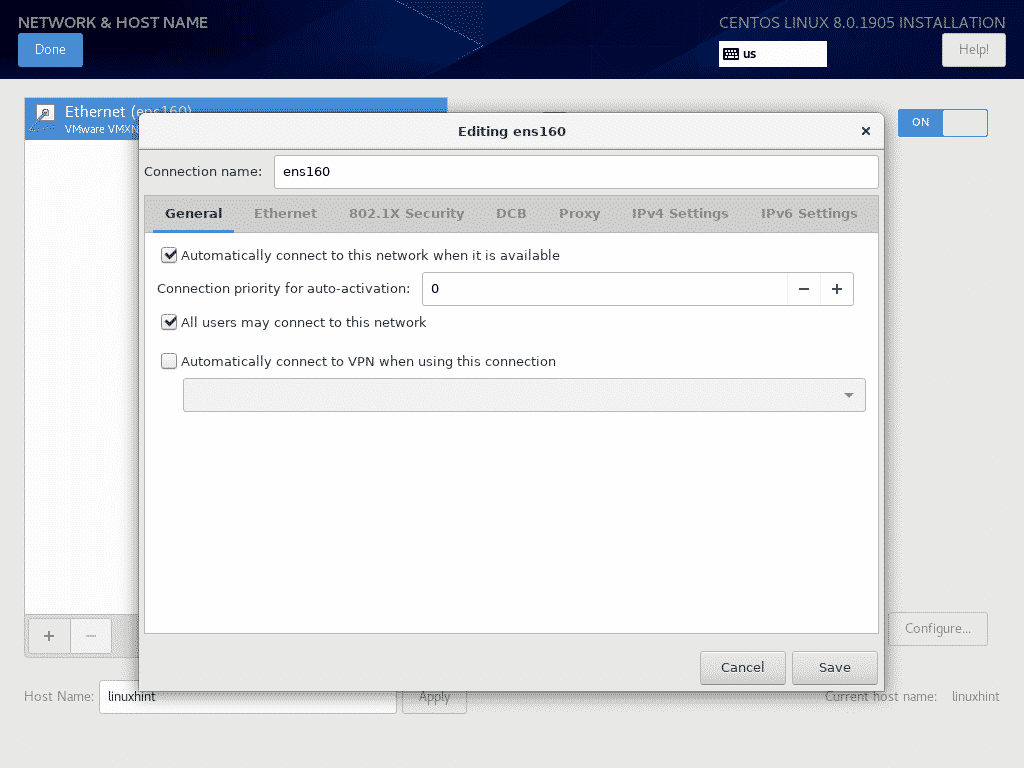
Here, you have some connectivity options in the General tab.
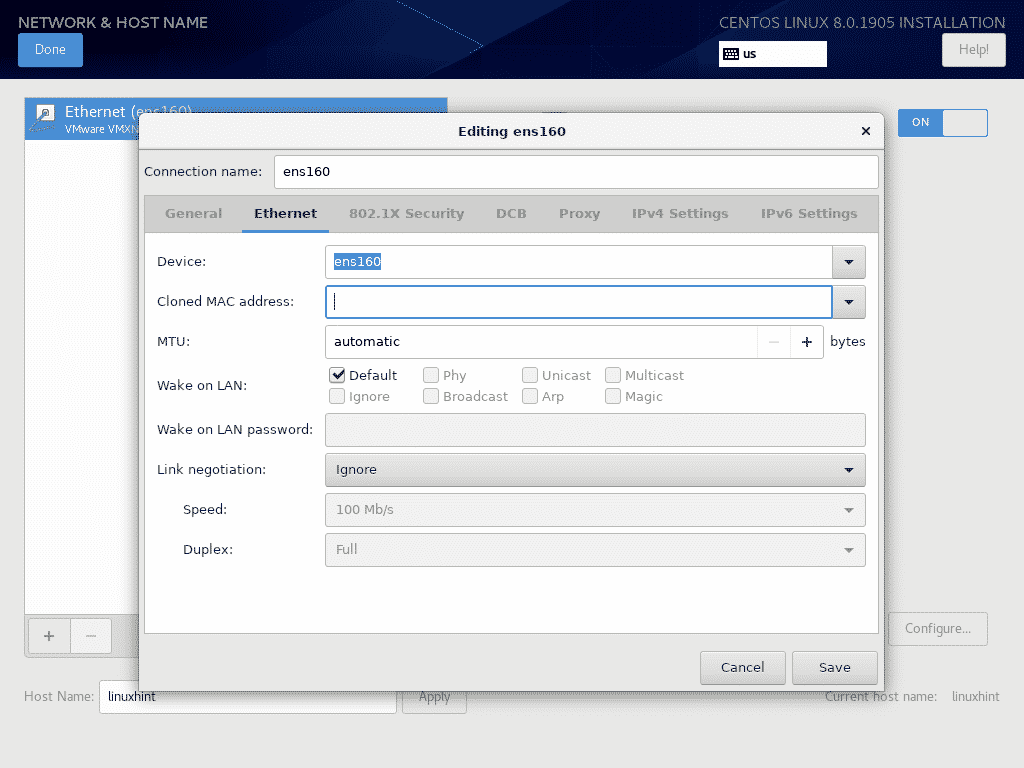
You can configure Ethernet protocol properties from the Ethernet tab.
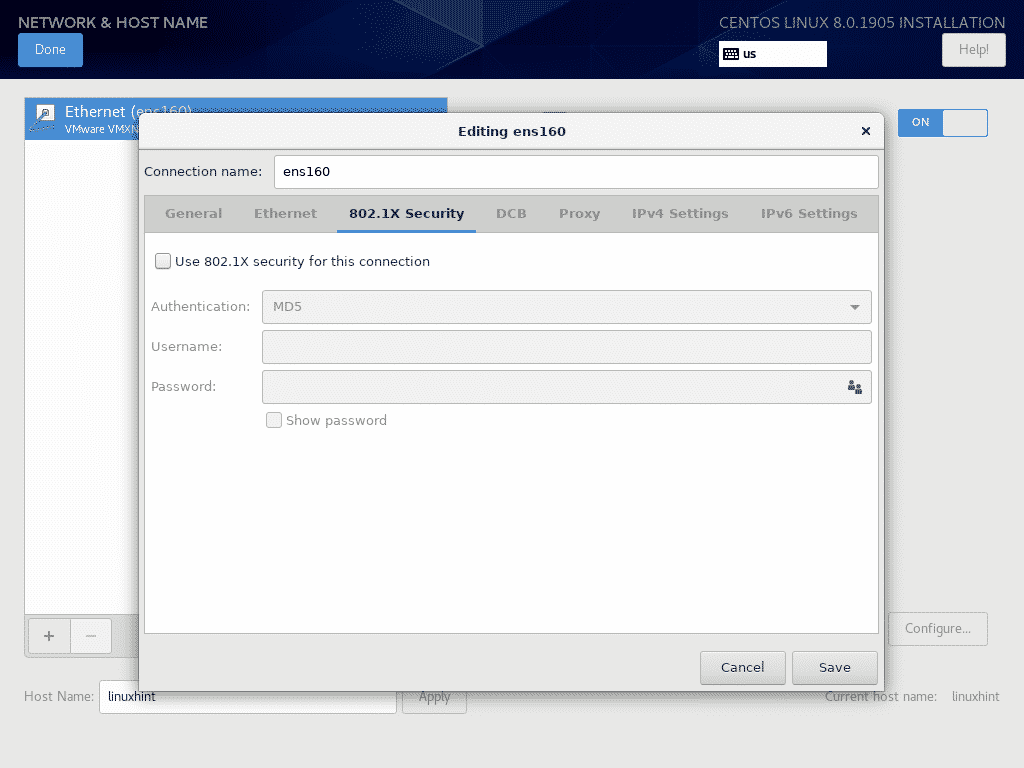
If your network provider requires authentication, you can configure it from the 802.1X Security tab.
You can configure Data Center Bridging (DCB) from the DCB tab.

You can configure network proxy from the Proxy tab.

You can configure IPv4 IP settings from the IPv4 Settings tab.

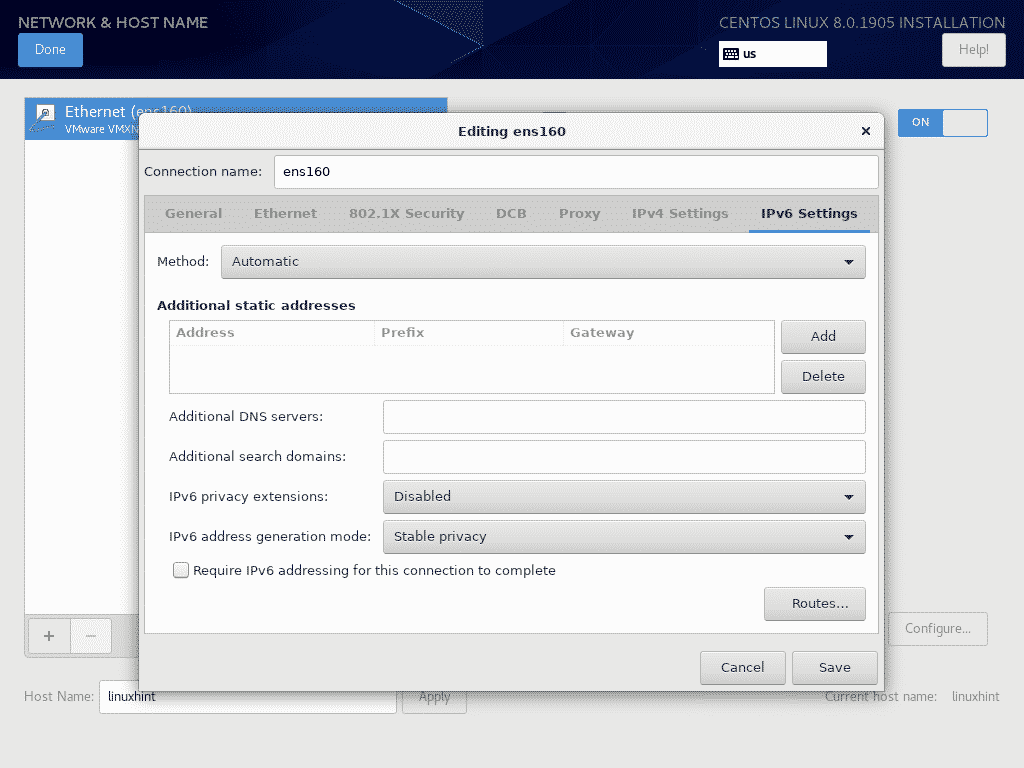
You can also configure IPv6 IP settings from the IPv6 Settings tab.
Once you’re done with the network configuration, click on Done.
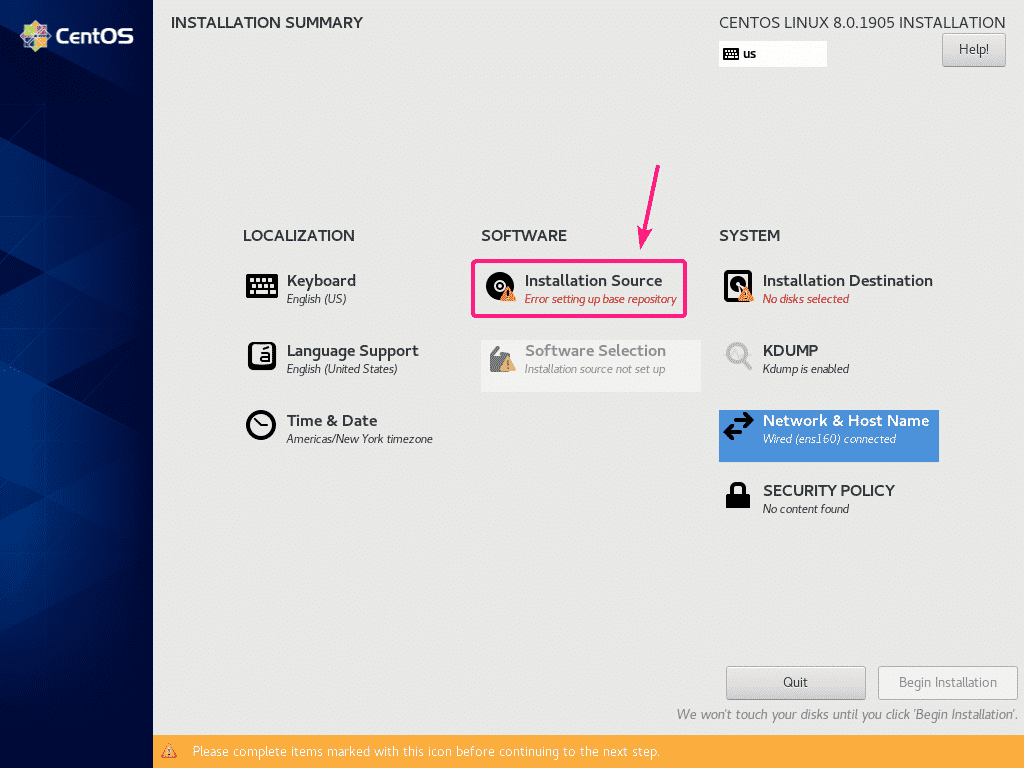
To configure a software repository, click on Installation Source.
By default, Closest mirror is selected. It should find a CentOS 8 mirror automatically.

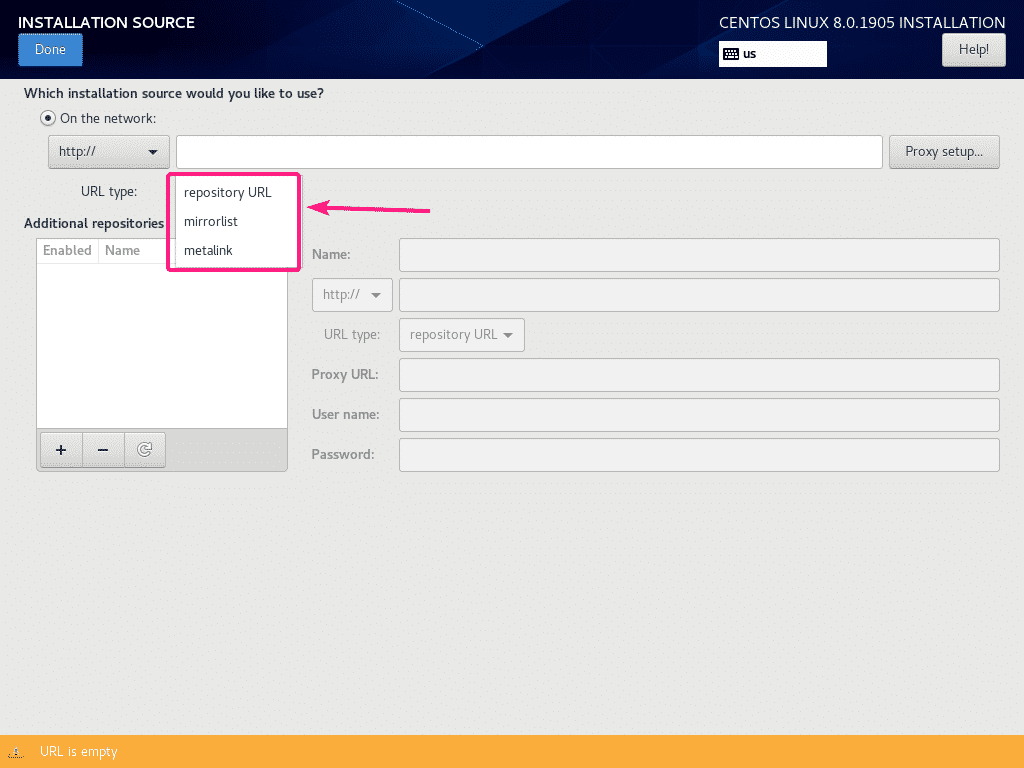
If you want to use a specific HTTP/HTTPS or FTP or NFS installation source, then you can select it from On the network dropdown menu.
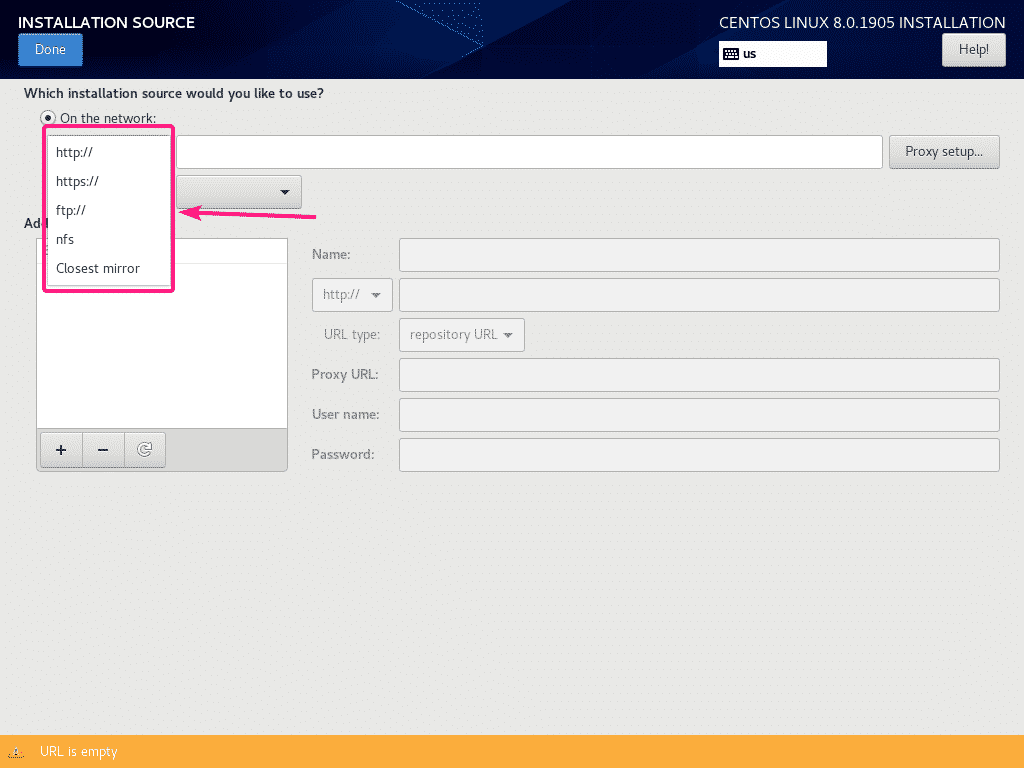
Then, select the URL type from the dropdown menu.
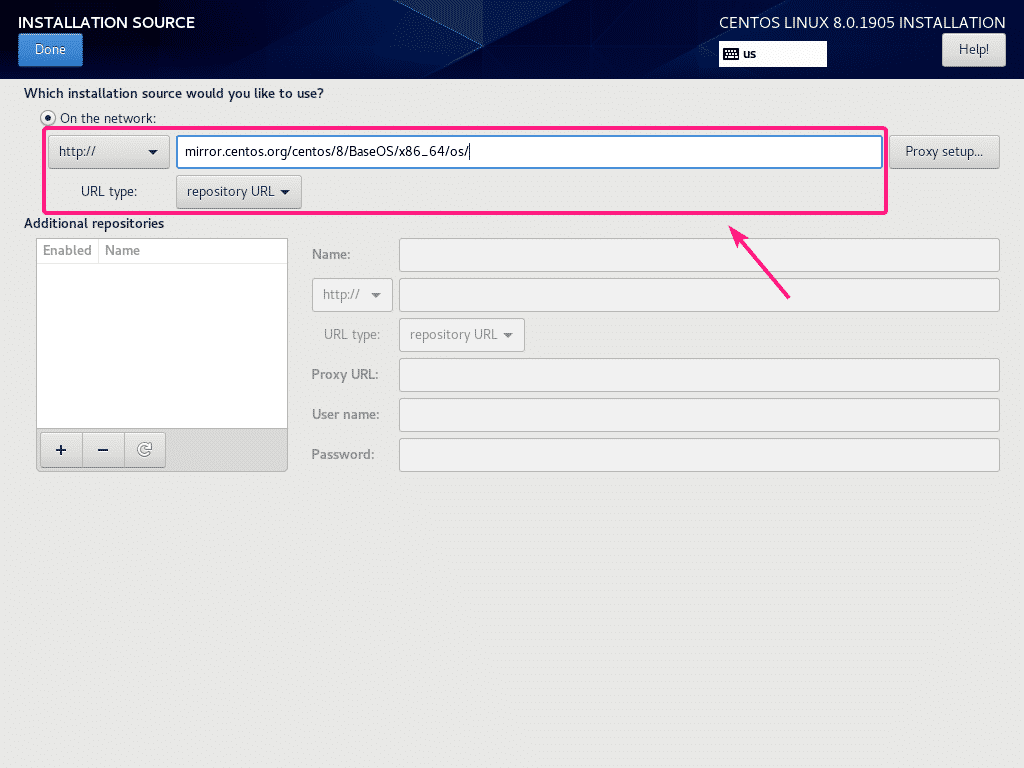
I am going to use the official CentOS 8 repository using the HTTP repository URL http://mirror.centos.org/centos/8/BaseOS/x86_64/os/
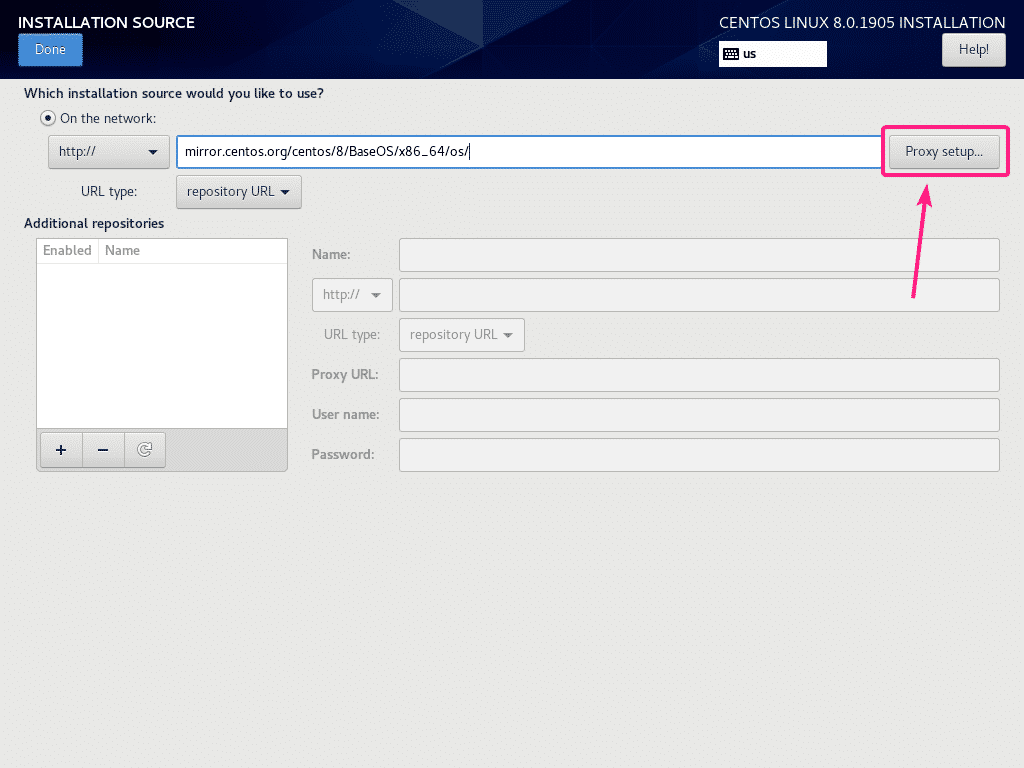
You can also setup a proxy for the installation source repository. To do that, click on Proxy setup…
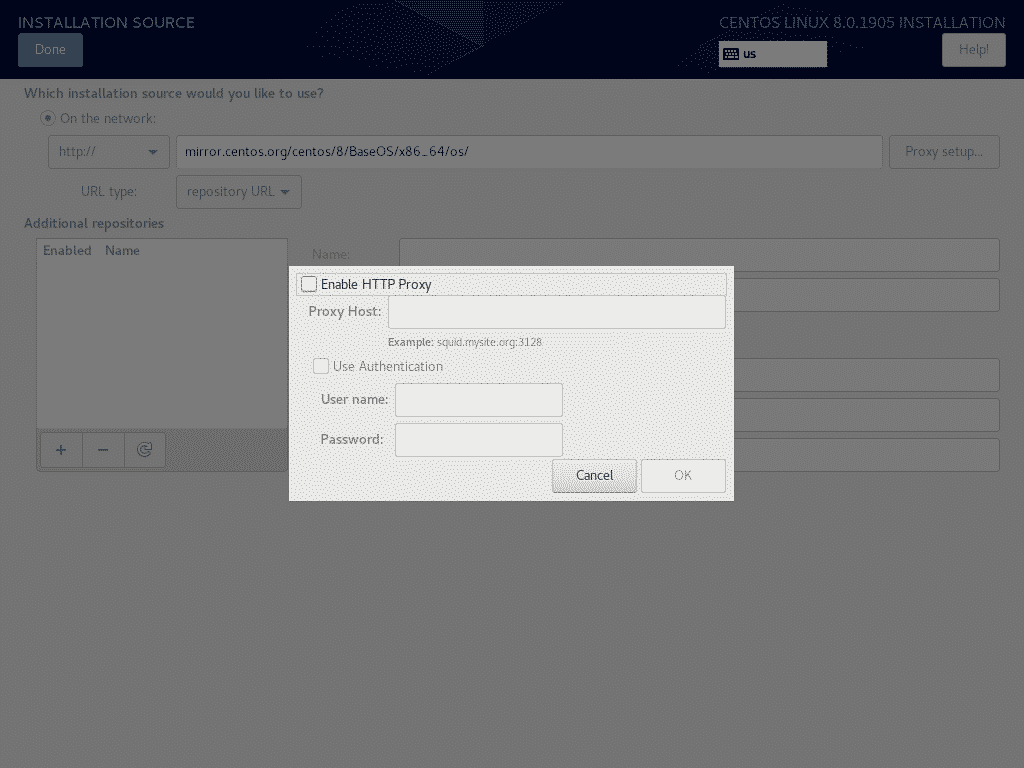
Now, to configure proxy, check Enable HTTP Proxy, type in your proxy configuration and click on OK.
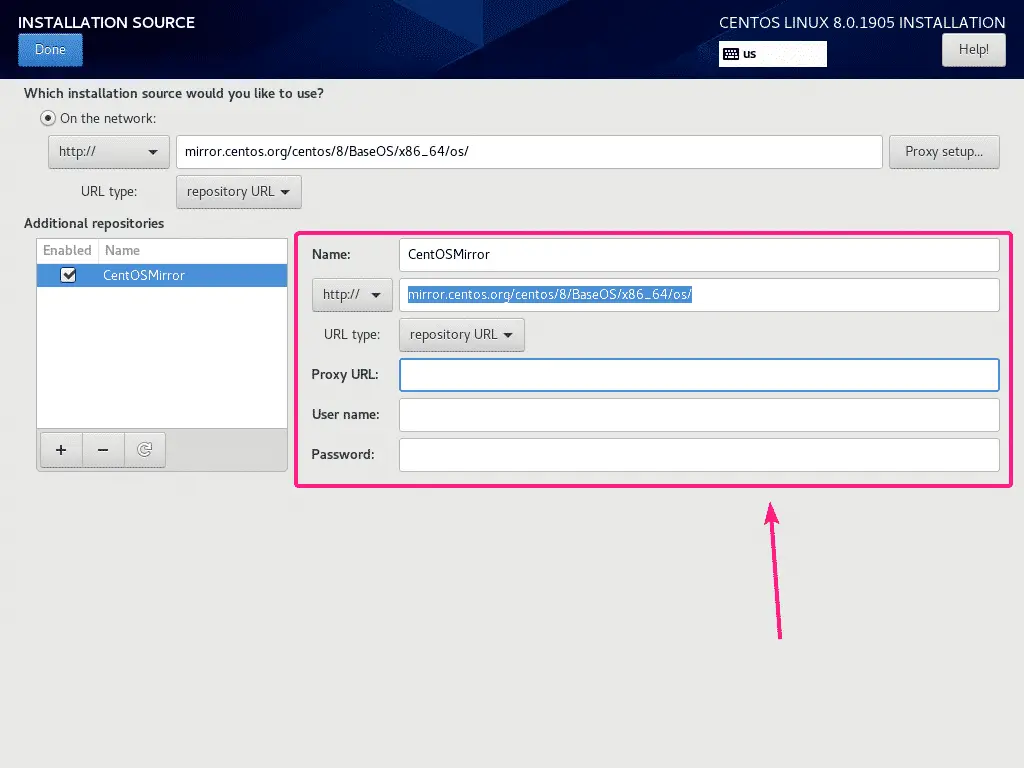
If you want to enable additional custom repositories, click on the + button.

Now, type in your required repository information. The repository should be added.
You can also use repository specific proxy from here if you want.
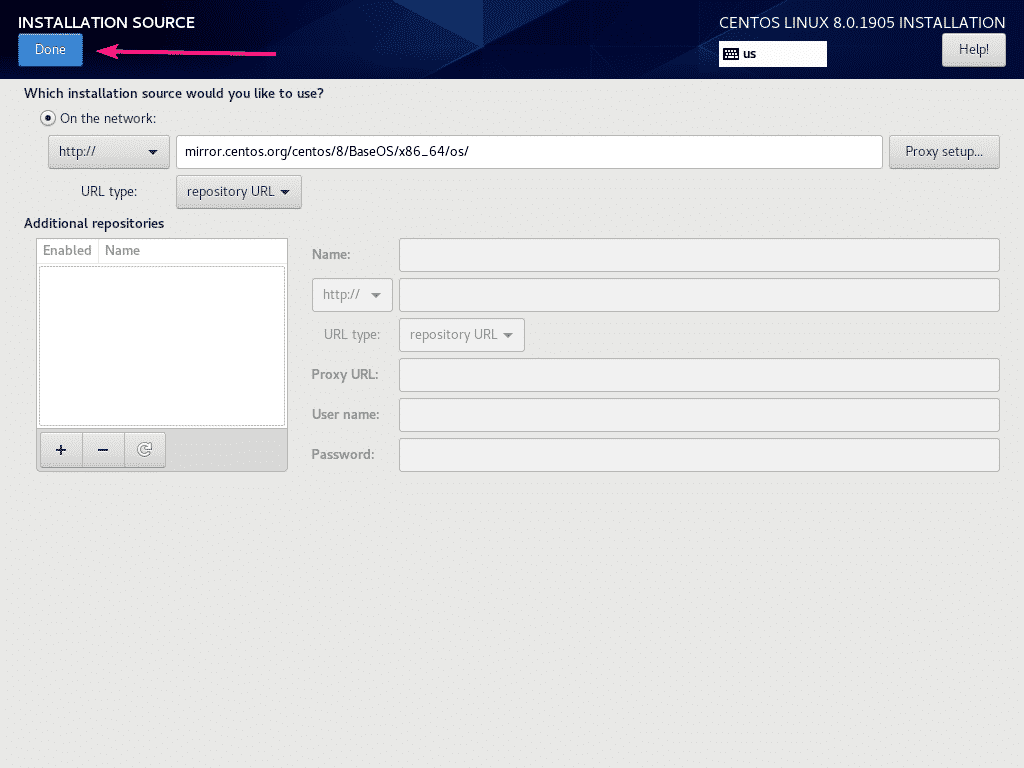
Once you’re done, click on Done.
The installation source is being configured as you can see in the screenshot below.
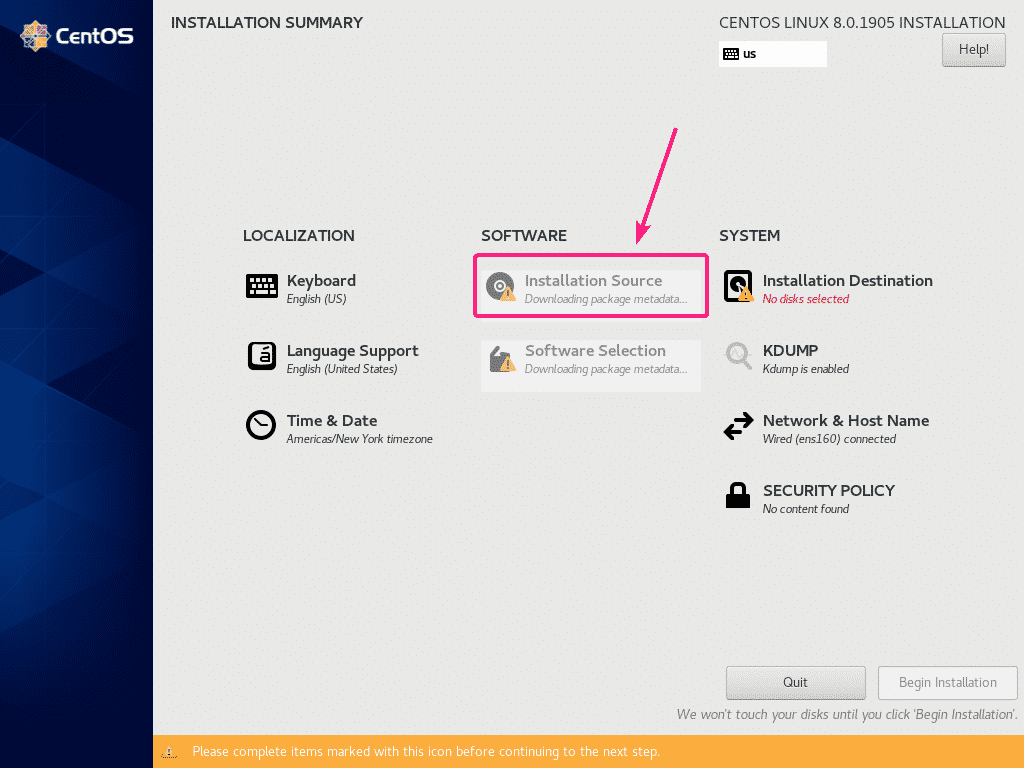
Once the installation source is configured, click on Installation Destination.

Now, select a hard drive and partition it.
I am installing CentOS 8 using the NetBoot ISO image on a virtual machine. So, I am going to select Automatic partitioning. If you want to do manual partitioning, then check my article How to Install CentOS 8 Server.
Once you’re done with the hard disk partitioning, click on Done.

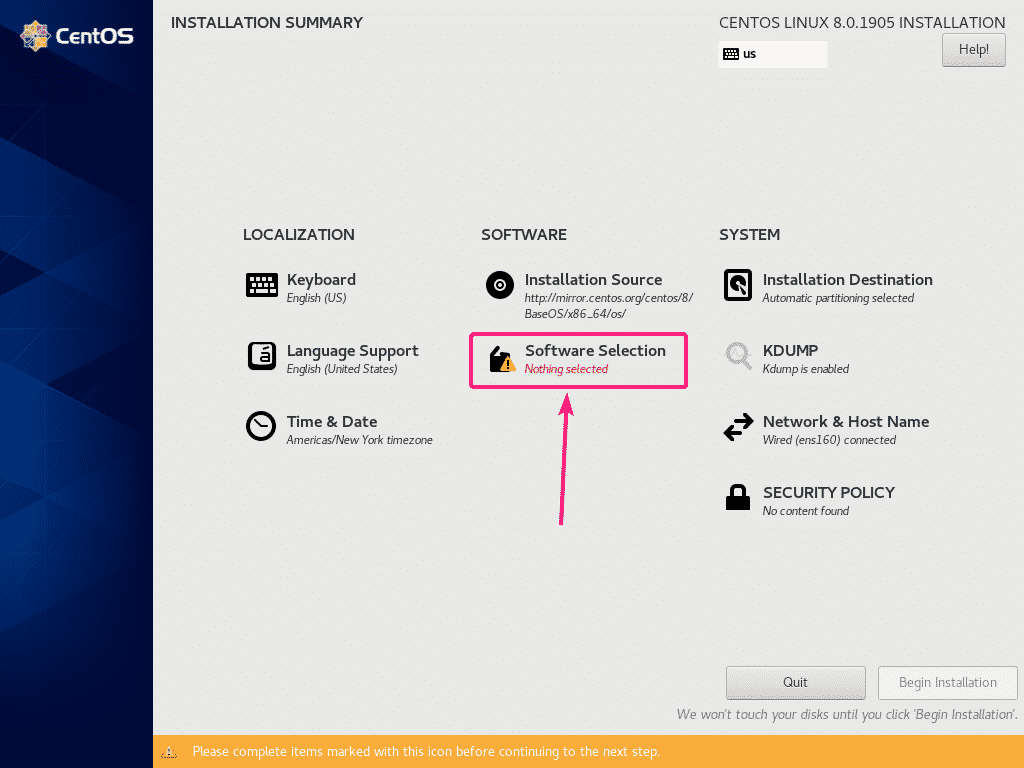
Now, click on Software Selection.
If you want to install CentOS 8 Server with graphical user interface (GNOME), then select Server with GUI environment.
If you want to install CentOS 8 headless server (without graphical user interface), then select Server or Minimal Install environment.
If you want to use CentOS 8 on your desktop or laptop, then select Workstation environment.
If you want to configure CentOS 8 for running KVM/QEMU virtual machines, then select Virtualization Host environment.
Once you’ve selected a suitable environment, click on Done.

Now, to set up a time zone, click on Time & Date.

Now, select your Region and City and click on Done.

Now, click on Begin Installation.

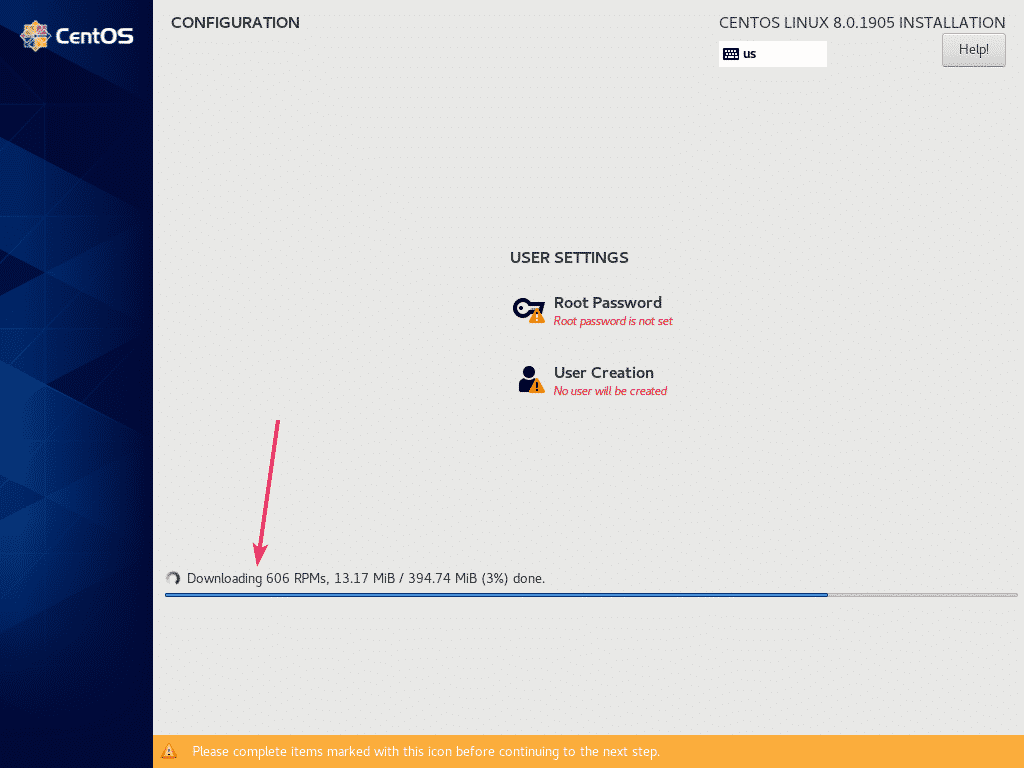
As you can see, the CentOS 8 installer is downloading all the required packages from the internet.
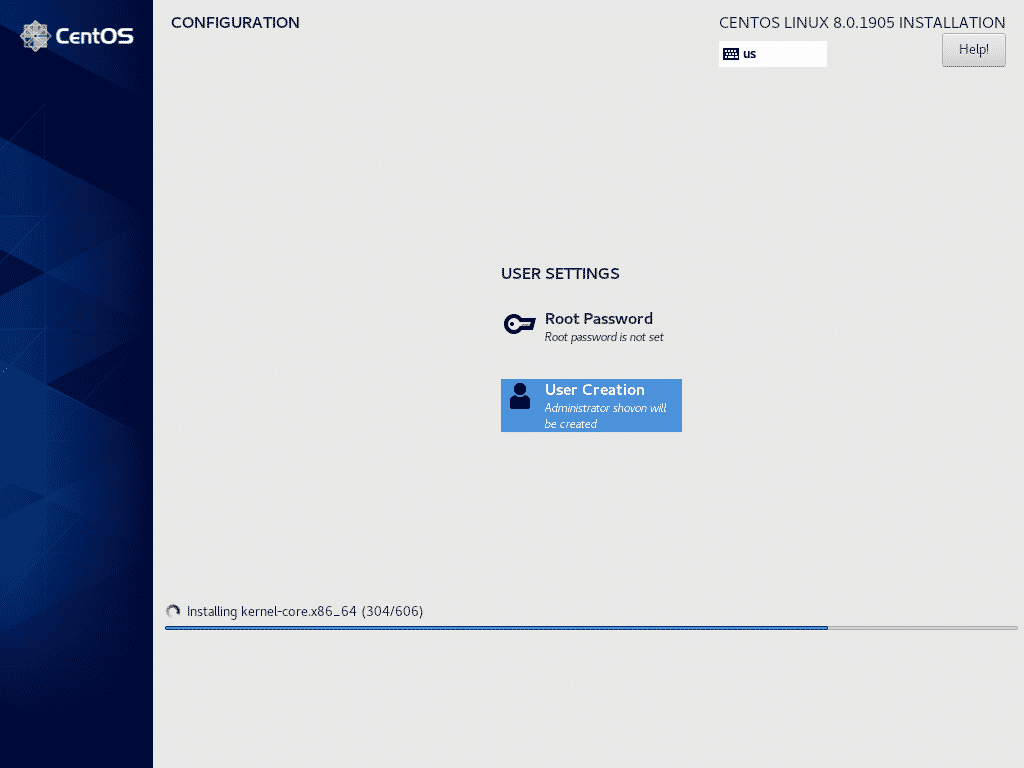
Now, you have to create a user account. To do that, click on User Creation.

Now, type in all your personal information, check Make this user administrator and click on Done.

The installation should continue.

Once the packages are downloaded, they will be installed one by one.
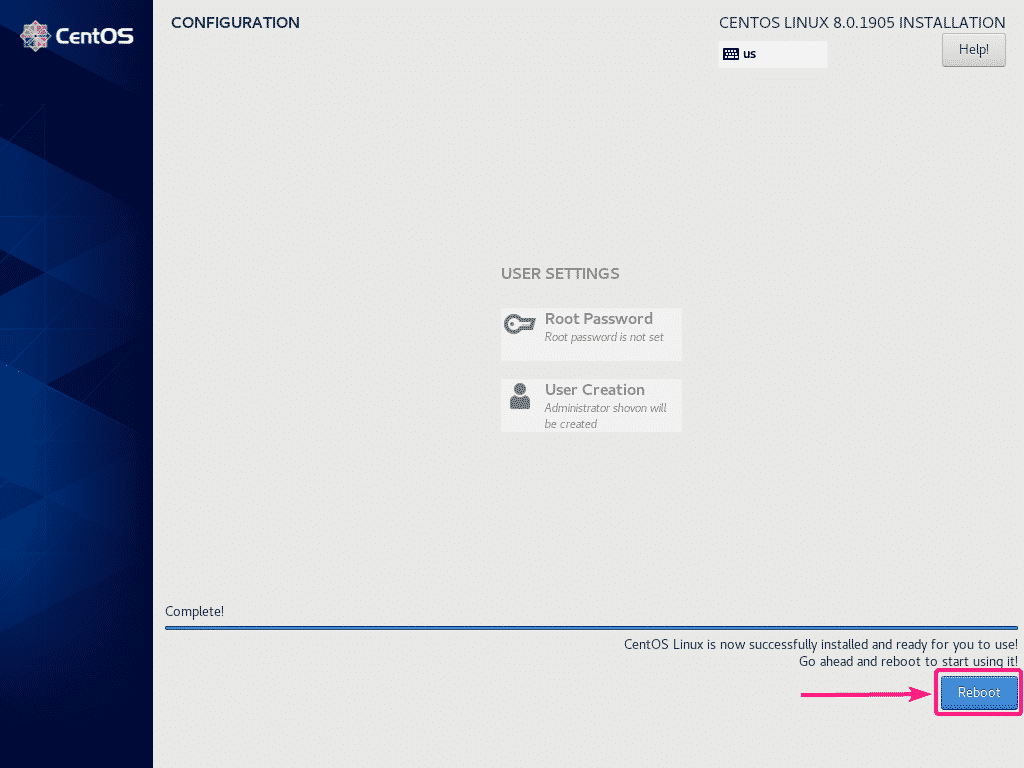
Once the installation is complete, click on Reboot.
From the next time, CentOS 8 should boot from the hard drive. Now, you should be able to use the username and password that you’ve set during the installation to login.

As you can see, I am running CentOS 8 and the Linux kernel version is 4.18.0.
$ cat /etc/redhat-release
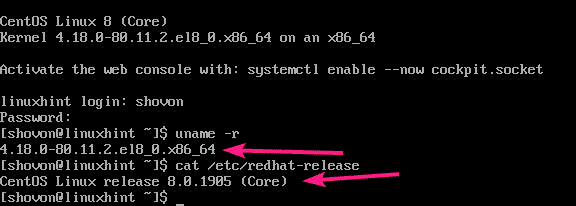
So, that’s how you install CentOS 8 using the NetBoot ISO installation image.