[adthrive-in-post-video-player video-id=”iMrfHy95″ upload-date=”2021-02-17T16:20:09.000Z” name=”How to install Yarn on Linux Mint 20″ description=”How to install Yarn on Linux Mint 20″ player-type=”collapse” override-embed=”true”]
Yarn is a JavaScript package and dependency management tool that helps users to automate the tasks of installing, updating, removing, and configuring NPM packages. Yarn is an open-source package manager that saves a lot of time for JavaScript programmers because it creates a cache of downloaded packages. Using Yarn, a programmer can easily access and re-use a package without re-downloading it every time.
This article shows you how to install Yarn on Linux Mint 20.
Installing Yarn on Linux Mint 20
The Yarn tool is not included in Linux Mint 20 standard repositories. However, Yarn can be installed by adding the official repository of Yarn. To install Yarn from the official repository, fire up the terminal, and follow the steps provided below:
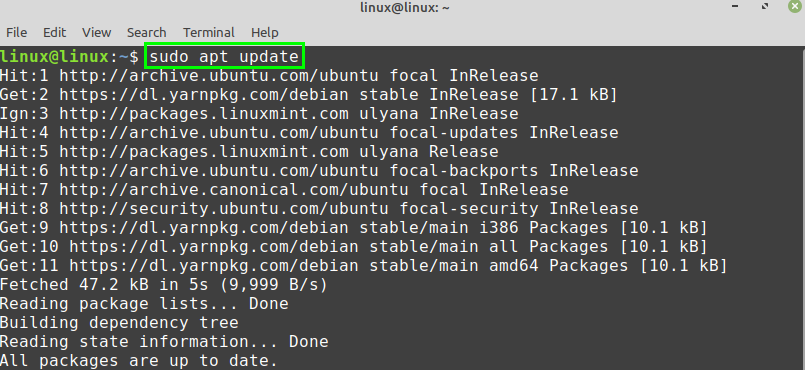
Step 1: Update APT Cache
As always, first, update the apt cache with the following command:
Step 2: Install Curl
The Curl command is required to fetch Yarn’s GPG key. Curl comes pre-installed on Linux Mint 20. However, if Curl is not installed on your system, then install it with the following command:
Step 3: Import GPG Key of Yarn Repository
After the successful installation of Curl, import the Yarn repository’s GPG key using the command given below:
The ‘OK’ confirms that the GPG key has been imported successfully.
Step 4: Add Yarn Repository
Once the GPG key has been imported, add the Yarn repository. The following command will add and enable the Yarn repository:
sudo tee /etc/apt/sources.list.d/yarn.list
Step 5: Install Yarn
First, update the apt cache before installing Yarn:
Next, install Yarn using the following command:
Yarn requires 36.0 MB of additional disk space. If you agree to this, press ‘y’ to continue installing Yarn.
The above command will also install NodeJS. If you have already installed NodeJS, then skip the above command, and install Yarn with the command given below:
Step 6: Check Installed Version of Yarn
Once Yarn has been installed successfully, verify the installation and check the installed version with the following command:
The output above shows that Yarn version 1.22.5 has been installed successfully on the Linux Mint 20 system.
How to Remove Yarn from Linux Mint 20
If you no longer require Yarn and want to remove it from your Linux Mint 20 system, then it is very easy and straightforward to remove.
Issue the following command in the terminal to remove Yarn completely from your system:
Press ‘y’ to continue removing Yarn.
Conclusion
This article showed you how to install Yarn on Linux Mint 20. The article also showed you how to remove Yarn completely from your system. You can manage NPM packages very easily and efficiently using Yarn. Yarn’s repository is regularly maintained by the developers and contains the latest stable version.


