Installation of Webmin on CentOS 8
The process of installing Webmin on CentOS 8 is quite straightforward. You can install Webmin on CentOS 8 machine using the RPM package in only four simple steps.
Step 1: Update CentOS8 System
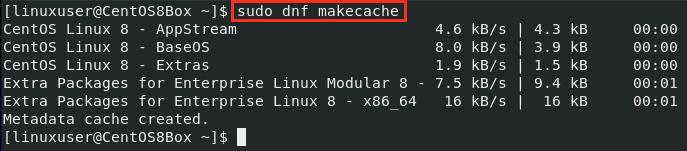
First, update the DNF package repository cache and make sure that the system is up-to-date. To update the DNF repository cache, issue the following command.
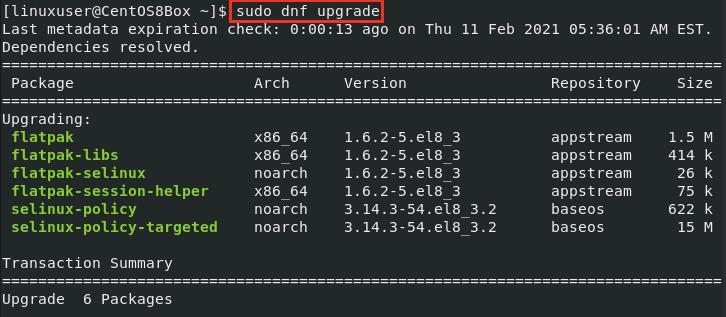
To upgrade the system, enter the command given below.

Now, after updating the DNF repository cache and installed packages, we will download the Webmin RPM package and then install it using the dnf package manager.
Step 2: Download Webmin RPM Package
To download the RPM package of Webmin, you can either:
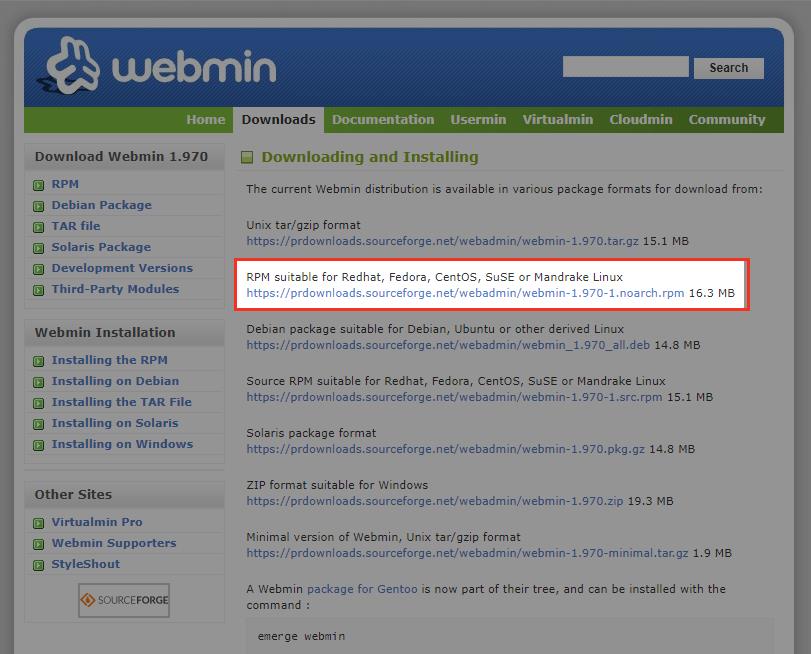
Download the RPM file from the official website of Webmin by visiting the link below:
https://www.webmin.com/download.html
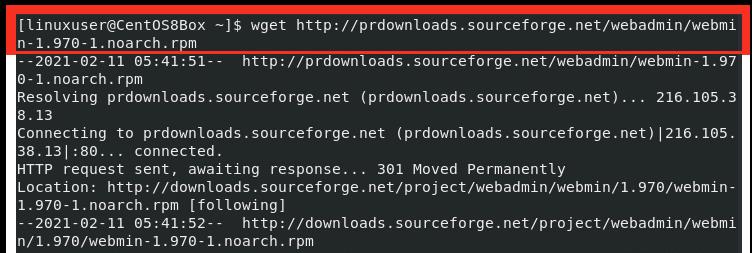
Or, download the RPM package of Webmin by issuing the following command in the CentOS 8 terminal.
After downloading the Webmin RPM package, download and install the optional dependencies by entering the command given below.
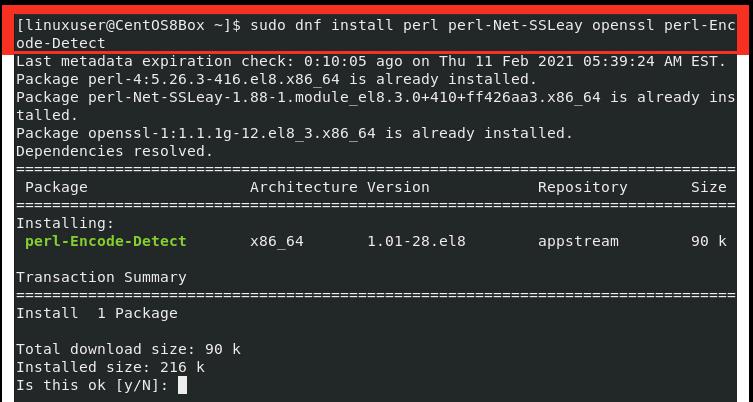

Once the optional dependencies of Webmin have been installed, we will install the downloaded RPM package of Webmin.
Step 3: Install Webmin Using the RPM package
To install Webmin using the downloaded RPM file, issue the following command.

Now, the latest stable version of Webmin has been installed.
You can start using the Webmin Control panel by going to a browser and visiting the localhost with the port 10000 since the default port of Webmin is 10000.

To connect to the Webmin remotely, you will need to configure the Firewall settings for Webmin.
Step 4: Configuring Firewall Settings for Webmin
Since Webmin listens on port 10000 by default, we will need to add port 10000 to the firewall. To allow port 10000, enter the following command:

Once the firewall has been configured, you should now be able to access the web interface remotely.
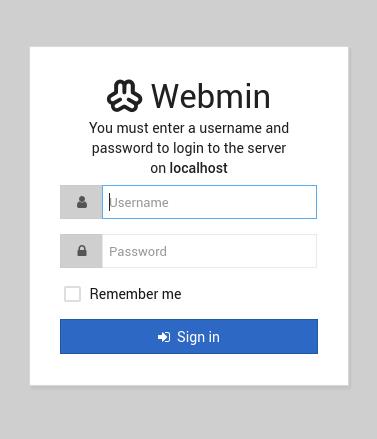
Step 5: Start Using Webmin
To access Webmin from any other system, you can access it by typing the server IP address, along with the port number 10000, in any browser of your choice.
Conclusion
This article showed you how to install Webmin on CentOS 8. We also showed you how to configure the CentOS 8 system firewall to access the Webmin portal remotely. From the Webmin portal, you can manage and configure the Linux server according to your needs and preferences.