Installing vnStat in Linux Mint 21
The process of installing vnStat is quite straightforward as it can be installed using the default package manager but still there are some steps one needs to follow:
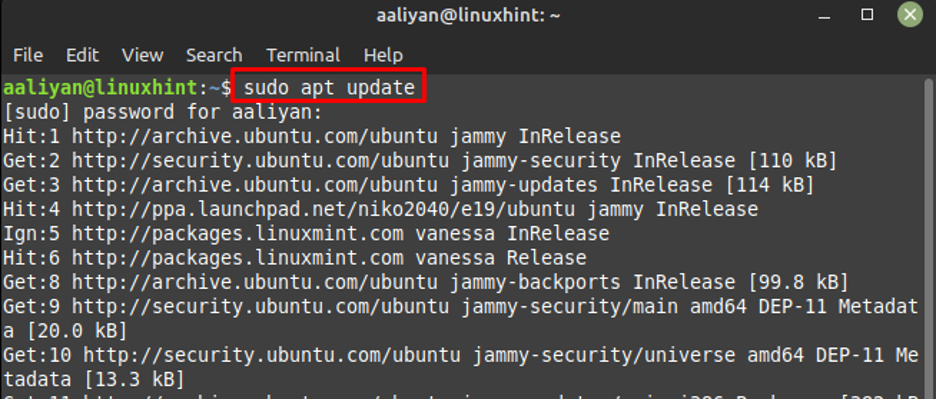
Step 1: Update the package list of apt package manager to avoid any possible errors using:
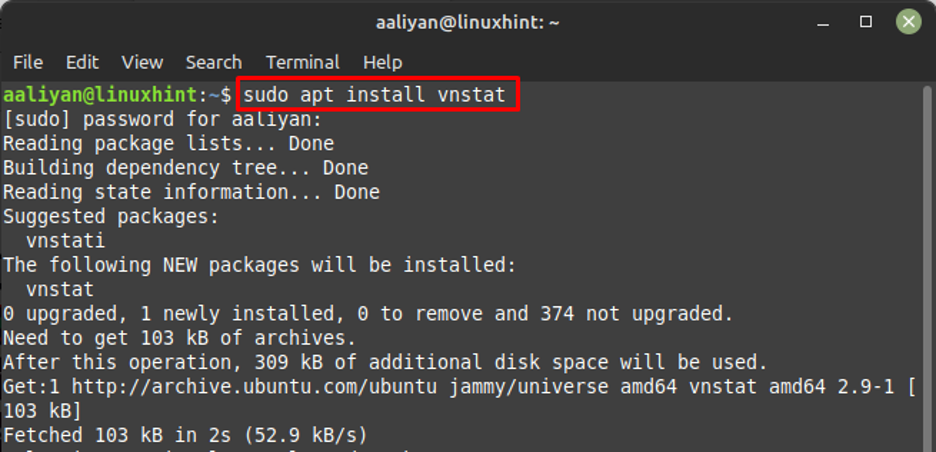
Step 2: Next, install the vnStat using the default package manager of Linux Mint:
Step 3: Next, check the version of this application to check if it is installed correctly or not:
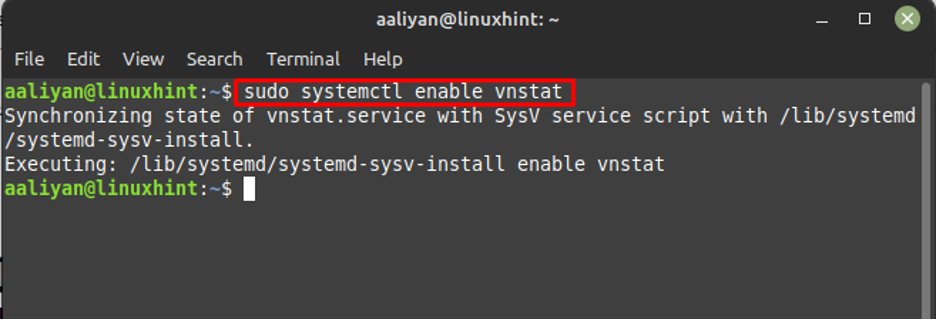
Step 4: After that enable this application using:
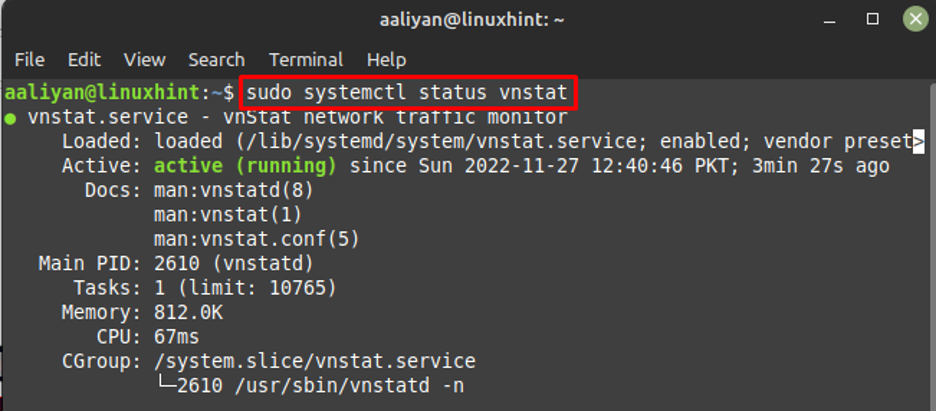
Step 5: Now see if the application is running or not by checking its status using:
If the application is dead or not active, then start it using:
Step 6: Now to monitor the network use vnstat command with time in minutes, further the syntax for it is given below:
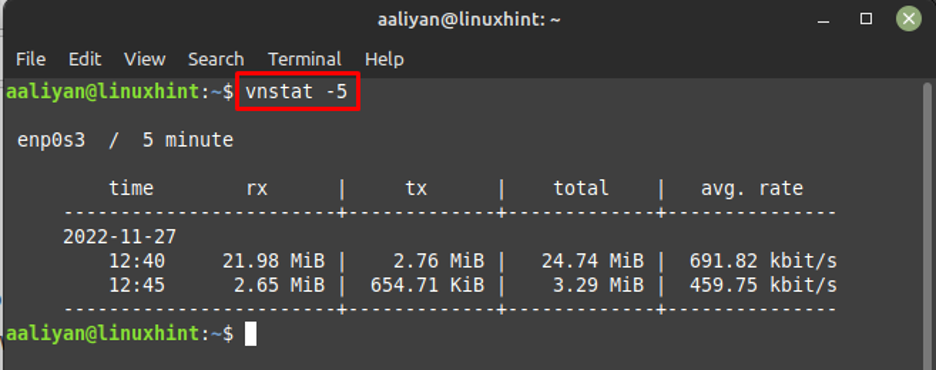
For example, if we want to monitor the network for five minutes then:
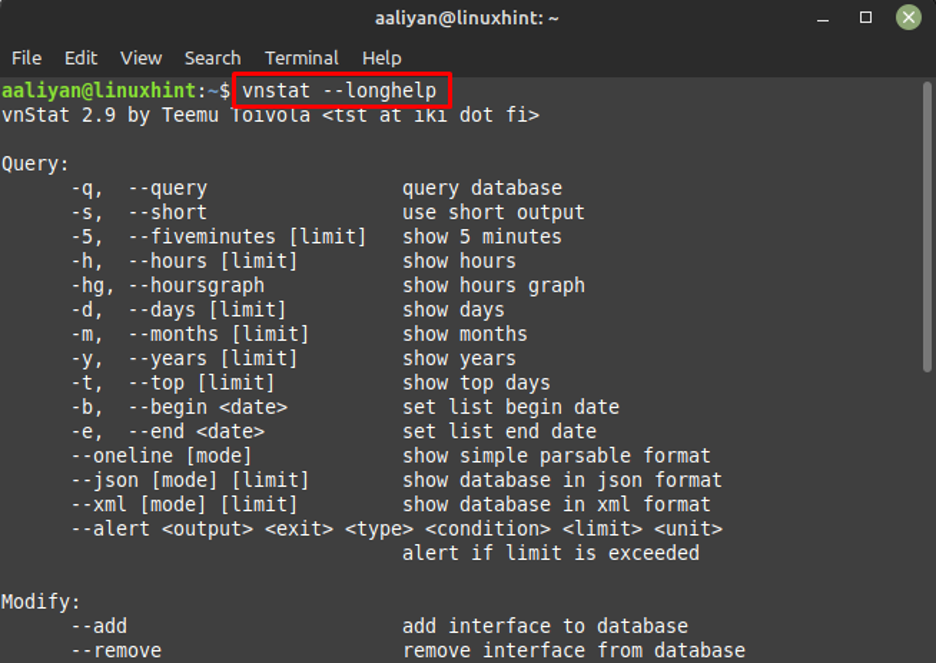
Next, if you need help with using commands in monitoring the network then use:
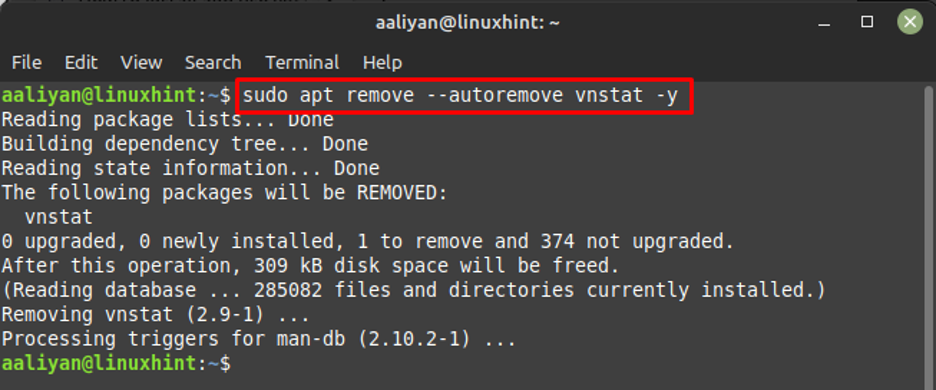
If you want to remove this application it then use:
Conclusion
Network monitoring is one of the main constituents when it comes to the security of the system and there are a number of tools available for that purpose. vnStat is the best choice for monitoring the network’s Linux systems as it is lightweight, easy to use and freely available. It can be installed on Linux Mint 21 using its default package manager though there are some other necessary steps for its installation that are mentioned in this guide.

