The Visual Studio Code is a great and versatile code editor developed by Microsoft but offers a cross-platform support including Linux and macOS. It is the combination of simple and advanced features to offer something different to developers. The VS Code is famous for its lightweight design, rich options, and highly customizable factors. You can build various mobile, web, desktop, cloud, and other apps with VS Code.For instance, if you are working on Python and JavaScript but wants to explore new frameworks, the VS Code provides IntelliSense, system highlighting, debugging, etc. So, if you are a Linux beginner and wants to get the Visual Studio Code on your system, this short tutorial is for you. Here, we will briefly explain how to install and use the Visual Studio Code on Rocky Linux 9 (RHEL-based OS).
How to Install the Visual Studio Code on Rocky Linux 9
Before installing the Visual Studio Code on Rocky Linux, make sure that your system fulfills the following prerequisites:
| Architecture | x86-64 or ARM64 |
| Processor | 1.6 GHz or more |
| RAM | 1 GB of RAM (2GB is recommended for the best performance) |
| Disk Space | 200 MB |
| Internet Connection | Good |
First, run the following command to update and make sure that your system is updated according to the latest updates:
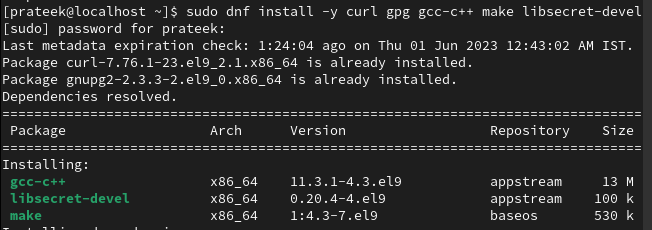
In some cases, the VS Code requires extra packages to run correctly. So, run the following command to install them:
Now, import the Microsoft GPG key into the system:
Once you are done, it is time to create the repo file of the VS Code:
In the “vscode.repo” file, add the following information to set up the VS repository:
name=VS Code
baseurl=https://packages.microsoft.com/yumrepos/vscode
enabled=1
gpgcheck=1
gpgkey=https://packages.microsoft.com/keys/microsoft.asc
Now, save the file and then run the following command to install the VS Code:
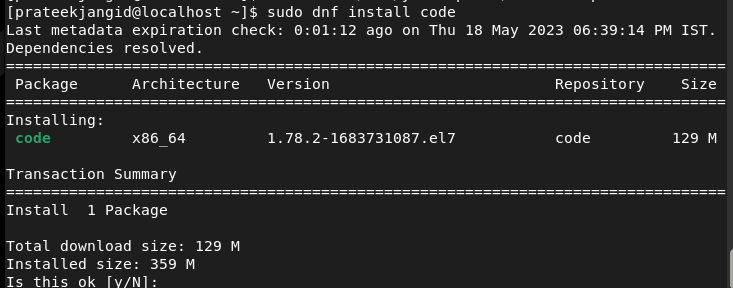
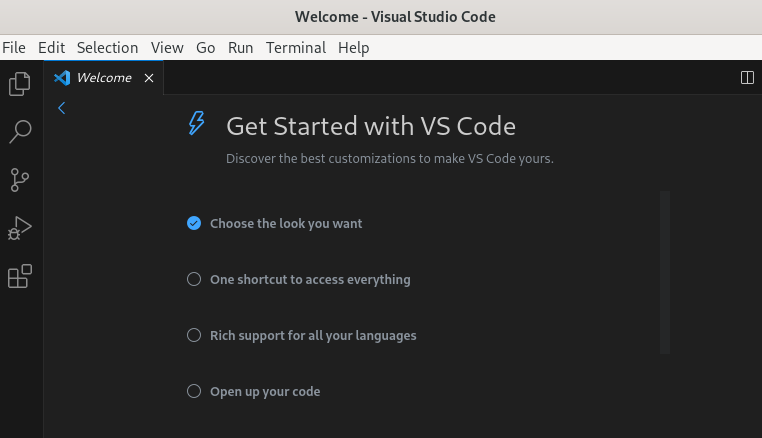
The Visual Studio Code is now available in your system. Run the following command to launch it from the terminal:
Once you run the command, the system launches the Visual Studio Code:
Conclusion
This is all about the simple way to install and use the Visual Studio Code on Rocky Linux 9. We recommend you to install the additional repositories for Visual Studio Code because it sometimes becomes essential for the VS Code to run properly. Moreover, you can also go to the Application menu to launch the Visual Studio Code.