VirtualBox is a very popular free virtualization platform from Oracle. You can use VirtualBox to create virtual machines of Linux, BSD, Windows, OSX, and many other types of operating systems on your computer.
This article will show you how to install VirtualBox on Arch Linux. So, let’s get started.
Table of Contents:
- Enabling Hardware Virtualization
- Update the Pacman Package Repository Cache
- Installing VirtualBox
- Loading VirtualBox Kernel Module Automatically on Boot
- Adding Your Login User to the vboxusers Group
- Running VirtualBox
- Installing VirtualBox Extension Pack
- Creating a VirtualBox Virtual Machine
- Conclusion
Enabling Hardware Virtualization:
Before you get started, you must enable the hardware virtualization extension from the BIOS of your motherboard.
If you’re using an Intel processor, you will have to enable the VT-x/VT-d extension. If you’re using an AMD processor, you will have to enable the AMD-v/SVM extension.
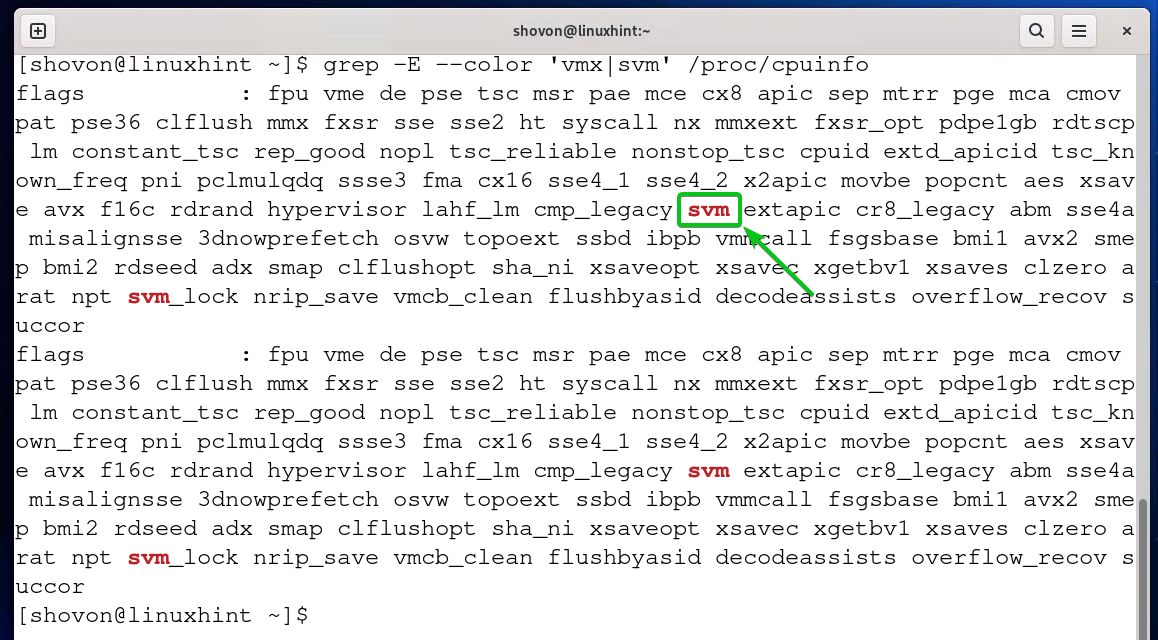
Once you have enabled hardware virtualization from the BIOS of your computer, run the following command to verify whether Intel VT-x/VT-d or AMD AMD-v/SVM extension is enabled.

I am using an AMD 2400G processor. So, in my case, the CPU feature svm is available, as you can see in the screenshot below. If you’re using an Intel processor, you will see the vmx CPU feature instead.
NOTE: If hardware virtualization is not enabled in the BIOS, you will not see either of these.
Update the Pacman Package Repository Cache:
The official Arch package repository has the latest version of VirtualBox. So, it’s easy to install.
First, update the Pacman package repository cache with the following command:

The Pacman package repository cache should be updated.

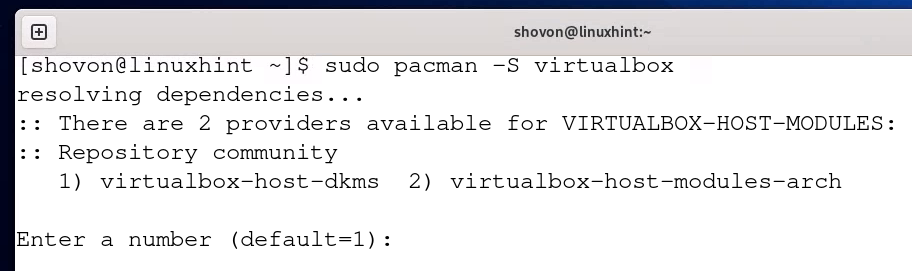
Installing VirtualBox:
To install VirtualBox from the official Arch Linux package repository with Pacman package manager, run the following command:

Press <Enter>.
Press Y and then press <Enter> to confirm the installation.
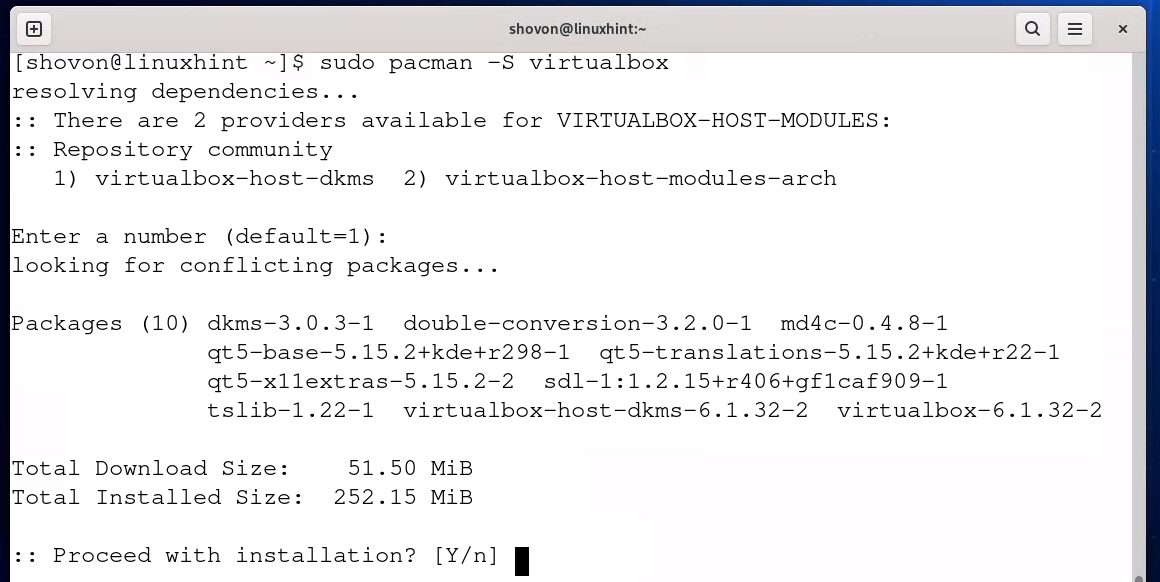
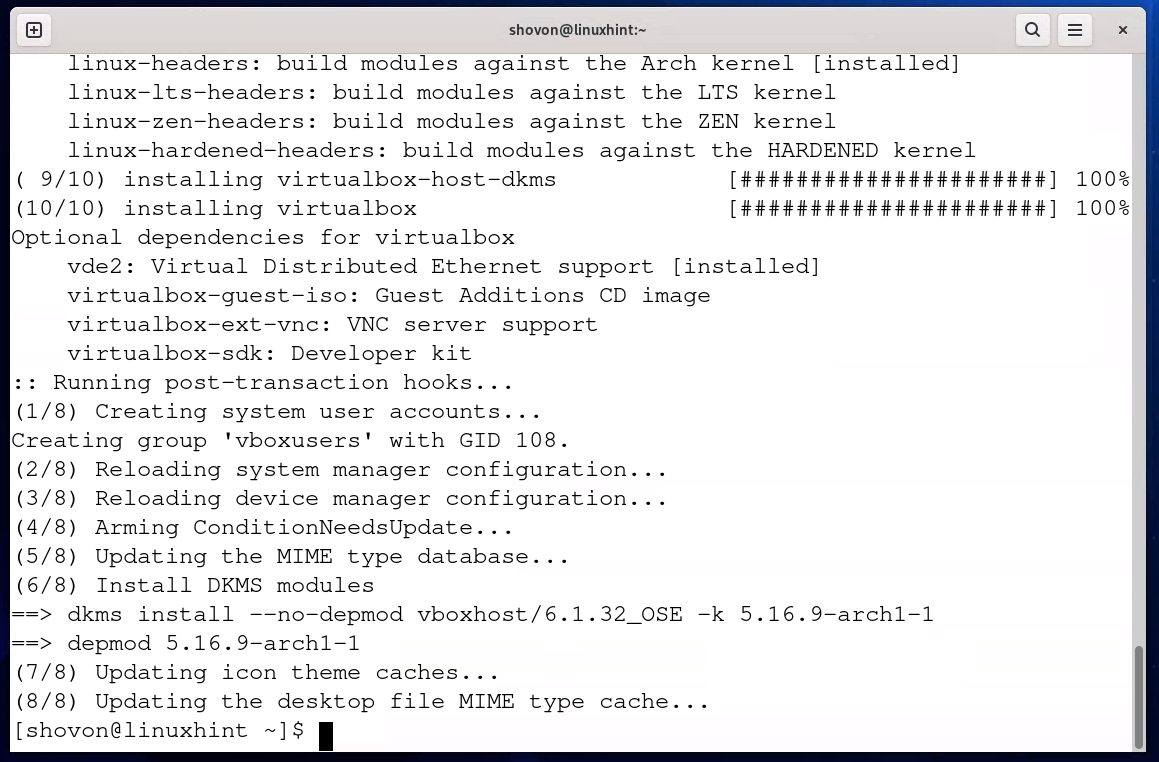
VirtualBox is being installed. It will take a few seconds to complete.
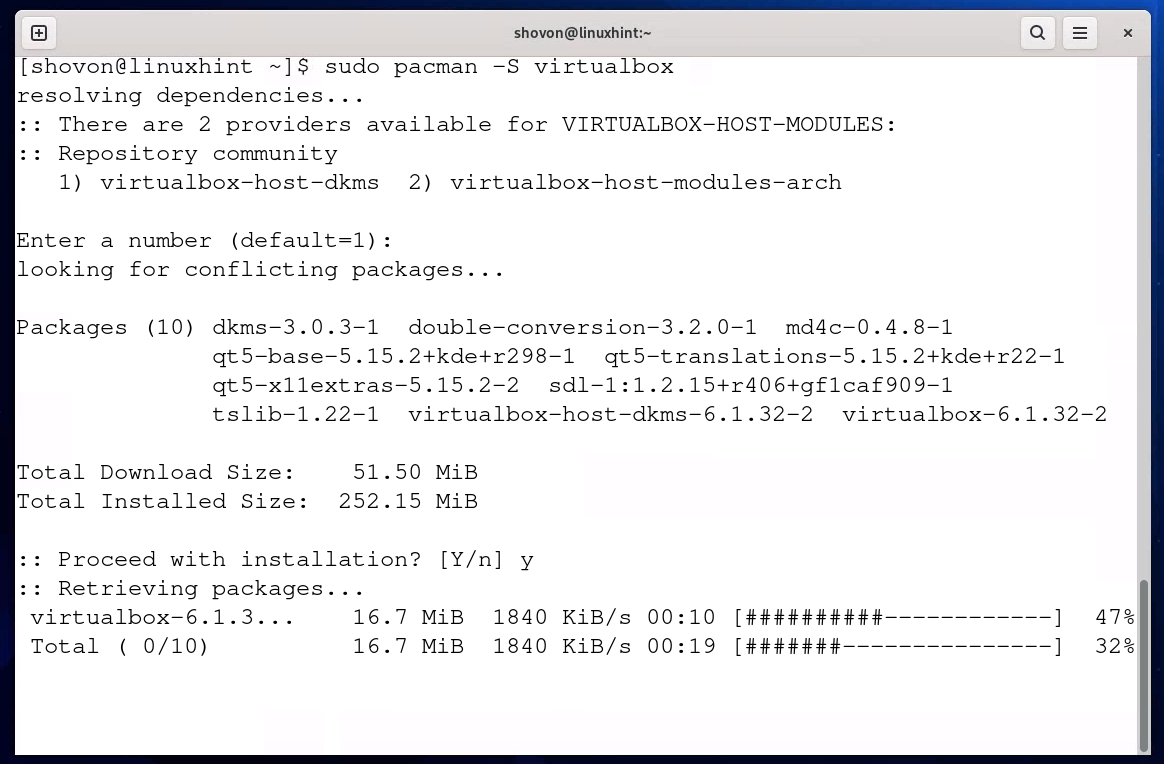
VirtualBox is being installed…

VirtualBox should be installed at this point.
Loading VirtualBox Kernel Module Automatically on Boot:
If you try to run VirtualBox from the Terminal right now, you should see the following error message. What it means is that the VirtualBox kernel module vboxdrv is not loaded.

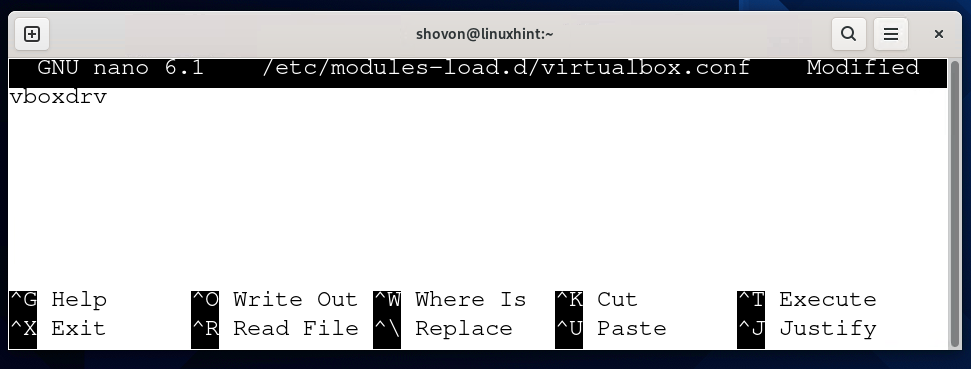
To automatically load the VirtualBox kernel module vboxdrv, create a new file virtualbox.conf in the /etc/modules-load.d/ directory and open it with the nano text editor as follows:

Type in vboxdrv in the file.
Once you’re done, press <Ctrl> + X followed by Y and <Enter> to save the /etc/modules-load.d/virtualbox.conf file.
For the changes to take effect, reboot your computer.

The VirtualBox kernel module vboxdrv should be loaded automatically, as shown in the screenshot below.

Adding Your Login User to the vboxusers Group:
You must add the login user of Arch Linux to the vboxusers system group. This lets your login user use VirtualBox and all of its features. Otherwise, you will see many permission errors while using VirtualBox.
Run the following command to add your login user to the vboxusers group:

For the changes to take effect, reboot your computer as follows:

Once your computer boots, your login user should be a member of the vboxusers group, as shown in the screenshot below.

Running VirtualBox:
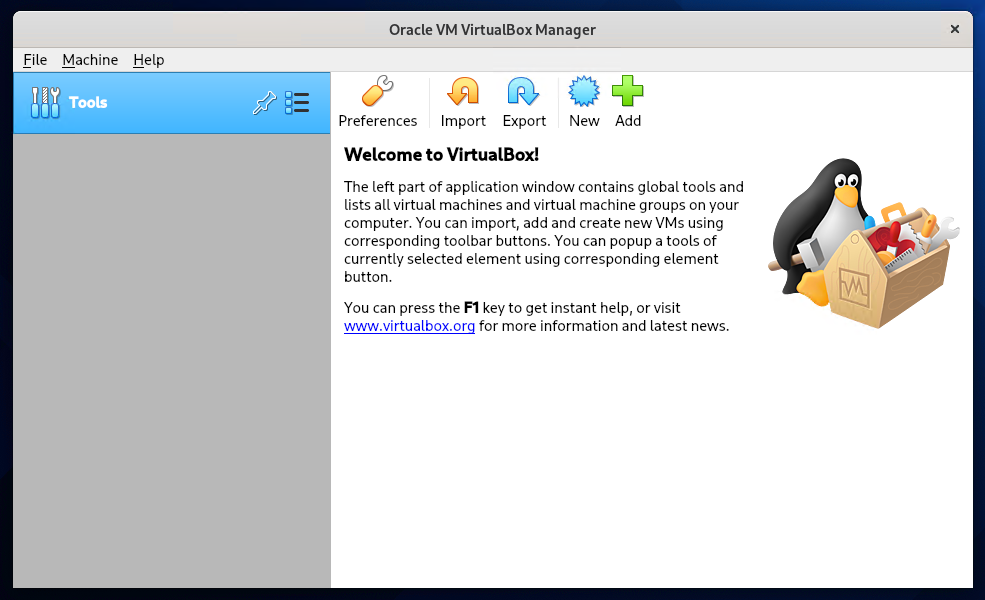
Once VirtualBox is installed, you can run it from the Application Menu of Arch Linux.
Just search for virtualbox and click on the Oracle VM VirtualBox icon as marked in the screenshot below.
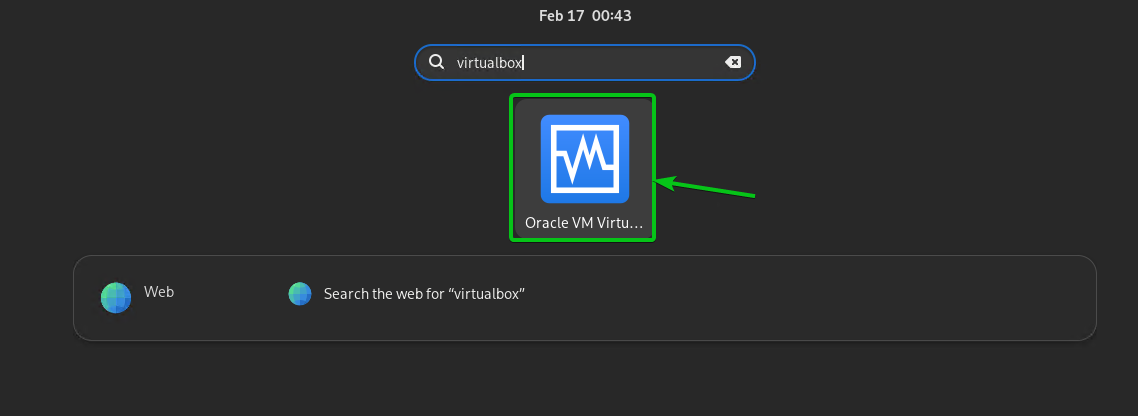
VirtualBox should be opened. Now, you can use VirtualBox as usual.
Installing VirtualBox Extension Pack:
Now that VirtualBox is installed correctly, you should install VirtualBox Extension Pack. VirtualBox Extension Pack adds many new features to VirtualBox.
VirtualBox Extension Pack adds the following new functionalities to VirtualBox:
- USB 2.0 and USB 3.0 support
- Access host webcam
- VirtualBox RDP (Remote Desktop Protocol) server for accessing VMs over RDP.
- PXE boot ROM
- Disk encryption
- NVMe virtual SSD
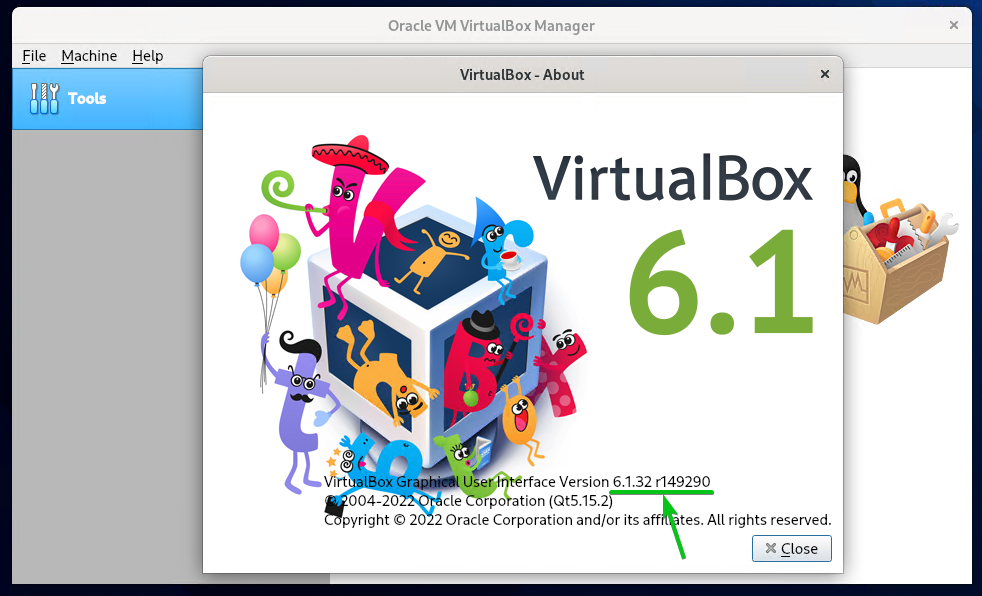
Before getting started, you must know the version of VirtualBox you’re running.
To know the version number, open VirtualBox and click on Help > About. A new window should be opened, and you will find the version number there as marked in the screenshot below.
In my case, the version number is 6.1.32. This is important as you will have to download and install a matching version of the VirtualBox Extension Pack. Luckily, Arch Linux keeps its official package repository up to date. So, you will most likely get the latest version of VirtualBox. You don’t have to search so hard to find a matching version of the VirtualBox Extension Pack. You can just download the latest one from the official downloads page of VirtualBox.
To download the latest version of the VirtualBox Extension Pack, visit the official downloads page of VirtualBox from your favorite web browser.
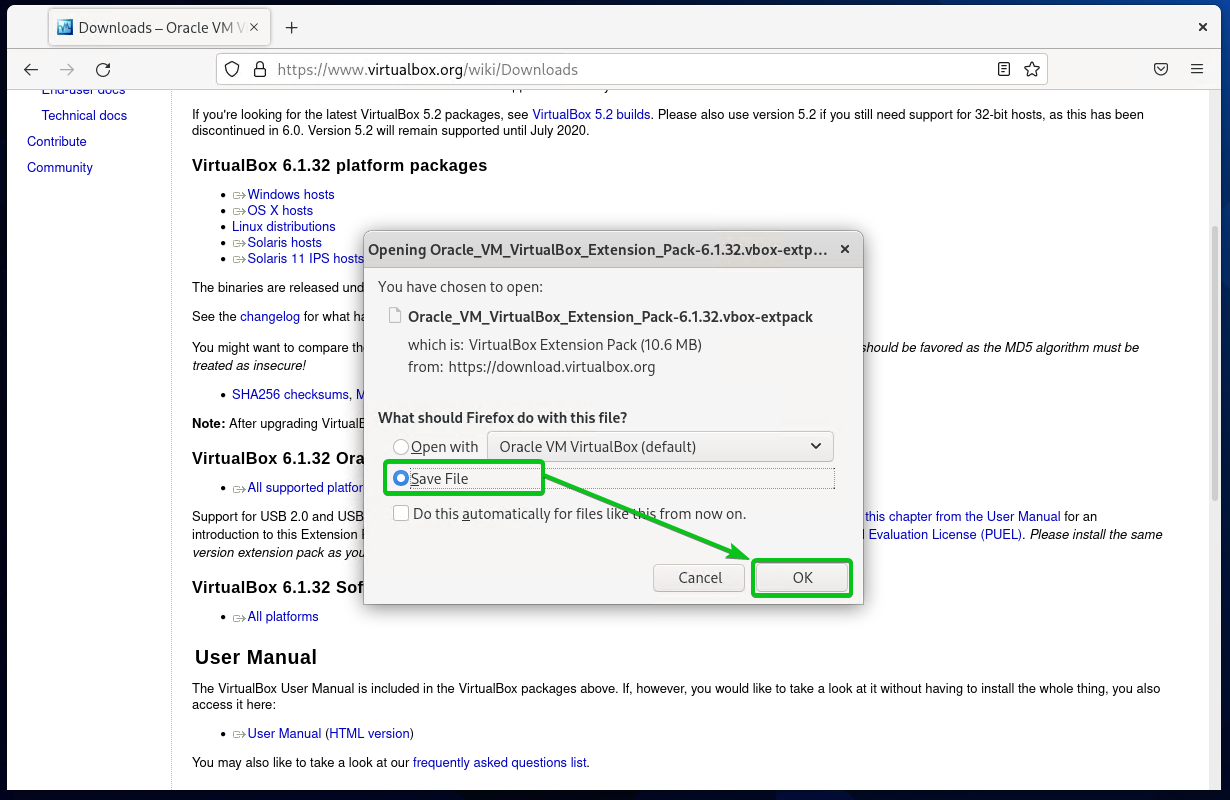
Once the page loads, scroll down a little bit to the VirtualBox <version-number> Oracle VM VirtualBox Extension Pack section and click on All supported platforms as marked in the screenshot below.

Your browser will prompt you to download the file. Just select Save File and click on OK.
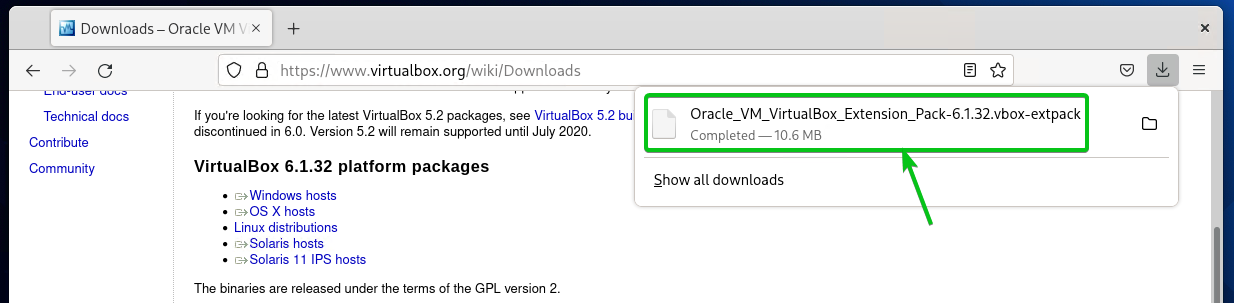
VirtualBox Extension Pack should be downloaded.
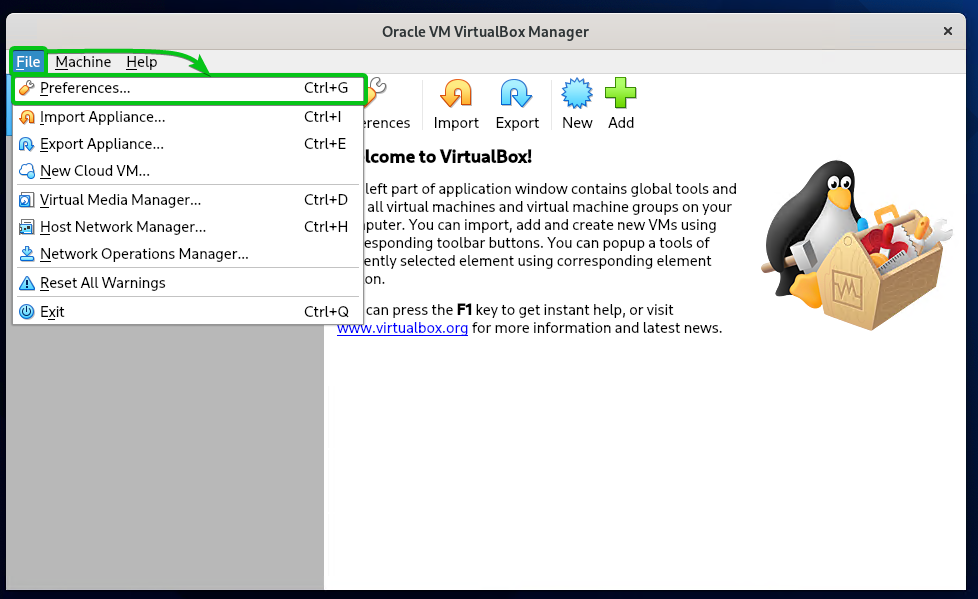
Now, open VirtualBox and click on File > Preferences…
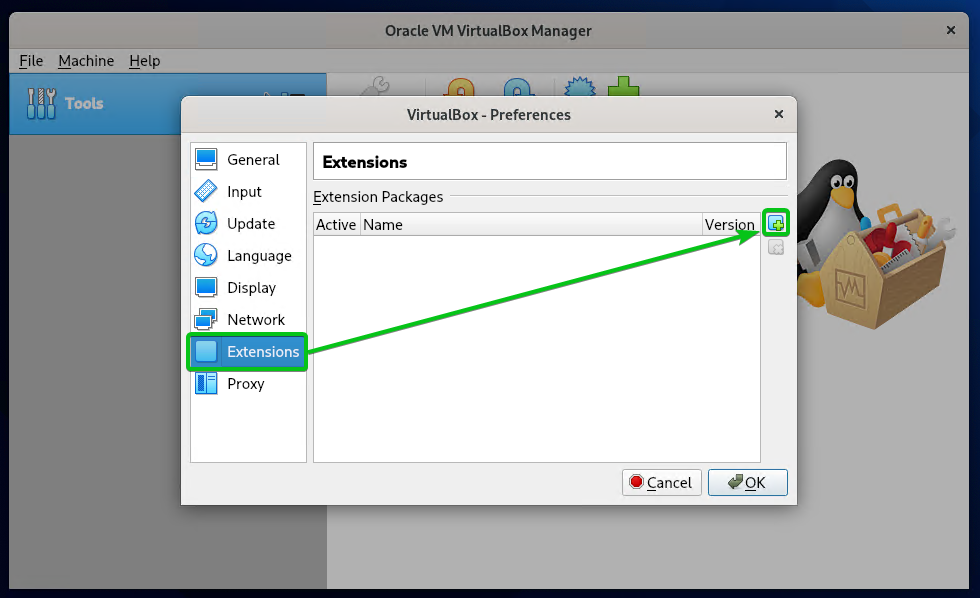
From the Extensions tab, click on the Add icon (
![]()
) as marked in the screenshot below.
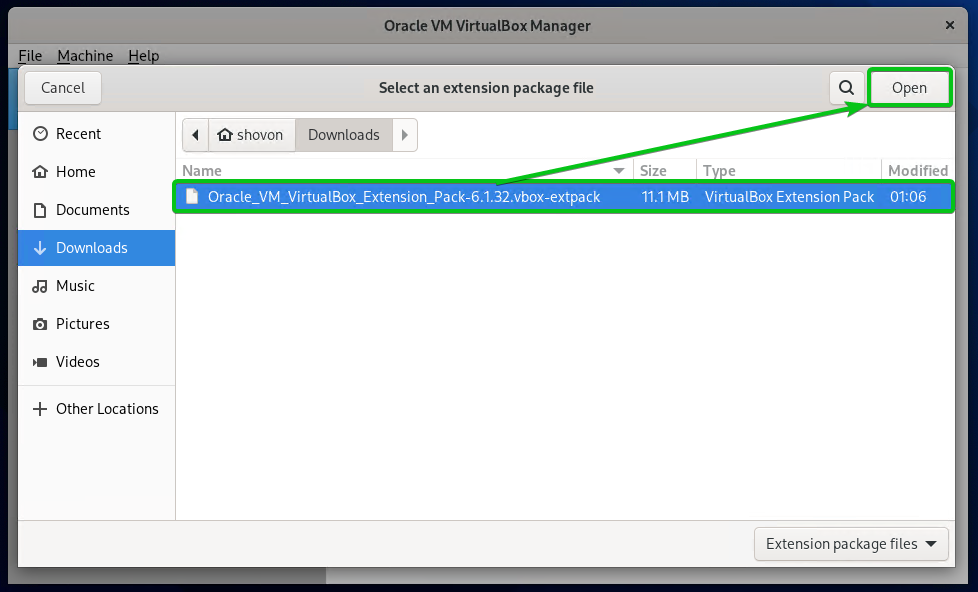
Select the VirtualBox Extension Pack file you have just downloaded and click on Open.
Click on Install.

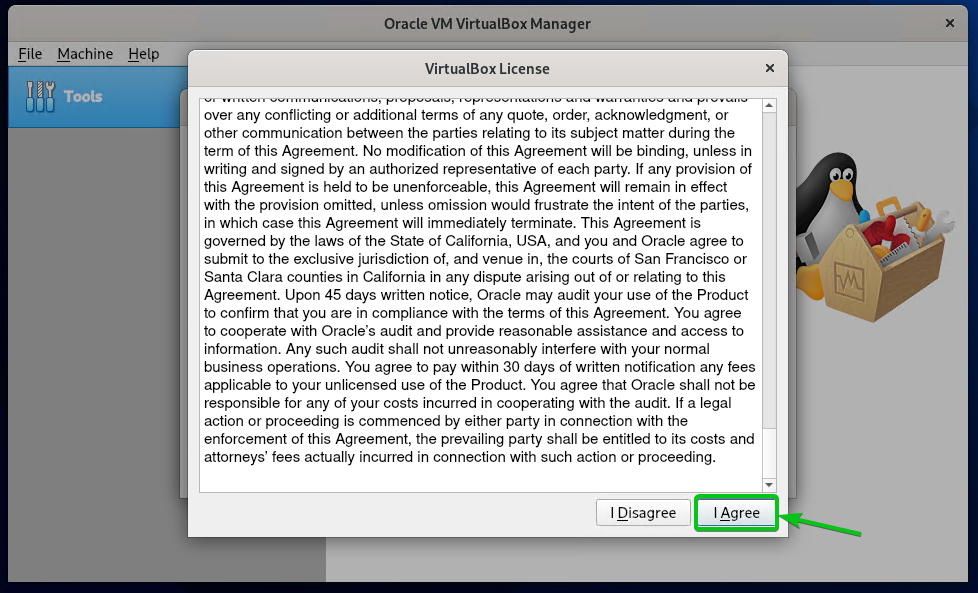
You will be asked to accept the VirtualBox License Agreement. To do that, just scroll all the way down and click on I Agree.
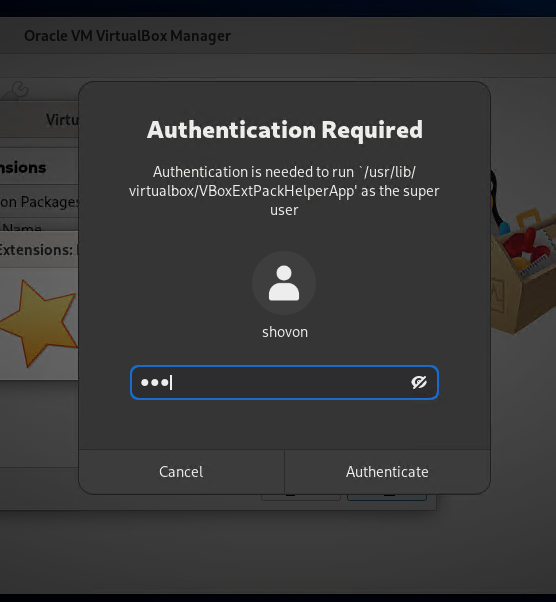
Type in the password of your login user and click on Authenticate.
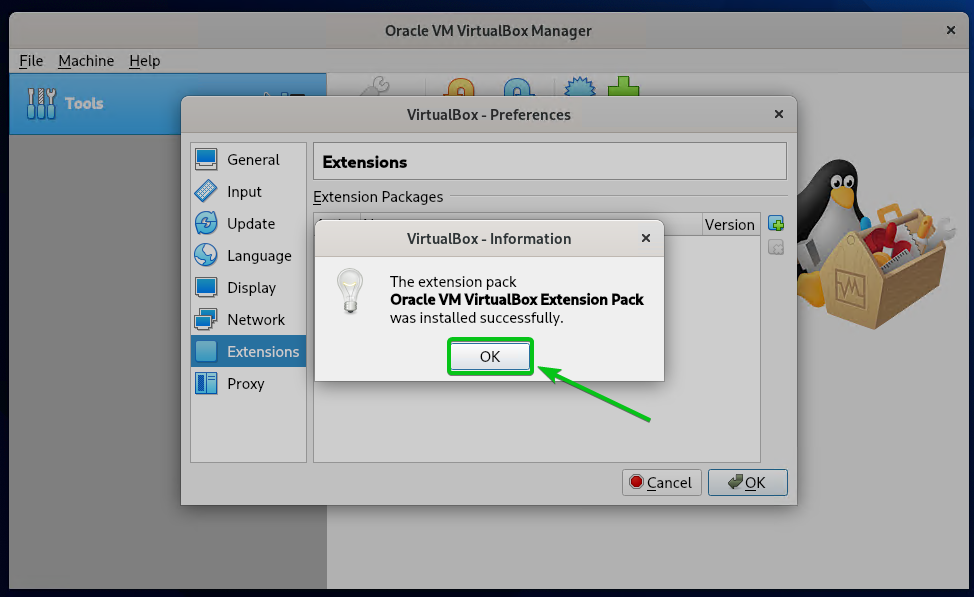
VirtualBox Extension Pack should be installed. Click on OK.
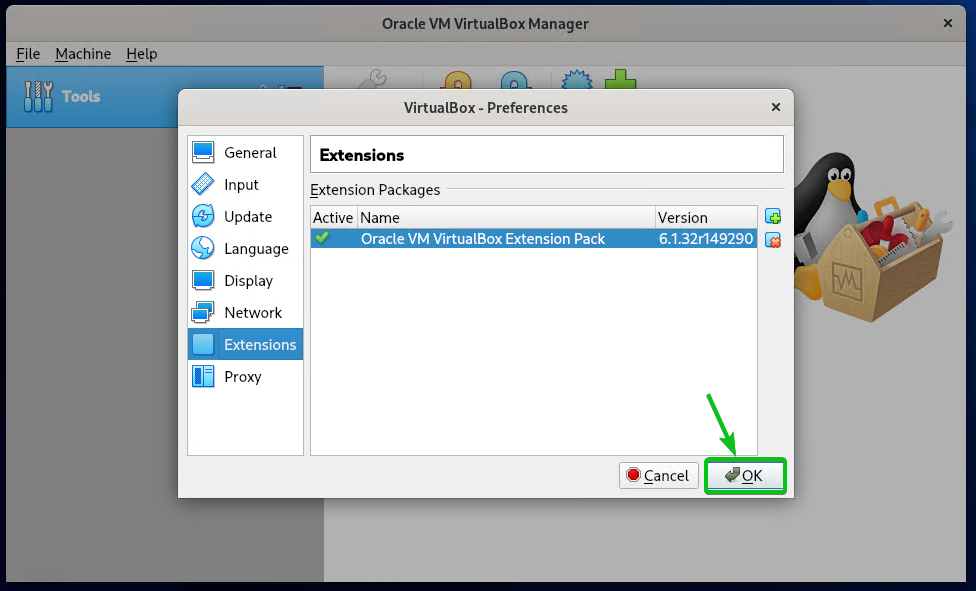
Click on OK.
Creating a VirtualBox Virtual Machine:
To learn how to create a VirtualBox virtual machine, you may read the article How to Install Fedora Workstation 35 on VirtualBox.
Conclusion:
In this article, I have shown you how to install VirtualBox from the official package repository of Arch Linux using the Pacman package manager. I have also shown you how to automatically load the VirtualBox kernel module vboxdrv on boot and add your login user to the vboxusers group. I have shown you how to install the VirtualBox Extension Pack as well.