SQLite is a lightweight and widely-used Relational Database Management System or RDMS which is known for its simplicity, speed, and reliability. It was developed to provide an efficient, reliable, fast solution for various database requirements. Unlike other client-server systems, SQLite is serverless, which means that you can implement the entire database system as the library. Moreover, you can link and access these libraries from the SQLite application. Hence, whether you’re a developer or an organization, SQLite can efficiently handle your data storage and management needs. If you want to learn how to install and setup SQLite on your Rocky Linux machine, this tutorial is for you. Here, we included a complete process to install and use SQLite on Rocky Linux 9.
How to Install and Use SQLite on Rocky Linux 9
Before installing SQLite on your device, there are some prerequisites that you need to follow:
-
- A running Rocky Linux 9 server
- Administrative access or a user account with sudo privileges
- Stable internet connectivity to download the SQLite packages
Let’s start the process by updating the system as per the latest update:
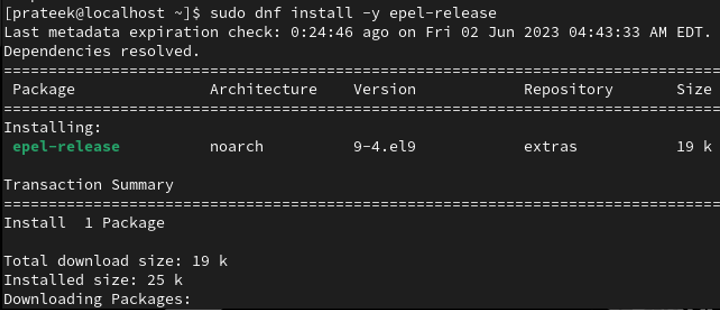
SQLite is available in the Extra Packages for Enterprise Linux (EPEL) repository. So, install the EPEL repository using the following command:
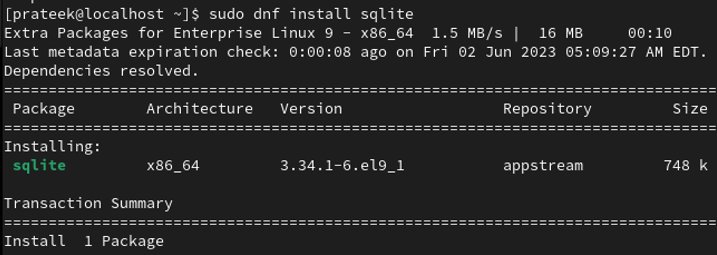
Once you install the EPEL repository, execute the following command to install SQLite:
Once you install the SQLite, you can check its version by executing the following command:
How to Use the SQLite
Now, let’s explore some basic commands to create and interact with a database. For example, run the following command to create a new database file:
This command creates a new database file, “MY_DATA.db”, in the current directory. However, if you want to create a database file in another directory, make that specific directory the current one in the terminal. For example, if you want to create a database file in the Documents directory, run the following command:
sqlite3 DATA.db
For example, let’s create a table by executing the SQL commands. Here, we create a “Students” table that has ID, name, and email:
id INTEGER PRIMARY KEY,
name TEXT,
email TEXT
);
To add the data into the table, use the INSERT INTO statement. Here’s an example:
INSERT INTO Students (Name, Email) VALUES ('Paul', '[email protected]');
To retrieve the data from the table, use the SELECT statement. Here’s an example:
This command displays all records in the “Students” table. You can change or delete the data in a table. For example, to update a user’s email, you can execute the following:
To delete a user from the table, use the DELETE command:
Finally, you can exit the SQLite shell through the following command:
Additional SQLite Features
SQLite offers numerous advanced features and functionalities for more complex database operations. Some notable features include:
-
- Transactions: SQLite supports ACID-compliant transactions for data consistency and integrity.
- Indexing: You can create the indexes to enhance a query performance.
- Views: SQLite allows you to create virtual tables which are known as views to simplify the complex queries.
- Triggers: Triggers can be used to execute actions automatically during the occurrence in the database.
- Import and Export: SQLite provides commands like “.import” and “.output” to import the data from external files or export the query results to files.
These features make SQLite a powerful choice for various applications, ranging from mobile apps to embedded systems and small-scale web applications.
Conclusion
This is all about the methods to install and use SQLite on Rocky Linux 9. SQLite’s simplicity, speed, and reliability make it a best choice for various applications. Leverage the advanced features like transactions, indexing, views, and triggers to optimize your database operations. Adhere to the best practices to ensure a robust and secure SQLite environment.


