Netstat is an excellent CLI utility that you can use to display a brief information about your network. This command utility has powerful options for network monitoring and troubleshooting in Linux. You can use the netstat command to find the PID (process ID) that can help you find the network resource-consuming processes.
Usually, netstat is best for system administrators to identify the network-related issues, network activities, and available network connections. Moreover, it is essential to use the netstat correctly with appropriate permissions because it displays sensitive information about the network.
If you are a Rocky Linux 9 user and you want to use the netstat utility, this tutorial is for you. In this tutorial, we will briefly explain the simple ways to install and use netstat on Rocky Linux 9.
How to Install and Use Netstat on Rocky Linux 9
Netstat is the preinstalled utility of Rocky Linux 9 that you can install through the following command:
sudo dnf install net-tools

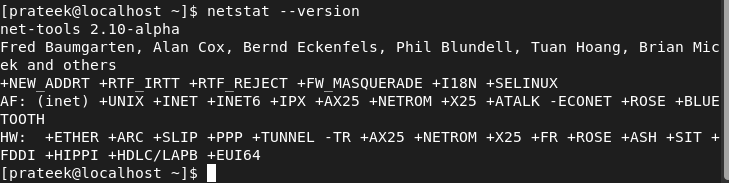
After installing netstat in the system, you can check its version:
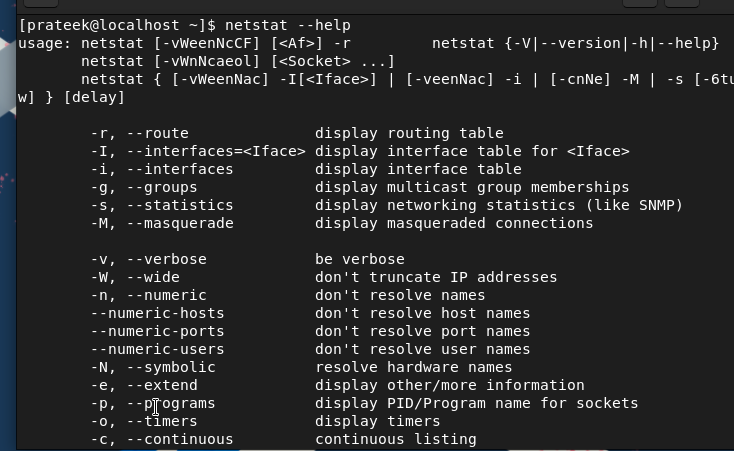
Moreover, you can explore all the additional options of netstat through the following command:
Once you are done with everything, it is time to use the different options that are available in netstat through some examples.
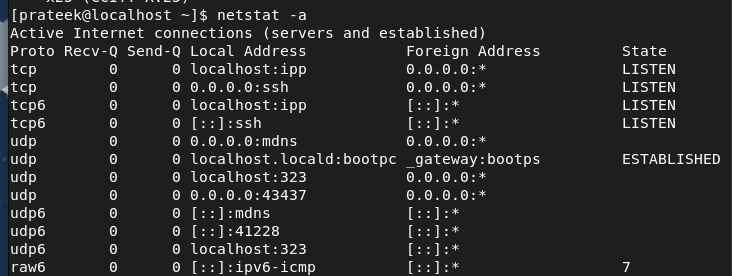
The -a Option (–all)
You can use the -a option with netstat to get a brief information about all the currently active networks:
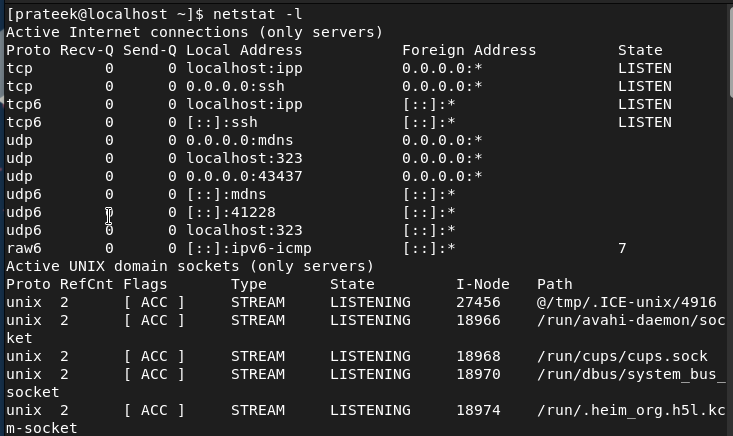
The -l Option (–listening)
This option displays all the ports that are currently listening for the incoming connection with their process ID:
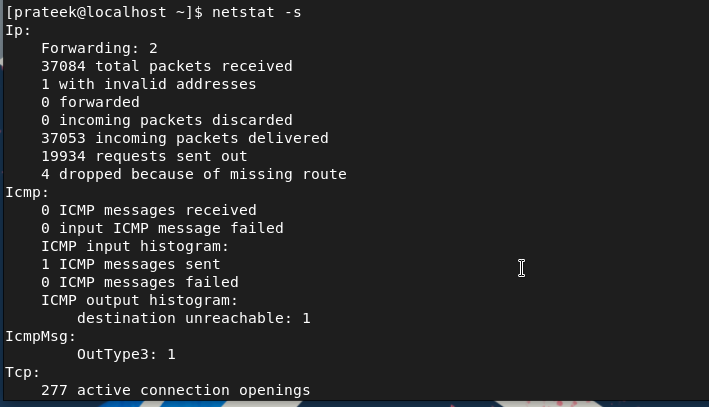
The -s Option (–statistics)
The -s option displays the complete network statistics including the errors, packets range, and other information.
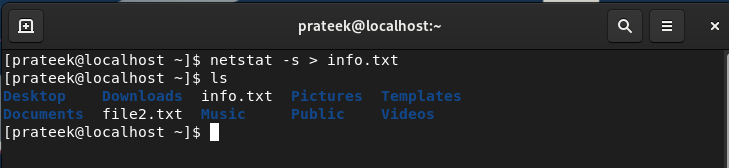
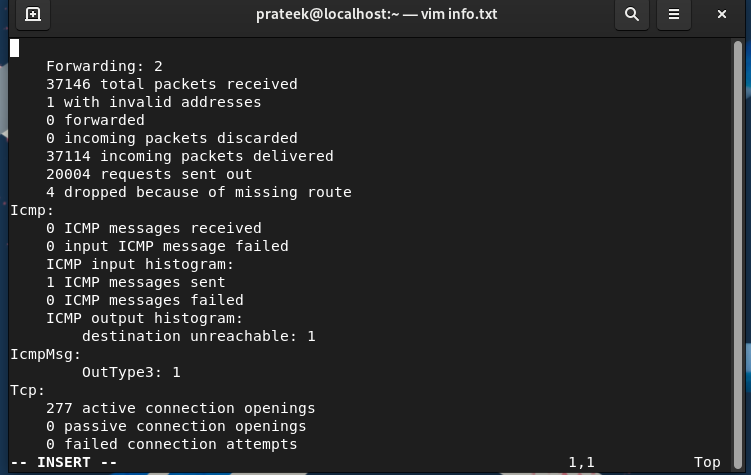
Similarly, you can save the previous information in the “.txt” file through the following command:
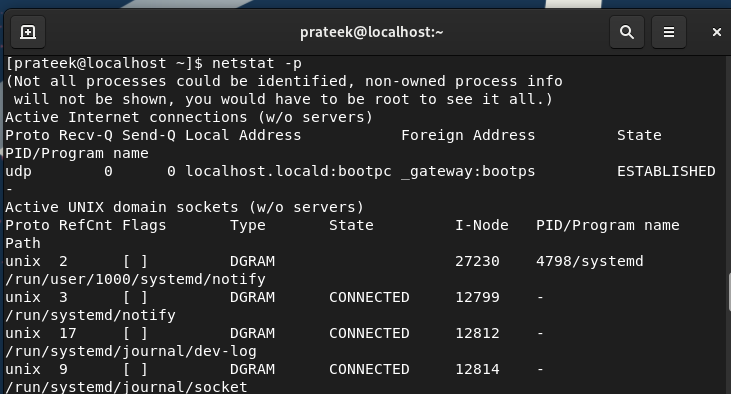
The -p Option (–program)
With the -p option, netstat can provide an information about the PID that is associated with every network.
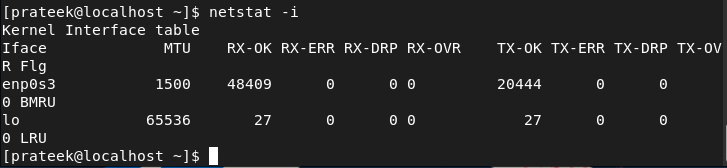
The -i Option (–interfaces)
In netstat, the -i option displays the complete statistics of all the network interfaces that are available in the system.
The -r Option (–route)
This option shows the complete information about the kernel routing:

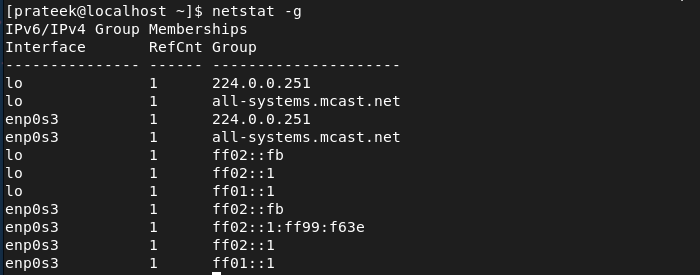
The -g Option (–groups)
With the -g option, you can get an information about the multicast group membership for IPv4 and IPv6.
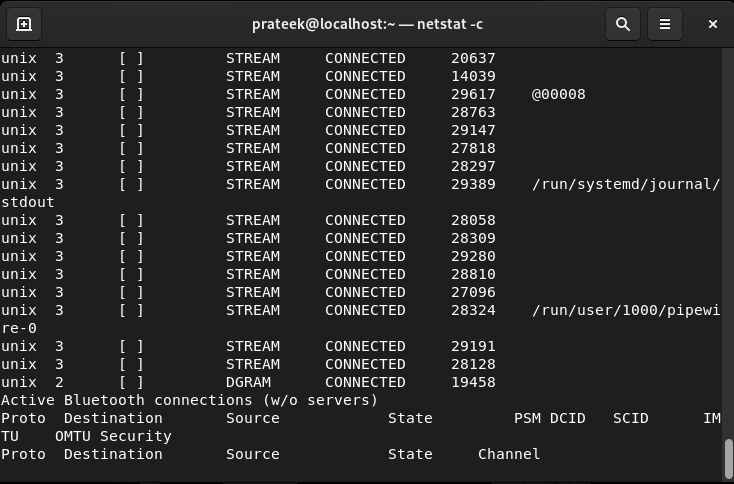
The -c Option
The -c option is used to instruct the system about continuously listening to the information about the ports:
The -t (–tcp) and -u (–udp) Options
You can use these options to display the information about the TCP and UDP ports of the system:
netstat -u

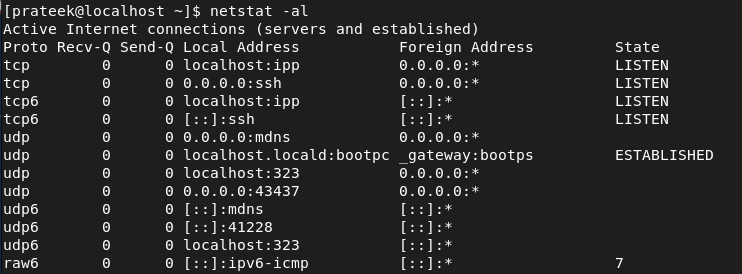
The -al Option
With the -al option, you can list the only listening sockets of the system. Here is the command:
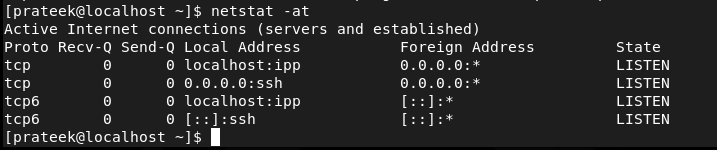
The -at and -au Options
The -at option is used to display the list of all the available TCP ports:
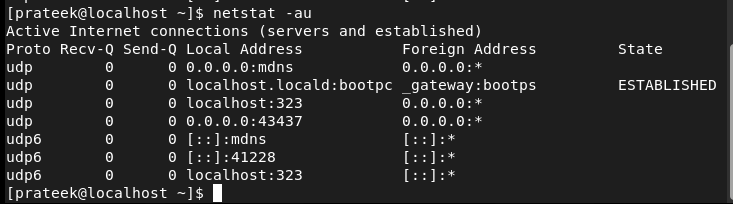
Similarly, you can use the -aux option to display all the available UDP ports:

The -lt and -lu Options
The -at option is used to display the list of all the available TCP ports:

Similarly, you can use the -aux option to display all the available UDP ports:
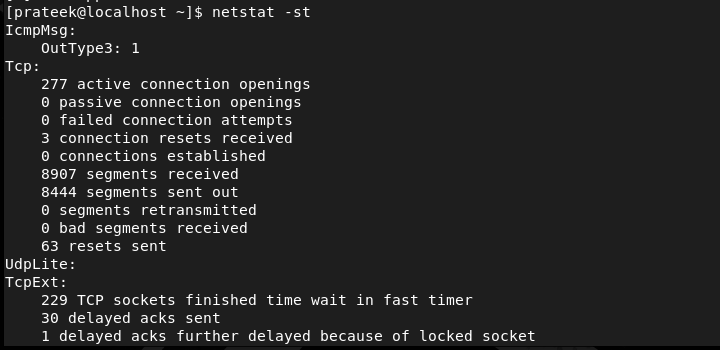
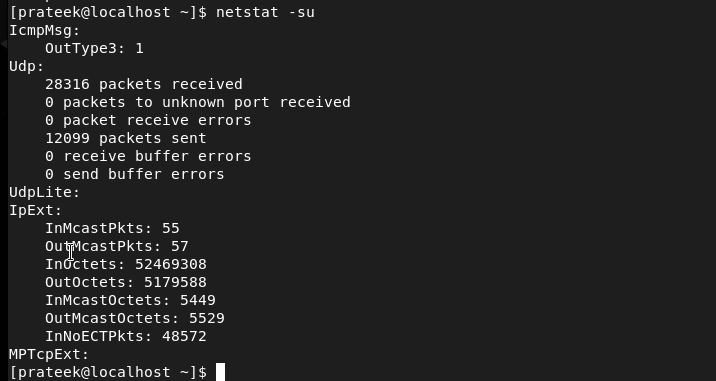
The -st and -su Options
You combine the -t and -u options with the -s option to display the list of the statistics of TCP and UDP ports:
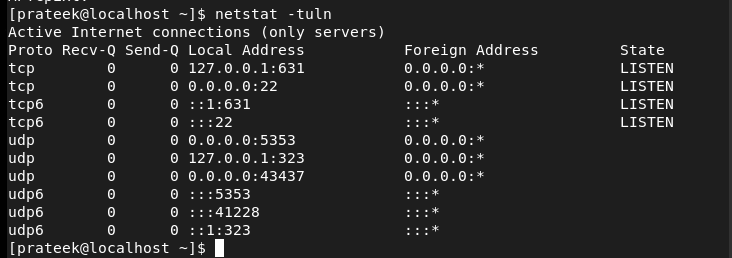
The -tunl Option
This option displays every single service that listens to TCP and UDP, including all the free open ports of the device:
Conclusion
This is a brief tutorial about the netstat command and the simple ways to use it in Rocky Linux 9. We explained all the options that are available in netstat and how to use them in your system. Moreover, we also included the combination of options that you can try in the netstat command.