Download and Install Java IDE
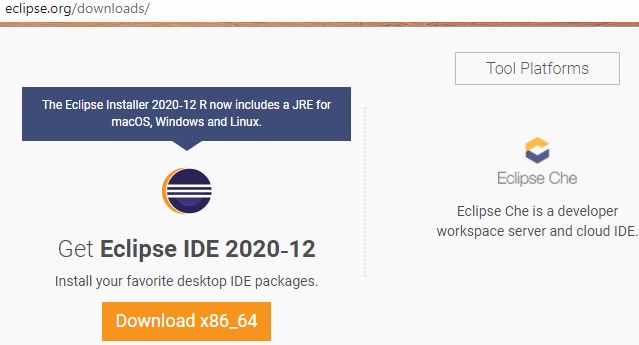
To build Java programs, you will need a decent IDE. There are many popular IDEs available, such as Eclipse, NetBeans, IntelliJ IDEA Community Edition, and others, all available to download for free. We will use Eclipse IDE to start our Java setup. So, open your browser and search for Eclipse downloads at the following URL: . Open the first link on this page, and you will be taken to the website shown in the image below. To download Eclipse IDE, simply click the ‘Download x86_64’ button, and you will be directed to another window.
On the next page, click the ‘Download’ button with the download icon on it to download Eclipse IDE.
Eclipse IDE will begin downloading, as shown below. It will take some time for the download to complete.
You can view the downloaded file in your ‘Downloads’ folder. Right-click it and click ‘Run as Administrator’ to install it. Click the ‘Yes’ button to begin installing it.
Wait for the application to open.
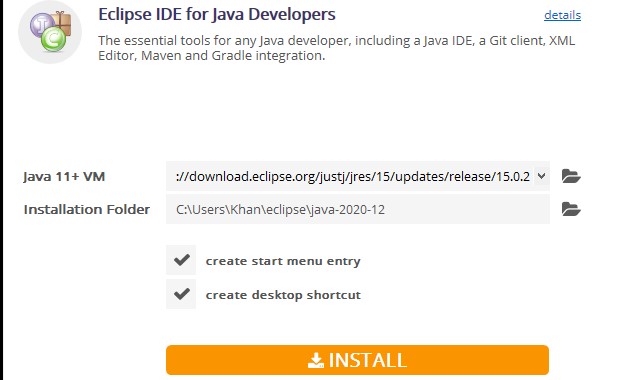
A new window will appear, as shown in the image below. Click the first option, ‘Eclipse IDE for Java Developers,’ to begin installing Eclipse IDE.
Click the ‘INSTALL’ button to begin this installation.
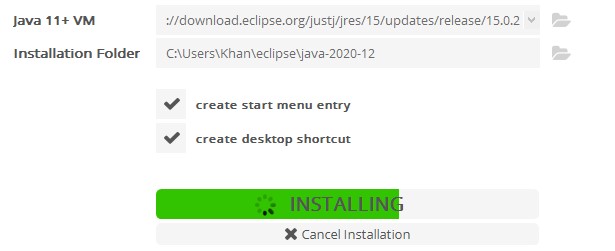
As you can see in the image below, the installation of Eclipse IDE has begun.
After the installation is complete, you can now launch the Java Eclipse IDE simply by clicking the ‘LAUNCH’ button, as displayed in the image below.
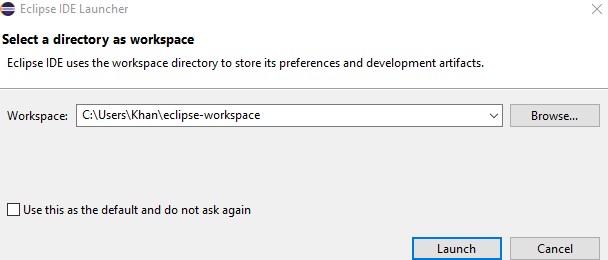
A new window will open before Eclipse IDE is launched, as shown below. You must select a directory location as your workspace, in which all your Java files will be saved from now on. You can also leave this as the default location. Otherwise, select the directory of your choice by clicking the ‘Browse’ button. After that, click the ‘Launch’ button to use Eclipse IDE on your system.
Create Java Project
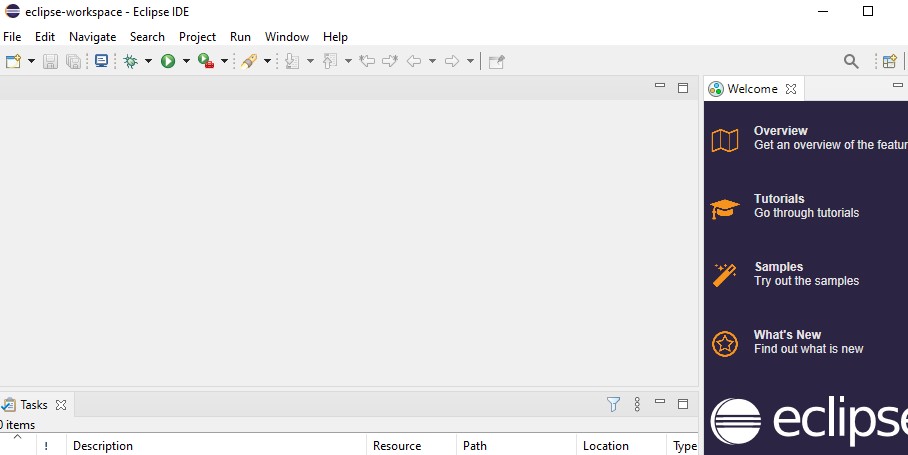
Finally, Eclipse IDE has launched. Now, we will create a new Java project. To do so, select the ‘File’ menu from the taskbar and navigate to the ‘New’ option. Click ‘Java Project’ to begin creating a new project.
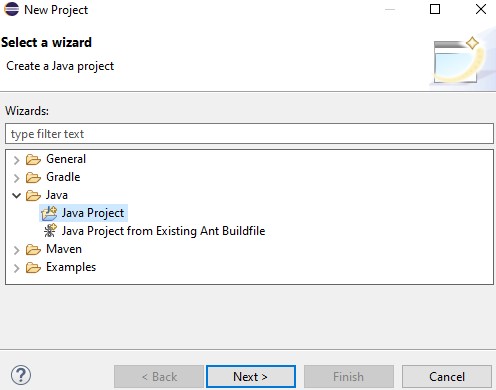
Next, the following ‘New Project’ screen will open. Expand the ‘java’ folder, select ‘Java Project,’ and click the ‘Next’ button to continue.
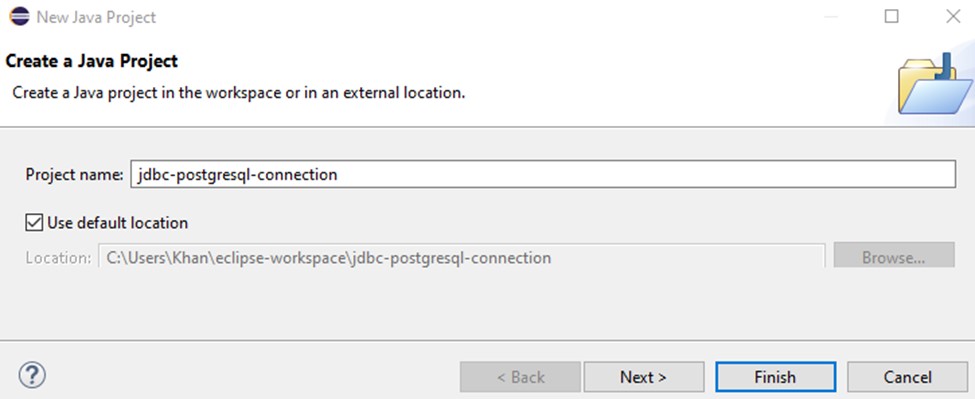
The following window will ask you to input the project name. Name your project whatever you would like, then click the ‘Finish’ button.
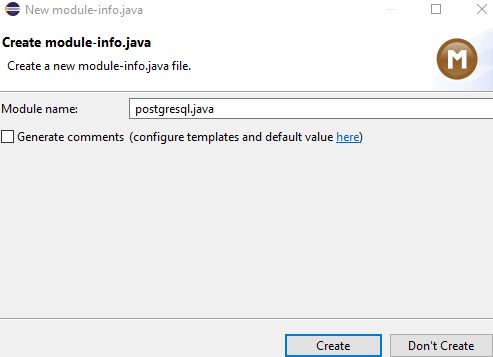
Another screen will appear named ‘Create module-info.java.’ You can either name a module and click the ‘Create’ button, or simply ignore it by clicking the ‘Don’t Create’ button.
Download PostgreSQL JDBC Driver
To download the PostgreSQL JDBC driver, open your web browser and search for it. Click the first link to open the website.
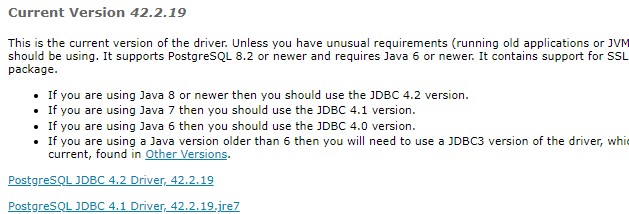
You will then be taken to the ‘Download’ page of the PostgreSQL JDBC website. Click the current download ‘jar’ file of the PostgreSQL JDBC Driver to download it.
You can see that the ‘jar’ file of the PostgreSQL JDBC driver has been downloaded.
Load JDBC Driver
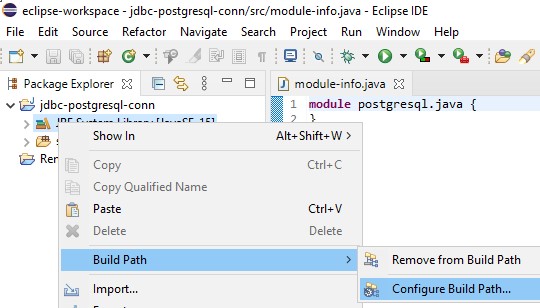
Open the Eclipse IDE workspace, expand the newly-created Java project, right-click the ‘JRE System Library,’ navigate to the ‘Build Path,’ and click the ‘Configure Build Path’ option.
The screen name ‘Java Build Path’ will open. Click ‘Modulepath,’ then click ‘Add External JARs’ to include the ‘jar’ file.
Choose the ‘jar’ file from the folder in which it was downloaded. Now, the ‘jar’ file has been added successfully to the ‘Modulepath.’ Finally, click the ‘Apply and Close’ button to continue.
Create Package
In the Eclipse workspace, right-click the ‘src’ folder, navigate to the ‘New’ option, and click ‘Package’ to build a new package.
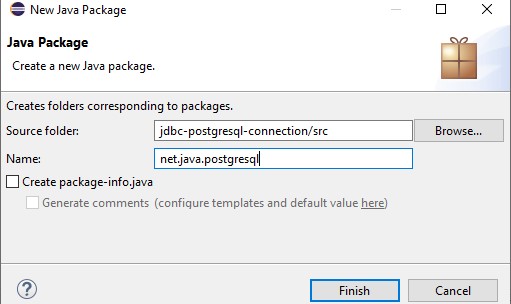
The ‘New Java Package’ screen will pop up. Name the package whatever you want to name it, then click the ‘Finish’ button to continue.
Create Class
Now, the package has been created. Right-click the package option that you have just created, navigate to the ‘New’ option, and click ‘Class’ to create a new class in the specified package.
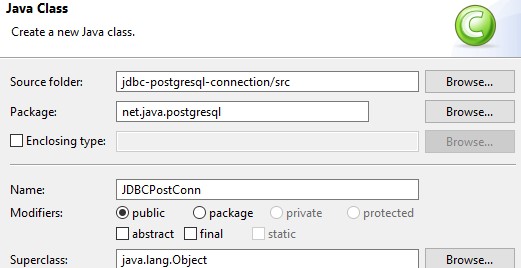
On the newly opened ‘Java Class’ screen, input the name of the new class in the ‘Name’ field.
Connect to the PostgreSQL Database Server
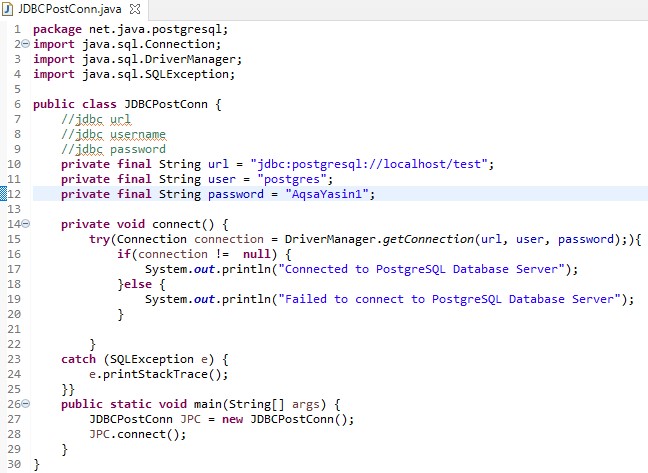
Finally, the class has been created in the package. Now, it is time to connect the JDBC to the PostgreSQL Server. To do this, first, load all the packages required in your Java file of the newly-created class. Write the following code in the workspace. Add three private strings, e.g., URL, user, and password. Assign the URL of the PostgreSQL localhost server to the ‘url’ string. Also, assign the username and password of the PostgreSQL user and password to the ‘user’ and ‘password’ strings, respectively. The ‘connect()’ method is used to connect the JDBC to the PostgreSQL server. The main function is used to begin the execution. Click the ‘Run’ button to begin executing the code.
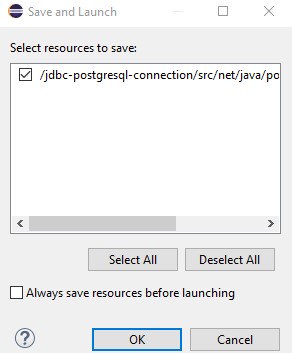
Save and run the code by clicking the ‘OK’ button.
From the output below, you can see that the JDBC has been successfully connected to the PostgreSQL Database Server.
Conclusion
You should be able to connect your JDBC to the PostgreSQL Database Server quite easily by following this tutorial step-by-step.

