
This is an incredible feature which allows the CI/CD tools such as Jenkins to integrate with Ansible which gives you more control and automation of the tasks that you are executing.
Requirements
To follow along with this tutorial, you need to ensure that you have the following requirements:
- A Jenkins controller or Agent with installed Ansible CLI.
- The latest Python interpreter which is installed on the Jenkins controller/Agent.
- Ansible inventory which is configured with your target machines.
You may also need sufficient permissions to execute the commands on the Agent/Controller or the Ansible nodes.
Sample Project Configuration
Ansible Inventory Layout
Let us break down the project setup. For this tutorial, we have an Ubuntu server on which install the Apache web server using Ansible.
The following shows the layout of our Ansible host inventory file:
172.29.42.58
The previous inventory contains a webserver category with only one host that points to the IP address of the Ubuntu server.
Ansible Playbook
Next is the Ansible playbook that we wish to execute on the server. Finally, as mentioned, we need to install the Apache Webserver on the Ubuntu machine.
The corresponding playbook is as follows:
- hosts: all
become: true
tasks:
- name: Update package manager cache
apt:
update_cache: true
- name: Install Apache web server
apt:
name: apache2
state: present
- name: Start Apache web server
service:
name: apache2
state: started
The provided playbook starts by updating the package manager cache on the target host. Since we only have one host on the Ansible inventory file, we can set the hosts to all as shown in the previous playbook.
Next, we install the Apache Web Server using the Ansible apt module. Finally, we start the webserver using the service module.
Jenkinsfile Script
The last file that we need is the Jenkinsfile which defines the stages and the steps of the Jenkins pipeline.
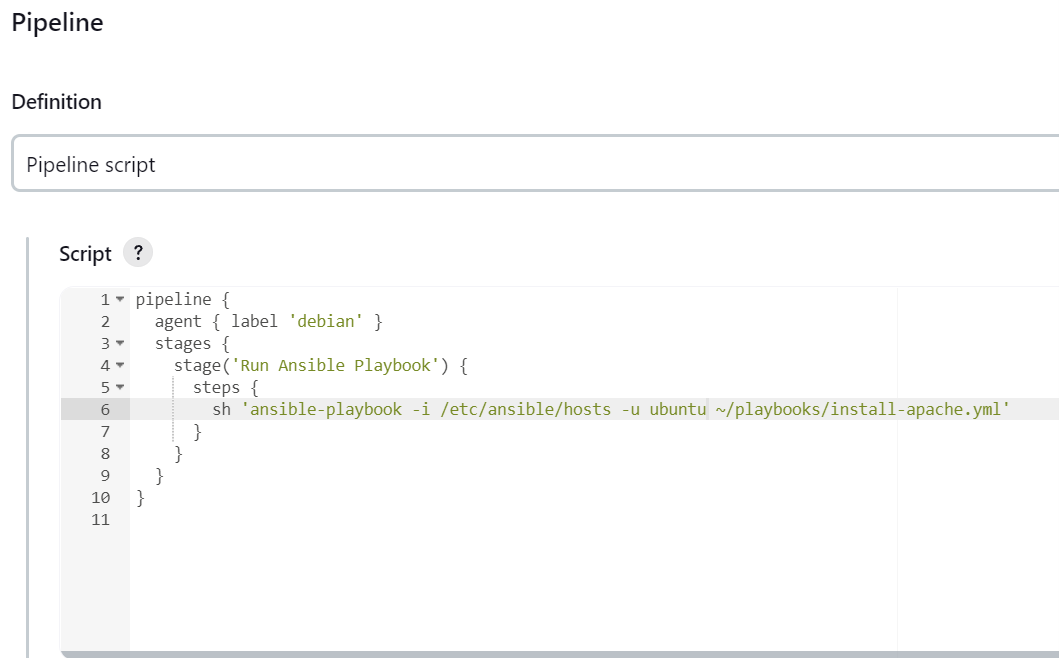
The following shows the target Jenkinsfile:
agent { label 'debian' }
stages {
stage('Run Ansible Playbook') {
steps {
sh 'ansible-playbook -I /etc/ansible/hosts -u ubuntu ~/playbooks/install-apache.yml'
}
}
}
}
In this case, the Jenkinsfile uses the Agent with the “debian” label . Then, the Jenkinsfile invokes the ansible-playbook command to run the install-apache.yml playbook on the target host.
Building a Jenkins Pipeline
Once the target files and tools are ready, we can set up a sample Jenkins pipeline.
Login into your Jenkins controller and create a new Jenkins pipeline.
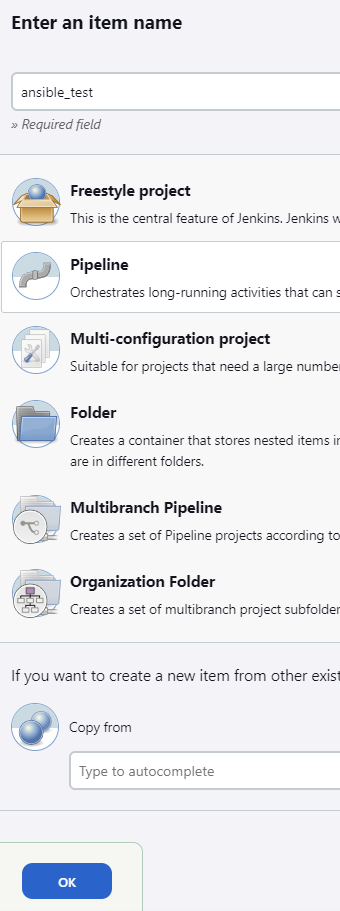
In the pipeline section, select the “Pipeline script” and paste the Jenkinsfile that we created earlier.
Click “Save” and choose “Build Now”.
Once we click build, Jenkins invokes the commands and runs the Ansible tasks which are defined in the playbook.
Conclusion
You discovered how to use Jenkins to run the Ansible playbooks on the target host using the Jenkins Ansible plugin.