In this article, we will show you how to install the JupyterHub TypeScript kernel on your JupyterHub server so that the JupyterHub users can run and document the TypeScript codes on Jupyter Notebooks just as they run and document the Python codes.
NOTE: If you don’t have JupyterHub installed on your computer, you can read one of the articles depending on the Linux distribution that you’re using:
1. How to Install the Latest Version of JupyterHub on Ubuntu 22.04 LTS/ Debian 12/Linux Mint 21
2. How to Install the Latest Version of JupyterHub on Fedora 38+/RHEL 9/Rocky Linux 9
Topic of Contents:
- Installing Node.js on Ubuntu/Debian/Linux Mint
- Installing Node.js on RHEL/Rocky Linux/CentOS/Fedora
- Checking If Node.js and NPM Are Installed Correctly
- Installing TypeScript Kernel on JupyterHub
- Checking If JupyterHub TypeScript Kernel Is Installed Correctly
- Conclusion
- References
Installing Node.js on Ubuntu/Debian/Linux Mint
For JupyterHub TypeScript kernel to work, you must have Node.js installed on your computer. If you’re using Ubuntu/Debian/Linux Mint or any other Ubuntu/Debian-based Linux distribution as your JupyterHub server, you can install Node.js from the official package repository of your Linux distribution.
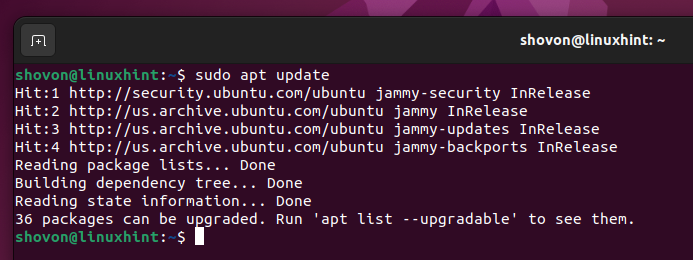
First, update the APT package database cache with the following command:
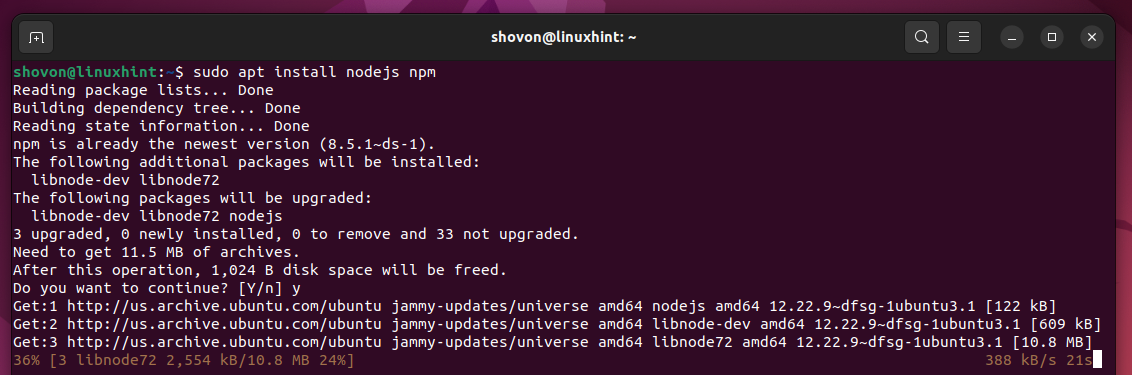
To install Node.js and Node Package Manager (NPM), run the following command:
To confirm the installation, press “Y” and then press <Enter>.

Node.js and NPM are being installed. It takes a while to complete.
At this point, Node.js and NPM should be installed.

Installing Node.js on RHEL/Rocky Linux/CentOS/Fedora
For JupyterHub TypeScript kernel to work, you must have the Node.js installed on your computer. If you’re using RHEL/Rocky Linux/CentOS/Fedora or any other RPM-based Linux distribution as your JupyterHub server, you can install Node.js from the official package repository of your Linux distribution.
First, update the DNF package database cache with the following command:

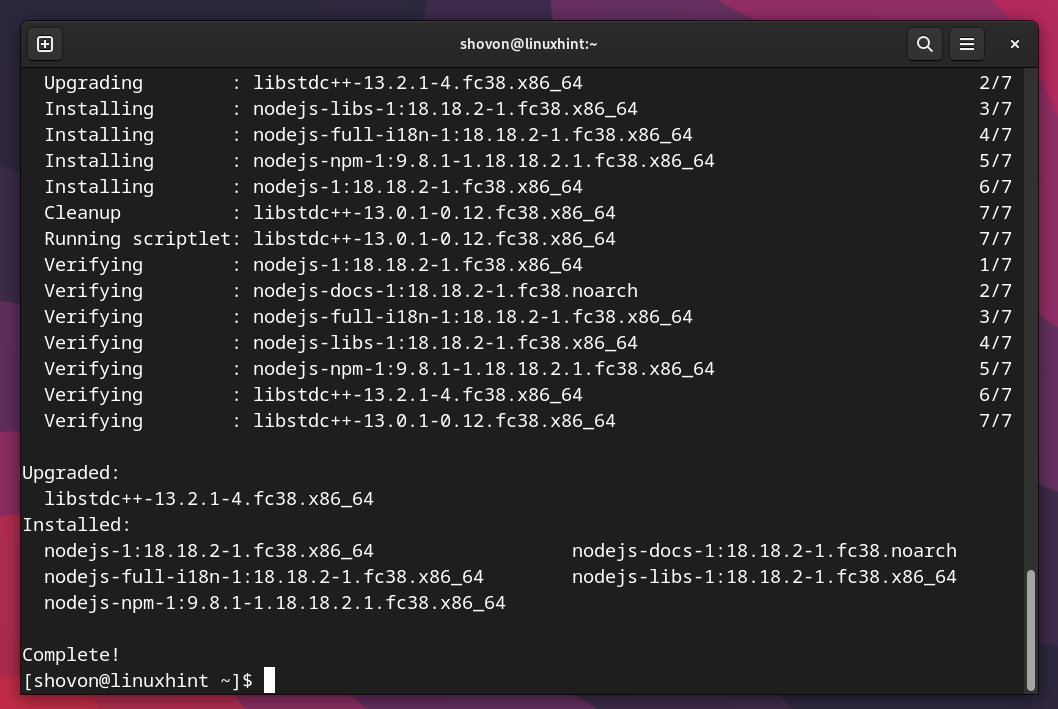
To install Node.js and Node Package Manager (NPM), run the following command:
To confirm the installation, press “Y” and then press <Enter>.

Node.js and NPM are being installed. It takes a while to complete.

At this point, Node.js and NPM should be installed.
Checking If Node.js and NPM Are Installed Correctly
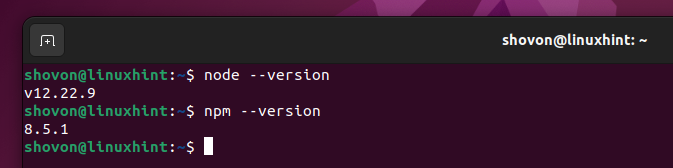
To confirm whether Node.js and NPM are installed correctly, run the following commands:
$ npm --version
As you can see, Node.js 12.22.9 and NPM 8.5.1 are installed on our Ubuntu 22.04 LTS operating system.
Installing TypeScript Kernel on JupyterHub
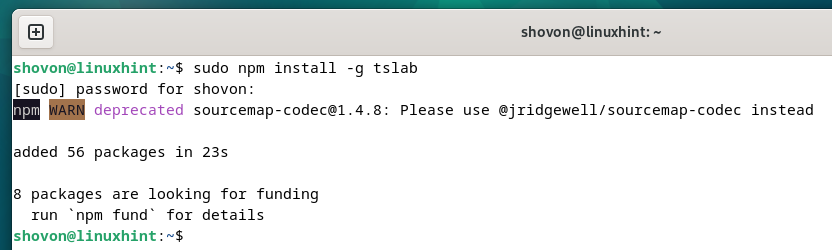
JupyterHub adds TypeScript support through the use of tslab. To install the tslab Node.js package on your computer, run the following command:
The tslab Node.js package is being installed. It takes a few seconds to complete.

The tslab Node.js package should be installed at this point.
Once the tslab Node.js package is installed, you have to install the JupyterHub TypeScript kernel to enable the TypeScript support on JupyterHub notebooks.
First, activate the JupyterHub virtual environment with the following command:
To install the JupyterHub TypeScript kernel system-wide (for all JupyterHub users), run the following command:

Checking If JupyterHub TypeScript Kernel Is Installed Correctly
To check whether the tslab TypeScript JupyterHub kernel is installed, run the following command:
You should find “tslab” and “jslab” in the available JupyterHub kernels list.

If you log in to JupyterHub, you should find the TypeScript programming language in the “Notebook” section.
To create a TypeScript Jupyter notebook, click on “TypeScript” from the “Notebook” section.
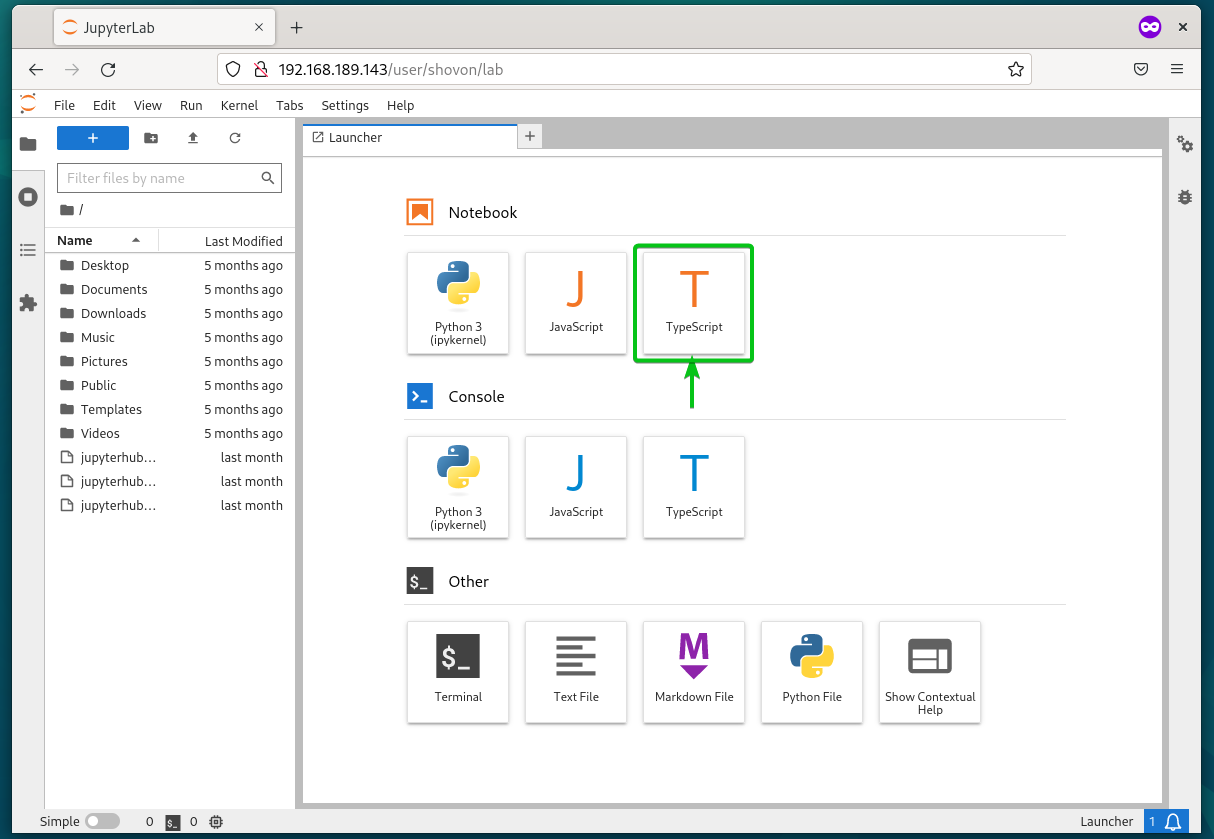
A new JupyterHub TypeScript notebook should be created.
You can write and document the TypeScript codes in the same way as you do in Python codes.

Conclusion
In this article, we showed you how to install Node.js and tslab on Ubuntu/Debian/Linux Mint/RHEL/Rocky Linux/CentOS/Fedora and other Ubuntu/Debian-based and RPM-based Linux distributions. We also showed you how to install the TypeScript kernel on JupyterHub so that you can run and document the TypeScript codes on Jupyter notebooks just as you do in Python codes.