Laravel is one of the best free and open-source frameworks for PHP to generate web applications, and it is recognized due to its eloquent and sophisticated syntax. Laravel also provides several web development tools, especially for large and modern web applications, because it remains accessible through improved versions. Its popularity is increasing day by day, and it is becoming the first choice of developers due to the continuous growth. Additionally, the developers use it in the streamlined development process.
In this detailed and simplified guide, you will be able to install the Laravel framework on Ubuntu 20.04 server or 20.04 LTS operating system.
Prerequisites
There are a couple of prerequisites that you must have before installing the Laravel PHP framework with Nginx on Ubuntu 20.04 LTS system.
You should have:
- PHP & its required libraries
- Composer
- MySQL
- Nginx installed on your Ubuntu 20.04 LTS system.
If you have not installed any of these prerequisites before, there is no need to worry about anything. We will show you how to install and configure PHP, Composer, MySQL, and Nginx to set up the Laravel PHP framework.
Let’s begin with the installation and configuration of PHP and its modules.
Installation of PHP and Other Required Libraries for Laravel Project
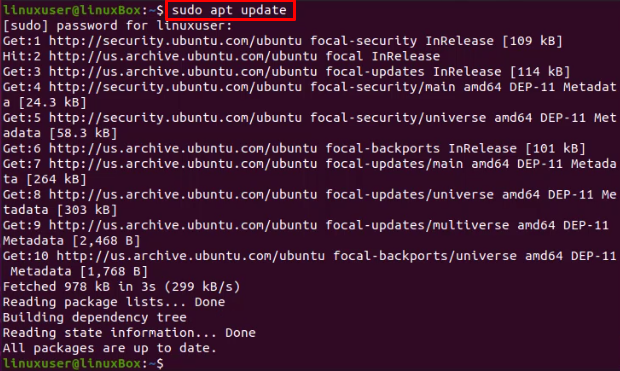
Before jumping into the installation part of any package or libraries, it is always a good practice to update the system’s repository cache. So, update Ubuntu’s APT cache repository using the command:
Alright, now to install PHP and some other required modules of it, type the command provided below:
The above command will install PHP and all other required PHP modules on your Ubuntu 20.04 LTS system, and the “-y” flag will auto-answer “yes” to any prompt that occurred during the installation process.

Along with the PHP and its required libraries, install the other software dependencies required for the installation and configuration like curl and unzip. To install curl and unzip, type the command given below:
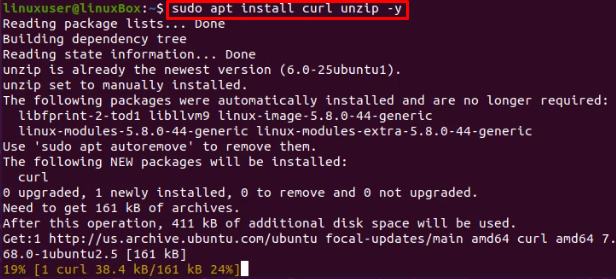
After running the above command, all the software dependencies will be installed.
Let’s move ahead to install the Composer.
How to Install and Configure Composer for Laravel on Ubuntu 20.04
To install Composer on Linux for installing and creating the Laravel application for managing the project’s dependencies, we will use the curl command to install it on Ubuntu 20.04 LTS system.
Installation of Composer on Ubuntu 20.04
To install Composer on Ubuntu 20.04, type the command mentioned below:
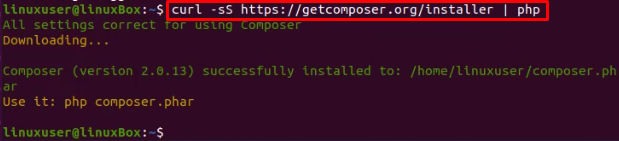
This command will download and install the Composer.
Configuration of Composer on Ubuntu 20.04
You need to move the “composer.phar” file to the “/usr/local/bin/composer” directory, and you can do so using the command:
![]()
After moving the “composer.phar” file to the “/usr/local/bin/composer” directory, also change the mode of the file to executable using the command typed below:
![]()
Alright, at this point, the Composer is installed and ready to serve for the creating and managing Laravel application dependencies.
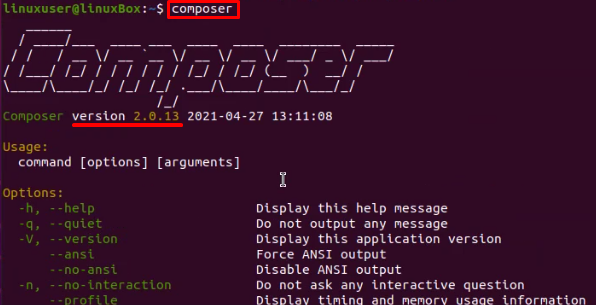
To check whether Composer is installed or not, you can type the command:
Alright, the next step is to install and configure MySQL for the Laravel application.
How to Install and Configure MySQL for Laravel on Ubuntu 20.04
Now, we need to install MySQL so that we can create a database for the Laravel application.
Installation of MySQL Server
To install MySQL, simply type the command:
The above command will install MySQL in a couple of minutes, and you do not have to confirm any installation process because the “-y” flag will take care of that.

After the successful installation of MySQL, verify the status of MySQL service using the command:
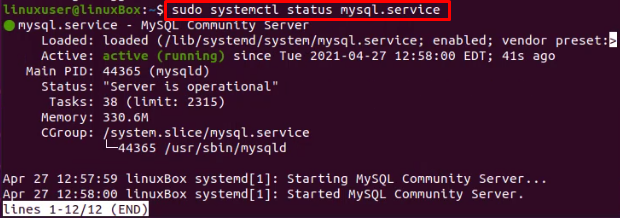
If it is inactive, start it using the command:
![]()
Also, enable it for future purposes to automatically start on the boot time of the system using the command given below:

Now, the MySQL server is installed and running fine. Let’s perform some configuration for the Laravel project.
Configuration of MySQL Server for Laravel Project
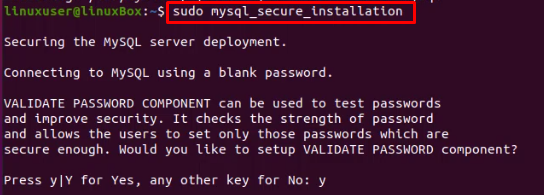
Since the MySql server is recently installed, there is no password set for any user now. Set it all up by running the command typed below and answering the questions asked appropriately:

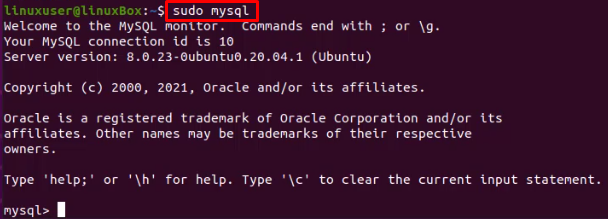
After setting all up, log in to the MySQL shell using the simple command:
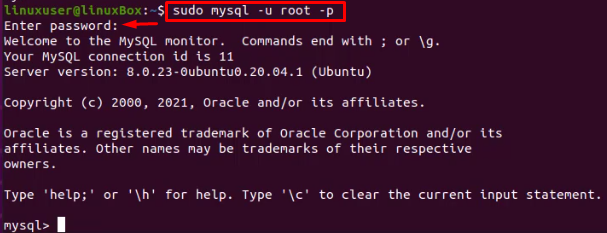
If you have set any password for root, then instead of the above command, you need to log in as a root user using the command given below and provide the password that you recently set for it:
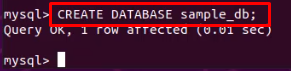
After signing in to the MySQL shell, create a database first using the command:
After creating the database, create a user as well using the command:

In the above query, change the user_name and user_password to the desired username and password.
Now, grant all permissions of the recently created database to the newly-created user using the GRANT query;

Once the permissions are granted, Flush the privileges:

Then, exit from the MySQL shell to get back to the terminal.

Alright, at this stage, MySQL is configured to be connected to the Laravel application. Now, let’s install and configure Nginx so we can finalize our Laravel application in the end.
How to Install and Configure Nginx for Laravel on Ubuntu 20.04
Installation and configuration of Nginx for the Laravel application on Ubuntu 20.04 are really easy and simple.
Installation of Nginx
To install Nginx, simply type the command given below, and you will have the latest and stable version of Nginx installed on your Ubuntu 20.04 LTS system:
The “-y” flag will answer yes to any question prompted during the installation process.

After the installation of Nginx, the Nginx service will automatically start and verify the status of the service using the command:

If it is active and running, then it is ready to be configured. You can move to the configuration step ahead. If it is inactive in your case, then start the Nginx service using the command typed below;
Ok, now let’s install and configure the Laravel project.
How to Install and Configure Laravel on Ubuntu 20.04
Laravel can be installed on Ubuntu 20.04 easily using the Composer. You just need to follow a couple of steps, and you will have the Laravel installed on your Ubuntu 20.04 LTS system.
Installation of Laravel
For installing Laravel, navigate to the /var/www/html directory using the cd command as shown below:
![]()
Before creating the Laravel project using the Composer, make composer global for installing Laravel using the command given below:

Now, to create a Laravel project using the Composer, run the command:
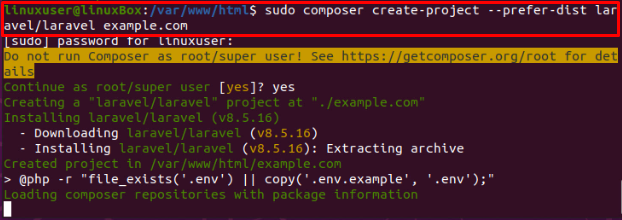
Replace the example.com with the project name of your own choice in the above command for creating a Laravel project.
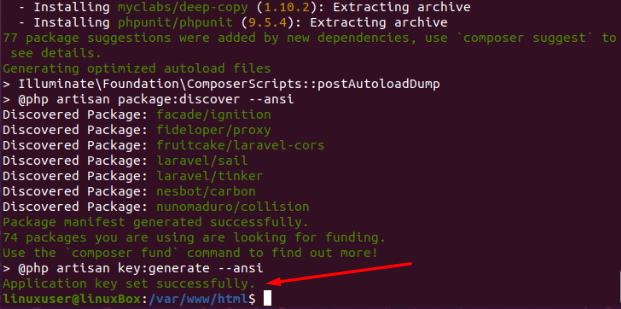
Once you have created a Laravel Project, you need to grant some appropriate permissions of the Laravel project directory to the non-root user of the system. You can do this by typing the commands:
![]()

After setting the permissions of the directory, navigate to the project directory using the cd command:
![]()
Run the composer install command:
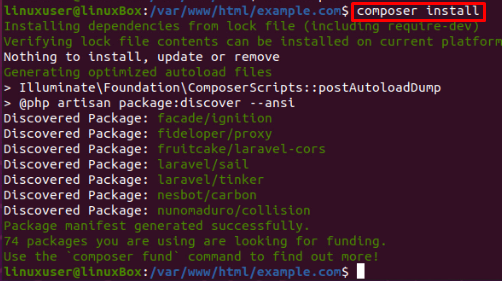
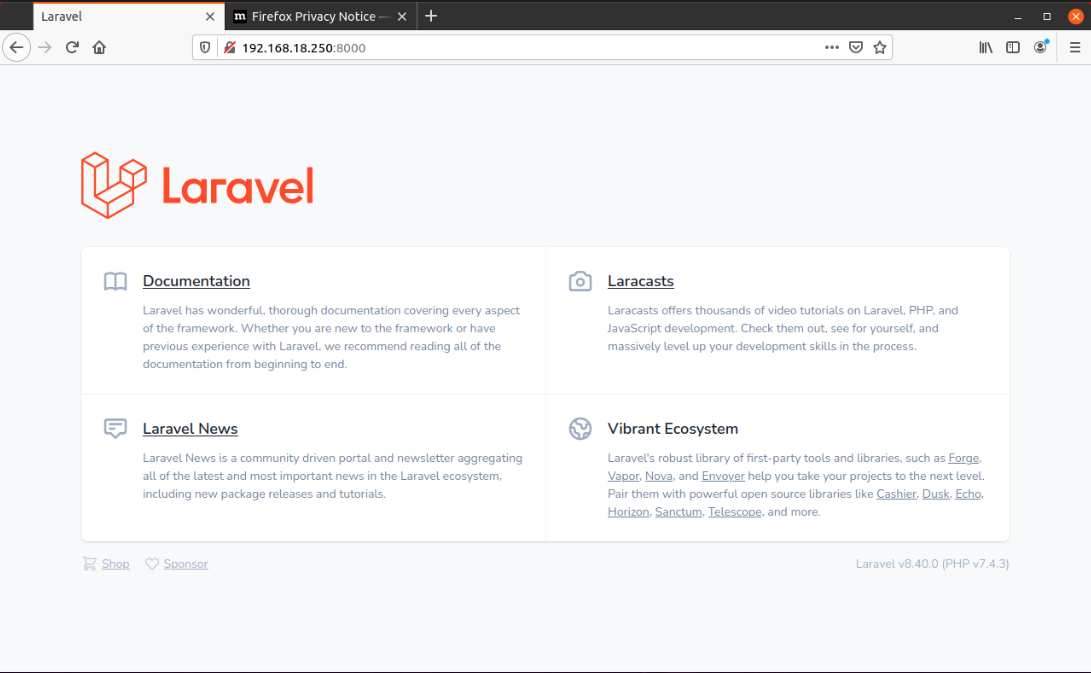
After running the composer install command, make sure you are in the project’s directory. Then, execute the command given below with the server’s IP address and port number to verify and access the Laravel application created:

Now, if you want to view the application, go to the browser and type the IP address and port number that you have just given in the php artisan command.
Alright, now let’s configure Laravel for connecting it to the database created.
Just open up the “.env” file in the Laravel project’s directory using the nano editor:

In the ‘.env’ file, you can have a lot of configuration variables, and from those variables, our concerned variables are:
APP_ENV=development
APP_KEY=some_key
APP_DEBUG=true
APP_URL=http://domain_or_IP
LOG_CHANNEL=stack
DB_CONNECTION=mysql
DB_HOST=127.0.0.1
DB_PORT=3306
DB_DATABASE=laravel
DB_USERNAME=root
DB_PASSWORD=password
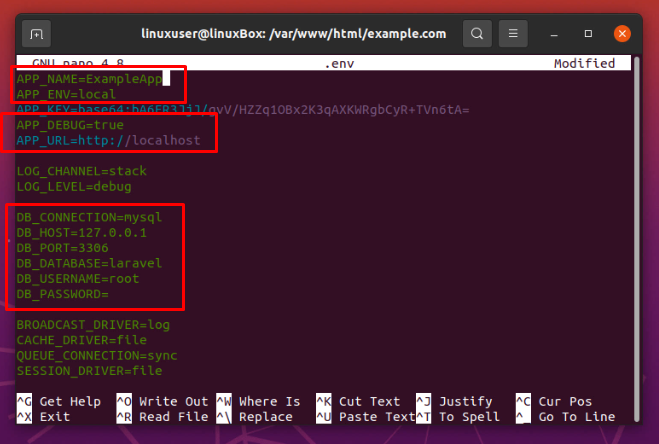
Modify the variables as per your settings and save the “.env” file using the keyboard shortcut CTRL + S.
Configuration of Nginx for a Laravel Project
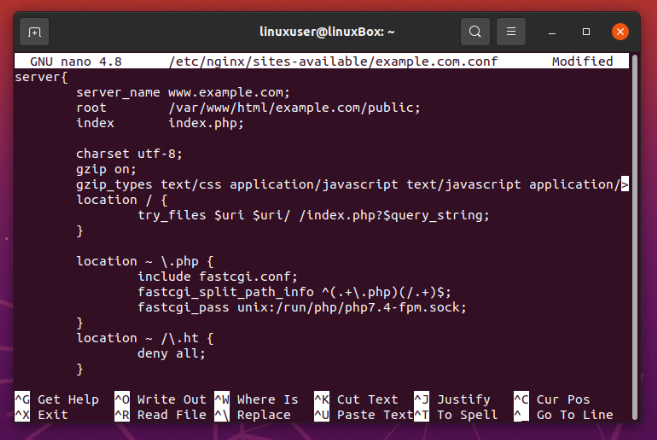
For configuring the Nginx for a Laravel project, first, create the configuration file of Nginx in the /etc/nginx directory using the command:
Change the server name, server’s IP address, and the /var/www/html/example/public address as per your demands:
server_name www.example.com;
root /var/www/html/example.com/public;
index index.php;
charset utf-8;
gzip on;
gzip_types text/css application/javascript text/javascript application/x-javascript image/svg+xml text/plain text/xsd text/xsl text/xml image/x-icon;
location / {
try_files $uri $uri/ /index.php?$query_string;
}
location ~ \.php {
include fastcgi.conf;
fastcgi_split_path_info ^(.+\.php)(/.+)$;
fastcgi_pass unix:/run/php/php7.4-fpm.sock;
}
location ~ /\.ht {
deny all;
}
}
After the configuration of Nginx, enable the virtual host file for configuration.
First, create a symbolic link:

And, remove the old configuration file if any by using the following command:
![]()
Verify if there is a syntax error or not in the configuration file, using the command:

If the output has shown that the file is ok and the test is successful, then reload the Nginx service using the command:
![]()
The Laravel application is now all set up and ready to use.
Conclusion
This post contains a brief method for installing a Laravel PHP framework with Nginx on Ubuntu 20.04. In this post, you have learned to install PHP and the other required modules, such as Composer, MySQL, Nginx, and configuration for Laravel project on Ubuntu 20.04 LTS operating system.